fuel VAUXHALL VIVARO C 2020 Owner's Manual
[x] Cancel search | Manufacturer: VAUXHALL, Model Year: 2020, Model line: VIVARO C, Model: VAUXHALL VIVARO C 2020Pages: 289, PDF Size: 10.16 MB
Page 26 of 289
24Keys, doors and windowsBatteries do not belong in household
waste. They must be disposed of at
an appropriate recycling collection
point.
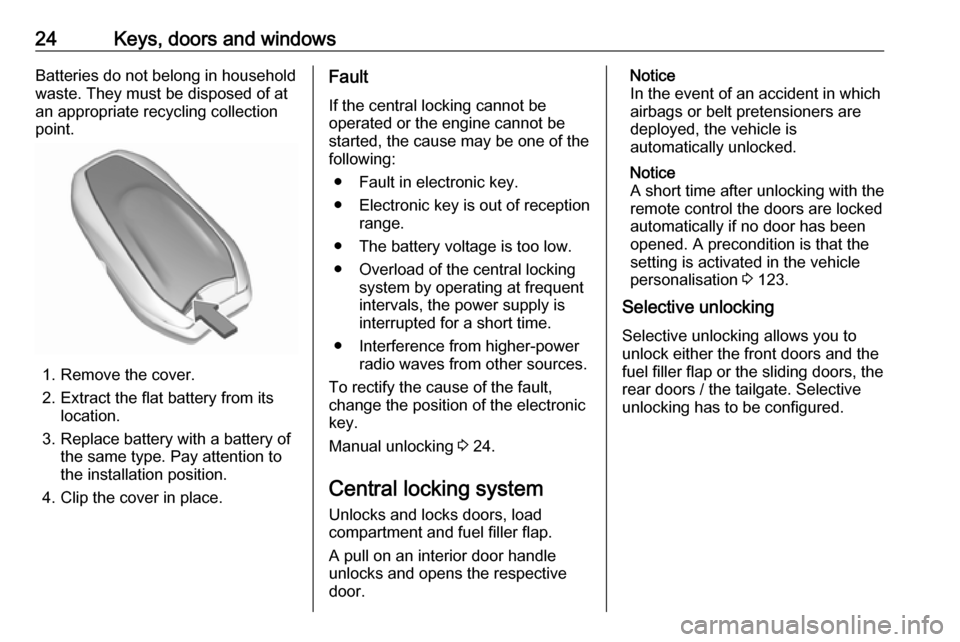
1. Remove the cover.
2. Extract the flat battery from its location.
3. Replace battery with a battery of the same type. Pay attention to
the installation position.
4. Clip the cover in place.
Fault
If the central locking cannot be
operated or the engine cannot be
started, the cause may be one of the
following:
● Fault in electronic key.
● Electronic key is out of reception range.
● The battery voltage is too low. ● Overload of the central locking system by operating at frequent
intervals, the power supply is
interrupted for a short time.
● Interference from higher-power radio waves from other sources.
To rectify the cause of the fault,
change the position of the electronic
key.
Manual unlocking 3 24.
Central locking system Unlocks and locks doors, load
compartment and fuel filler flap.
A pull on an interior door handle
unlocks and opens the respective
door.Notice
In the event of an accident in which airbags or belt pretensioners are
deployed, the vehicle is
automatically unlocked.
Notice
A short time after unlocking with the
remote control the doors are locked
automatically if no door has been
opened. A precondition is that the
setting is activated in the vehicle
personalisation 3 123.
Selective unlocking
Selective unlocking allows you to
unlock either the front doors and the
fuel filler flap or the sliding doors, the
rear doors / the tailgate. Selective
unlocking has to be configured.
Page 28 of 289
26Keys, doors and windowsConfirmation
Operation of the central locking
system is confirmed by the hazard
warning flashers. A precondition is
that the setting is activated in the
vehicle personalisation 3 123.
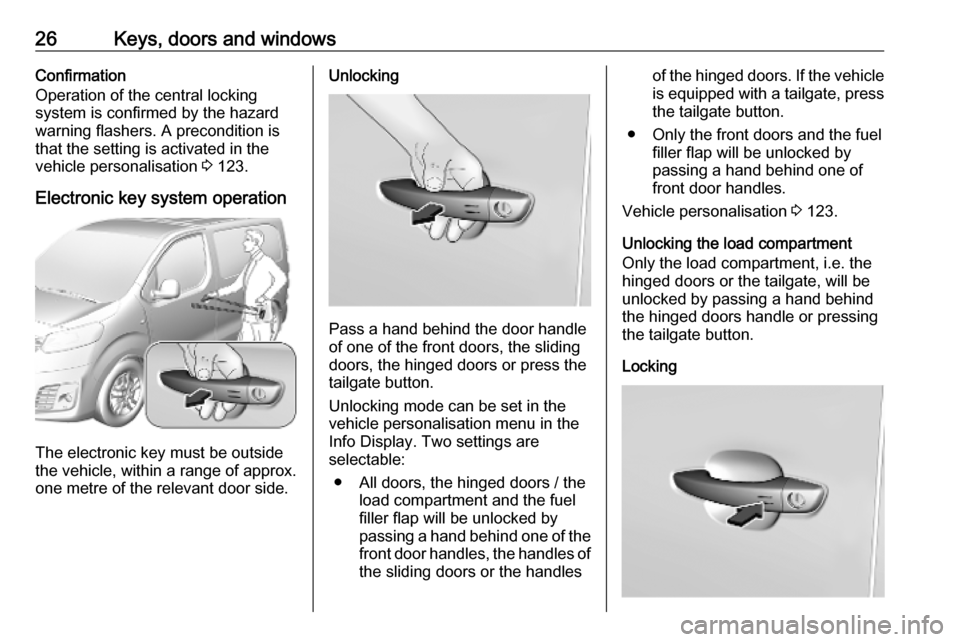
Electronic key system operation
The electronic key must be outside
the vehicle, within a range of approx. one metre of the relevant door side.
Unlocking
Pass a hand behind the door handle
of one of the front doors, the sliding
doors, the hinged doors or press the
tailgate button.
Unlocking mode can be set in the
vehicle personalisation menu in the
Info Display. Two settings are
selectable:
● All doors, the hinged doors / the load compartment and the fuel
filler flap will be unlocked by
passing a hand behind one of the front door handles, the handles of
the sliding doors or the handles
of the hinged doors. If the vehicle is equipped with a tailgate, press
the tailgate button.
● Only the front doors and the fuel filler flap will be unlocked by
passing a hand behind one of
front door handles.
Vehicle personalisation 3 123.
Unlocking the load compartment
Only the load compartment, i.e. the
hinged doors or the tailgate, will be
unlocked by passing a hand behind
the hinged doors handle or pressing
the tailgate button.
Locking
Page 29 of 289
Keys, doors and windows27Press on one of the door handles or
press the tailgate button.
All doors, load compartment and fuel filler flap will be locked.
If the vehicle is not closed properly,
the electronic key remains in the
vehicle or the ignition is not off,
locking will not be permitted.
Confirmation
Operation of central locking system is
confirmed by the hazard warning
flashers.
Central locking button
Locks or unlocks all doors and the
load compartment from inside the
passenger compartment. If the
vehicle is equipped with electronic
key system, the fuel filler flap is locked or unlocked, too.
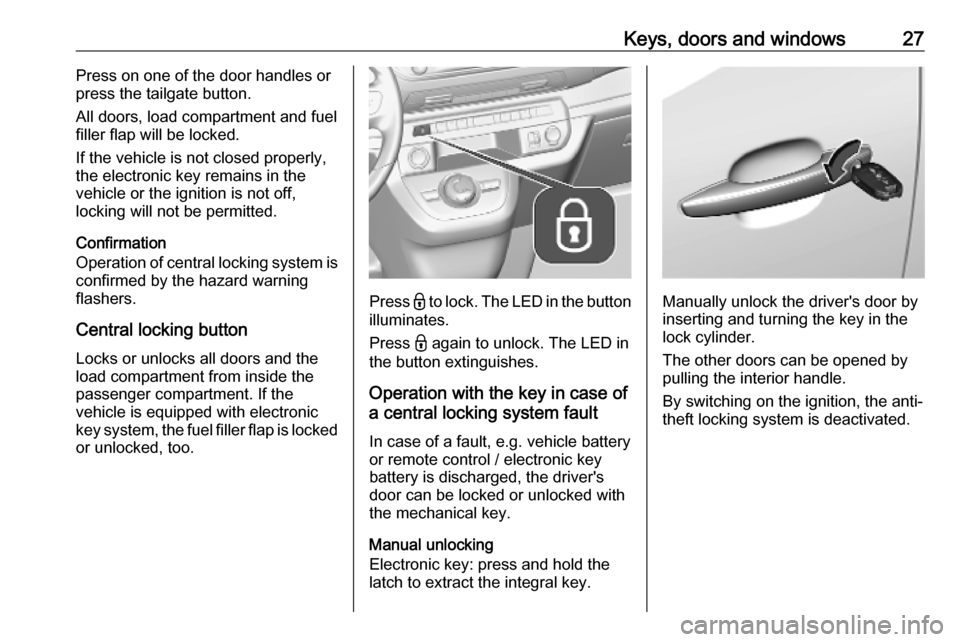
Press - to lock. The LED in the button
illuminates.
Press - again to unlock. The LED in
the button extinguishes.
Operation with the key in case of
a central locking system fault
In case of a fault, e.g. vehicle battery
or remote control / electronic key
battery is discharged, the driver's
door can be locked or unlocked with
the mechanical key.
Manual unlocking
Electronic key: press and hold the
latch to extract the integral key.Manually unlock the driver's door by
inserting and turning the key in the
lock cylinder.
The other doors can be opened by
pulling the interior handle.
By switching on the ignition, the anti-
theft locking system is deactivated.
Page 30 of 289
28Keys, doors and windowsManual locking
Manually lock the doors, tailgate and
fuel filler flap by inserting and turning the key in the lock cylinder of the
driver's door.
Automatic locking Automatic locking after driving off
This system allows automatic locking of the doors and the tailgate as soon
as the speed of the vehicle exceeds
6 mph.
If one of the doors or the tailgate is
open, the automatic central locking
does not take place. This is signalled
by the sound of the locks rebounding, accompanied by illumination of N in
the instrument cluster, an audible
signal and the display of an alert
message.
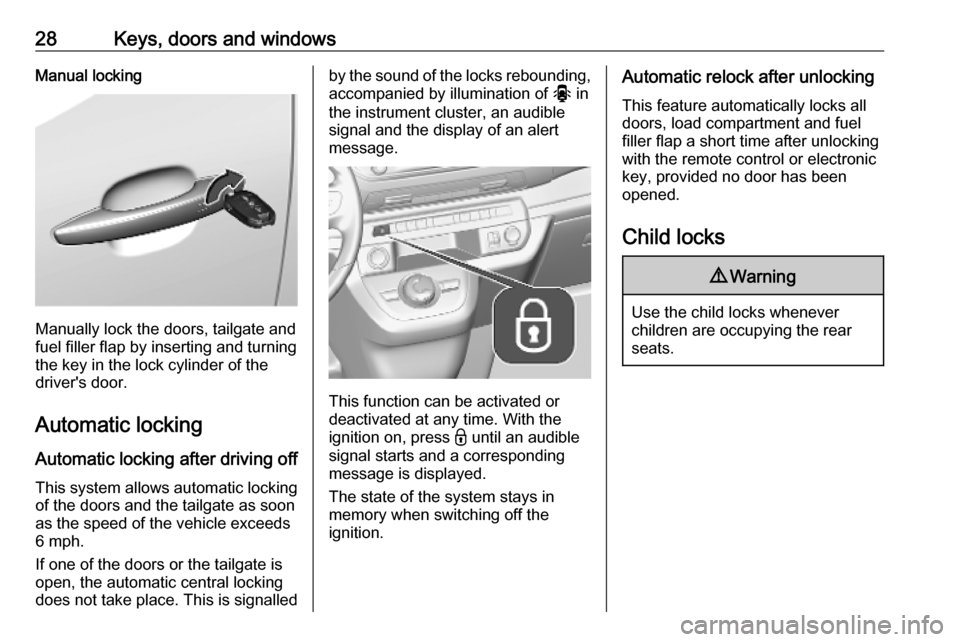
This function can be activated or
deactivated at any time. With the
ignition on, press - until an audible
signal starts and a corresponding
message is displayed.
The state of the system stays in
memory when switching off the
ignition.
Automatic relock after unlocking
This feature automatically locks all
doors, load compartment and fuel
filler flap a short time after unlocking
with the remote control or electronic
key, provided no door has been
opened.
Child locks9 Warning
Use the child locks whenever
children are occupying the rear
seats.
Page 33 of 289
Keys, doors and windows31Caution
To avoid damage, do not attempt
to operate the sliding side door
when the fuel filler flap is open.
9 Danger
Do not drive with the sliding side
door open or ajar, e.g. when
transporting bulky objects, since
toxic exhaust gases, which cannot be seen or smelled, could enter
the vehicle. This can cause
unconsciousness and even death.
Refuelling 3 204.
Power sliding doors
9 Warning
Take care when operating the
power sliding doors. Risk of injury, particularly to children.
Take particular care when the
vehicle is parked on a slope: open
or close the door fully until it
latches into its locking position.
Keep a close watch on the moving doors when operating. Ensure that
nothing becomes trapped during
operation and no-one is standing
within the moving area.
The power sliding doors can be
operated by:
● pressing N or M on the radio
remote control
● pressing N or M on the electronic
key
● pressing P or O on the
instrument panel
● pressing P or O on the door
frame
● hands-free operation with motion
sensors below the rear bumper
● pulling the respective door handle.
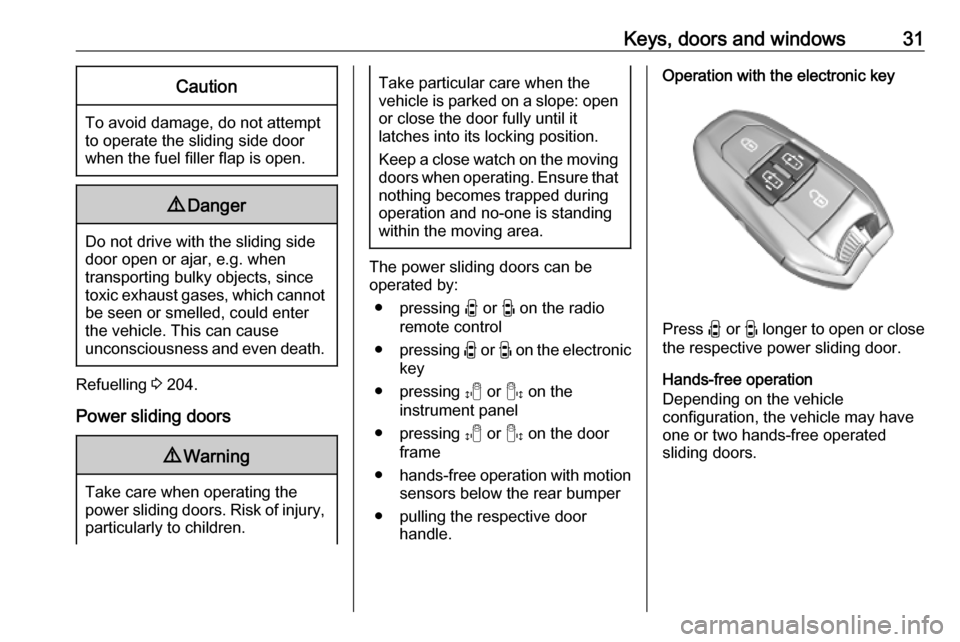
Operation with the electronic key
Press N or M longer to open or close
the respective power sliding door.
Hands-free operation
Depending on the vehicle
configuration, the vehicle may have
one or two hands-free operated
sliding doors.
Page 93 of 289

Storage91● Do not place any objects on therear luggage cover or the
instrument panel, and do not
cover the sensor on top of the
instrument panel.
● The load must not obstruct the operation of the pedals, parking
brake and gear selector, or
hinder the freedom of movement of the driver. Do not place any
unsecured objects in the interior.
● Do not drive with an open load compartment.9Warning
Always make sure that the load in
the vehicle is securely stowed.
Otherwise objects can be thrown
around inside the vehicle and
cause personal injury or damage
to the load or car.
● The payload is the difference between the permitted gross
vehicle weight (see identification
plate) and the EC kerb weight.
Identification plate 3 264.
To calculate the payload, enter
the data for your vehicle in the
weights table at the front of this
manual.
The EC kerb weight includes
weights for the driver (68 kg),
luggage (7 kg) and all fluids (fuel
tank 90% full).
Optional equipment and
accessories increase the kerb
weight.
● Driving with a roof load increases
the sensitivity of the vehicle to
cross-winds and has a
detrimental effect on vehicle
handling due to the vehicle's
higher centre of gravity.
Distribute the load evenly and secure it properly with retaining
straps. Adjust the tyre pressure
and vehicle speed according to
the load conditions. Check and
retighten the straps frequently.
Do not drive faster than 75 mph.
Page 94 of 289

92Instruments and controlsInstruments and
controlsControls ....................................... 93
Steering wheel adjustment ........93
Steering wheel controls .............93
Horn ........................................... 94
Steering column controls ...........94
Windscreen wiper and washer ..94
Rear window wiper and washer ...................................... 96
Outside temperature ..................96
Clock ......................................... 97
Power outlets ............................. 97
Warning lights, gauges and indi‐
cators ......................................... 100
Instrument cluster ....................100
Speedometer ........................... 104
Odometer ................................ 105
Trip odometer .......................... 105
Tachometer ............................. 106
Fuel gauge .............................. 106
Engine coolant temperature gauge ..................................... 107
Engine oil level monitor ...........108
Service display ........................ 108
Control indicators ....................109Turn lights................................ 109
Seat belt reminder ...................109
Airbag and belt tensioners .......110
Airbag deactivation ..................110
Charging system .....................110
Malfunction indicator light ........110
Service vehicle soon ...............111
Stop engine ............................. 111
System check .......................... 111
Brake system ........................... 111
Parking brake .......................... 111
Antilock brake system (ABS) ...111
Gear shifting ............................ 112
Lane departure warning ..........112
Electronic Stability Control and Traction Control system .........112
Engine coolant temperature ....112
Preheating ............................... 112
Exhaust filter ............................ 112
AdBlue ..................................... 113
Deflation detection system ......113
Engine oil pressure ..................113
Low fuel ................................... 113
Autostop .................................. 114
Exterior light ............................ 114
Low beam ................................ 114
High beam ............................... 114
High beam assist .....................114
LED headlights ........................ 114
Front fog lights ......................... 114Rear fog light........................... 114
Rain sensor ............................. 114
Cruise control .......................... 114
Adaptive cruise control ............114
Vehicle detected ahead ...........114
Side blind spot alert .................115
Active emergency braking .......115
Speed limiter ........................... 115
Door open ................................ 115
Displays ..................................... 115
Driver Information Centre ........115
Info Display .............................. 119
Head-up display ......................120
Vehicle messages ......................122
Warning chimes .......................122
Vehicle personalisation ..............123
Telematics services ...................127
Vauxhall Connect ....................127
Page 106 of 289
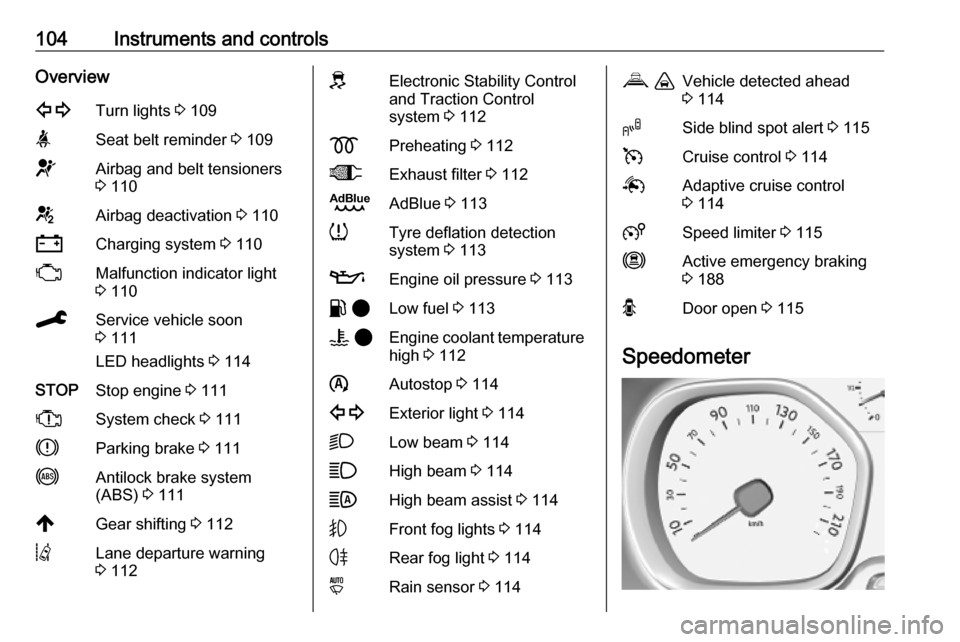
104Instruments and controlsOverview1Turn lights 3 109aSeat belt reminder 3 109dAirbag and belt tensioners
3 110eAirbag deactivation 3 110SCharging system 3 110WMalfunction indicator light
3 110CService vehicle soon
3 111
LED headlights 3 114STOPStop engine 3 111XSystem check 3 111hParking brake 3 111iAntilock brake system
(ABS) 3 111,Gear shifting 3 112QLane departure warning
3 112JElectronic Stability Control
and Traction Control
system 3 112zPreheating 3 112+Exhaust filter 3 112BAdBlue 3 113qTyre deflation detection
system 3 113TEngine oil pressure 3 113r 2Low fuel 3 113V 2Engine coolant temperature
high 3 112ñAutostop 3 1141Exterior light 3 114DLow beam 3 114AHigh beam 3 114BHigh beam assist 3 114GFront fog lights 3 114HRear fog light 3 114yRain sensor 3 114V ,Vehicle detected ahead
3 114,Side blind spot alert 3 115vCruise control 3 114QAdaptive cruise control
3 1145Speed limiter 3 115mActive emergency braking
3 188ODoor open 3 115
Speedometer
Page 108 of 289
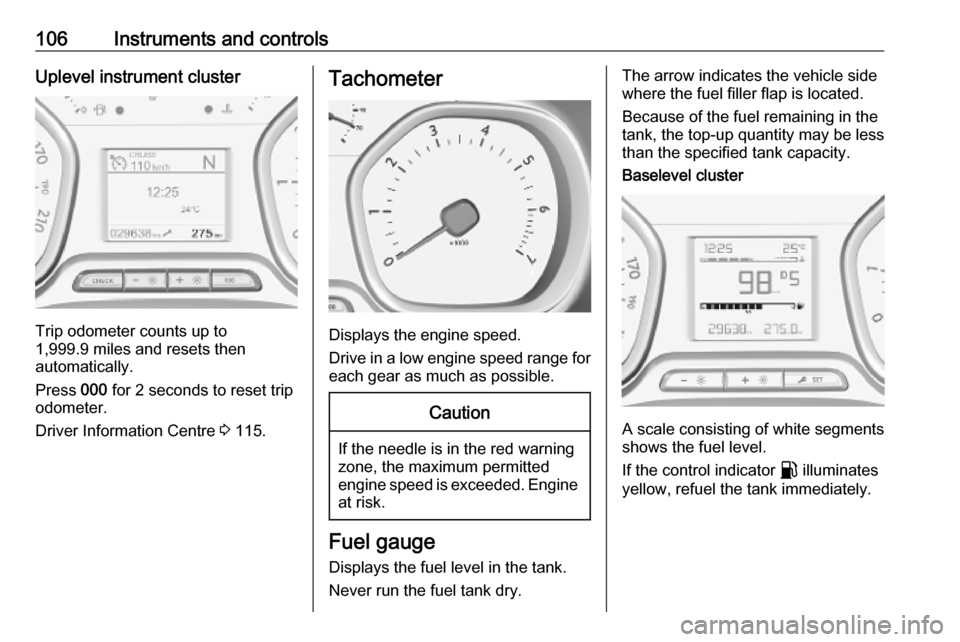
106Instruments and controlsUplevel instrument cluster
Trip odometer counts up to
1,999.9 miles and resets then
automatically.
Press 000 for 2 seconds to reset trip
odometer.
Driver Information Centre 3 115.
Tachometer
Displays the engine speed.
Drive in a low engine speed range for each gear as much as possible.
Caution
If the needle is in the red warning
zone, the maximum permitted
engine speed is exceeded. Engine at risk.
Fuel gauge
Displays the fuel level in the tank.
Never run the fuel tank dry.
The arrow indicates the vehicle side
where the fuel filler flap is located.
Because of the fuel remaining in the
tank, the top-up quantity may be less
than the specified tank capacity.Baselevel cluster
A scale consisting of white segments
shows the fuel level.
If the control indicator r illuminates
yellow, refuel the tank immediately.
Page 109 of 289
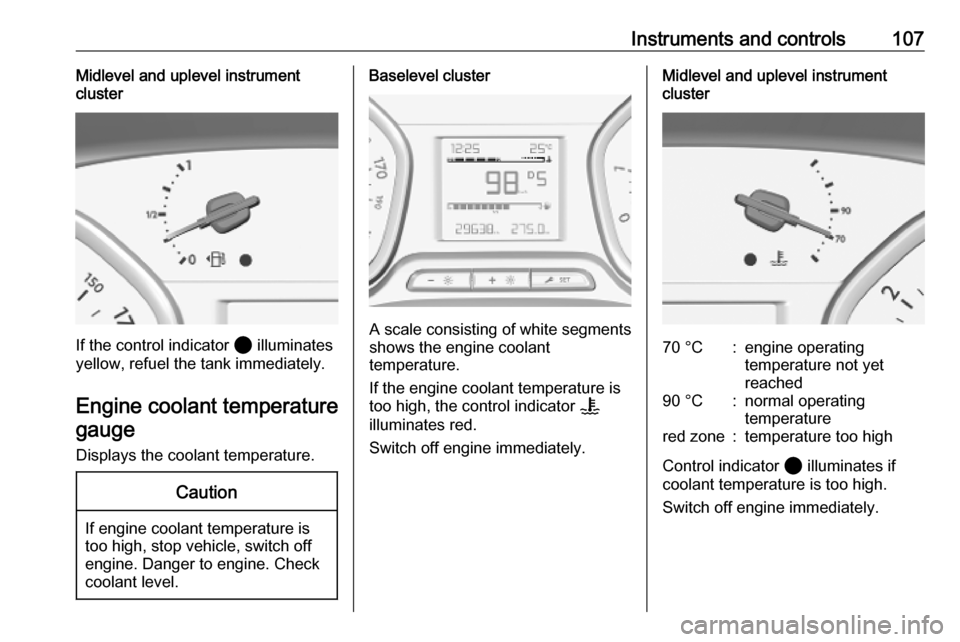
Instruments and controls107Midlevel and uplevel instrument
cluster
If the control indicator 2 illuminates
yellow, refuel the tank immediately.
Engine coolant temperature gauge
Displays the coolant temperature.
Caution
If engine coolant temperature is
too high, stop vehicle, switch off
engine. Danger to engine. Check
coolant level.
Baselevel cluster
A scale consisting of white segments
shows the engine coolant
temperature.
If the engine coolant temperature is
too high, the control indicator V
illuminates red.
Switch off engine immediately.
Midlevel and uplevel instrument
cluster70 °C:engine operating
temperature not yet
reached90 °C:normal operating
temperaturered zone:temperature too high
Control indicator 2 illuminates if
coolant temperature is too high.
Switch off engine immediately.