parking brake VOLKSWAGEN UP! 2021 Owner´s Manual
[x] Cancel search | Manufacturer: VOLKSWAGEN, Model Year: 2021, Model line: UP!, Model: VOLKSWAGEN UP! 2021Pages: 211, PDF Size: 5.98 MB
Page 129 of 211
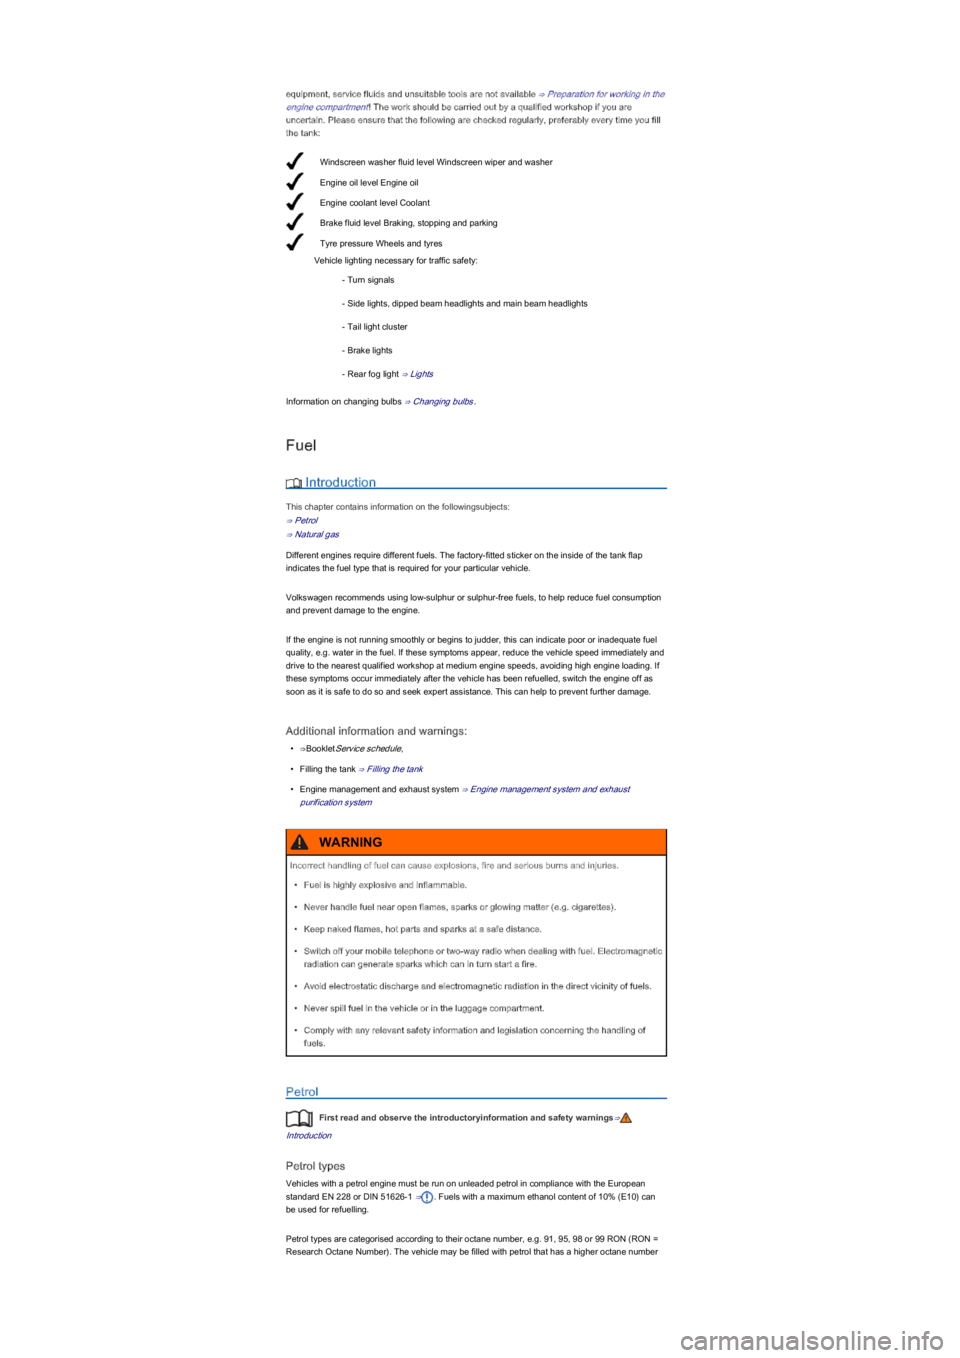
Windscreen washer fluid level Windscreen wiper and washer
Engine oil level Engine oil
Engine coolant level Coolant
Brake fluid level Braking, stopping and parking
Tyre pressure Wheels and tyres
equipment, service fluids and unsuitable tools are not available ⇒ Preparation for working in the
engine compartment! The work should be carried out by a qualified workshop if you are
uncertain. Please ensure that the following are checked regularly, preferably every time you fill
the tank:
Vehicle lighting necessary for traffic safety:
- Turn signals
- Side lights, dipped beam headlights and main beam headlights
- Tail light cluster
- Brake lights
- Rear fog light ⇒ Lights
Information on changing bulbs ⇒ Changing bulbs.
Fuel
Introduction
This chapter contains information on the followingsubjects:
⇒ Petrol
⇒ Natural gas
Different engines require different fuels. The factory-fitted sticker on the inside of the tank flap
indicates the fuel type that is required for your particular vehicle.
Volkswagen recommends using low-sulphur or sulphur-free fuels, to help reduce fuel consumption
and prevent damage to the engine.
If the engine is not running smoothly or begins to judder, this can indicate poor or inadequate fuel
quality, e.g. water in the fuel. If these symptoms appear, reduce the vehicle speed immediately and
drive to the nearest qualified workshop at medium engine speeds, avoiding high engine loading. If
these symptoms occur immediately after the vehicle has been refuelled, switch the engine off as
soon as it is safe to do so and seek expert assistance. This can help to prevent further damage.
Additional information and warnings:
•⇒BookletService schedule,
•Filling the tank ⇒ Filling the tank
•Engine management and exhaust system ⇒ Engine management system and exhaust
purification system
Petrol
First read and observe the introductoryinformation and safety warnings⇒
Introduction
Petrol types
Vehicles with a petrol engine must be run on unleaded petrol in compliance with the European
standard EN 228 or DIN 51626-1 ⇒. Fuels with a maximum ethanol content of 10% (E10) can
be used for refuelling.
Petrol types are categorised according to their octane number, e.g. 91, 95, 98 or 99 RON (RON =
Research Octane Number). The vehicle may be filled with petrol that has a higher octane number
Incorrect handling of fuel can cause explosions, fire and serious burns and injuries.
•Fuel is highly explosive and inflammable.
•Never handle fuel near open flames, sparks or glowing matter (e.g. cigarettes).
•Keep naked flames, hot parts and sparks at a safe distance.
•Switch off your mobile telephone or two-way radio when dealing with fuel. Electromagnetic
radiation can generate sparks which can in turn start a fire.
•Avoid electrostatic discharge and electromagnetic radiation in the direct vicinity of fuels.
•Never spill fuel in the vehicle or in the luggage compartment.
•Comply with any relevant safety information and legislation concerning the handling of
fuels.
WARNING
Page 131 of 211
The vehicle engine management will automatically adapt to the different natural gas qualities. Both
natural gas qualities can therefore be mixed in the fuel tank. You do not need to empty the tank
before refuelling with a different grade.
Natural gas
The vehicle can run on natural gas. Further information is available from your local Volkswagen
dealership.
Safe handling of natural gas
If you can smell gas or think there may be a leak in the natural gas system ⇒:
•Stop the vehicle immediately.
•Switch off the ignition.
•Open all the doors to fully ventilate the vehicle.
•Extinguish cigarettes immediately.
•Remove items that could cause sparks or fire from the vehicle or switch them off.
•Do not drive on if you can still smell gas.
•Seek expert assistance. Have the fault rectified.
Have the natural gas system checked regularly according to the service schedule by a
qualified workshop.
In the engine compartment
Preparation for working in the engine compartment
Introduction
This chapter contains information on the followingsubjects:
⇒ Preparing the vehicle for working in the engine compartment
⇒ Opening and closing the bonnet
Always park the vehicle on a level and stable surface before carrying out any work in the engine
compartment.
The engine compartment of a motor vehicle is a hazardous area. Never carry out any work on the
engine or in the engine compartment if you are not familiar with the requisite procedures and
general safety requirements, or if you only have access to incorrect operating equipment, service
fluids, and unsuitable tools ⇒. The work should be carried out by a qualified workshop if you are
uncertain. Serious injuries can be caused if work is carried out incorrectly.
Additional information and warnings:
•Exterior views ⇒ Exterior views
•Windscreen wiper/washer ⇒ Windscreen wiper and washer
•Starting and stopping the engine ⇒ Starting and stopping the engine
•Brake fluid ⇒ Braking, stopping and parking
•Checks when filling the tank ⇒ Filling the tank
•Engine oil ⇒ Engine oil
•Engine coolant ⇒ Coolant
•Battery ⇒ Vehicle battery
•Accessories, modifications, repairs and renewal of parts ⇒ Accessories, modifications, repairs
and renewal of parts
Ignoring the smell of gas in the vehicle or when refuelling can cause serious injuries.
•Take any necessary action.
•Leave the area of risk.
•Contact the emergency services if necessary.
WARNING
Your vehicle is not suitable for use with Liquefied Natural Gas and must not be filled up or
driven with Liquefied Natural Gas. Liquefied Natural Gas can cause an explosion in the
natural gas tank and serious injuries as a consequence.
WARNING
Cleaning and maintenance
Page 133 of 211
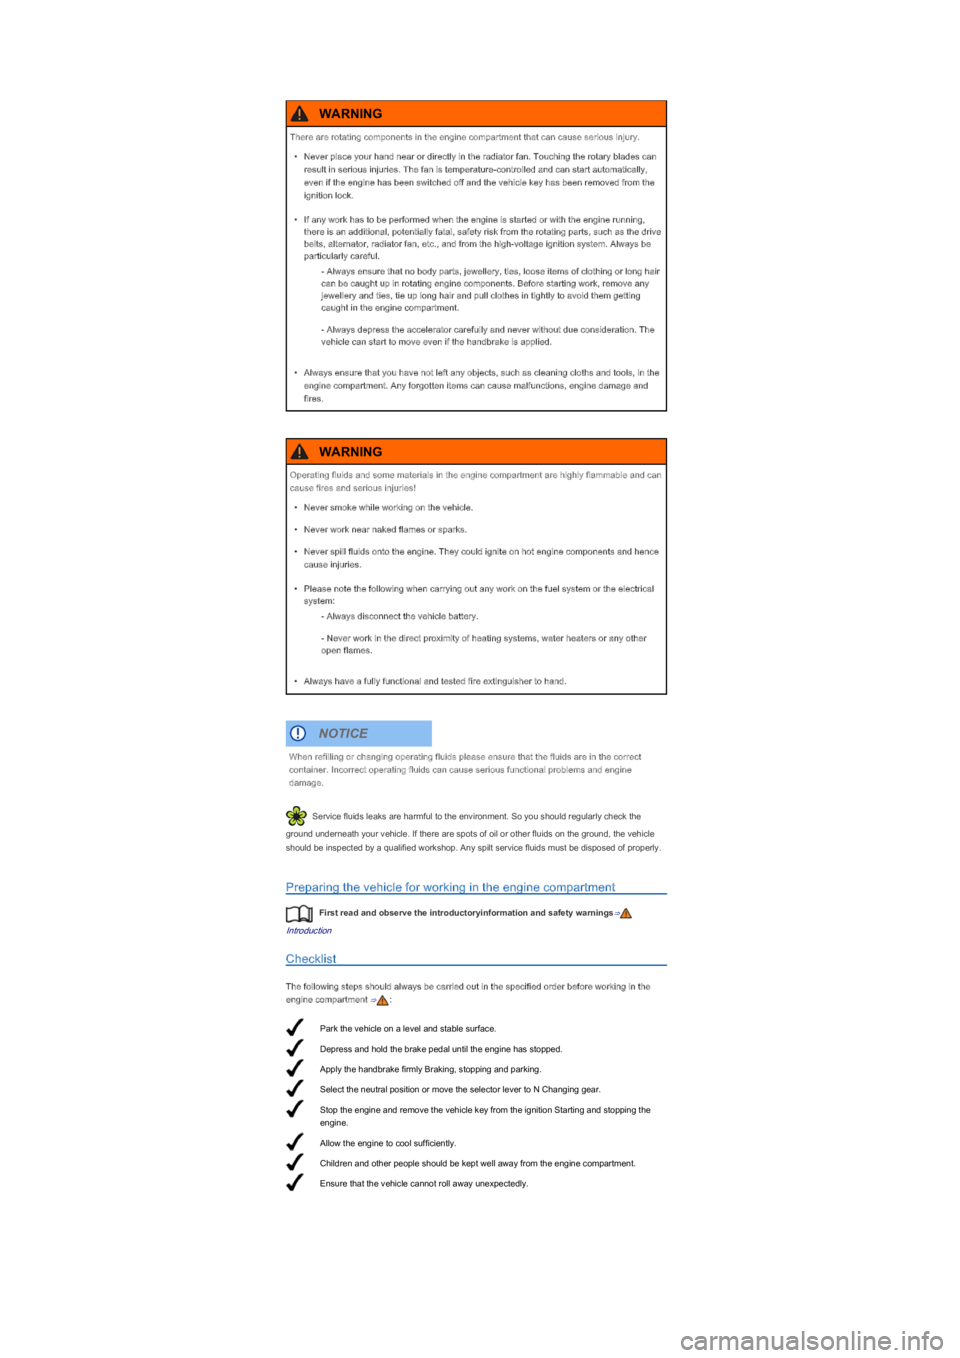
Park the vehicle on a level and stable surface.
Depress and hold the brake pedal until the engine has stopped.
Apply the handbrake firmly Braking, stopping and parking.
Select the neutral position or move the selector lever to N Changing gear.
Stop the engine and remove the vehicle key from the ignition Starting and stopping the
engine.
Allow the engine to cool sufficiently.
Children and other people should be kept well away from the engine compartment.
Ensure that the vehicle cannot roll away unexpectedly.
Service fluids leaks are harmful to the environment. So you should regularly check the
ground underneath your vehicle. If there are spots of oil or other fluids on the ground, the vehicle
should be inspected by a qualified workshop. Any spilt service fluids must be disposed of properly.
Preparing the vehicle for working in the engine compartment
First read and observe the introductoryinformation and safety warnings⇒
Introduction
Checklist
The following steps should always be carried out in the specified order before working in the
engine compartment ⇒:
There are rotating components in the engine compartment that can cause serious injury.
•Never place your hand near or directly in the radiator fan. Touching the rotary blades can
result in serious injuries. The fan is temperature-controlled and can start automatically,
even if the engine has been switched off and the vehicle key has been removed from the
ignition lock.
•If any work has to be performed when the engine is started or with the engine running,
there is an additional, potentially fatal, safety risk from the rotating parts, such as the drive
belts, alternator, radiator fan, etc., and from the high-voltage ignition system. Always be
particularly careful.
- Always ensure that no body parts, jewellery, ties, loose items of clothing or long hair
can be caught up in rotating engine components. Before starting work, remove any
jewellery and ties, tie up long hair and pull clothes in tightly to avoid them getting
caught in the engine compartment.
- Always depress the accelerator carefully and never without due consideration. The
vehicle can start to move even if the handbrake is applied.
•Always ensure that you have not left any objects, such as cleaning cloths and tools, in the
engine compartment. Any forgotten items can cause malfunctions, engine damage and
fires.
WARNING
Operating fluids and some materials in the engine compartment are highly flammable and can
cause fires and serious injuries!
•Never smoke while working on the vehicle.
•Never work near naked flames or sparks.
•Never spill fluids onto the engine. They could ignite on hot engine components and hence
cause injuries.
•Please note the following when carrying out any work on the fuel system or the electrical
system:
- Always disconnect the vehicle battery.
- Never work in the direct proximity of heating systems, water heaters or any other
open flames.
•Always have a fully functional and tested fire extinguisher to hand.
WARNING
When refilling or changing operating fluids please ensure that the fluids are in the correct
container. Incorrect operating fluids can cause serious functional problems and engine
damage.
NOTICE
Page 158 of 211
proper facilities for disposing of the old tyres. Volkswagen recommends using a Volkswagen
dealership for this purpose.
Additional information and warnings:
•Transporting ⇒ Driving notes
•Braking, stopping and parking ⇒ Braking, stopping and parking
•Cleaning and caring for the vehicle exterior ⇒ Caring for and cleaning the vehicle exterior
•Consumer information ⇒ Consumer information
•Vehicle toolkit ⇒ Vehicle toolkit
•Hubcaps ⇒ Hubcaps
•Changing a wheel ⇒ Changing a wheel
•Breakdown set ⇒ Breakdown set
For technical reasons, it is not generally possible to use the wheels from other vehicles. This
can also apply to wheels of the same vehicle type. Refer to the vehicle documentation and ask a
Volkswagen dealership if necessary.
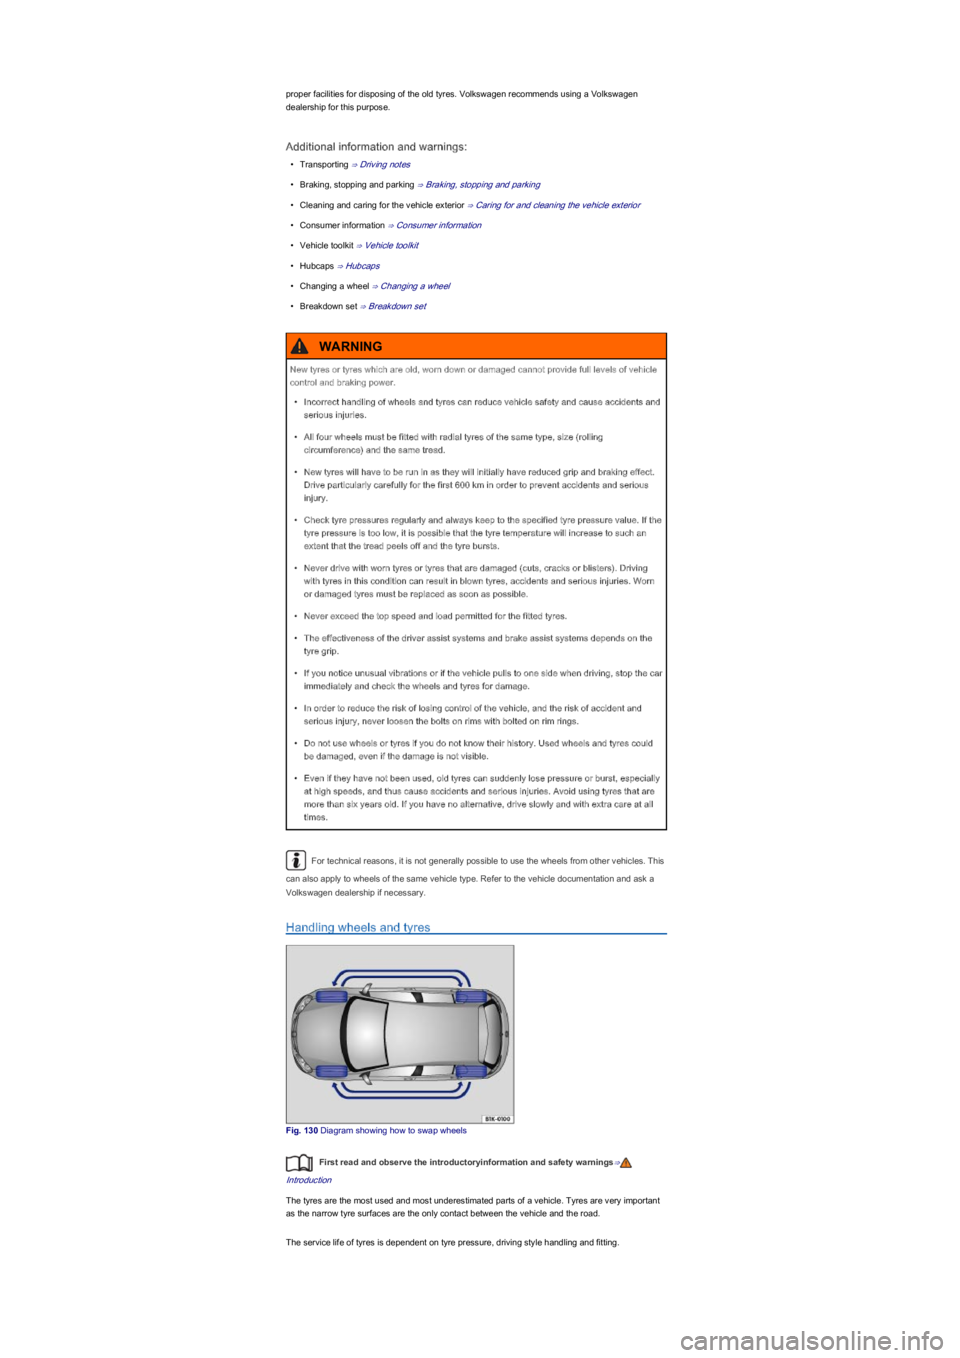
Handling wheels and tyres
Fig. 130 Diagram showing how to swap wheels
First read and observe the introductoryinformation and safety warnings⇒
Introduction
The tyres are the most used and most underestimated parts of a vehicle. Tyres are very important
as the narrow tyre surfaces are the only contact between the vehicle and the road.
The service life of tyres is dependent on tyre pressure, driving style handling and fitting.
New tyres or tyres which are old, worn down or damaged cannot provide full levels of vehicle
control and braking power.
•Incorrect handling of wheels and tyres can reduce vehicle safety and cause accidents and
serious injuries.
•All four wheels must be fitted with radial tyres of the same type, size (rolling
circumference) and the same tread.
•New tyres will have to be run in as they will initially have reduced grip and braking effect.
Drive particularly carefully for the first 600 km in order to prevent accidents and serious
injury.
•Check tyre pressures regularly and always keep to the specified tyre pressure value. If the
tyre pressure is too low, it is possible that the tyre temperature will increase to such an
extent that the tread peels off and the tyre bursts.
•Never drive with worn tyres or tyres that are damaged (cuts, cracks or blisters). Driving
with tyres in this condition can result in blown tyres, accidents and serious injuries. Worn
or damaged tyres must be replaced as soon as possible.
•Never exceed the top speed and load permitted for the fitted tyres.
•The effectiveness of the driver assist systems and brake assist systems depends on the
tyre grip.
•If you notice unusual vibrations or if the vehicle pulls to one side when driving, stop the car
immediately and check the wheels and tyres for damage.
•In order to reduce the risk of losing control of the vehicle, and the risk of accident and
serious injury, never loosen the bolts on rims with bolted on rim rings.
•Do not use wheels or tyres if you do not know their history. Used wheels and tyres could
be damaged, even if the damage is not visible.
•Even if they have not been used, old tyres can suddenly lose pressure or burst, especially
at high speeds, and thus cause accidents and serious injuries. Avoid using tyres that are
more than six years old. If you have no alternative, drive slowly and with extra care at all
times.
WARNING
Page 169 of 211
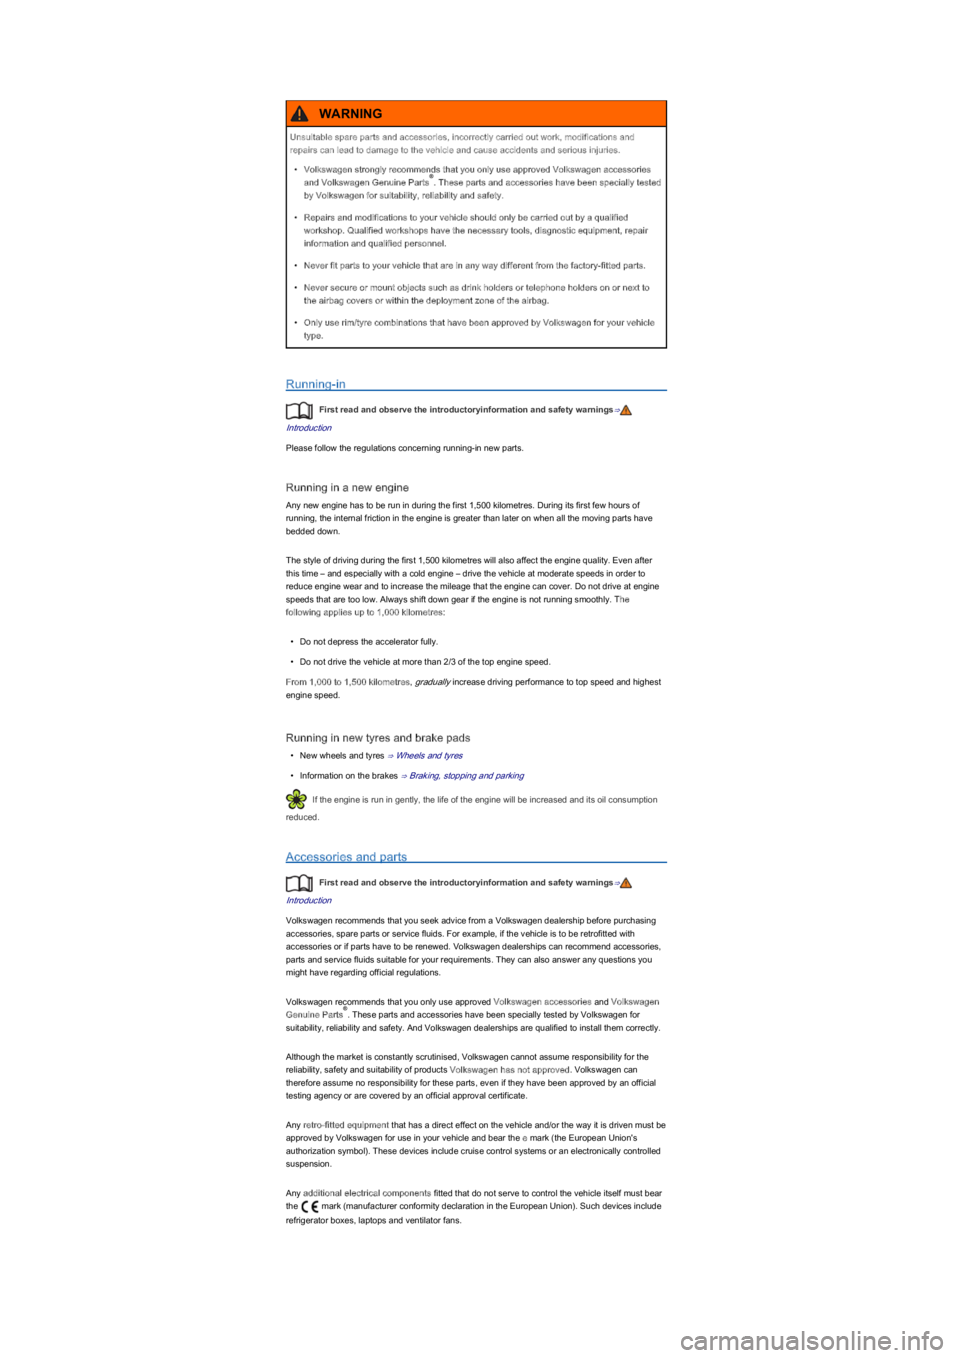
Running-in
First read and observe the introductoryinformation and safety warnings⇒
Introduction
Please follow the regulations concerning running-in new parts.
Running in a new engine
Any new engine has to be run in during the first 1,500 kilometres. During its first few hours of
running, the internal friction in the engine is greater than later on when all the moving parts have
bedded down.
The style of driving during the first 1,500 kilometres will also affect the engine quality. Even after
this time – and especially with a cold engine – drive the vehicle at moderate speeds in order to
reduce engine wear and to increase the mileage that the engine can cover. Do not drive at engine
speeds that are too low. Always shift down gear if the engine is not running smoothly. The
following applies up to 1,000 kilometres:
•Do not depress the accelerator fully.
•Do not drive the vehicle at more than 2/3 of the top engine speed.
From 1,000 to 1,500 kilometres, gradually increase driving performance to top speed and highest
engine speed.
Running in new tyres and brake pads
•New wheels and tyres ⇒ Wheels and tyres
•Information on the brakes ⇒ Braking, stopping and parking
If the engine is run in gently, the life of the engine will be increased and its oil consumption
reduced.
Accessories and parts
First read and observe the introductoryinformation and safety warnings⇒
Introduction
Volkswagen recommends that you seek advice from a Volkswagen dealership before purchasing
accessories, spare parts or service fluids. For example, if the vehicle is to be retrofitted with
accessories or if parts have to be renewed. Volkswagen dealerships can recommend accessories,
parts and service fluids suitable for your requirements. They can also answer any questions you
might have regarding official regulations.
Volkswagen recommends that you only use approved Volkswagen accessories and Volkswagen
Genuine Parts. These parts and accessories have been specially tested by Volkswagen for
suitability, reliability and safety. And Volkswagen dealerships are qualified to install them correctly.
Although the market is constantly scrutinised, Volkswagen cannot assume responsibility for the
reliability, safety and suitability of products Volkswagen has not approved. Volkswagen can
therefore assume no responsibility for these parts, even if they have been approved by an official
testing agency or are covered by an official approval certificate.
Any retro-fitted equipment that has a direct effect on the vehicle and/or the way it is driven must be
approved by Volkswagen for use in your vehicle and bear the e mark (the European Union's
authorization symbol). These devices include cruise control systems or an electronically controlled
suspension.
Any additional electrical components fitted that do not serve to control the vehicle itself must bear
the mark (manufacturer conformity declaration in the European Union). Such devices include
refrigerator boxes, laptops and ventilator fans.
Unsuitable spare parts and accessories, incorrectly carried out work, modifications and
repairs can lead to damage to the vehicle and cause accidents and serious injuries.
•Volkswagen strongly recommends that you only use approved Volkswagen accessories
and Volkswagen Genuine Parts. These parts and accessories have been specially tested
by Volkswagen for suitability, reliability and safety.
•Repairs and modifications to your vehicle should only be carried out by a qualified
workshop. Qualified workshops have the necessary tools, diagnostic equipment, repair
information and qualified personnel.
•Never fit parts to your vehicle that are in any way different from the factory-fitted parts.
•Never secure or mount objects such as drink holders or telephone holders on or next to
the airbag covers or within the deployment zone of the airbag.
•Only use rim/tyre combinations that have been approved by Volkswagen for your vehicle
type.
WARNING
®
®
Page 182 of 211
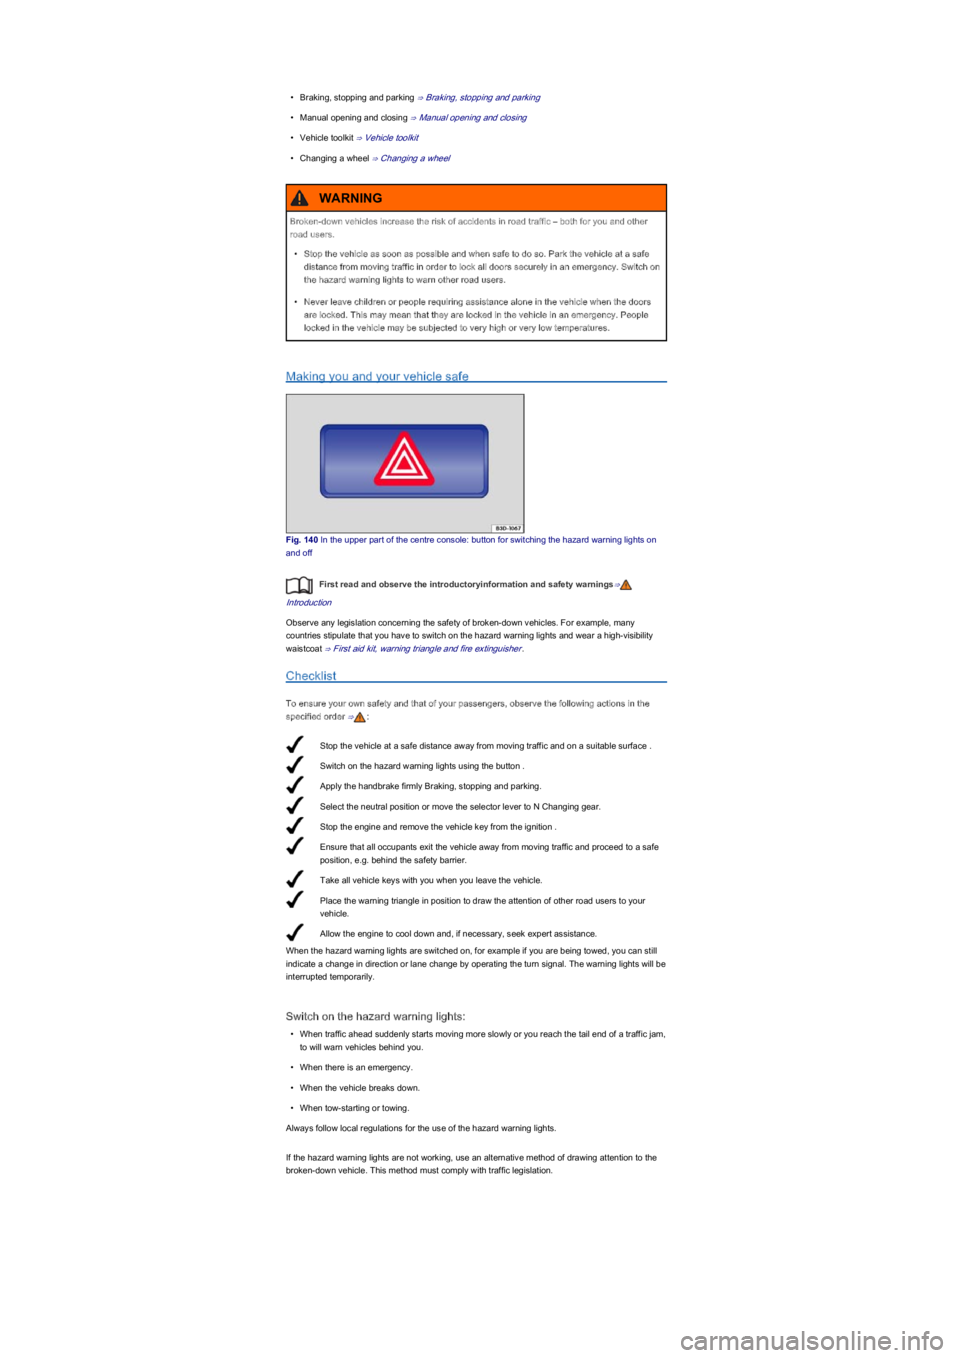
Stop the vehicle at a safe distance away from moving traffic and on a suitable surface .
Switch on the hazard warning lights using the button .
Apply the handbrake firmly Braking, stopping and parking.
Select the neutral position or move the selector lever to N Changing gear.
Stop the engine and remove the vehicle key from the ignition .
Ensure that all occupants exit the vehicle away from moving traffic and proceed to a safe
position, e.g. behind the safety barrier.
Take all vehicle keys with you when you leave the vehicle.
Place the warning triangle in position to draw the attention of other road users to your
vehicle.
Allow the engine to cool down and, if necessary, seek expert assistance.
•Braking, stopping and parking ⇒ Braking, stopping and parking
•Manual opening and closing ⇒ Manual opening and closing
•Vehicle toolkit ⇒ Vehicle toolkit
•Changing a wheel ⇒ Changing a wheel
Making you and your vehicle safe
Fig. 140 In the upper part of the centre console: button for switching the hazard warning lights on
and off
First read and observe the introductoryinformation and safety warnings⇒
Introduction
Observe any legislation concerning the safety of broken-down vehicles. For example, many
countries stipulate that you have to switch on the hazard warning lights and wear a high-visibility
waistcoat ⇒ First aid kit, warning triangle and fire extinguisher.
Checklist
To ensure your own safety and that of your passengers, observe the following actions in the
specified order ⇒:
When the hazard warning lights are switched on, for example if you are being towed, you can still
indicate a change in direction or lane change by operating the turn signal. The warning lights will be
interrupted temporarily.
Switch on the hazard warning lights:
•When traffic ahead suddenly starts moving more slowly or you reach the tail end of a traffic jam,
to will warn vehicles behind you.
•When there is an emergency.
•When the vehicle breaks down.
•When tow-starting or towing.
Always follow local regulations for the use of the hazard warning lights.
If the hazard warning lights are not working, use an alternative method of drawing attention to the
broken-down vehicle. This method must comply with traffic legislation.
Broken-down vehicles increase the risk of accidents in road traffic – both for you and other
road users.
•Stop the vehicle as soon as possible and when safe to do so. Park the vehicle at a safe
distance from moving traffic in order to lock all doors securely in an emergency. Switch on
the hazard warning lights to warn other road users.
•Never leave children or people requiring assistance alone in the vehicle when the doors
are locked. This may mean that they are locked in the vehicle in an emergency. People
locked in the vehicle may be subjected to very high or very low temperatures.
WARNING
Page 189 of 211
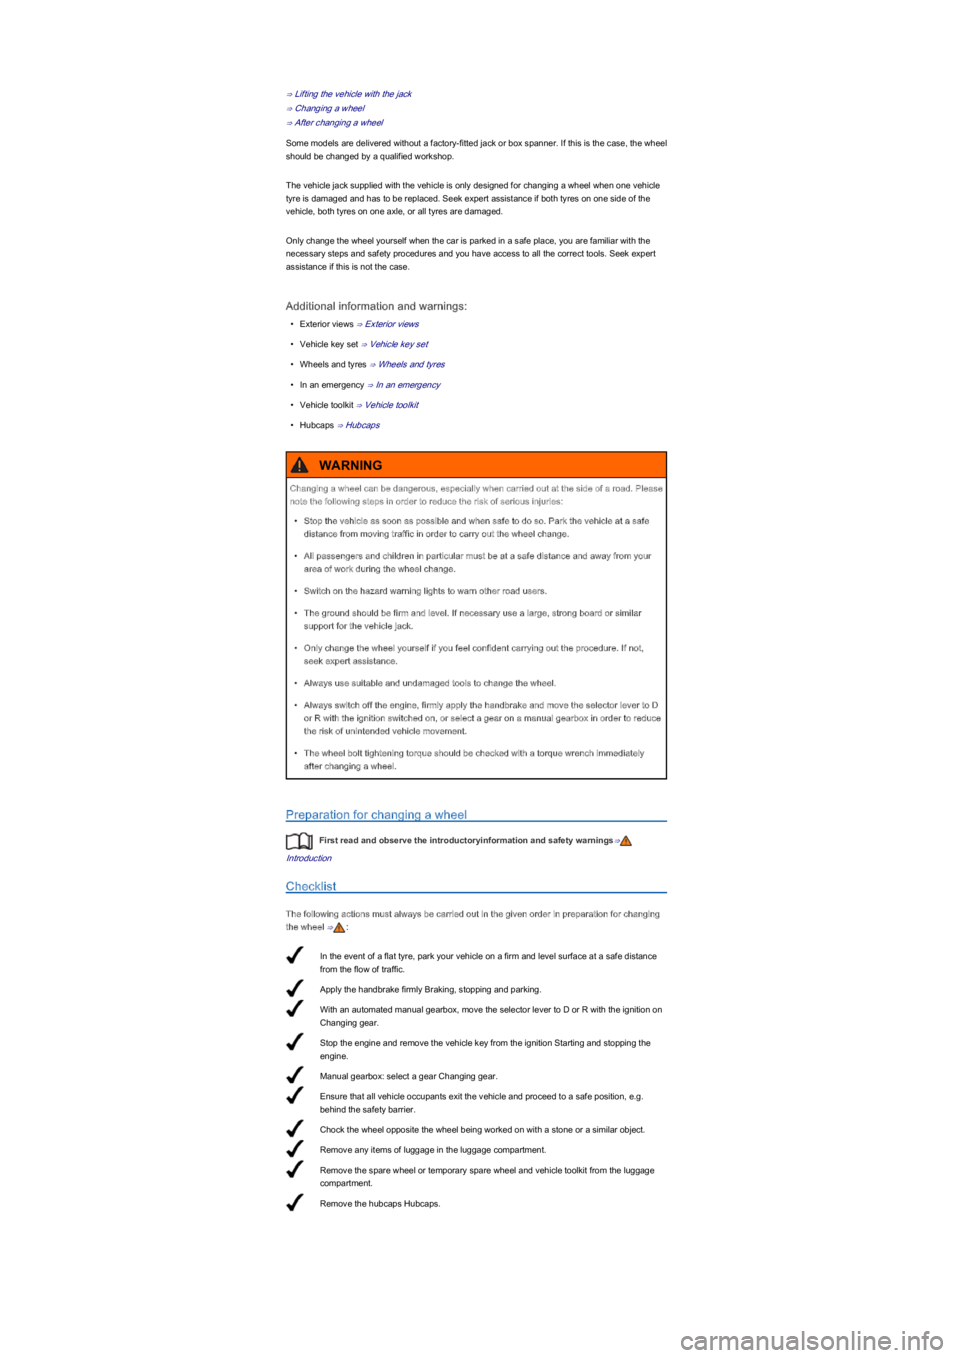
In the event of a flat tyre, park your vehicle on a firm and level surface at a safe distance
from the flow of traffic.
Apply the handbrake firmly Braking, stopping and parking.
With an automated manual gearbox, move the selector lever to D or R with the ignition on
Changing gear.
Stop the engine and remove the vehicle key from the ignition Starting and stopping the
engine.
Manual gearbox: select a gear Changing gear.
Ensure that all vehicle occupants exit the vehicle and proceed to a safe position, e.g.
behind the safety barrier.
Chock the wheel opposite the wheel being worked on with a stone or a similar object.
Remove any items of luggage in the luggage compartment.
Remove the spare wheel or temporary spare wheel and vehicle toolkit from the luggage
compartment.
Remove the hubcaps Hubcaps.
⇒ Lifting the vehicle with the jack
⇒ Changing a wheel
⇒ After changing a wheel
Some models are delivered without a factory-fitted jack or box spanner. If this is the case, the wheel
should be changed by a qualified workshop.
The vehicle jack supplied with the vehicle is only designed for changing a wheel when one vehicle
tyre is damaged and has to be replaced. Seek expert assistance if both tyres on one side of the
vehicle, both tyres on one axle, or all tyres are damaged.
Only change the wheel yourself when the car is parked in a safe place, you are familiar with the
necessary steps and safety procedures and you have access to all the correct tools. Seek expert
assistance if this is not the case.
Additional information and warnings:
•Exterior views ⇒ Exterior views
•Vehicle key set ⇒ Vehicle key set
•Wheels and tyres ⇒ Wheels and tyres
•In an emergency ⇒ In an emergency
•Vehicle toolkit ⇒ Vehicle toolkit
•Hubcaps ⇒ Hubcaps
Preparation for changing a wheel
First read and observe the introductoryinformation and safety warnings⇒
Introduction
Checklist
The following actions must always be carried out in the given order in preparation for changing
the wheel ⇒:
Changing a wheel can be dangerous, especially when carried out at the side of a road. Please
note the following steps in order to reduce the risk of serious injuries:
•Stop the vehicle as soon as possible and when safe to do so. Park the vehicle at a safe
distance from moving traffic in order to carry out the wheel change.
•All passengers and children in particular must be at a safe distance and away from your
area of work during the wheel change.
•Switch on the hazard warning lights to warn other road users.
•The ground should be firm and level. If necessary use a large, strong board or similar
support for the vehicle jack.
•Only change the wheel yourself if you feel confident carrying out the procedure. If not,
seek expert assistance.
•Always use suitable and undamaged tools to change the wheel.
•Always switch off the engine, firmly apply the handbrake and move the selector lever to D
or R with the ignition switched on, or select a gear on a manual gearbox in order to reduce
the risk of unintended vehicle movement.
•The wheel bolt tightening torque should be checked with a torque wrench immediately
after changing a wheel.
WARNING
Page 191 of 211
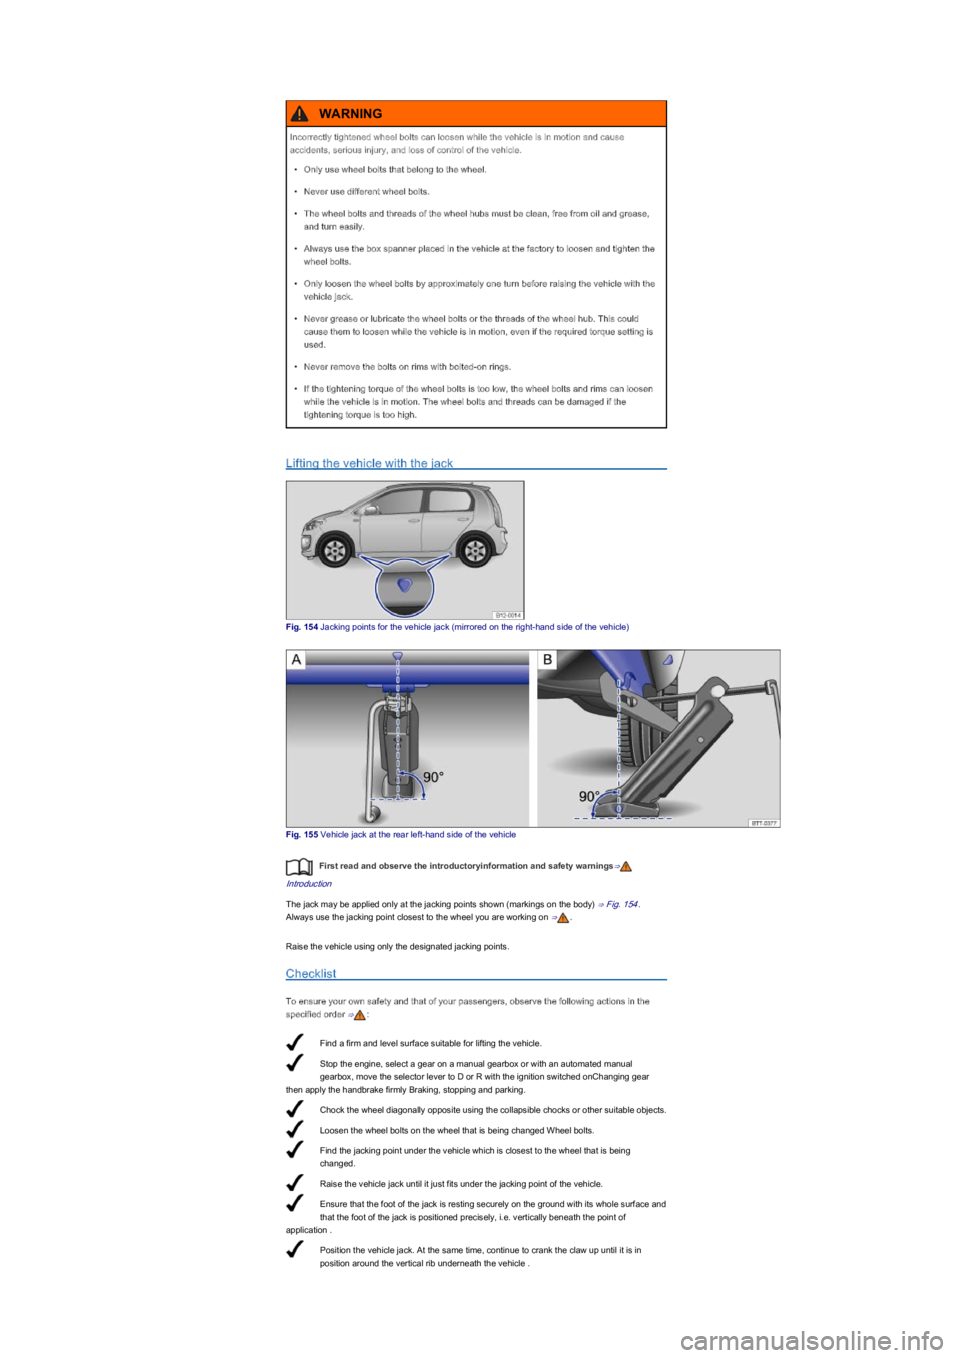
Find a firm and level surface suitable for lifting the vehicle.
Stop the engine, select a gear on a manual gearbox or with an automated manual
gearbox, move the selector lever to D or R with the ignition switched onChanging gear
then apply the handbrake firmly Braking, stopping and parking.
Chock the wheel diagonally opposite using the collapsible chocks or other suitable objects.
Loosen the wheel bolts on the wheel that is being changed Wheel bolts.
Find the jacking point under the vehicle which is closest to the wheel that is being
changed.
Raise the vehicle jack until it just fits under the jacking point of the vehicle.
Ensure that the foot of the jack is resting securely on the ground with its whole surface and
that the foot of the jack is positioned precisely, i.e. vertically beneath the point of
application .
Position the vehicle jack. At the same time, continue to crank the claw up until it is in
position around the vertical rib underneath the vehicle .
Lifting the vehicle with the jack
Fig. 154 Jacking points for the vehicle jack (mirrored on the right-hand side of the vehicle)
Fig. 155 Vehicle jack at the rear left-hand side of the vehicle
First read and observe the introductoryinformation and safety warnings⇒
Introduction
The jack may be applied only at the jacking points shown (markings on the body) ⇒ Fig. 154.
Always use the jacking point closest to the wheel you are working on ⇒.
Raise the vehicle using only the designated jacking points.
Checklist
To ensure your own safety and that of your passengers, observe the following actions in the
specified order ⇒:
Incorrectly tightened wheel bolts can loosen while the vehicle is in motion and cause
accidents, serious injury, and loss of control of the vehicle.
•Only use wheel bolts that belong to the wheel.
•Never use different wheel bolts.
•The wheel bolts and threads of the wheel hubs must be clean, free from oil and grease,
and turn easily.
•Always use the box spanner placed in the vehicle at the factory to loosen and tighten the
wheel bolts.
•Only loosen the wheel bolts by approximately one turn before raising the vehicle with the
vehicle jack.
•Never grease or lubricate the wheel bolts or the threads of the wheel hub. This could
cause them to loosen while the vehicle is in motion, even if the required torque setting is
used.
•Never remove the bolts on rims with bolted-on rings.
•If the tightening torque of the wheel bolts is too low, the wheel bolts and rims can loosen
while the vehicle is in motion. The wheel bolts and threads can be damaged if the
tightening torque is too high.
WARNING
Page 195 of 211
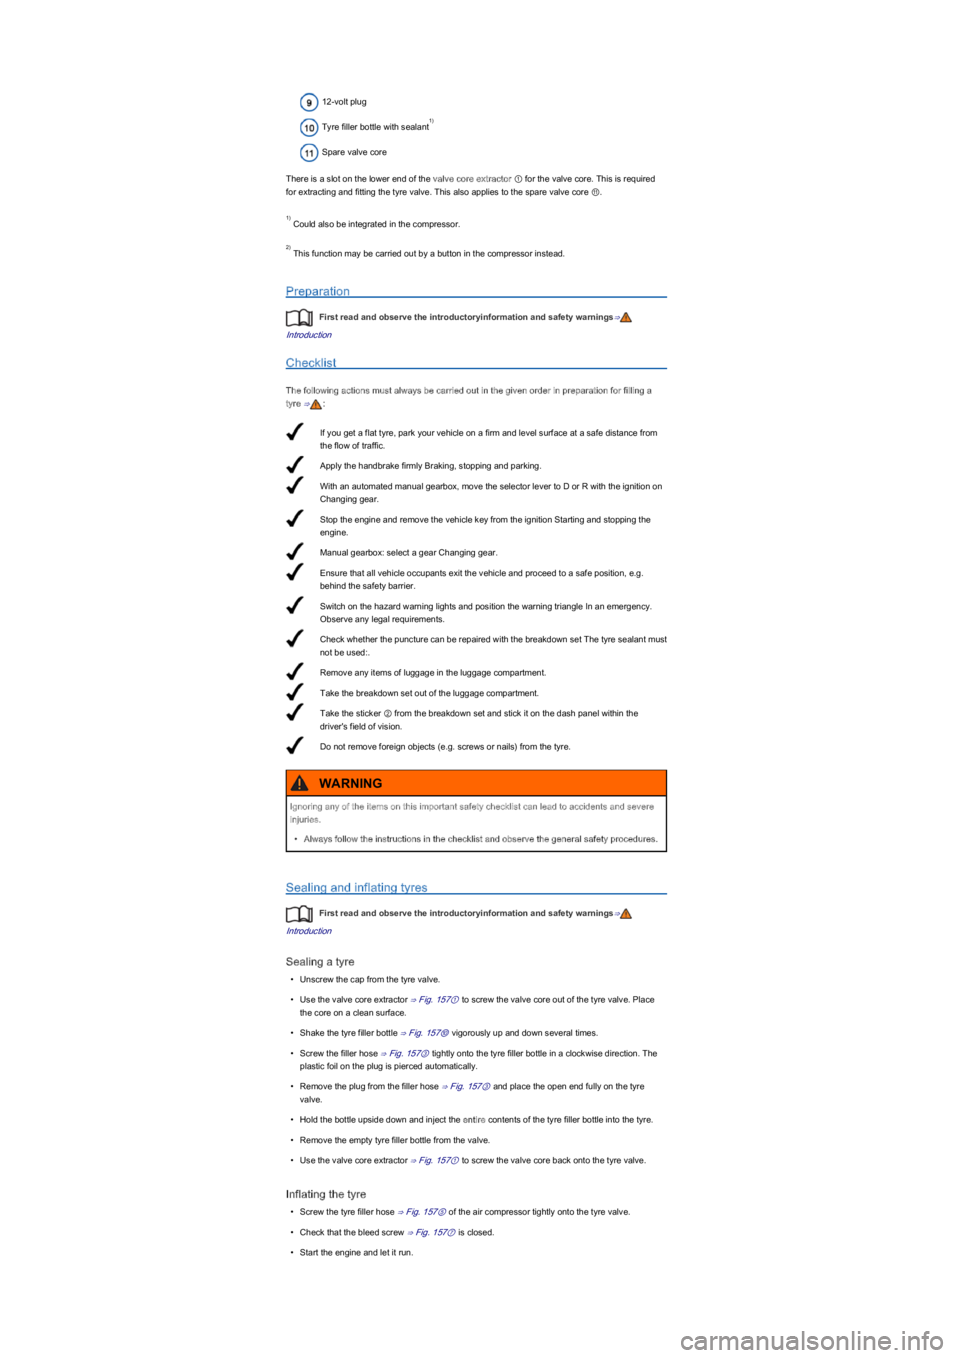
If you get a flat tyre, park your vehicle on a firm and level surface at a safe distance from
the flow of traffic.
Apply the handbrake firmly Braking, stopping and parking.
With an automated manual gearbox, move the selector lever to D or R with the ignition on
Changing gear.
Stop the engine and remove the vehicle key from the ignition Starting and stopping the
engine.
Manual gearbox: select a gear Changing gear.
Ensure that all vehicle occupants exit the vehicle and proceed to a safe position, e.g.
behind the safety barrier.
Switch on the hazard warning lights and position the warning triangle In an emergency.
Observe any legal requirements.
Check whether the puncture can be repaired with the breakdown set The tyre sealant must
not be used:.
Remove any items of luggage in the luggage compartment.
Take the breakdown set out of the luggage compartment.
Take the sticker ② from the breakdown set and stick it on the dash panel within the
driver's field of vision.
Do not remove foreign objects (e.g. screws or nails) from the tyre.
12-volt plug
Tyre filler bottle with sealant
Spare valve core
There is a slot on the lower end of the valve core extractor ① for the valve core. This is required
for extracting and fitting the tyre valve. This also applies to the spare valve core ⑪.
Could also be integrated in the compressor.
This function may be carried out by a button in the compressor instead.
Preparation
First read and observe the introductoryinformation and safety warnings⇒
Introduction
Checklist
The following actions must always be carried out in the given order in preparation for filling a
tyre ⇒:
Sealing and inflating tyres
First read and observe the introductoryinformation and safety warnings⇒
Introduction
Sealing a tyre
•Unscrew the cap from the tyre valve.
•Use the valve core extractor ⇒ Fig. 157① to screw the valve core out of the tyre valve. Place
the core on a clean surface.
•Shake the tyre filler bottle ⇒ Fig. 157⑩ vigorously up and down several times.
•Screw the filler hose ⇒ Fig. 157③ tightly onto the tyre filler bottle in a clockwise direction. The
plastic foil on the plug is pierced automatically.
•Remove the plug from the filler hose ⇒ Fig. 157③ and place the open end fully on the tyre
valve.
•Hold the bottle upside down and inject the entire contents of the tyre filler bottle into the tyre.
•Remove the empty tyre filler bottle from the valve.
•Use the valve core extractor ⇒ Fig. 157① to screw the valve core back onto the tyre valve.
Inflating the tyre
•Screw the tyre filler hose ⇒ Fig. 157⑤ of the air compressor tightly onto the tyre valve.
•Check that the bleed screw ⇒ Fig. 157⑦ is closed.
•Start the engine and let it run.
1)
1)
2)
Ignoring any of the items on this important safety checklist can lead to accidents and severe
injuries.
•Always follow the instructions in the checklist and observe the general safety procedures.
WARNING
Page 200 of 211
Park the vehicle on a firm and level surface at a safe distance from the flow of traffic.
Apply the handbrake firmly Braking, stopping and parking.
Turn the light switch to position 0 Lights.
Shift the turn signal lever to neutral Lights.
Automated manual gearbox: move the selector lever to D or R Changing gear.
Stop the engine and remove the vehicle key from the ignition Starting and stopping the
engine.
Manual gearbox: select a gear Changing gear.
Leave the defective bulbs to cool down.
Check to see if a fuse has blown Fuses.
Follow the instructions to change the affected bulb . Always use identical bulbs with the
same designation. The designation is inscribed on the bulb, either on the glass part or on
the base.
Do not touch the glass part of the bulb with unprotected fingers. The heat of the bulb would
cause the fingerprint to evaporate and condense on the reflector. This will impair the
brightness of the headlight.
After changing the bulb, check to ensure that the bulb is working properly. If the bulb is not
working properly, the bulb may not have been inserted properly or may have failed again,
or the connector may have been inserted incorrectly.
Any time you change a bulb in the front of the vehicle, the headlight settings should be
checked by a qualified workshop.
Information on changing bulbs
First read and observe the introductoryinformation and safety warnings⇒
Introduction
Checklist
Always carry out the following actions for changing a bulb in the given order ⇒:
Accidents can occur if roads are not sufficiently illuminated and other road users have
difficulty seeing the vehicle, or cannot see it at all.
WARNING
Changing the bulb incorrectly can cause accidents and serious injuries.
•When working in the engine compartment, always read and observe the safety warnings
⇒ Preparation for working in the engine compartment. The engine compartment of any
motor vehicle is a dangerous area. Serious injuries can be sustained here.
•H4, HB4 and H7 bulbs are pressurised and could explode when they are being changed.
•Only change the defective bulb once it has had time to cool down completely.
•Never change a bulb unless you are familiar with the procedure. If you are uncertain of
what to do, the work should be carried out by a qualified workshop.
•Do not touch the glass part of the bulb with unprotected fingers. When the light is switched
on, heat will cause fingerprints to evaporate on the bulb, which in turn will cause the
reflector to dim.
•There are sharp-edged parts in the headlight housing in the engine compartment and on
the tail light cluster housing. Protect your hands when changing bulbs.
WARNING
Damage to the electrical system could be caused by water entering the system if the rubber
cover on the headlight housing is not properly mounted.
NOTICE
Ignoring any of the items on this important safety checklist can lead to accidents and severe
injuries.
•Always follow the instructions in the checklist and observe the general safety procedures.
WARNING
Always take care when removing or fitting lights to prevent damage to the paintwork or to
other vehicle parts.
NOTICE