ECU VOLVO S40 2005 Owners Manual
[x] Cancel search | Manufacturer: VOLVO, Model Year: 2005, Model line: S40, Model: VOLVO S40 2005Pages: 127, PDF Size: 2.32 MB
Page 11 of 127
Child seats
Please refer to page 35
for information on securing child seats with the seat belts.
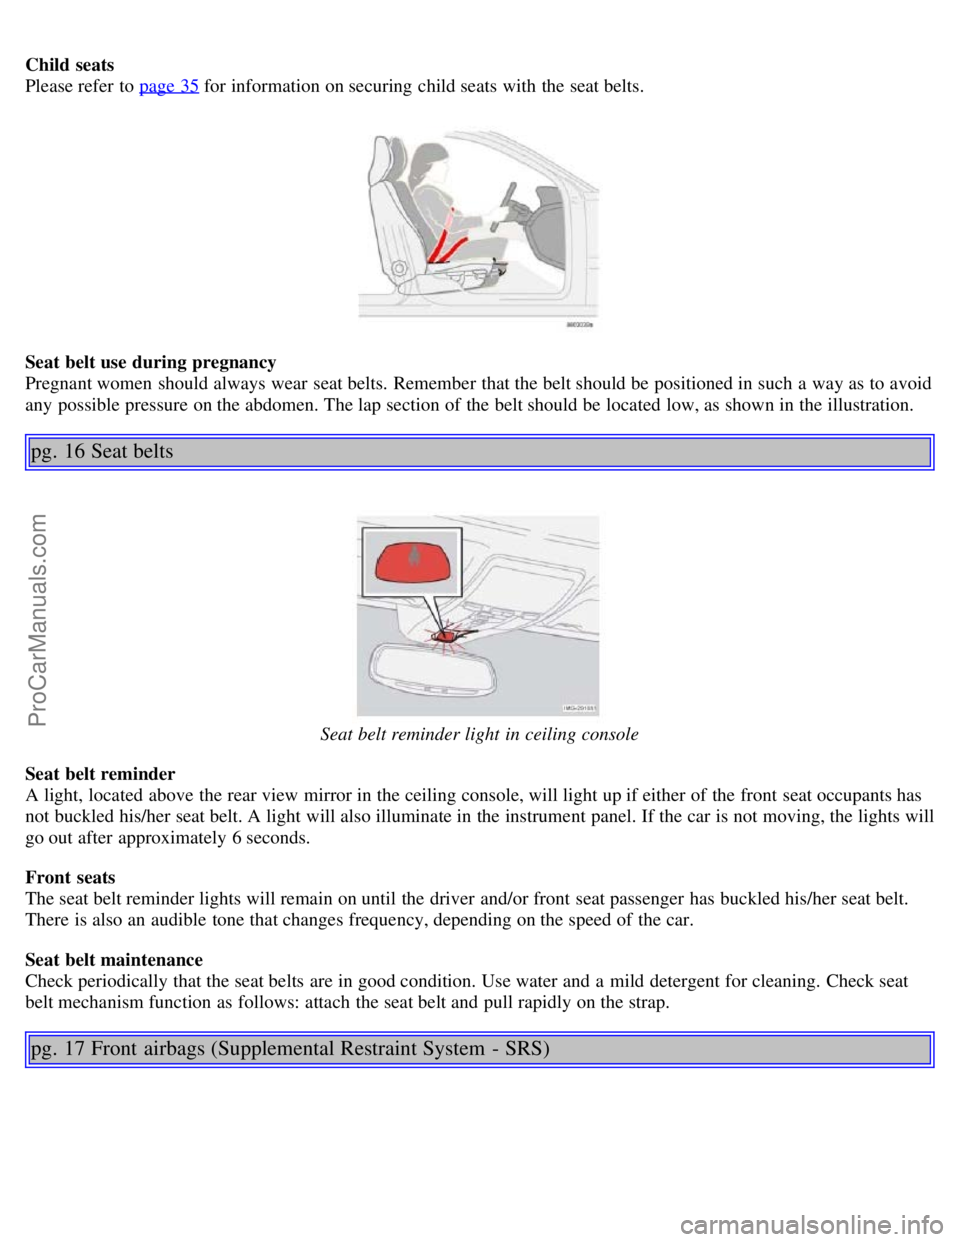
Seat belt use during pregnancy
Pregnant women should always wear seat belts. Remember that the belt should be positioned in such a way as to avoid
any possible pressure on the abdomen. The lap section of the belt should be located low, as shown in the illustration.
pg. 16 Seat belts
Seat belt reminder light in ceiling console
Seat belt reminder
A light, located above the rear view mirror in the ceiling console, will light up if either of the front seat occupants has
not buckled his/her seat belt. A light will also illuminate in the instrument panel. If the car is not moving, the lights will
go out after approximately 6 seconds.
Front seats
The seat belt reminder lights will remain on until the driver and/or front seat passenger has buckled his/her seat belt.
There is also an audible tone that changes frequency, depending on the speed of the car.
Seat belt maintenance
Check periodically that the seat belts are in good condition. Use water and a mild detergent for cleaning. Check seat
belt mechanism function as follows: attach the seat belt and pull rapidly on the strap.
pg. 17 Front airbags (Supplemental Restraint System - SRS)
ProCarManuals.com
Page 43 of 127
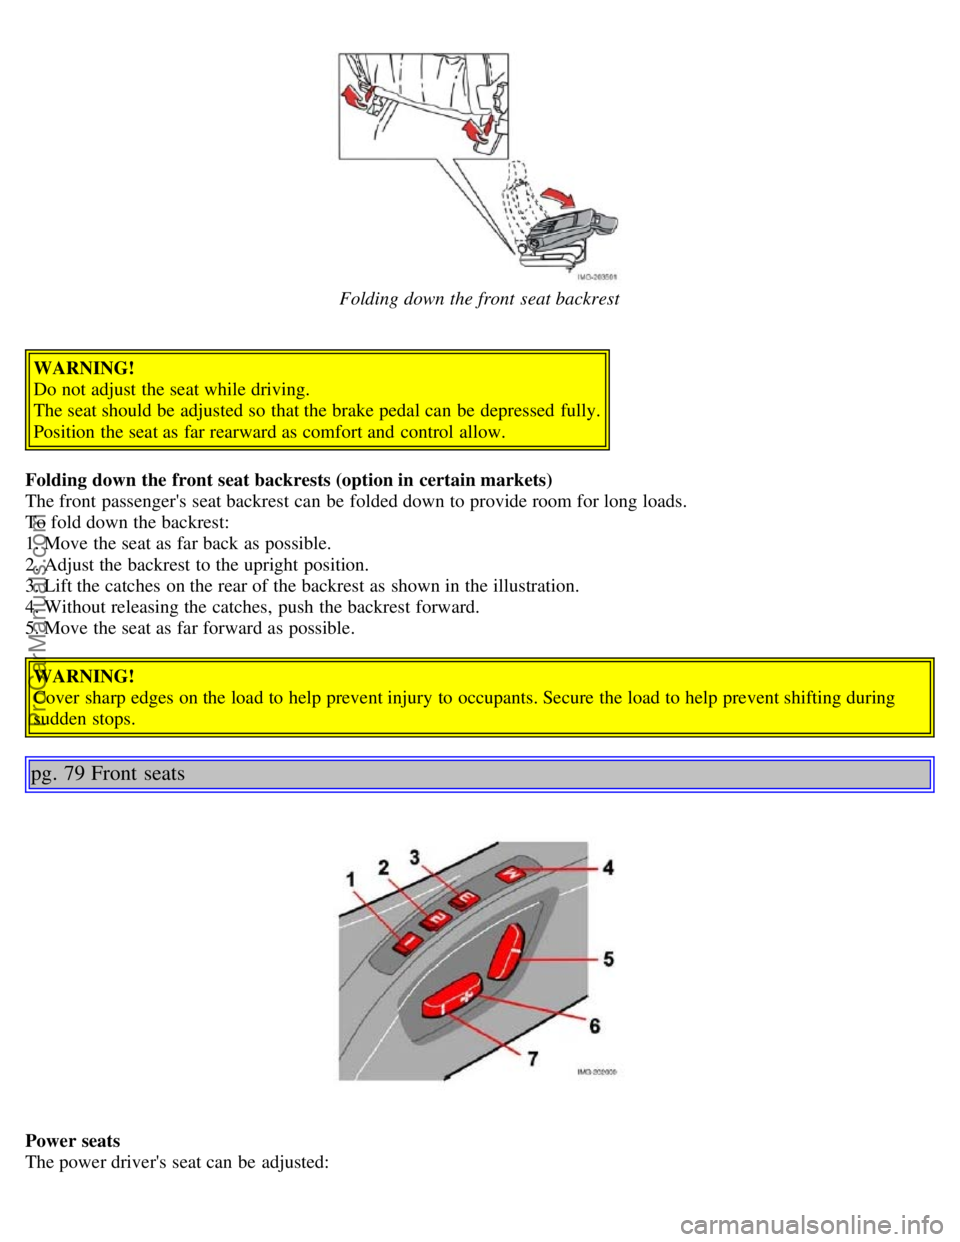
Folding down the front seat backrest
WARNING!
Do not adjust the seat while driving.
The seat should be adjusted so that the brake pedal can be depressed fully.
Position the seat as far rearward as comfort and control allow.
Folding down the front seat backrests (option in certain markets)
The front passenger's seat backrest can be folded down to provide room for long loads.
To fold down the backrest:
1. Move the seat as far back as possible.
2. Adjust the backrest to the upright position.
3. Lift the catches on the rear of the backrest as shown in the illustration.
4. Without releasing the catches, push the backrest forward.
5. Move the seat as far forward as possible. WARNING!
Cover sharp edges on the load to help prevent injury to occupants. Secure the load to help prevent shifting during
sudden stops.
pg. 79 Front seats
Power seats
The power driver's seat can be adjusted:
ProCarManuals.com
Page 49 of 127
When the rear seat is folded down, do not place heavy objects against the backs of the front seats. This places a
severe strain on the folded down backrest of the rear seat. Be sure to secure cargo.
Cargo must not be stacked higher than the top of seat backs. This will reduce the possibility of luggage, etc.
becoming projectiles during sudden maneuvers, rapid braking or an accident.
pg. 86 Trunk
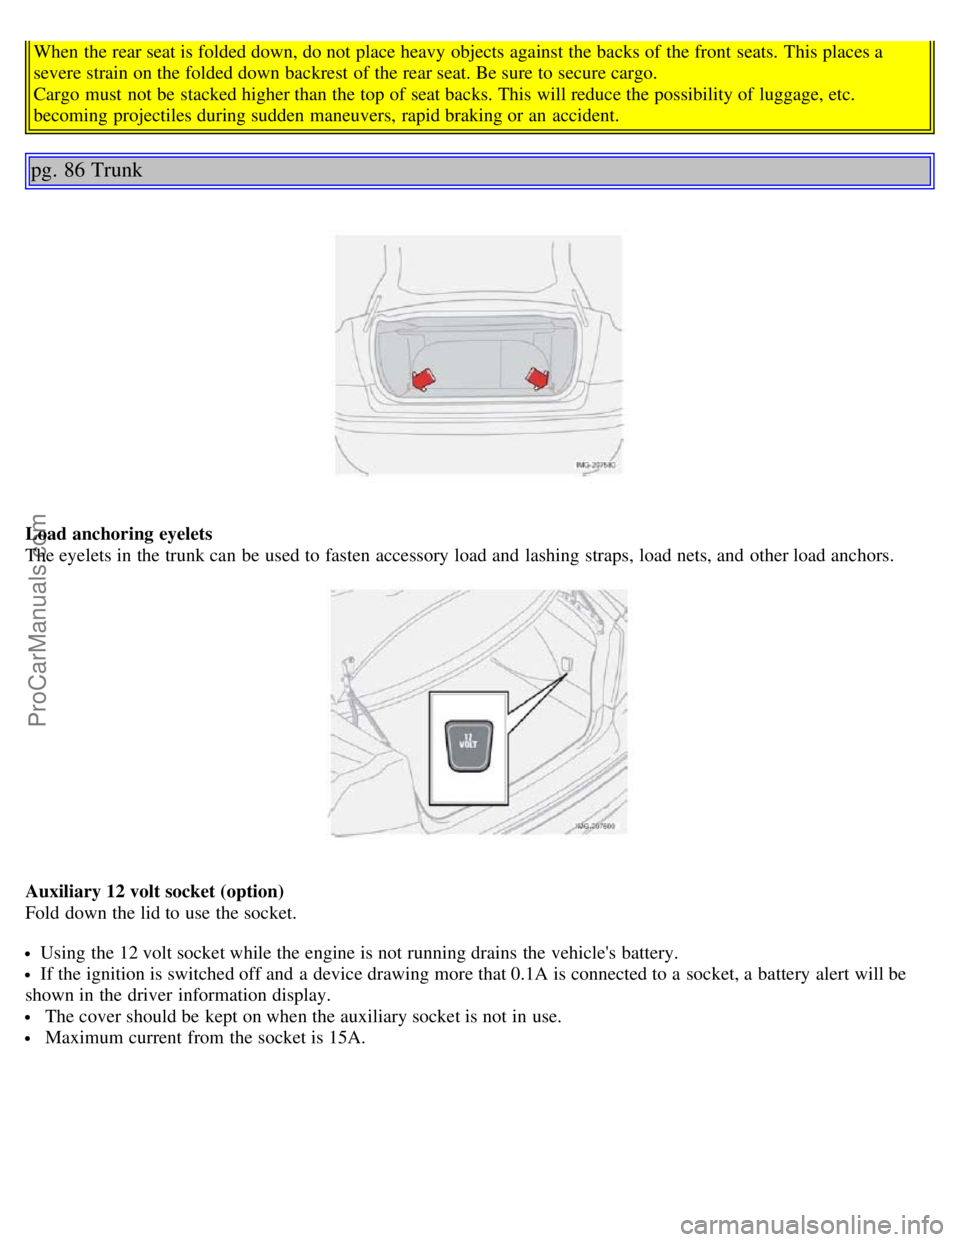
Load anchoring eyelets
The eyelets in the trunk can be used to fasten accessory load and lashing straps, load nets, and other load anchors.
Auxiliary 12 volt socket (option)
Fold down the lid to use the socket.
Using the 12 volt socket while the engine is not running drains the vehicle's battery.
If the ignition is switched off and a device drawing more that 0.1A is connected to a socket, a battery alert will be
shown in the driver information display.
The cover should be kept on when the auxiliary socket is not in use.
Maximum current from the socket is 15A.
ProCarManuals.com
Page 65 of 127
Immobilizer: If two of the keys to your vehicle are close together, e.g., on the same key ring when you try to start
the vehicle, this could cause interference in the immobilizer system and result in the vehicle not starting. If this should
occur, remove one of the keys from the key ring before trying to start the vehicle again.
Keylock: Your vehicle is equipped with a keylock system. When the engine is switched off, the gear selector must
be in the (P)ark position before the key can be removed from the ignition switch.
When starting in cold weather, the automatic transmission may shift up at slightly higher engine speeds than normal
until the automatic transmission fluid reaches normal operating temperature.
Do not race a cold engine immediately after starting. Oil flow may not reach some lubrication points fast enough to
prevent engine damage.
WARNING!
Volvo's floor mats are specially manufactured for your car. They must be firmly secured in the clips on the floor so
that they cannot slide and become trapped under the pedals on the driver's side.
pg. 105 Starting the vehicle
CAUTION!
Automatic transmission: The engine should be idling when you move the gear selector. Never accelerate until after
you feel the transmission engage! Accelerating immediately after selecting a gear will cause harsh engagement and
premature transmission wear. Selecting P or N when idling at a standstill for prolonged periods of time will help
prevent overheating of the automatic transmission fluid.
WARNING!
Always place the gear selector in Park and apply the parking brake before leaving the vehicle. Never leave the
vehicle unattended with the engine running.
Always open garage doors fully before starting the engine inside a garage to ensure adequate ventilation. The
exhaust gases contain carbon monoxide, which is invisible and odorless but very poisonous.
pg. 106 Ignition switch and steering wheel lock
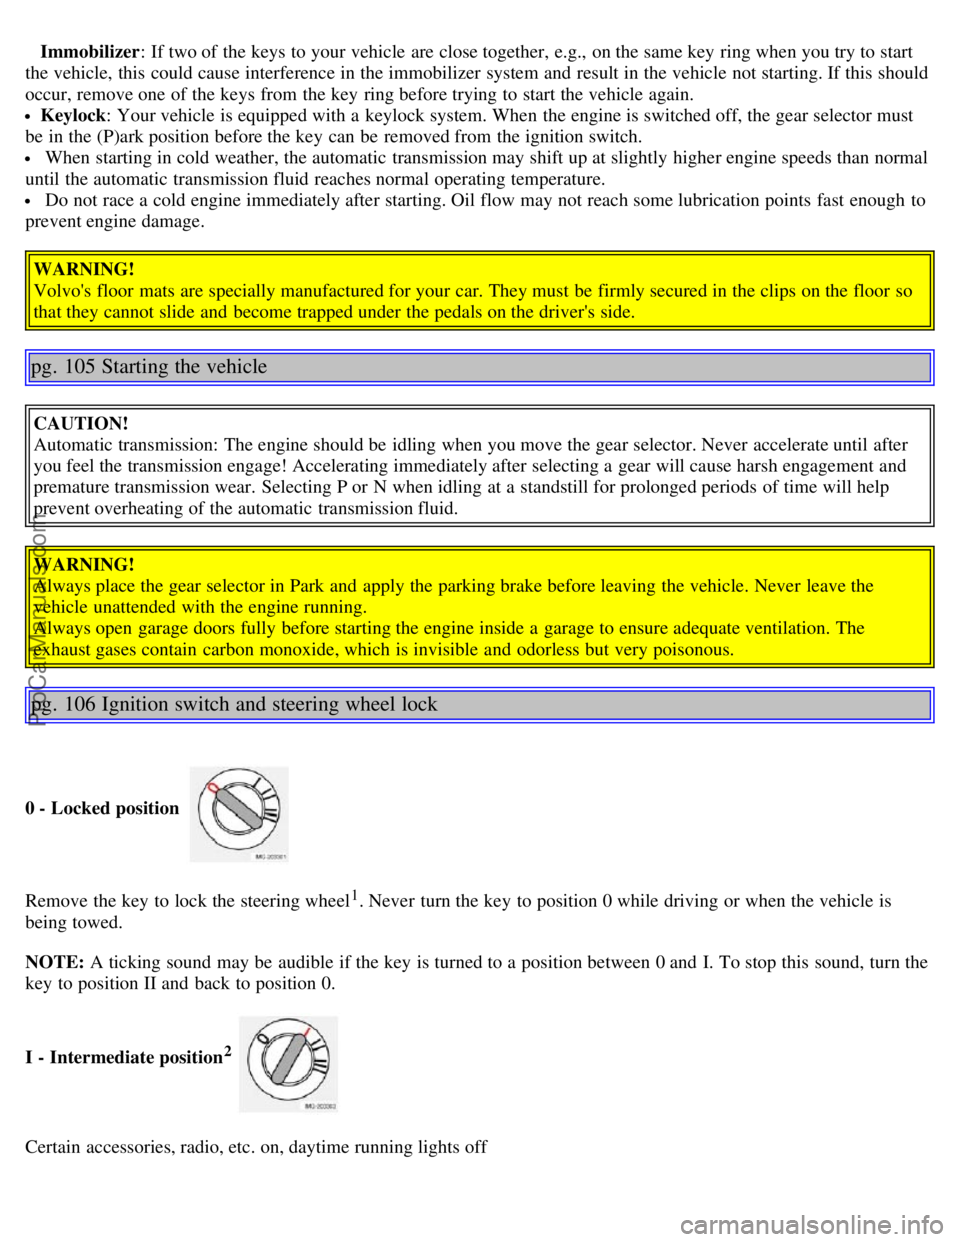
0 - Locked position
Remove the key to lock the steering wheel1. Never turn the key to position 0 while driving or when the vehicle is
being towed.
NOTE: A ticking sound may be audible if the key is turned to a position between 0 and I. To stop this sound, turn the
key to position II and back to position 0.
I - Intermediate position
2
Certain accessories, radio, etc. on, daytime running lights off
ProCarManuals.com
Page 80 of 127
Recommended tire pressure (see the placard on the B-pillar or on the fuel filler door) should be maintained irrespective
of which position on the car the temporary spare tire is used on.
In the event of damage to this tire, a new one can be purchased from your Volvo retailer.WARNING!
Current legislation prohibits the use of the "temporary spare" tire other than as a temporary replacement for a
punctured tire. It must be replaced as soon as possible by a standard tire. Road holding and handling may be affected
with the "temporary spare" in use. Do not exceed 50 m.p.h. (80 km/h). Do not drive farther than 50 miles (80 km) on
a temporary spare tire.
CAUTION!
The car must not be driven with wheels of different dimensions or with a spare tire other than the one that came with
the car. The use of different size wheels can seriously damage your car's transmission.
pg. 134 Wheel nuts
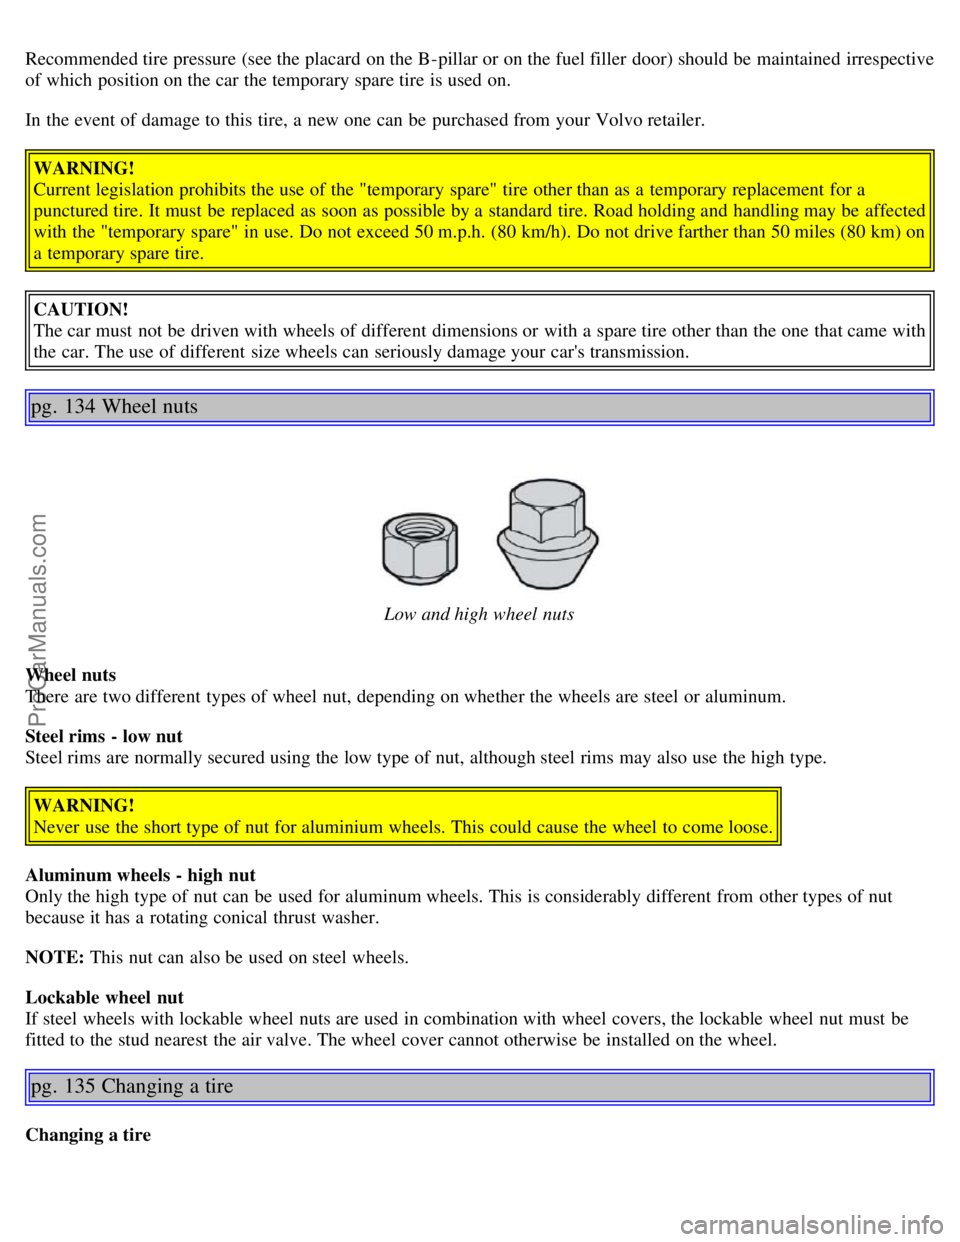
Low and high wheel nuts
Wheel nuts
There are two different types of wheel nut, depending on whether the wheels are steel or aluminum.
Steel rims - low nut
Steel rims are normally secured using the low type of nut, although steel rims may also use the high type. WARNING!
Never use the short type of nut for aluminium wheels. This could cause the wheel to come loose.
Aluminum wheels - high nut
Only the high type of nut can be used for aluminum wheels. This is considerably different from other types of nut
because it has a rotating conical thrust washer.
NOTE: This nut can also be used on steel wheels.
Lockable wheel nut
If steel wheels with lockable wheel nuts are used in combination with wheel covers, the lockable wheel nut must be
fitted to the stud nearest the air valve. The wheel cover cannot otherwise be installed on the wheel.
pg. 135 Changing a tire
Changing a tire
ProCarManuals.com
Page 83 of 127
4. Lower the vehicle to the ground and alternately tighten the bolts crosswise to 62 ft. lbs. (85 Nm).
5. Install the wheel cap (where applicable).
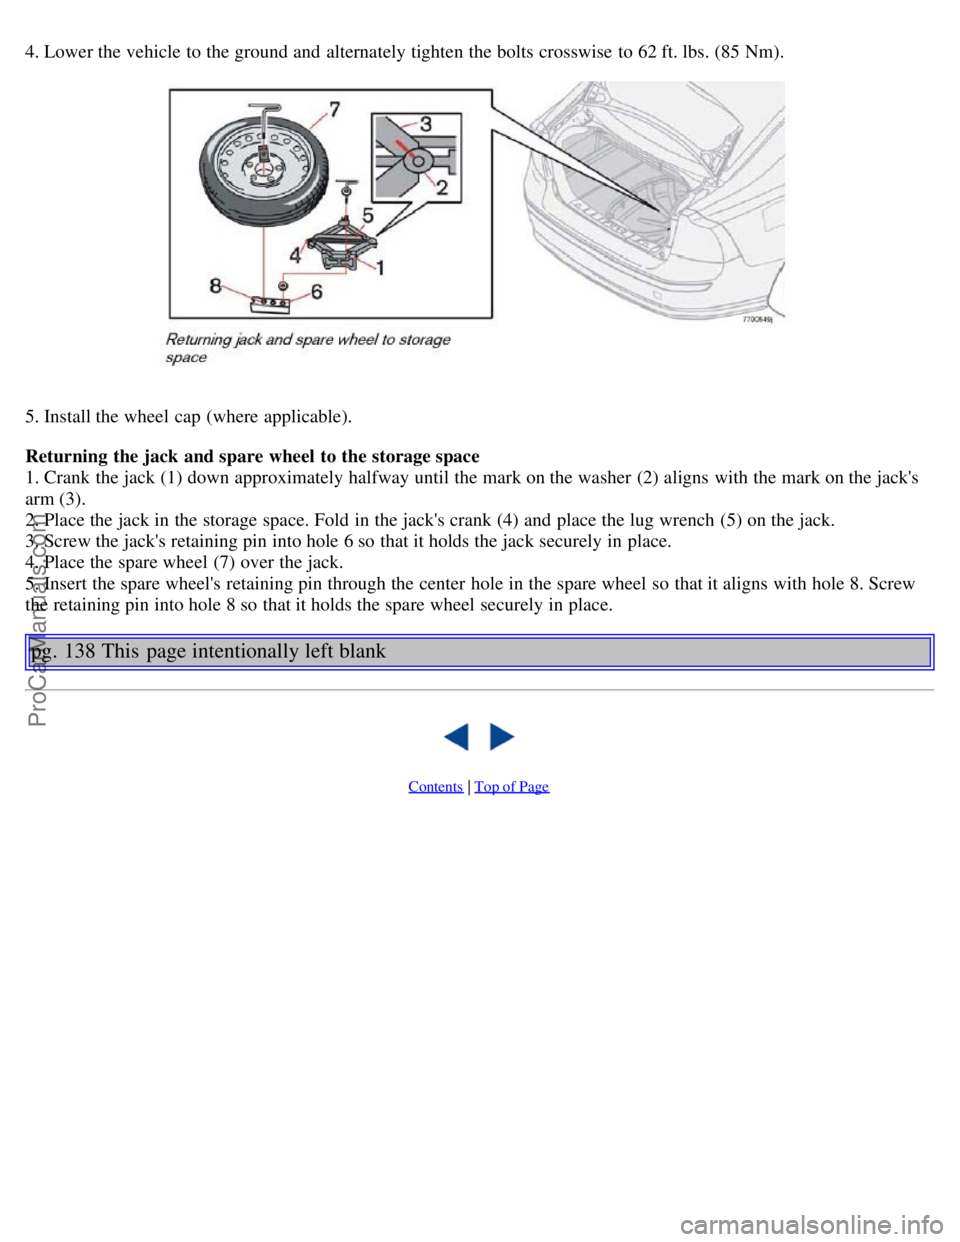
Returning the jack and spare wheel to the storage space
1. Crank the jack (1) down approximately halfway until the mark on the washer (2) aligns with the mark on the jack's
arm (3).
2. Place the jack in the storage space. Fold in the jack's crank (4) and place the lug wrench (5) on the jack.
3. Screw the jack's retaining pin into hole 6 so that it holds the jack securely in place.
4. Place the spare wheel (7) over the jack.
5. Insert the spare wheel's retaining pin through the center hole in the spare wheel so that it aligns with hole 8. Screw
the retaining pin into hole 8 so that it holds the spare wheel securely in place.
pg. 138 This page intentionally left blank
Contents | Top of Page
ProCarManuals.com
Page 85 of 127
toward the rear side of the engine. Special moonroof cautions:
Always close the moonroof and sun shade before washing your vehicle.
Never use abrasive cleaning agents on the moonroof.
Never use wax on the rubber seals around the moonroof.
Automatic washing - simple and quick
We do NOT recommend washing your car in an automatic wash during the first six months (because the paint will
not have hardened sufficiently).
An automatic wash is a simple and quick way to clean your car, but it is worth remembering that it may not be as
thorough as when you yourself go over the car with sponge and water. Keeping the underbody clean is most important,
pg. 141 Washing and cleaning the car
especially in the winter. Some automatic washers do not have facilities for washing the underbody.
CAUTION!
Before driving into an automatic carwash, turn off the optional rain sensor to avoid damaging the windshield wipers.
Make sure that side view mirrors, auxiliary lamps, etc, are secure, and that any antenna(s) are retracted or removed.
Otherwise there is risk of the machine dislodging them.
WARNING!
When the car is driven immediately after being washed, apply the brakes several times in order to remove any
moisture from the brake linings.
Engine cleaning agents should not be used when the engine is warm. This constitutes a fire risk.
Polishing and Waxing
Normally, polishing is not required during the first year after delivery, however, waxing may be beneficial.
Before applying polish or wax the vehicle must be washed and dried. Tar spots can be removed with kerosene or tar
remover. Difficult spots may require a fine rubbing compound.
After polishing use liquid or paste wax.
Several commercially available products contain both polish and wax.
Waxing alone does not substitute for polishing a dull surface.
A wide range of polymer-based waxes can be purchased today. These waxes are easy to use and produce a long-
lasting, high-gloss finish that protects the bodywork against oxidation, road dirt and fading.
Do not polish or wax your vehicle in direct sunlight (the surface of the vehicle should not be warmer than 113° F
(45° C).
CAUTION!
Volvo does not recommend the use of long-life or durable paint protection coatings, some of which may claim to
prevent pitting, fading, oxidation, etc. These coatings have not been tested by Volvo for compatibility with your
vehicle's clear coat. Some of them may cause the clear coat to soften, crack, or cloud. Damage caused by application
of paint protection coatings may not be covered under your vehicle's paint warranty.
pg. 142 Upholstery care
Fabric
Clean with soapy water or a detergent. For more difficult spots caused by oil, ice cream, shoe polish, grease, etc.,
use a clothing/fabric stain remover.
ProCarManuals.com
Page 96 of 127
Driving habits and conditions, climate, the number of starts, etc. all affect the service life and function of the battery.
In order for your battery to perform satisfactorily, keep the following in mind:
Check the fluid level in each cell in the battery every 24 months or every 15,0001 miles (24,000 km), whichever is
sooner. The fluid should be at the level shown in the illustration above (A). Do not overfill.
Use a screw driver to open the caps and a flashlight to inspect the level.
If necessary, add distilled water. The level should never be above the indicator (A).
The fluid level should be checked if the battery has been recharged.
After inspection, be sure the cap over each battery cell is securely in place.
Check that the battery cables are correctly connected and properly tightened.
Never disconnect the battery when the engine is running, for example when changing the battery.
The battery should be disconnected from the vehicle when a battery charger is used directly on the battery.
1. More frequently in warm climates.
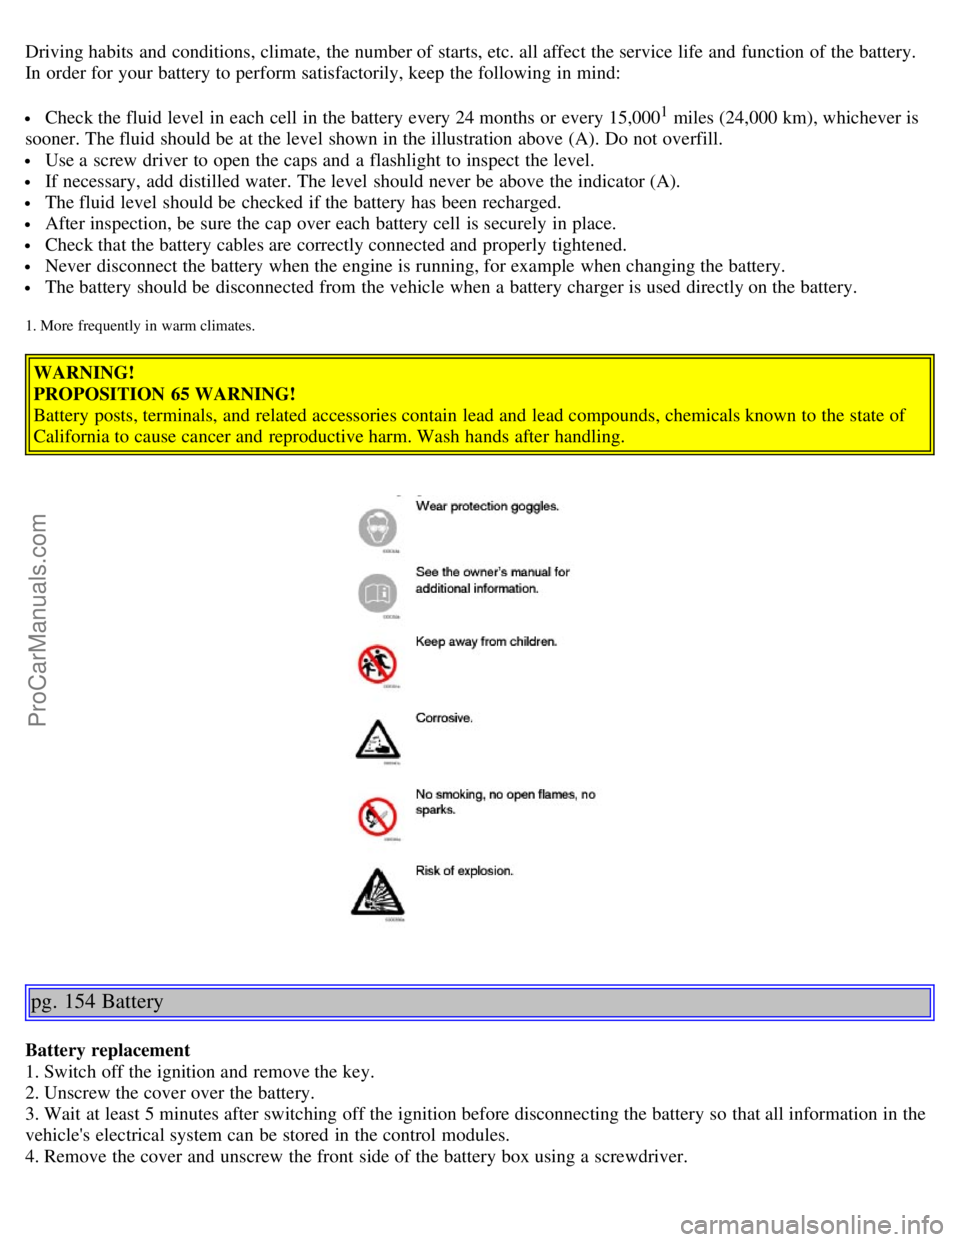
WARNING!
PROPOSITION 65 WARNING!
Battery posts, terminals, and related accessories contain lead and lead compounds, chemicals known to the state of
California to cause cancer and reproductive harm. Wash hands after handling.
pg. 154 Battery
Battery replacement
1. Switch off the ignition and remove the key.
2. Unscrew the cover over the battery.
3. Wait at least 5 minutes after switching off the ignition before disconnecting the battery so that all information in the
vehicle's electrical system can be stored in the control modules.
4. Remove the cover and unscrew the front side of the battery box using a screwdriver.
ProCarManuals.com