sensor VOLVO S60 2007 User Guide
[x] Cancel search | Manufacturer: VOLVO, Model Year: 2007, Model line: S60, Model: VOLVO S60 2007Pages: 200, PDF Size: 4.03 MB
Page 24 of 200
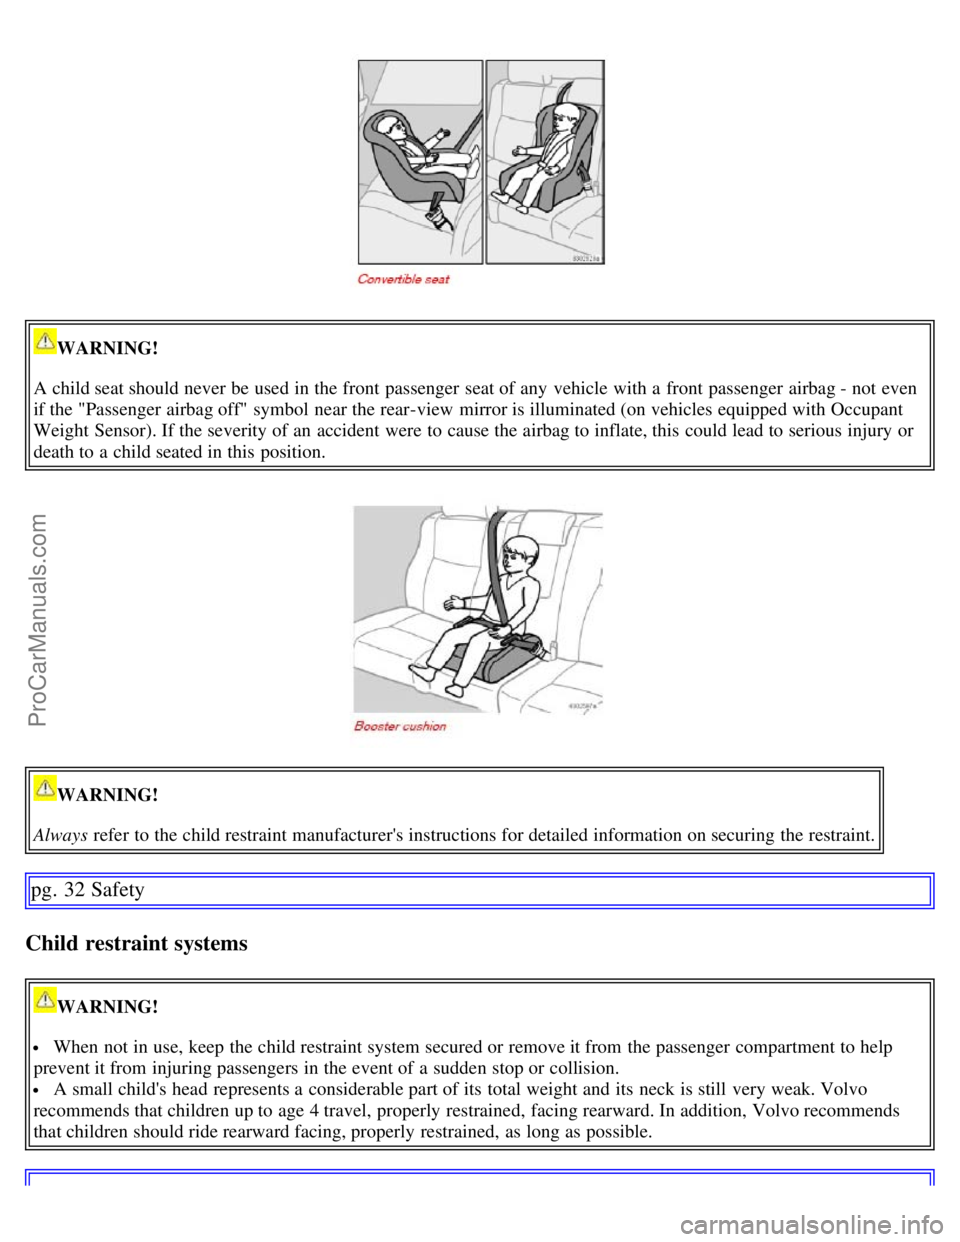
WARNING!
A child seat should never be used in the front passenger seat of any vehicle with a front passenger airbag - not even
if the "Passenger airbag off" symbol near the rear-view mirror is illuminated (on vehicles equipped with Occupant
Weight Sensor). If the severity of an accident were to cause the airbag to inflate, this could lead to serious injury or
death to a child seated in this position.
WARNING!
Always refer to the child restraint manufacturer's instructions for detailed information on securing the restraint.
pg. 32 Safety
Child restraint systems
WARNING!
When not in use, keep the child restraint system secured or remove it from the passenger compartment to help
prevent it from injuring passengers in the event of a sudden stop or collision.
A small child's head represents a considerable part of its total weight and its neck is still very weak. Volvo
recommends that children up to age 4 travel, properly restrained, facing rearward. In addition, Volvo recommends
that children should ride rearward facing, properly restrained, as long as possible.
ProCarManuals.com
Page 26 of 200
WARNING!
A child seat should never be used in the front passenger seat of any vehicle with a front passenger airbag - not even
if the "Passenger airbag off" symbol near the rear-view mirror is illuminated (on vehicles equipped with Occupant
Weight Sensor). If the severity of an accident were to cause the airbag to inflate, this could lead to serious injury or
death to a child seated in this position.
pg. 34 Safety
Infant seats
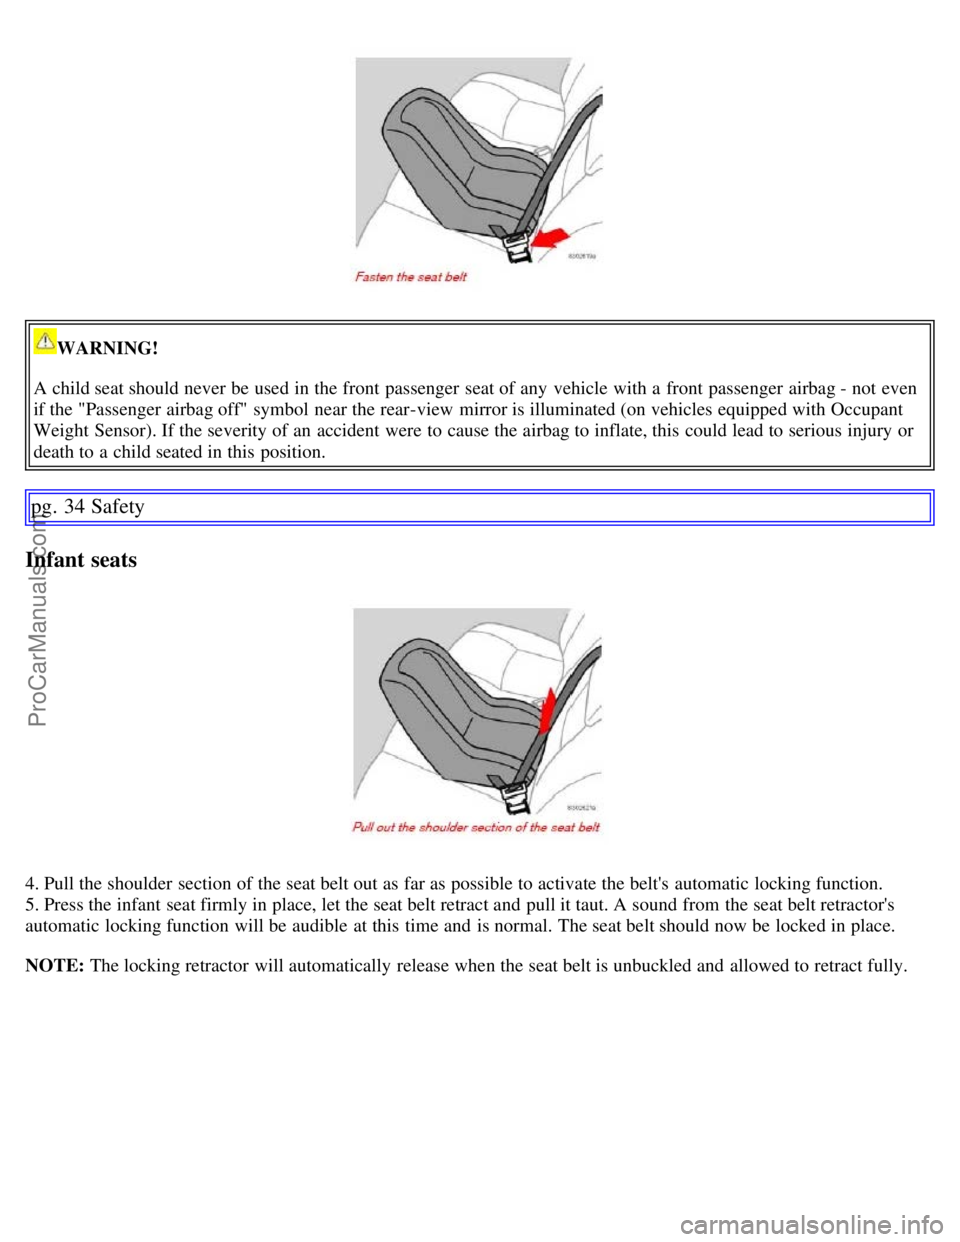
4. Pull the shoulder section of the seat belt out as far as possible to activate the belt's automatic locking function.
5. Press the infant seat firmly in place, let the seat belt retract and pull it taut. A sound from the seat belt retractor's
automatic locking function will be audible at this time and is normal. The seat belt should now be locked in place.
NOTE: The locking retractor will automatically release when the seat belt is unbuckled and allowed to retract fully.
ProCarManuals.com
Page 29 of 200
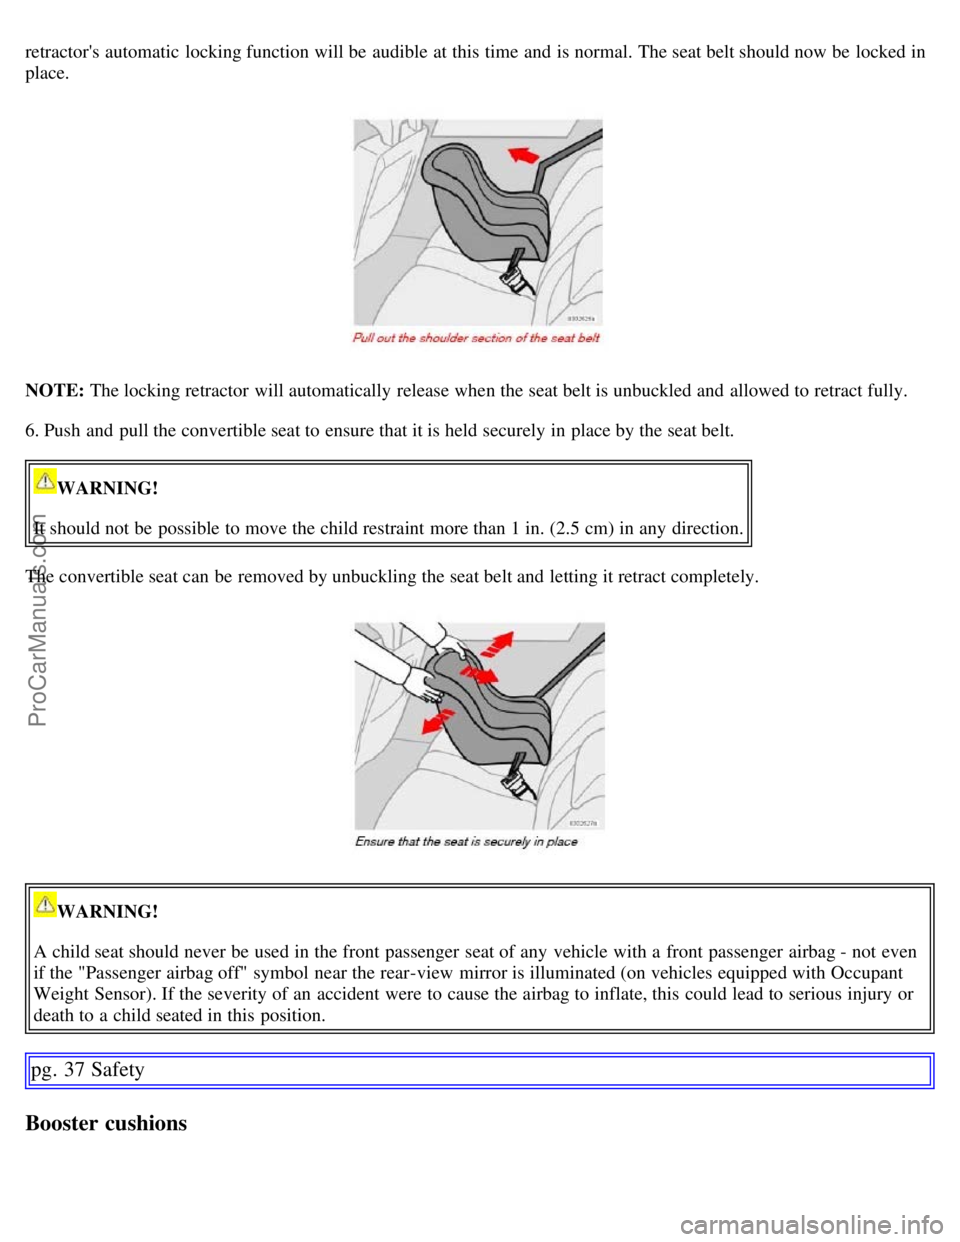
retractor's automatic locking function will be audible at this time and is normal. The seat belt should now be locked in
place.
NOTE: The locking retractor will automatically release when the seat belt is unbuckled and allowed to retract fully.
6. Push and pull the convertible seat to ensure that it is held securely in place by the seat belt.
WARNING!
It should not be possible to move the child restraint more than 1 in. (2.5 cm) in any direction.
The convertible seat can be removed by unbuckling the seat belt and letting it retract completely.
WARNING!
A child seat should never be used in the front passenger seat of any vehicle with a front passenger airbag - not even
if the "Passenger airbag off" symbol near the rear-view mirror is illuminated (on vehicles equipped with Occupant
Weight Sensor). If the severity of an accident were to cause the airbag to inflate, this could lead to serious injury or
death to a child seated in this position.
pg. 37 Safety
Booster cushions
ProCarManuals.com
Page 43 of 200
locked/unlocked using the master key or the remote control.
To use this function:
- Turn the master key to position II.
- Press the "Valet lock" button. An LED in the button will light up and "VALET LOCK
pg. 51 Instruments and controls
Switches in the center console
ON" will be displayed in the text window to indicate that this function is activated.
- The function can be turned off (deactivated) by turning the ignition key to position II and pressing the "Valet lock"
button again (the LED in the button will go out and VALET LOCK OFF" will be displayed in the text window).
Temporarily disconnecting the alarm sensors (option)
See page 104
for more details.
12 volt socket
This 12 volt socket can be used to plug in certain accessories such as cellular telephones, etc. The ignition key must be
in position 1 (or higher) for the auxiliary socket to function.
NOTE: The auxiliary sockets can also be used for cigarette lighters, which are available at your Volvo retailer.
Front/rear park assist (option/accessory)
See page 138
for more information on this function.
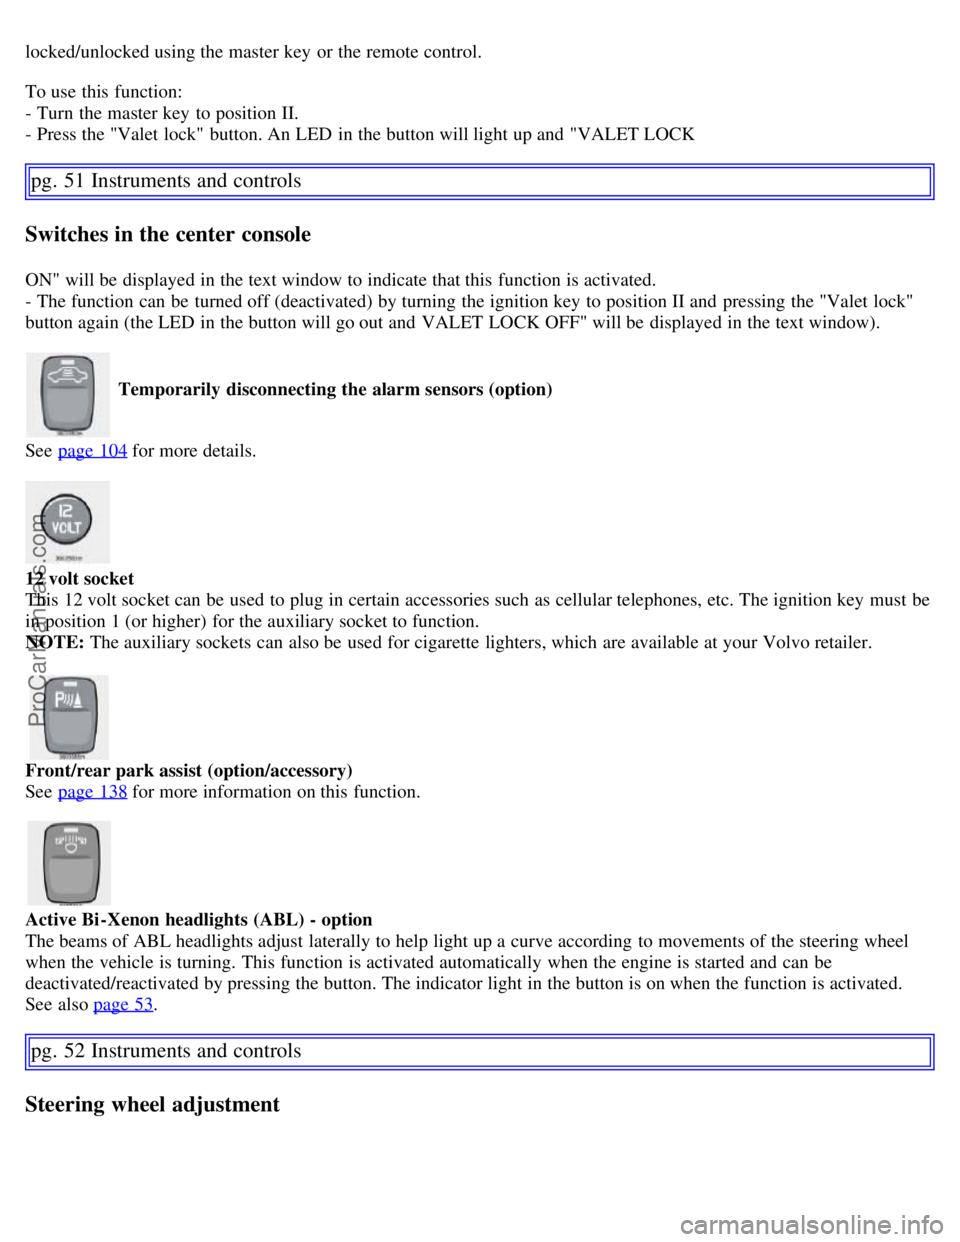
Active Bi -Xenon headlights (ABL) - option
The beams of ABL headlights adjust laterally to help light up a curve according to movements of the steering wheel
when the vehicle is turning. This function is activated automatically when the engine is started and can be
deactivated/reactivated by pressing the button. The indicator light in the button is on when the function is activated.
See also page 53
.
pg. 52 Instruments and controls
Steering wheel adjustment
ProCarManuals.com
Page 45 of 200
- Turn the ignition key to position II.
- The low beam headlights (daytime running lights) illuminate automatically, except when the light switch (1) is in
position
1.
See page 55
for information on switching between high and low beams.
NOTE: Active Bi -Xenon headlights (option): Turn the headlight switch to position 0 to activate a daylight sensor,
which automatically switches the low beams on or off, depending on ambient light conditions.
When driving in daylight, the headlights will switch off and the daytime running lights will come on. In darkness, the
daytime running lights will switch off and the Active Bi -Xenon headlights will switch on.
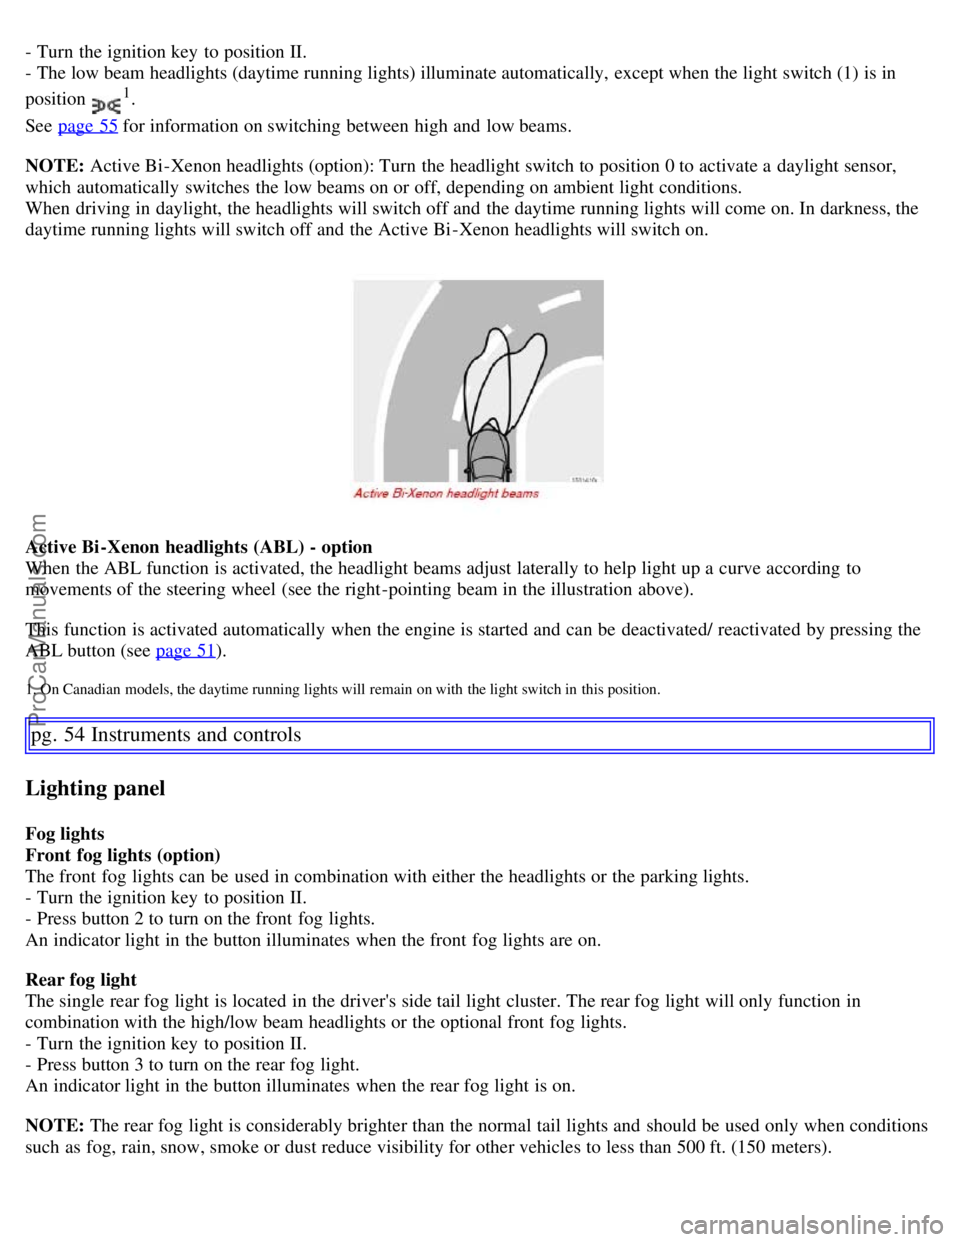
Active Bi -Xenon headlights (ABL) - option
When the ABL function is activated, the headlight beams adjust laterally to help light up a curve according to
movements of the steering wheel (see the right-pointing beam in the illustration above).
This function is activated automatically when the engine is started and can be deactivated/ reactivated by pressing the
ABL button (see page 51
).
1. On Canadian models, the daytime running lights will remain on with the light switch in this position.
pg. 54 Instruments and controls
Lighting panel
Fog lights
Front fog lights (option)
The front fog lights can be used in combination with either the headlights or the parking lights.
- Turn the ignition key to position II.
- Press button 2 to turn on the front fog lights.
An indicator light in the button illuminates when the front fog lights are on.
Rear fog light
The single rear fog light is located in the driver's side tail light cluster. The rear fog light will only function in
combination with the high/low beam headlights or the optional front fog lights.
- Turn the ignition key to position II.
- Press button 3 to turn on the rear fog light.
An indicator light in the button illuminates when the rear fog light is on.
NOTE: The rear fog light is considerably brighter than the normal tail lights and should be used only when conditions
such as fog, rain, snow, smoke or dust reduce visibility for other vehicles to less than 500 ft. (150 meters).
ProCarManuals.com
Page 48 of 200
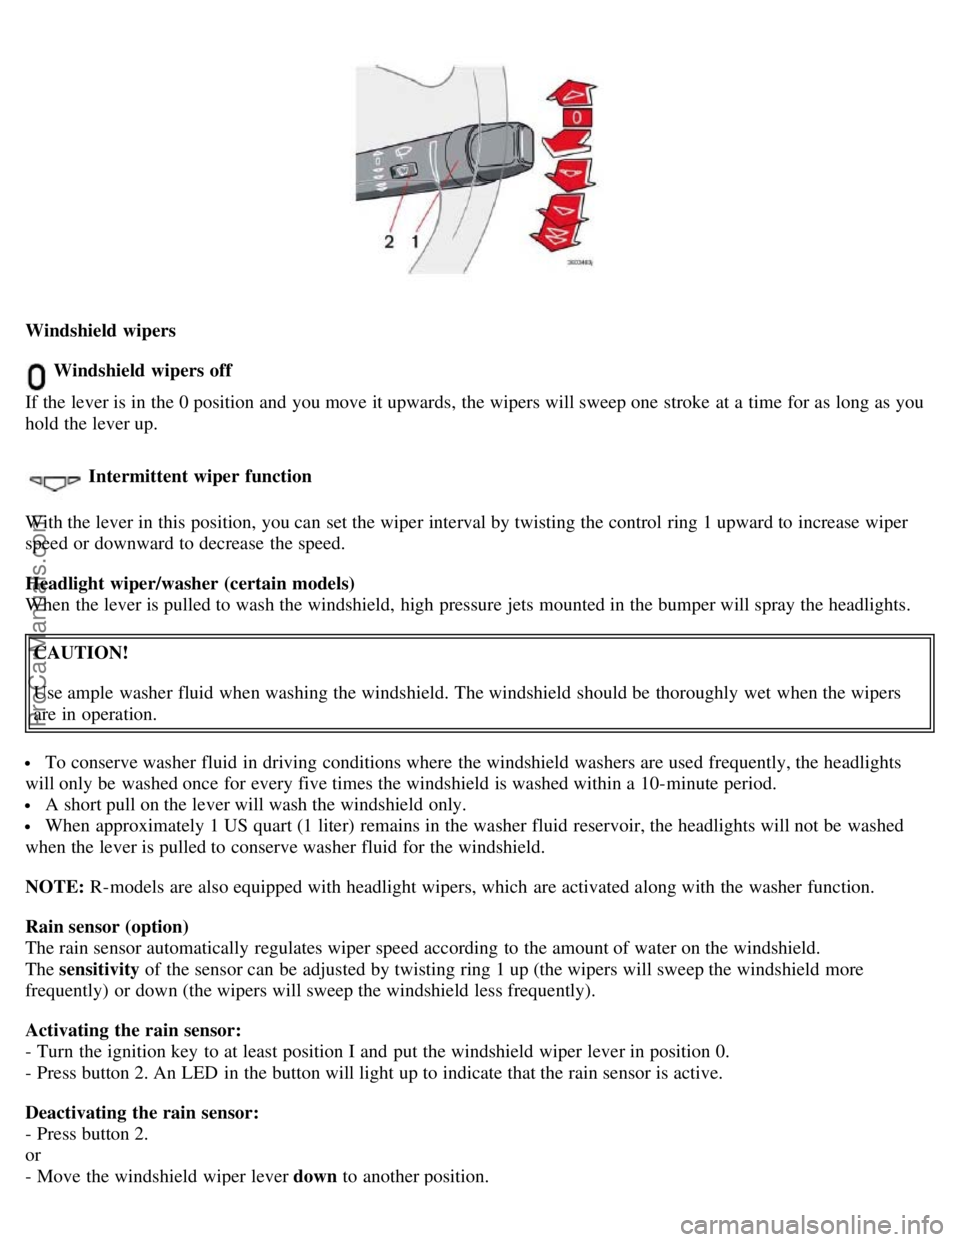
Windshield wipers
Windshield wipers off
If the lever is in the 0 position and you move it upwards, the wipers will sweep one stroke at a time for as long as you
hold the lever up.
Intermittent wiper function
With the lever in this position, you can set the wiper interval by twisting the control ring 1 upward to increase wiper
speed or downward to decrease the speed.
Headlight wiper/washer (certain models)
When the lever is pulled to wash the windshield, high pressure jets mounted in the bumper will spray the headlights.
CAUTION!
Use ample washer fluid when washing the windshield. The windshield should be thoroughly wet when the wipers
are in operation.
To conserve washer fluid in driving conditions where the windshield washers are used frequently, the headlights
will only be washed once for every five times the windshield is washed within a 10-minute period.
A short pull on the lever will wash the windshield only.
When approximately 1 US quart (1 liter) remains in the washer fluid reservoir, the headlights will not be washed
when the lever is pulled to conserve washer fluid for the windshield.
NOTE: R-models are also equipped with headlight wipers, which are activated along with the washer function.
Rain sensor (option)
The rain sensor automatically regulates wiper speed according to the amount of water on the windshield.
The sensitivity of the sensor can be adjusted by twisting ring 1 up (the wipers will sweep the windshield more
frequently) or down (the wipers will sweep the windshield less frequently).
Activating the rain sensor:
- Turn the ignition key to at least position I and put the windshield wiper lever in position 0.
- Press button 2. An LED in the button will light up to indicate that the rain sensor is active.
Deactivating the rain sensor:
- Press button 2.
or
- Move the windshield wiper lever down to another position.
ProCarManuals.com
Page 49 of 200
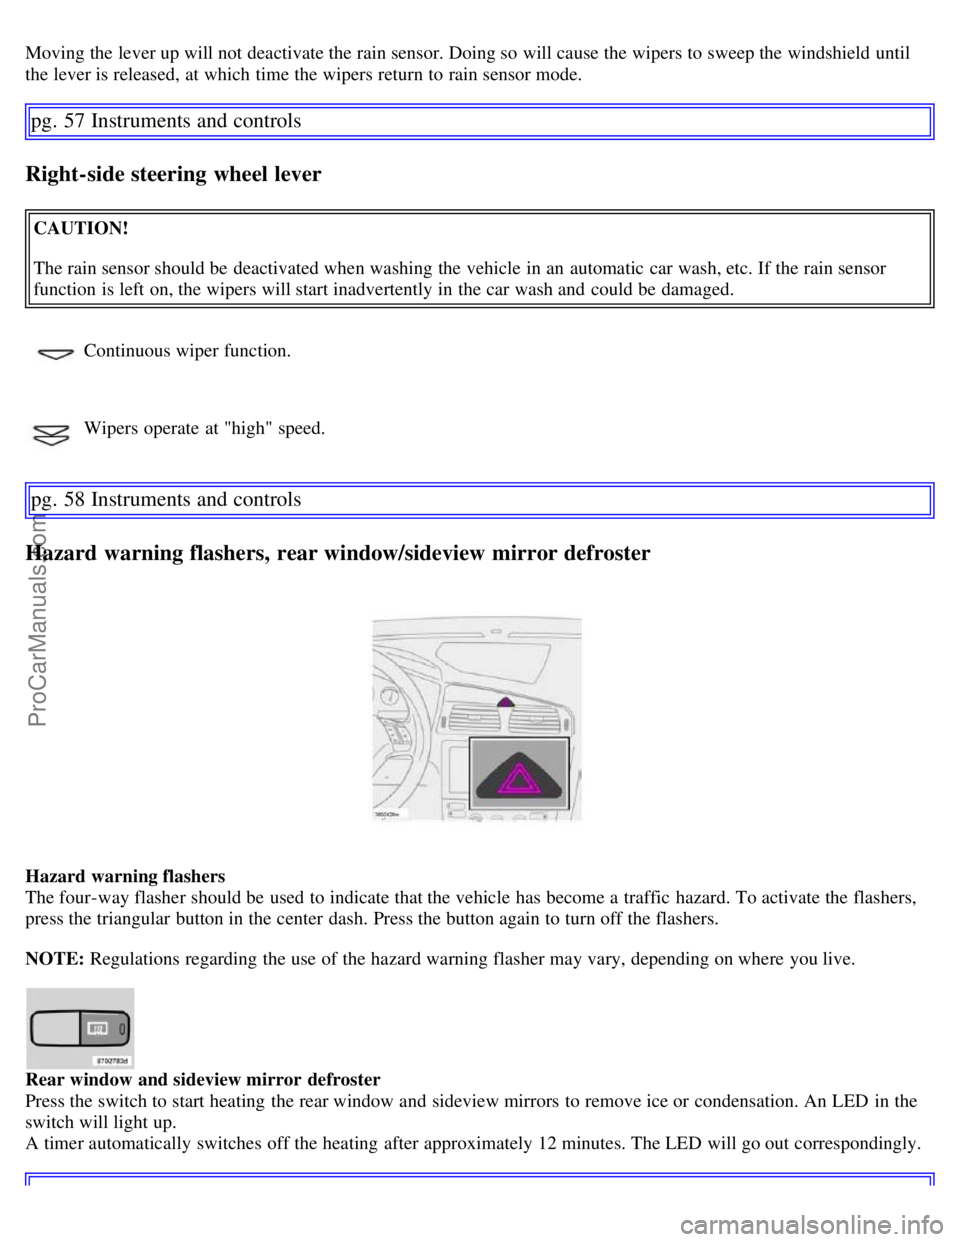
Moving the lever up will not deactivate the rain sensor. Doing so will cause the wipers to sweep the windshield until
the lever is released, at which time the wipers return to rain sensor mode.
pg. 57 Instruments and controls
Right-side steering wheel lever
CAUTION!
The rain sensor should be deactivated when washing the vehicle in an automatic car wash, etc. If the rain sensor
function is left on, the wipers will start inadvertently in the car wash and could be damaged.
Continuous wiper function.
Wipers operate at "high" speed.
pg. 58 Instruments and controls
Hazard warning flashers, rear window/sideview mirror defroster
Hazard warning flashers
The four-way flasher should be used to indicate that the vehicle has become a traffic hazard. To activate the flashers,
press the triangular button in the center dash. Press the button again to turn off the flashers.
NOTE: Regulations regarding the use of the hazard warning flasher may vary, depending on where you live.
Rear window and sideview mirror defroster
Press the switch to start heating the rear window and sideview mirrors to remove ice or condensation. An LED in the
switch will light up.
A timer automatically switches off the heating after approximately 12 minutes. The LED will go out correspondingly.
ProCarManuals.com
Page 62 of 200
2 0 0 7
VOLVO S60
Climate
pg. 71 Climate
Climate control systems - general information 72
Air distribution73
Electronic climate control, ECC74
pg. 72 Climate
Climate control systems - general information
Condensation on the inside of the windows
Keeping the insides of the windows clean will help reduce the amount of condensation that forms on the windows. Use
a commercial window cleaning agent to clean the windows.
Ice and snow
Always keep the air intake grille at the base of the windshield free of snow.
Cabin air filter
Replace the cabin air filter with a new one at the recommended intervals. Please refer to your Warranty and Service
Records Information booklet, or consult your Volvo retailer for these intervals. The filter should be replaced more
often when driving under dirty and dusty conditions. The filter cannot be cleaned and therefore should always be
replaced with a new one.
Sensors
The sunlight sensor on the dashboard and passenger compartment temperature sensor in the ECC control panel should
not be covered in any way as this could cause incorrect information to be sent to the ECC system.
Parking the vehicle in warm weather
If your vehicle has been parked in the sun in warm weather, opening the windows and moonroof (option) for several
minutes before driving will help release the warm air from the passenger compartment. When the engine is running,
close the windows and moonroof and use the recirculation function for several minutes to enable the air conditioning
to cool the compartment as quickly as possible.
Windows and optional moonroof
The ECC system will function best if the windows and optional moonroof are closed. If you drive with the moonroof
open, we recommend that you manually adjust the temperature and blower control (the LED in the AUTO switch
should be off).
Acceleration
The air conditioning is momentarily disengaged during full-throttle acceleration.
ProCarManuals.com
Page 65 of 200
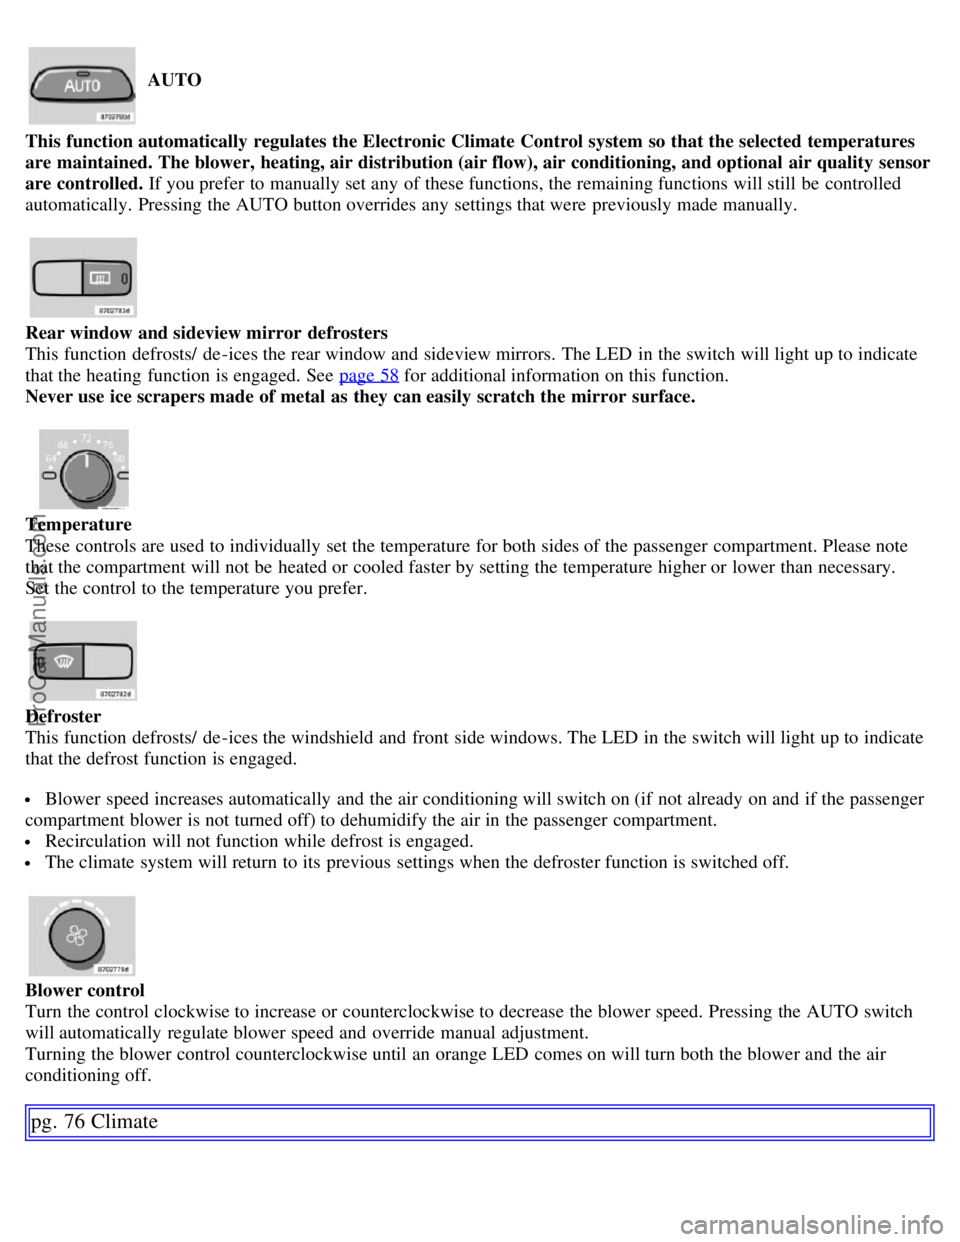
AUTO
This function automatically regulates the Electronic Climate Control system so that the selected temperatures
are maintained. The blower, heating, air distribution (air flow), air conditioning, and optional air quality sensor
are controlled. If you prefer to manually set any of these functions, the remaining functions will still be controlled
automatically. Pressing the AUTO button overrides any settings that were previously made manually.
Rear window and sideview mirror defrosters
This function defrosts/ de -ices the rear window and sideview mirrors. The LED in the switch will light up to indicate
that the heating function is engaged. See page 58
for additional information on this function.
Never use ice scrapers made of metal as they can easily scratch the mirror surface.
Temperature
These controls are used to individually set the temperature for both sides of the passenger compartment. Please note
that the compartment will not be heated or cooled faster by setting the temperature higher or lower than necessary.
Set the control to the temperature you prefer.
Defroster
This function defrosts/ de -ices the windshield and front side windows. The LED in the switch will light up to indicate
that the defrost function is engaged.
Blower speed increases automatically and the air conditioning will switch on (if not already on and if the passenger
compartment blower is not turned off) to dehumidify the air in the passenger compartment.
Recirculation will not function while defrost is engaged.
The climate system will return to its previous settings when the defroster function is switched off.
Blower control
Turn the control clockwise to increase or counterclockwise to decrease the blower speed. Pressing the AUTO switch
will automatically regulate blower speed and override manual adjustment.
Turning the blower control counterclockwise until an orange LED comes on will turn both the blower and the air
conditioning off.
pg. 76 Climate
ProCarManuals.com
Page 67 of 200
Selecting Defroster automatically switches recirculation off.
Timer mode activation: (vehicles with the Interior Air Quality system have no timer mode) Press and hold the
recirculation button for at least 3 seconds to activate a recirculation timer mode. The amber LED in the recirculation
button will flash 5 times to show that the timer mode is being activated. In timer mode, each time the recirculation
button is pressed, the climate control system will recirculate the air in the passenger compartment for 5- 12 minutes,
depending on the outside air temperature, and then revert back to fresh air.
Timer mode deactivation: Press and hold the recirculation button for 3 seconds. The amber LED in the recirculation
button will illuminate steadily for 5 seconds to show a return to "normal" mode.
In normal mode, when the recirculation button is pressed, the climate control
pg. 77 Climate
Electronic climate control, ECC
system will recirculate the air in the passenger compartment until the recirculation button is pressed again.
Timer mode memory: If the vehicle is turned off while timer mode is active, timer mode will still be active when
the vehicle is restarted.
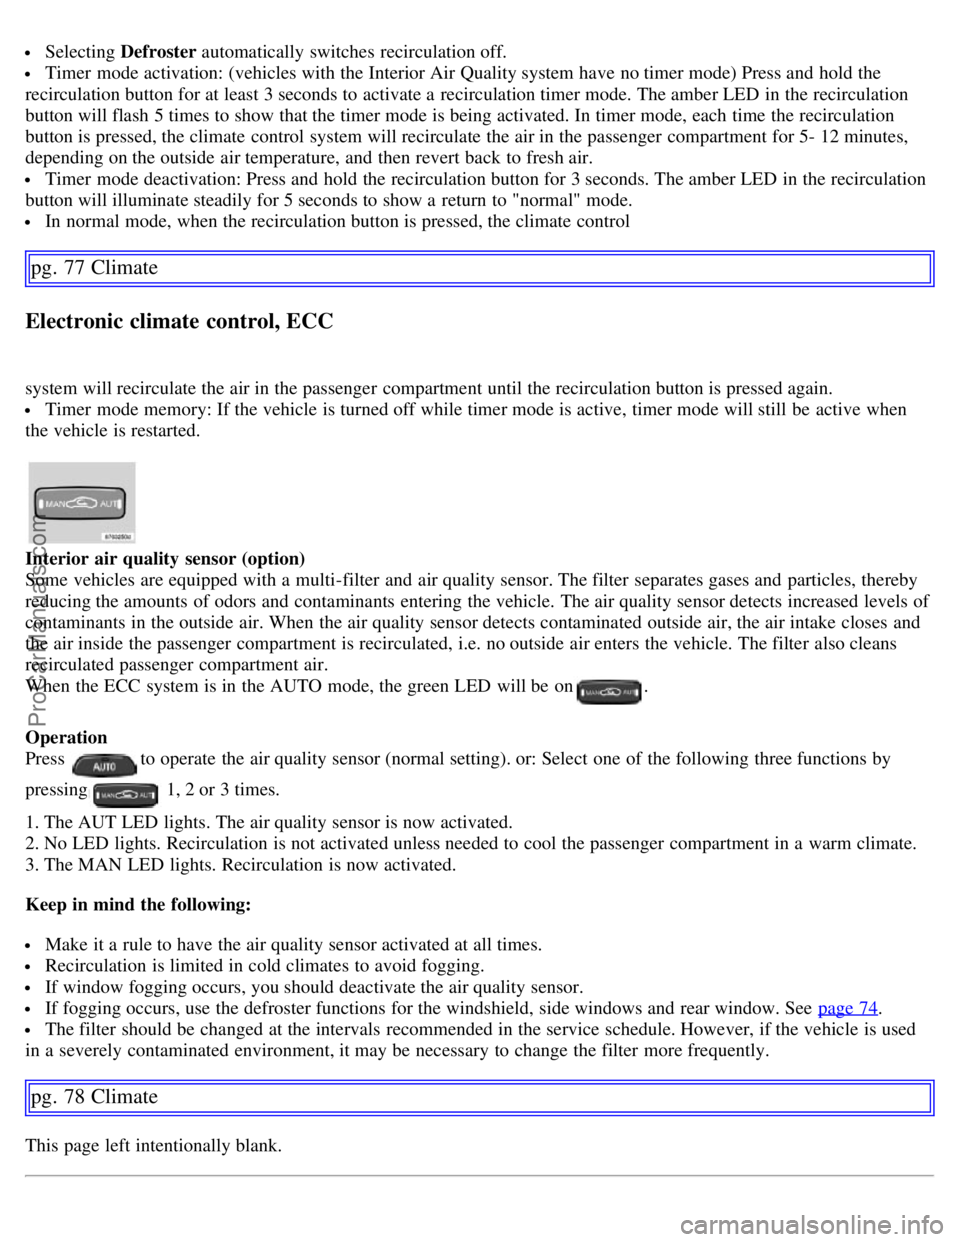
Interior air quality sensor (option)
Some vehicles are equipped with a multi-filter and air quality sensor. The filter separates gases and particles, thereby
reducing the amounts of odors and contaminants entering the vehicle. The air quality sensor detects increased levels of
contaminants in the outside air. When the air quality sensor detects contaminated outside air, the air intake closes and
the air inside the passenger compartment is recirculated, i.e. no outside air enters the vehicle. The filter also cleans
recirculated passenger compartment air.
When the ECC system is in the AUTO mode, the green LED will be on
.
Operation
Press
to operate the air quality sensor (normal setting). or: Select one of the following three functions by
pressing
1, 2 or 3 times.
1. The AUT LED lights. The air quality sensor is now activated.
2. No LED lights. Recirculation is not activated unless needed to cool the passenger compartment in a warm climate.
3. The MAN LED lights. Recirculation is now activated.
Keep in mind the following:
Make it a rule to have the air quality sensor activated at all times.
Recirculation is limited in cold climates to avoid fogging.
If window fogging occurs, you should deactivate the air quality sensor.
If fogging occurs, use the defroster functions for the windshield, side windows and rear window. See page 74.
The filter should be changed at the intervals recommended in the service schedule. However, if the vehicle is used
in a severely contaminated environment, it may be necessary to change the filter more frequently.
pg. 78 Climate
This page left intentionally blank.
ProCarManuals.com