ECO mode VOLVO S60 2007 Owners Manual
[x] Cancel search | Manufacturer: VOLVO, Model Year: 2007, Model line: S60, Model: VOLVO S60 2007Pages: 200, PDF Size: 4.03 MB
Page 37 of 200
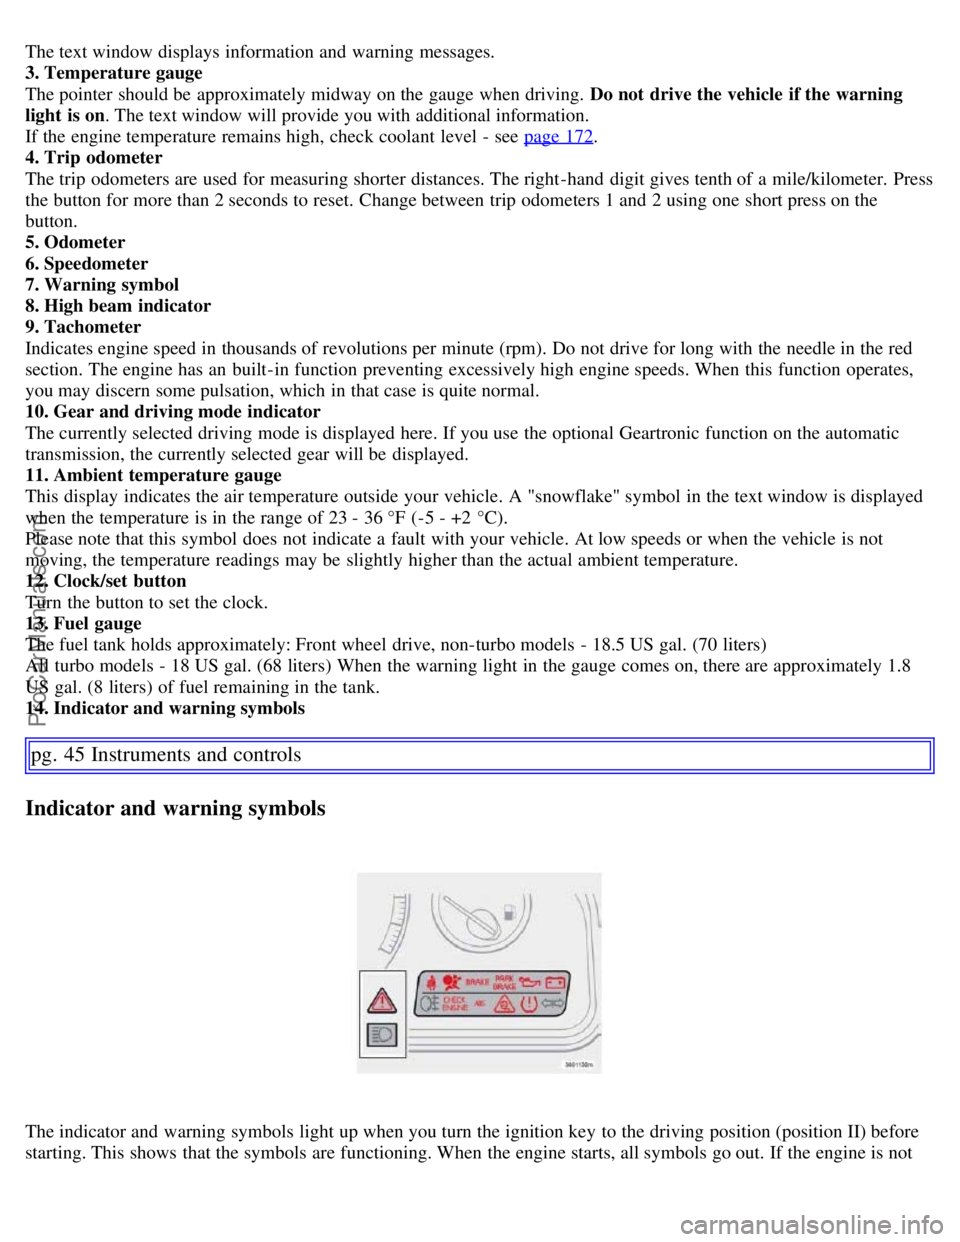
The text window displays information and warning messages.
3. Temperature gauge
The pointer should be approximately midway on the gauge when driving. Do not drive the vehicle if the warning
light is on. The text window will provide you with additional information.
If the engine temperature remains high, check coolant level - see page 172
.
4. Trip odometer
The trip odometers are used for measuring shorter distances. The right-hand digit gives tenth of a mile/kilometer. Press
the button for more than 2 seconds to reset. Change between trip odometers 1 and 2 using one short press on the
button.
5. Odometer
6. Speedometer
7. Warning symbol
8. High beam indicator
9. Tachometer
Indicates engine speed in thousands of revolutions per minute (rpm). Do not drive for long with the needle in the red
section. The engine has an built-in function preventing excessively high engine speeds. When this function operates,
you may discern some pulsation, which in that case is quite normal.
10. Gear and driving mode indicator
The currently selected driving mode is displayed here. If you use the optional Geartronic function on the automatic
transmission, the currently selected gear will be displayed.
11. Ambient temperature gauge
This display indicates the air temperature outside your vehicle. A "snowflake" symbol in the text window is displayed
when the temperature is in the range of 23 - 36 °F (-5 - +2 °C).
Please note that this symbol does not indicate a fault with your vehicle. At low speeds or when the vehicle is not
moving, the temperature readings may be slightly higher than the actual ambient temperature.
12. Clock/set button
Turn the button to set the clock.
13. Fuel gauge
The fuel tank holds approximately: Front wheel drive, non-turbo models - 18.5 US gal. (70 liters)
All turbo models - 18 US gal. (68 liters) When the warning light in the gauge comes on, there are approximately 1.8
US gal. (8 liters) of fuel remaining in the tank.
14. Indicator and warning symbols
pg. 45 Instruments and controls
Indicator and warning symbols
The indicator and warning symbols light up when you turn the ignition key to the driving position (position II) before
starting. This shows that the symbols are functioning. When the engine starts, all symbols go out. If the engine is not
ProCarManuals.com
Page 38 of 200
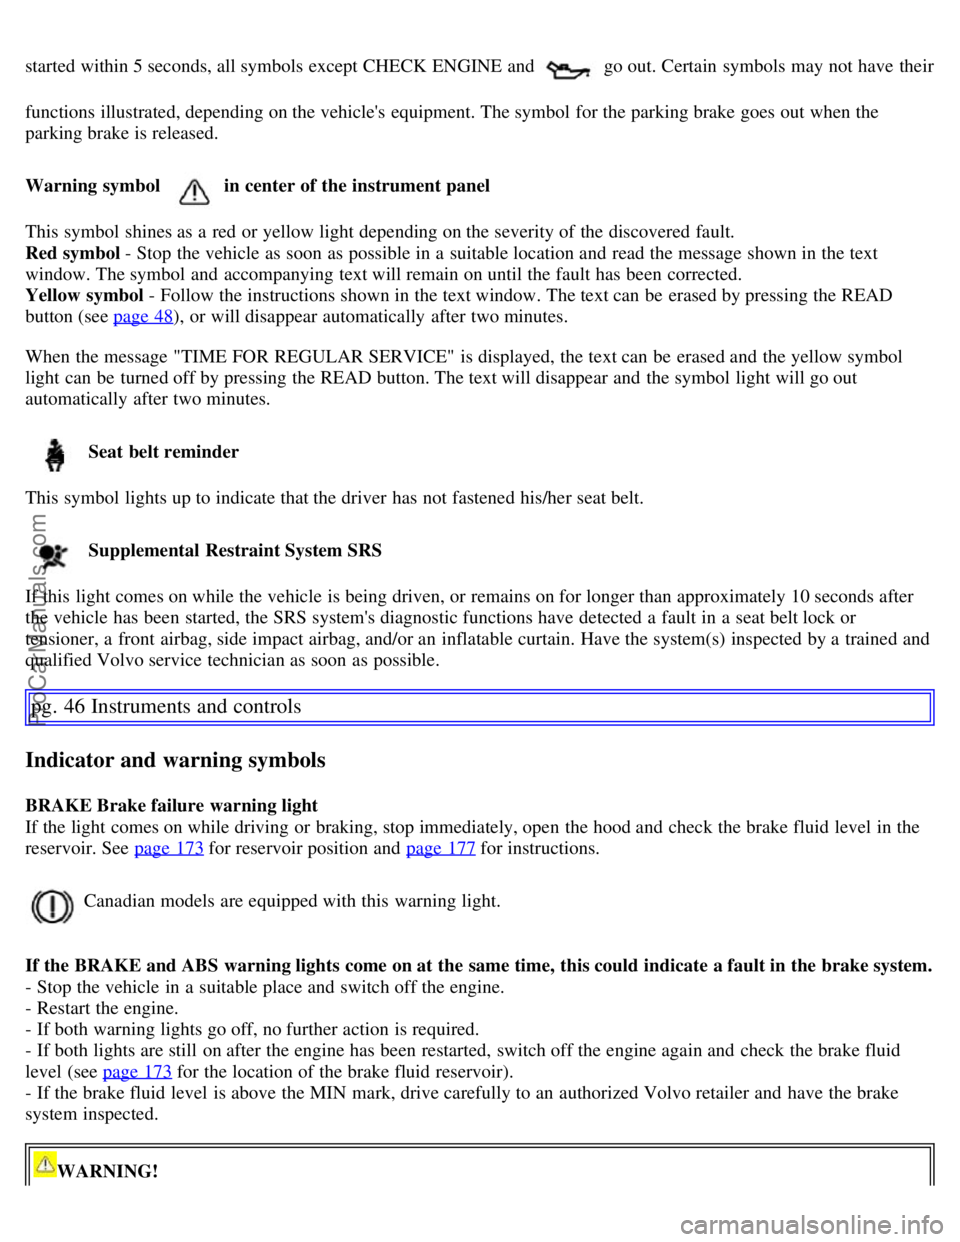
started within 5 seconds, all symbols except CHECK ENGINE and go out. Certain symbols may not have their
functions illustrated, depending on the vehicle's equipment. The symbol for the parking brake goes out when the
parking brake is released.
Warning symbol
in center of the instrument panel
This symbol shines as a red or yellow light depending on the severity of the discovered fault.
Red symbol - Stop the vehicle as soon as possible in a suitable location and read the message shown in the text
window. The symbol and accompanying text will remain on until the fault has been corrected.
Yellow symbol - Follow the instructions shown in the text window. The text can be erased by pressing the READ
button (see page 48
), or will disappear automatically after two minutes.
When the message "TIME FOR REGULAR SERVICE" is displayed, the text can be erased and the yellow symbol
light can be turned off by pressing the READ button. The text will disappear and the symbol light will go out
automatically after two minutes.
Seat belt reminder
This symbol lights up to indicate that the driver has not fastened his/her seat belt.
Supplemental Restraint System SRS
If this light comes on while the vehicle is being driven, or remains on for longer than approximately 10 seconds after
the vehicle has been started, the SRS system's diagnostic functions have detected a fault in a seat belt lock or
tensioner, a front airbag, side impact airbag, and/or an inflatable curtain. Have the system(s) inspected by a trained and
qualified Volvo service technician as soon as possible.
pg. 46 Instruments and controls
Indicator and warning symbols
BRAKE Brake failure warning light
If the light comes on while driving or braking, stop immediately, open the hood and check the brake fluid level in the
reservoir. See page 173
for reservoir position and page 177 for instructions.
Canadian models are equipped with this warning light.
If the BRAKE and ABS warning lights come on at the same time, this could indicate a fault in the brake system.
- Stop the vehicle in a suitable place and switch off the engine.
- Restart the engine.
- If both warning lights go off, no further action is required.
- If both lights are still on after the engine has been restarted, switch off the engine again and check the brake fluid
level (see page 173
for the location of the brake fluid reservoir).
- If the brake fluid level is above the MIN mark, drive carefully to an authorized Volvo retailer and have the brake
system inspected.
WARNING!
ProCarManuals.com
Page 39 of 200
If the fluid level is below the MIN mark in the reservoir or if a "Brake failure - Service urgent" message is displayed
in the text window: DO NOT DRIVE. Have the vehicle towed to an authorized Volvo retailer and have the brake
system inspected.
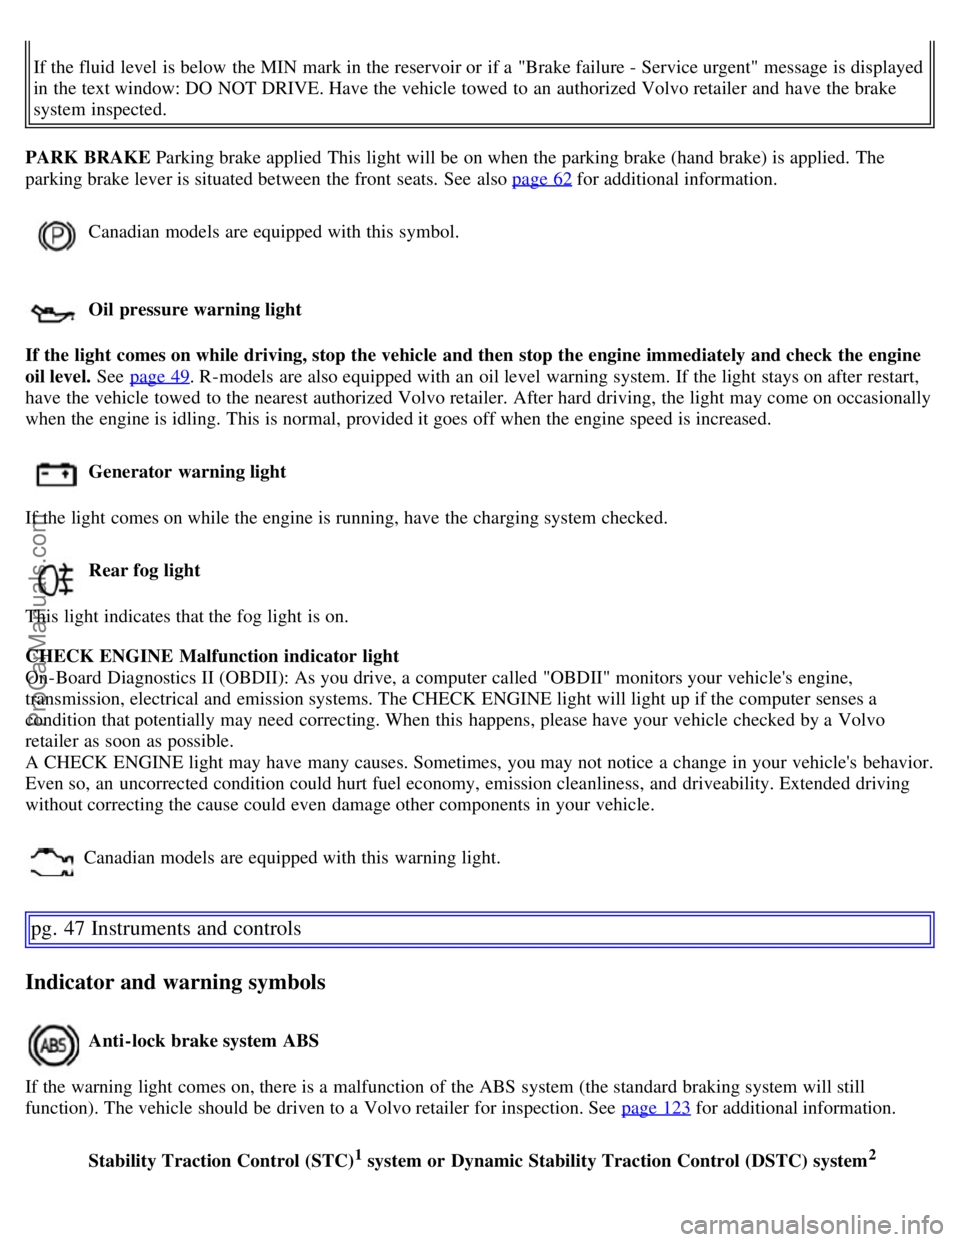
PARK BRAKE Parking brake applied This light will be on when the parking brake (hand brake) is applied. The
parking brake lever is situated between the front seats. See also page 62
for additional information.
Canadian models are equipped with this symbol.
Oil pressure warning light
If the light comes on while driving, stop the vehicle and then stop the engine immediately and check the engine
oil level. See page 49
. R-models are also equipped with an oil level warning system. If the light stays on after restart,
have the vehicle towed to the nearest authorized Volvo retailer. After hard driving, the light may come on occasionally
when the engine is idling. This is normal, provided it goes off when the engine speed is increased.
Generator warning light
If the light comes on while the engine is running, have the charging system checked.
Rear fog light
This light indicates that the fog light is on.
CHECK ENGINE Malfunction indicator light
On-Board Diagnostics II (OBDII): As you drive, a computer called "OBDII" monitors your vehicle's engine,
transmission, electrical and emission systems. The CHECK ENGINE light will light up if the computer senses a
condition that potentially may need correcting. When this happens, please have your vehicle checked by a Volvo
retailer as soon as possible.
A CHECK ENGINE light may have many causes. Sometimes, you may not notice a change in your vehicle's behavior.
Even so, an uncorrected condition could hurt fuel economy, emission cleanliness, and driveability. Extended driving
without correcting the cause could even damage other components in your vehicle.
Canadian models are equipped with this warning light.
pg. 47 Instruments and controls
Indicator and warning symbols
Anti-lock brake system ABS
If the warning light comes on, there is a malfunction of the ABS system (the standard braking system will still
function). The vehicle should be driven to a Volvo retailer for inspection. See page 123
for additional information.
Stability Traction Control (STC)
1 system or Dynamic Stability Traction Control (DSTC) system2
ProCarManuals.com
Page 47 of 200
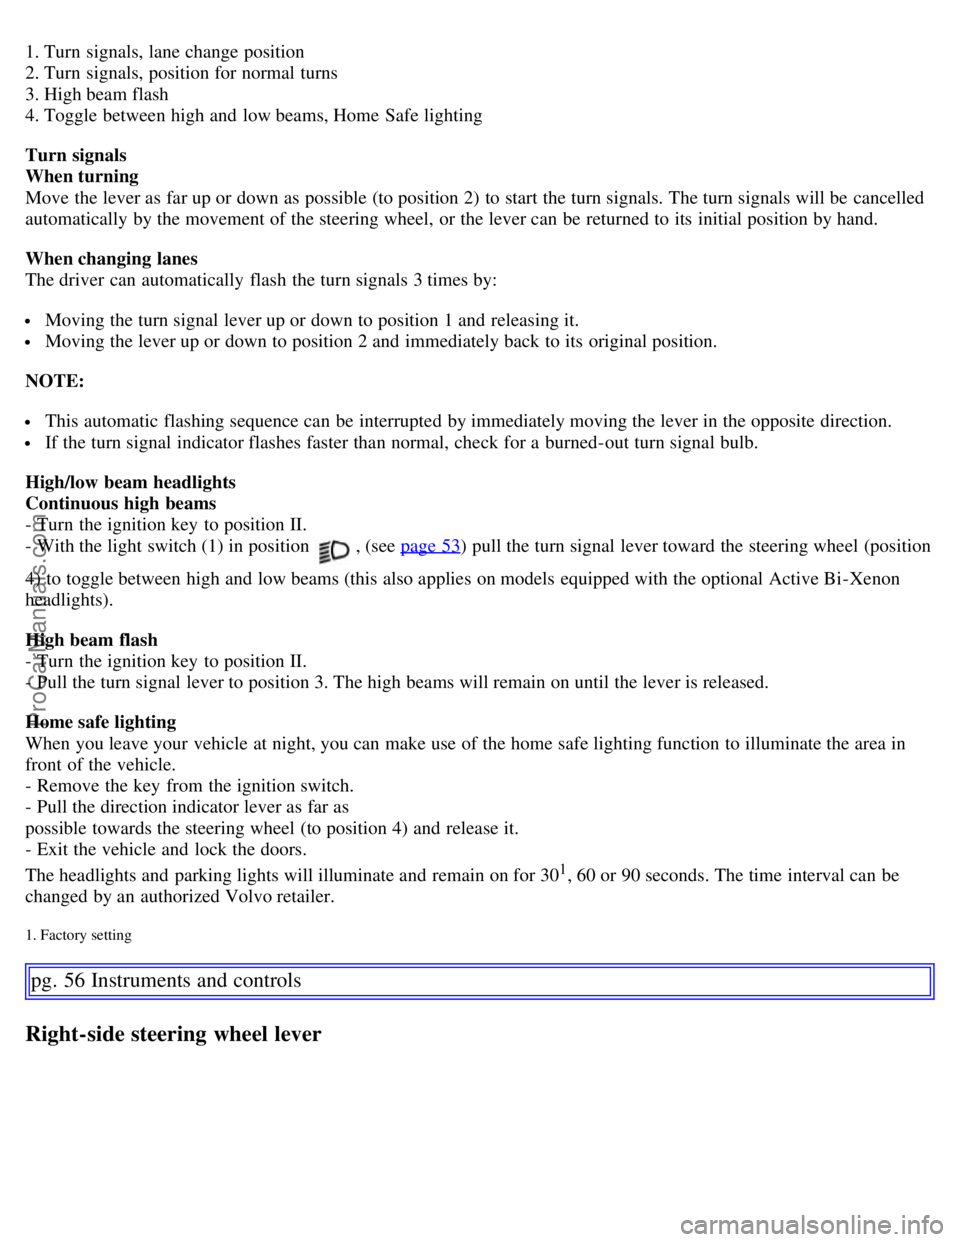
1. Turn signals, lane change position
2. Turn signals, position for normal turns
3. High beam flash
4. Toggle between high and low beams, Home Safe lighting
Turn signals
When turning
Move the lever as far up or down as possible (to position 2) to start the turn signals. The turn signals will be cancelled
automatically by the movement of the steering wheel, or the lever can be returned to its initial position by hand.
When changing lanes
The driver can automatically flash the turn signals 3 times by:
Moving the turn signal lever up or down to position 1 and releasing it.
Moving the lever up or down to position 2 and immediately back to its original position.
NOTE:
This automatic flashing sequence can be interrupted by immediately moving the lever in the opposite direction.
If the turn signal indicator flashes faster than normal, check for a burned-out turn signal bulb.
High/low beam headlights
Continuous high beams
- Turn the ignition key to position II.
- With the light switch (1) in position
, (see page 53) pull the turn signal lever toward the steering wheel (position
4) to toggle between high and low beams (this also applies on models equipped with the optional Active Bi -Xenon
headlights).
High beam flash
- Turn the ignition key to position II.
- Pull the turn signal lever to position 3. The high beams will remain on until the lever is released.
Home safe lighting
When you leave your vehicle at night, you can make use of the home safe lighting function to illuminate the area in
front of the vehicle.
- Remove the key from the ignition switch.
- Pull the direction indicator lever as far as
possible towards the steering wheel (to position 4) and release it.
- Exit the vehicle and lock the doors.
The headlights and parking lights will illuminate and remain on for 30
1, 60 or 90 seconds. The time interval can be
changed by an authorized Volvo retailer.
1. Factory setting
pg. 56 Instruments and controls
Right-side steering wheel lever
ProCarManuals.com
Page 49 of 200
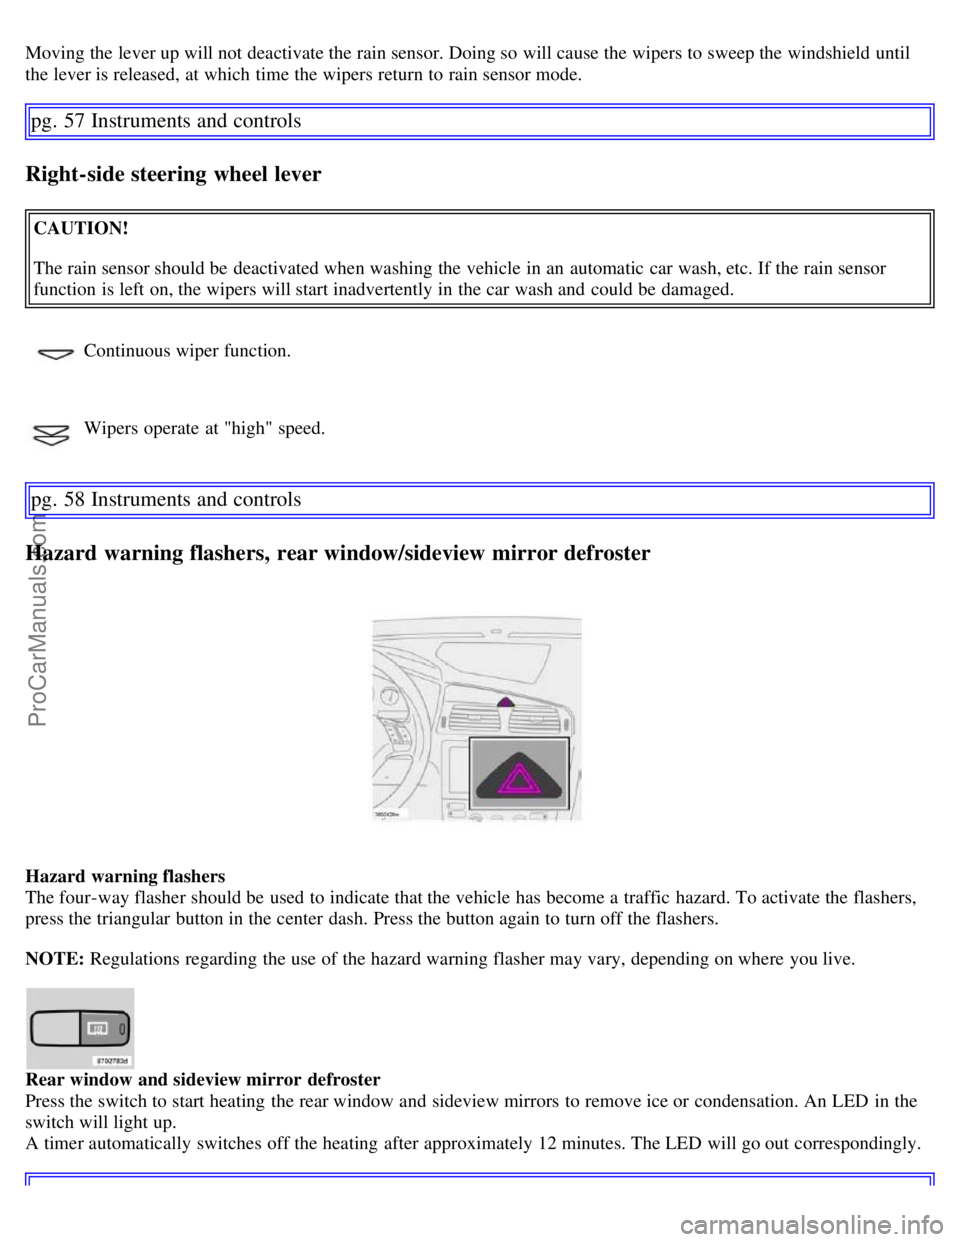
Moving the lever up will not deactivate the rain sensor. Doing so will cause the wipers to sweep the windshield until
the lever is released, at which time the wipers return to rain sensor mode.
pg. 57 Instruments and controls
Right-side steering wheel lever
CAUTION!
The rain sensor should be deactivated when washing the vehicle in an automatic car wash, etc. If the rain sensor
function is left on, the wipers will start inadvertently in the car wash and could be damaged.
Continuous wiper function.
Wipers operate at "high" speed.
pg. 58 Instruments and controls
Hazard warning flashers, rear window/sideview mirror defroster
Hazard warning flashers
The four-way flasher should be used to indicate that the vehicle has become a traffic hazard. To activate the flashers,
press the triangular button in the center dash. Press the button again to turn off the flashers.
NOTE: Regulations regarding the use of the hazard warning flasher may vary, depending on where you live.
Rear window and sideview mirror defroster
Press the switch to start heating the rear window and sideview mirrors to remove ice or condensation. An LED in the
switch will light up.
A timer automatically switches off the heating after approximately 12 minutes. The LED will go out correspondingly.
ProCarManuals.com
Page 50 of 200
pg. 59 Instruments and controls
Trip computer
Trip computer
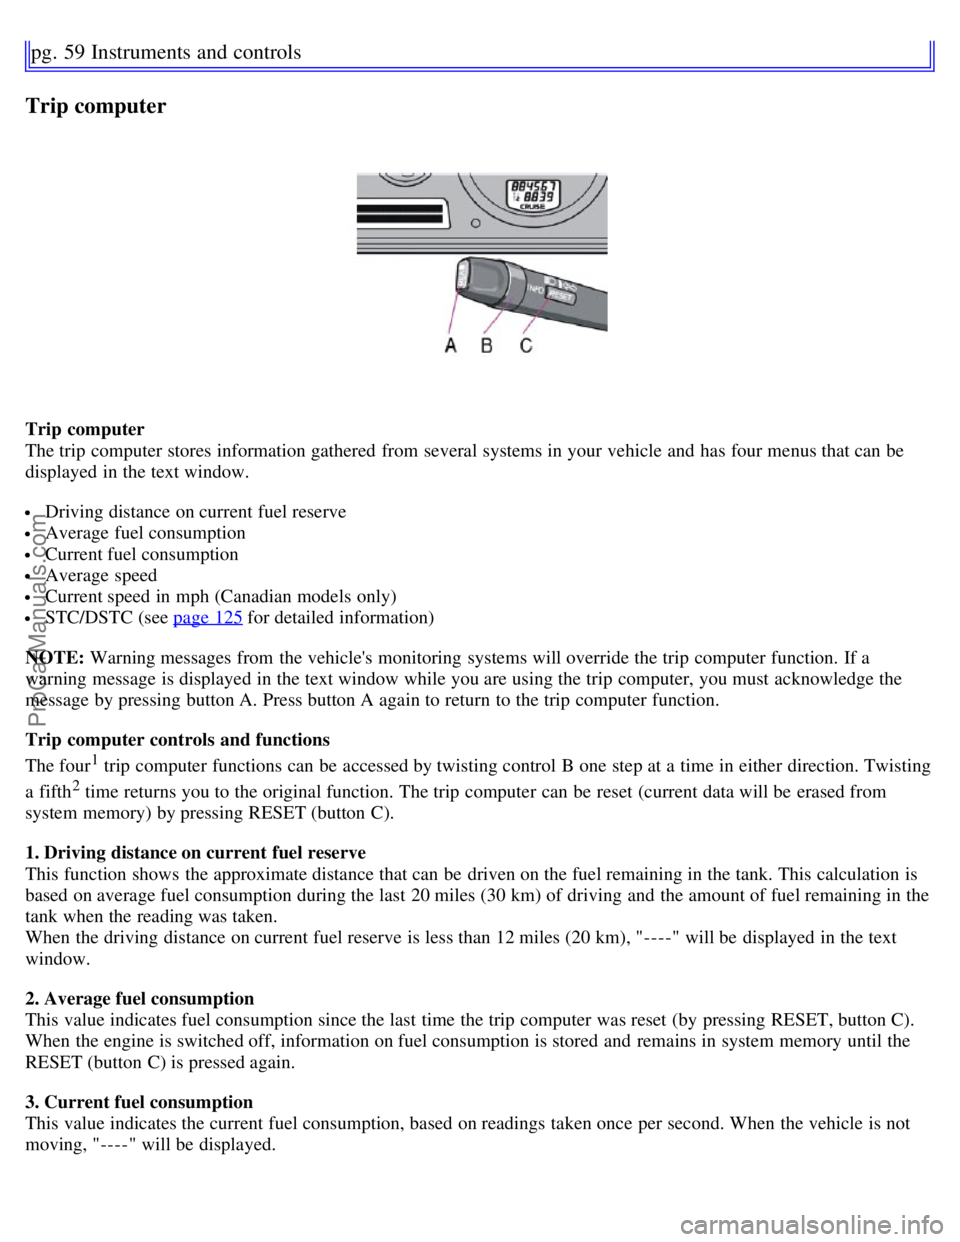
The trip computer stores information gathered from several systems in your vehicle and has four menus that can be
displayed in the text window.
Driving distance on current fuel reserve
Average fuel consumption
Current fuel consumption
Average speed
Current speed in mph (Canadian models only)
STC/DSTC (see page 125 for detailed information)
NOTE: Warning messages from the vehicle's monitoring systems will override the trip computer function. If a
warning message is displayed in the text window while you are using the trip computer, you must acknowledge the
message by pressing button A. Press button A again to return to the trip computer function.
Trip computer controls and functions
The four
1 trip computer functions can be accessed by twisting control B one step at a time in either direction. Twisting
a fifth
2 time returns you to the original function. The trip computer can be reset (current data will be erased from
system memory) by pressing RESET (button C).
1. Driving distance on current fuel reserve
This function shows the approximate distance that can be driven on the fuel remaining in the tank. This calculation is
based on average fuel consumption during the last 20 miles (30 km) of driving and the amount of fuel remaining in the
tank when the reading was taken.
When the driving distance on current fuel reserve is less than 12 miles (20 km), "----" will be displayed in the text
window.
2. Average fuel consumption
This value indicates fuel consumption since the last time the trip computer was reset (by pressing RESET, button C).
When the engine is switched off, information on fuel consumption is stored and remains in system memory until the
RESET (button C) is pressed again.
3. Current fuel consumption
This value indicates the current fuel consumption, based on readings taken once per second. When the vehicle is not
moving, "----" will be displayed.
ProCarManuals.com
Page 67 of 200
Selecting Defroster automatically switches recirculation off.
Timer mode activation: (vehicles with the Interior Air Quality system have no timer mode) Press and hold the
recirculation button for at least 3 seconds to activate a recirculation timer mode. The amber LED in the recirculation
button will flash 5 times to show that the timer mode is being activated. In timer mode, each time the recirculation
button is pressed, the climate control system will recirculate the air in the passenger compartment for 5- 12 minutes,
depending on the outside air temperature, and then revert back to fresh air.
Timer mode deactivation: Press and hold the recirculation button for 3 seconds. The amber LED in the recirculation
button will illuminate steadily for 5 seconds to show a return to "normal" mode.
In normal mode, when the recirculation button is pressed, the climate control
pg. 77 Climate
Electronic climate control, ECC
system will recirculate the air in the passenger compartment until the recirculation button is pressed again.
Timer mode memory: If the vehicle is turned off while timer mode is active, timer mode will still be active when
the vehicle is restarted.
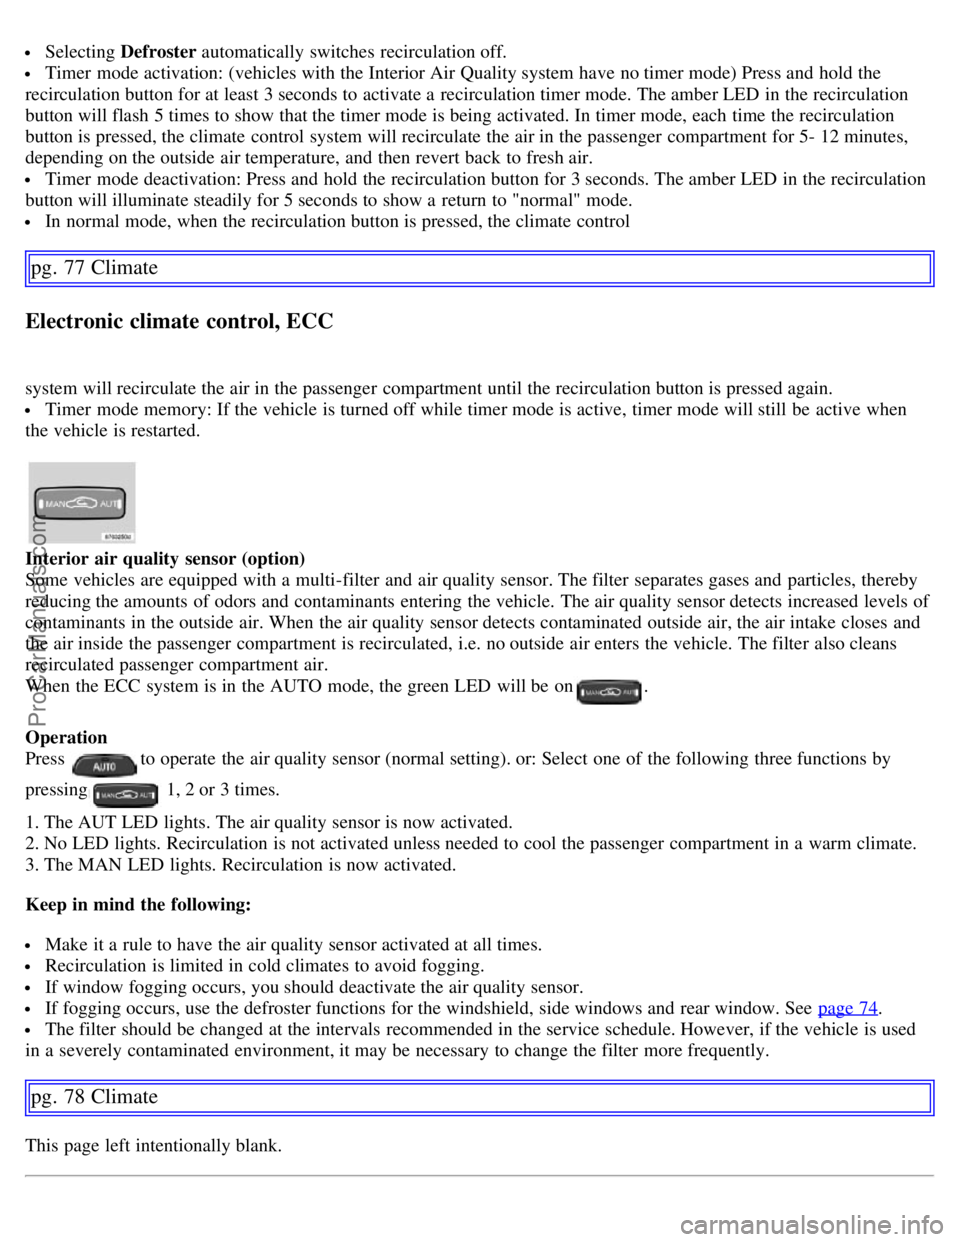
Interior air quality sensor (option)
Some vehicles are equipped with a multi-filter and air quality sensor. The filter separates gases and particles, thereby
reducing the amounts of odors and contaminants entering the vehicle. The air quality sensor detects increased levels of
contaminants in the outside air. When the air quality sensor detects contaminated outside air, the air intake closes and
the air inside the passenger compartment is recirculated, i.e. no outside air enters the vehicle. The filter also cleans
recirculated passenger compartment air.
When the ECC system is in the AUTO mode, the green LED will be on
.
Operation
Press
to operate the air quality sensor (normal setting). or: Select one of the following three functions by
pressing
1, 2 or 3 times.
1. The AUT LED lights. The air quality sensor is now activated.
2. No LED lights. Recirculation is not activated unless needed to cool the passenger compartment in a warm climate.
3. The MAN LED lights. Recirculation is now activated.
Keep in mind the following:
Make it a rule to have the air quality sensor activated at all times.
Recirculation is limited in cold climates to avoid fogging.
If window fogging occurs, you should deactivate the air quality sensor.
If fogging occurs, use the defroster functions for the windshield, side windows and rear window. See page 74.
The filter should be changed at the intervals recommended in the service schedule. However, if the vehicle is used
in a severely contaminated environment, it may be necessary to change the filter more frequently.
pg. 78 Climate
This page left intentionally blank.
ProCarManuals.com
Page 98 of 200
Remove snow tires when threat of snow or ice has ended.
Note that roof racks, ski racks, etc, increase air resistance and also fuel consumption.
Avoid using automatic transmission kickdown feature unless necessary.
However, at higher driving speeds, fuel consumption will be lower with the air conditioning on and the windows
closed than with the air conditioning off and the windows open.
Using the onboard trip computer's fuel consumption modes can help you learn how to drive more economically.
Other factors that decrease gas mileage are:
Dirty air cleaner
Dirty engine oil and clogged oil filter
Dragging brakes
Incorrect front end alignment.
Some of the above mentioned items and others are checked at the standard Maintenance Service intervals.
NOTE: Vehicles equipped with automatic transmissions should use (D)rive as often as possible and avoid using
"kickdown" to help improve fuel economy.
CAUTION!
Drive slowly and carefully if going through standing water (i.e. flooded roadways, etc.). Damage to the engine could
result if excess water is drawn in through the air intake system. Never drive the vehicle in water deeper than 1 foot
(300 mm).
pg. 114 Starting and driving
Handling and road holding
Weight distribution affects handling
At the specified curb weight your vehicle has a tendency to understeer, which means that the steering wheel has to be
turned more than might seem appropriate for the curvature of a bend.
This ensures good stability and reduces the risk of rear wheel skid. Remember that these properties can alter with the
vehicle load. The heavier the load in the trunk (max. 220 lbs, 100 kg), the less the tendency to understeer.
Handling, roadholding
Vehicle load, tire design and inflation pressure all affect vehicle handling. Therefore, check that the tires are inflated to
the recommended pressure according to the vehicle load. See "Tire pressure" section.
Loads should be distributed so that capacity weight or maximum permissible axle loads are not exceeded.
Speed-sensitive power steering (Option on certain models)
With this feature, the steering is most responsive at lower speeds to make parking, driving in city traffic, etc., easier.
The effect of the power steering diminishes as you accelerate for greater stability at highway speeds.
Driving through water
The vehicle can be driven through water up to a depth of approximately 9 in. (25 cm), at a maximum speed of 6 mph
(10 km/h).
Take particular care when driving through flowing water.
Clean the electrical connections for trailer wiring after driving in mud or water When driving through water, maintain
low speed and do not stop in the water.
WARNING!
ProCarManuals.com
Page 99 of 200
After driving through water, press lightly on the brake pedal to ensure that the brakes are functioning normally.
Water or mud can make the brake linings slippery, resulting in delayed braking effect.
CAUTION!
Engine damage will occur if water is drawn into the air cleaner.
If the vehicle is driven through water deeper than 9 in (25 cm), water may enter the differential and the
transmission. This reduces the oil's lubricating capacity and may shorten the service life of these components.
Do not allow the vehicle to stand in water up to the door sills longer than absolutely necessary. This could result
in electrical malfunctions.
If the engine has been stopped while the car is in water, do not attempt to restart the engine. Have the car towed
out of the water.
pg. 115 Starting and driving
Manual transmission
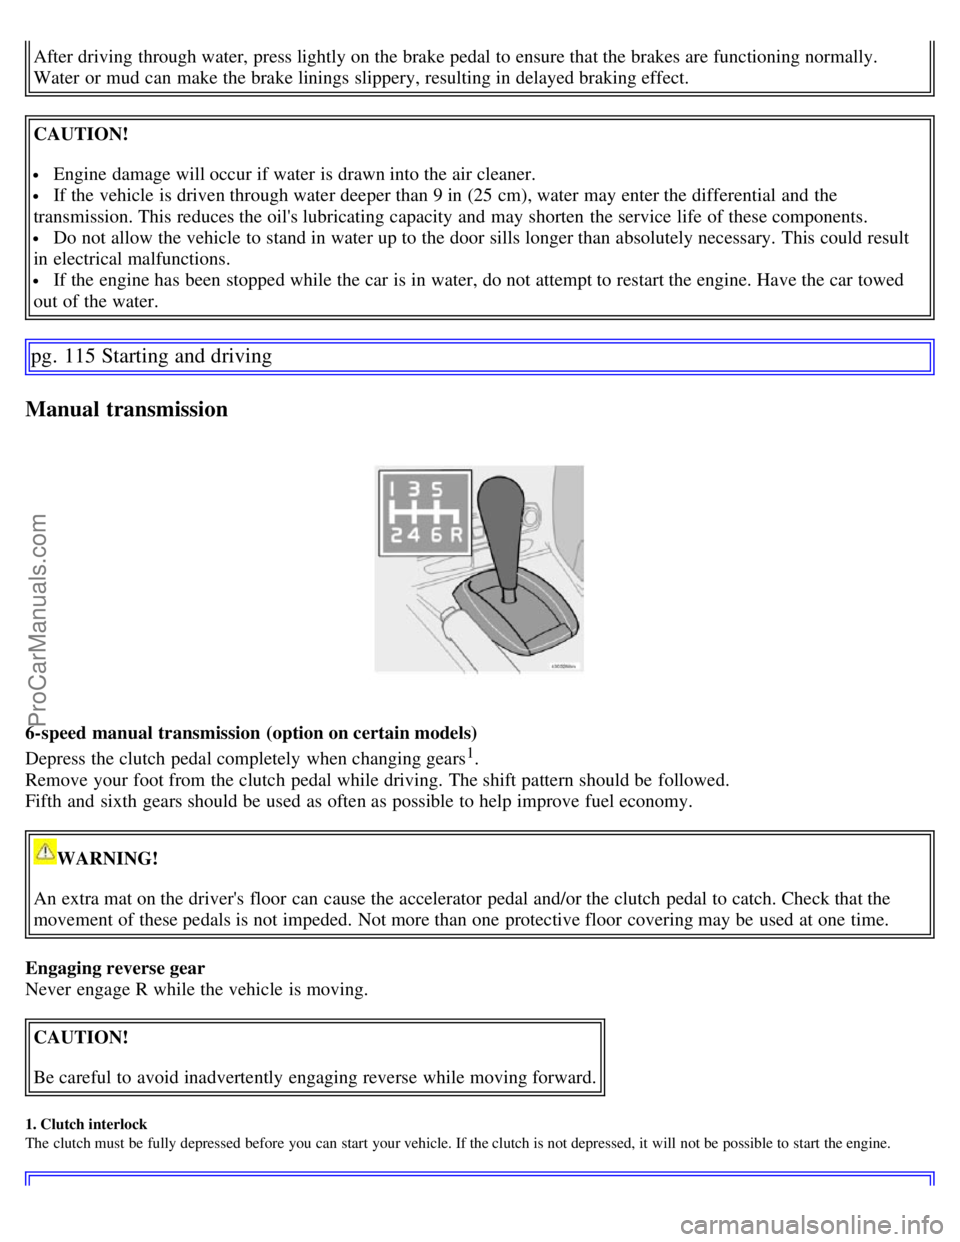
6-speed manual transmission (option on certain models)
Depress the clutch pedal completely when changing gears
1.
Remove your foot from the clutch pedal while driving. The shift pattern should be followed.
Fifth and sixth gears should be used as often as possible to help improve fuel economy.
WARNING!
An extra mat on the driver's floor can cause the accelerator pedal and/or the clutch pedal to catch. Check that the
movement of these pedals is not impeded. Not more than one protective floor covering may be used at one time.
Engaging reverse gear
Never engage R while the vehicle is moving. CAUTION!
Be careful to avoid inadvertently engaging reverse while moving forward.
1. Clutch interlock
The clutch must be fully depressed before you can start your vehicle. If the clutch is not depressed, it will not be possible to start the engine.
ProCarManuals.com
Page 104 of 200
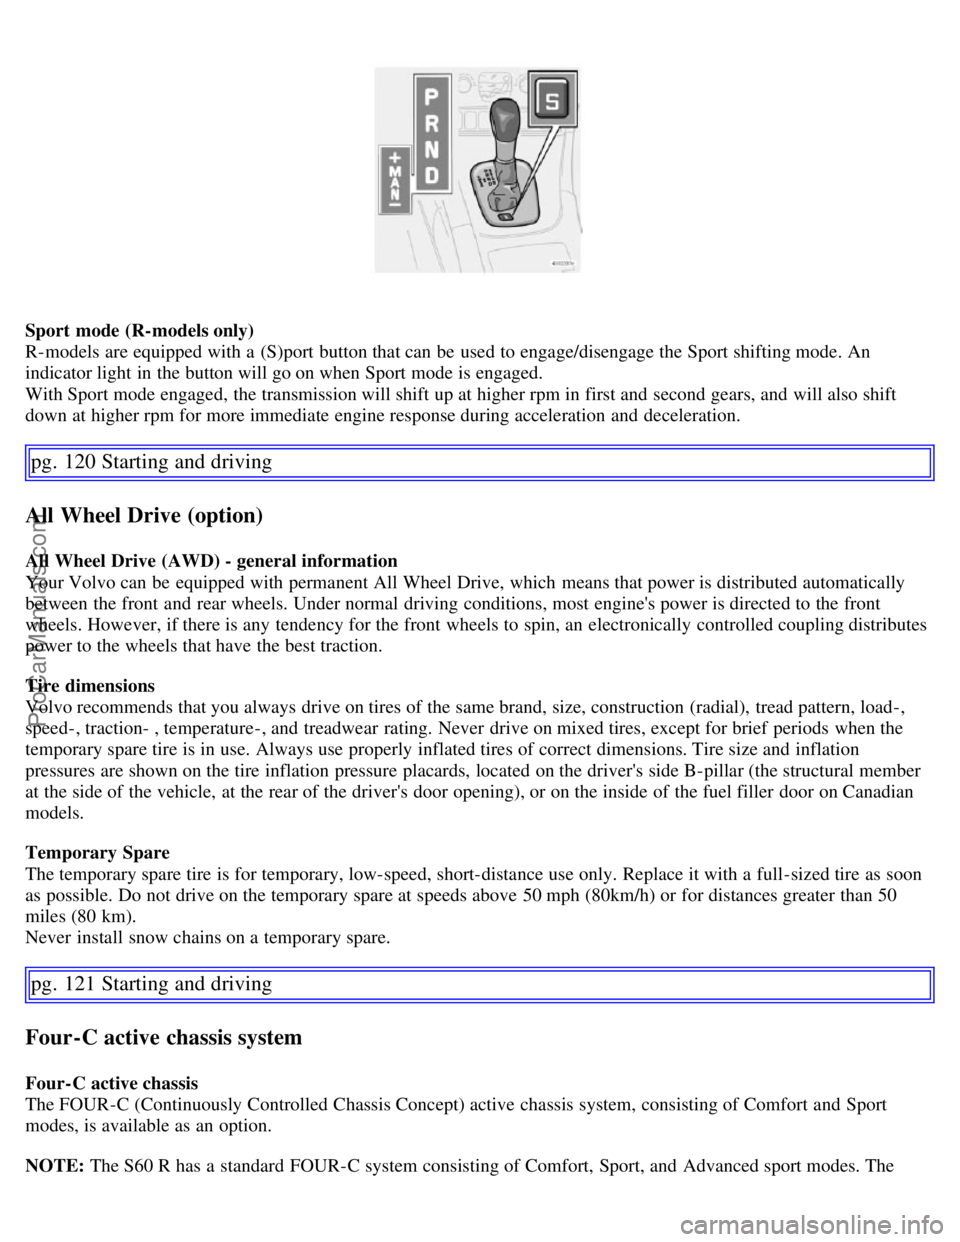
Sport mode (R-models only)
R-models are equipped with a (S)port button that can be used to engage/disengage the Sport shifting mode. An
indicator light in the button will go on when Sport mode is engaged.
With Sport mode engaged, the transmission will shift up at higher rpm in first and second gears, and will also shift
down at higher rpm for more immediate engine response during acceleration and deceleration.
pg. 120 Starting and driving
All Wheel Drive (option)
All Wheel Drive (AWD) - general information
Your Volvo can be equipped with permanent All Wheel Drive, which means that power is distributed automatically
between the front and rear wheels. Under normal driving conditions, most engine's power is directed to the front
wheels. However, if there is any tendency for the front wheels to spin, an electronically controlled coupling distributes
power to the wheels that have the best traction.
Tire dimensions
Volvo recommends that you always drive on tires of the same brand, size, construction (radial), tread pattern, load-,
speed-, traction- , temperature-, and treadwear rating. Never drive on mixed tires, except for brief periods when the
temporary spare tire is in use. Always use properly inflated tires of correct dimensions. Tire size and inflation
pressures are shown on the tire inflation pressure placards, located on the driver's side B-pillar (the structural member
at the side of the vehicle, at the rear of the driver's door opening), or on the inside of the fuel filler door on Canadian
models.
Temporary Spare
The temporary spare tire is for temporary, low-speed, short-distance use only. Replace it with a full-sized tire as soon
as possible. Do not drive on the temporary spare at speeds above 50 mph (80km/h) or for distances greater than 50
miles (80 km).
Never install snow chains on a temporary spare.
pg. 121 Starting and driving
Four-C active chassis system
Four-C active chassis
The FOUR-C (Continuously Controlled Chassis Concept) active chassis system, consisting of Comfort and Sport
modes, is available as an option.
NOTE: The S60 R has a standard FOUR-C system consisting of Comfort, Sport, and Advanced sport modes. The
ProCarManuals.com