set clock VOLVO S60 2007 Owners Manual
[x] Cancel search | Manufacturer: VOLVO, Model Year: 2007, Model line: S60, Model: VOLVO S60 2007Pages: 200, PDF Size: 4.03 MB
Page 37 of 200

The text window displays information and warning messages.
3. Temperature gauge
The pointer should be approximately midway on the gauge when driving. Do not drive the vehicle if the warning
light is on. The text window will provide you with additional information.
If the engine temperature remains high, check coolant level - see page 172
.
4. Trip odometer
The trip odometers are used for measuring shorter distances. The right-hand digit gives tenth of a mile/kilometer. Press
the button for more than 2 seconds to reset. Change between trip odometers 1 and 2 using one short press on the
button.
5. Odometer
6. Speedometer
7. Warning symbol
8. High beam indicator
9. Tachometer
Indicates engine speed in thousands of revolutions per minute (rpm). Do not drive for long with the needle in the red
section. The engine has an built-in function preventing excessively high engine speeds. When this function operates,
you may discern some pulsation, which in that case is quite normal.
10. Gear and driving mode indicator
The currently selected driving mode is displayed here. If you use the optional Geartronic function on the automatic
transmission, the currently selected gear will be displayed.
11. Ambient temperature gauge
This display indicates the air temperature outside your vehicle. A "snowflake" symbol in the text window is displayed
when the temperature is in the range of 23 - 36 °F (-5 - +2 °C).
Please note that this symbol does not indicate a fault with your vehicle. At low speeds or when the vehicle is not
moving, the temperature readings may be slightly higher than the actual ambient temperature.
12. Clock/set button
Turn the button to set the clock.
13. Fuel gauge
The fuel tank holds approximately: Front wheel drive, non-turbo models - 18.5 US gal. (70 liters)
All turbo models - 18 US gal. (68 liters) When the warning light in the gauge comes on, there are approximately 1.8
US gal. (8 liters) of fuel remaining in the tank.
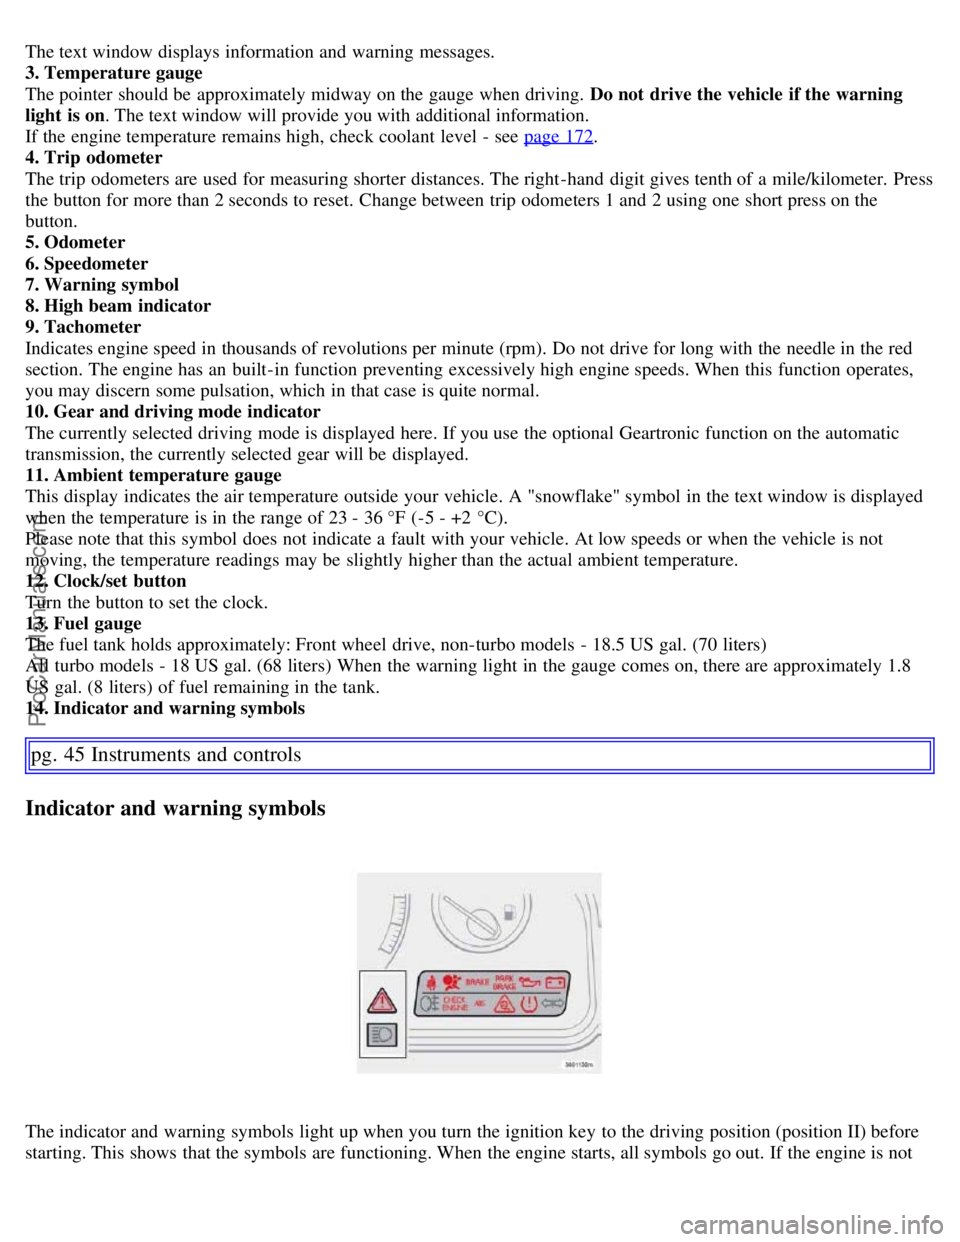
14. Indicator and warning symbols
pg. 45 Instruments and controls
Indicator and warning symbols
The indicator and warning symbols light up when you turn the ignition key to the driving position (position II) before
starting. This shows that the symbols are functioning. When the engine starts, all symbols go out. If the engine is not
ProCarManuals.com
Page 65 of 200

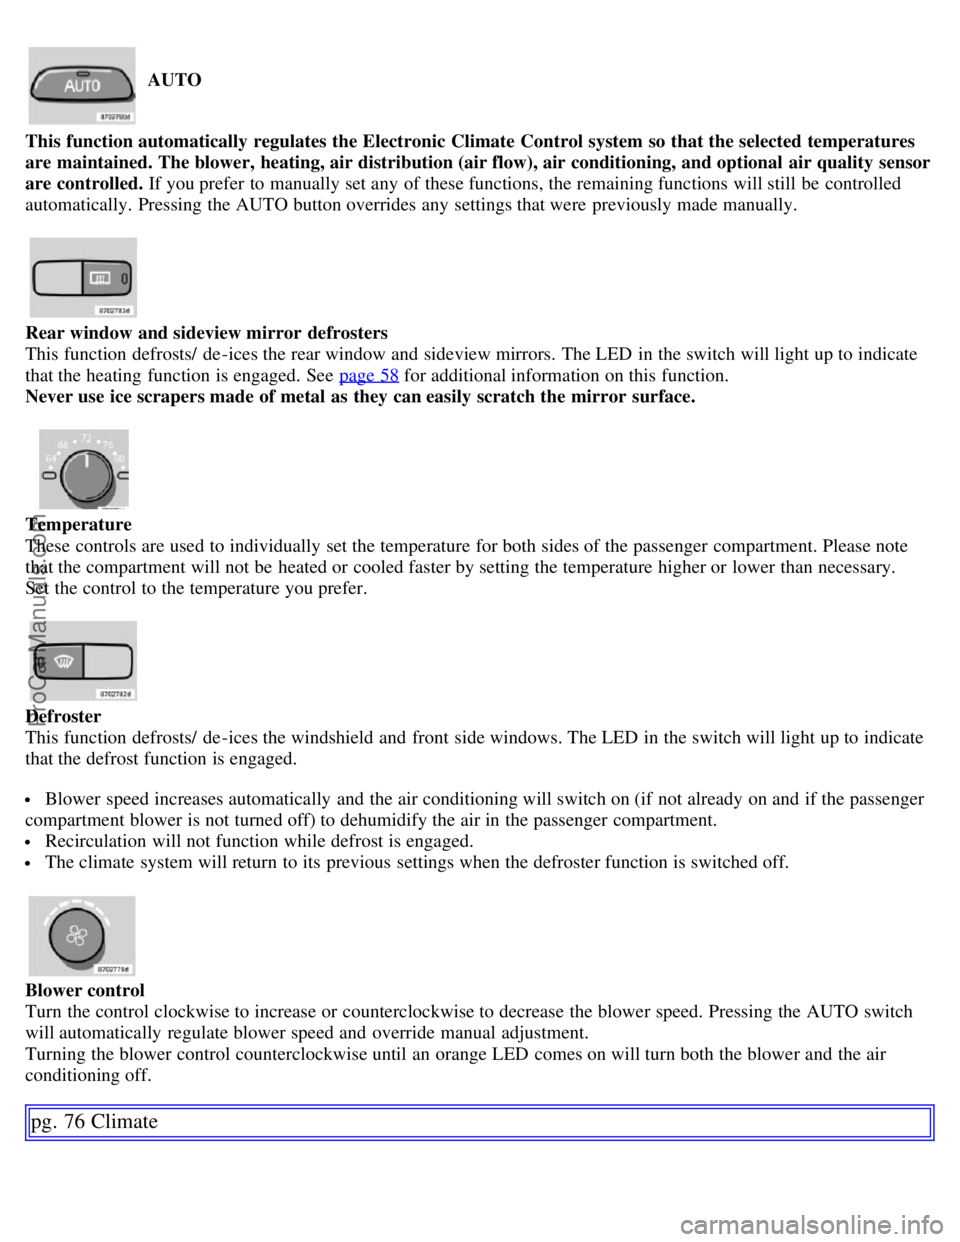
AUTO
This function automatically regulates the Electronic Climate Control system so that the selected temperatures
are maintained. The blower, heating, air distribution (air flow), air conditioning, and optional air quality sensor
are controlled. If you prefer to manually set any of these functions, the remaining functions will still be controlled
automatically. Pressing the AUTO button overrides any settings that were previously made manually.
Rear window and sideview mirror defrosters
This function defrosts/ de -ices the rear window and sideview mirrors. The LED in the switch will light up to indicate
that the heating function is engaged. See page 58
for additional information on this function.
Never use ice scrapers made of metal as they can easily scratch the mirror surface.
Temperature
These controls are used to individually set the temperature for both sides of the passenger compartment. Please note
that the compartment will not be heated or cooled faster by setting the temperature higher or lower than necessary.
Set the control to the temperature you prefer.
Defroster
This function defrosts/ de -ices the windshield and front side windows. The LED in the switch will light up to indicate
that the defrost function is engaged.
Blower speed increases automatically and the air conditioning will switch on (if not already on and if the passenger
compartment blower is not turned off) to dehumidify the air in the passenger compartment.
Recirculation will not function while defrost is engaged.
The climate system will return to its previous settings when the defroster function is switched off.
Blower control
Turn the control clockwise to increase or counterclockwise to decrease the blower speed. Pressing the AUTO switch
will automatically regulate blower speed and override manual adjustment.
Turning the blower control counterclockwise until an orange LED comes on will turn both the blower and the air
conditioning off.
pg. 76 Climate
ProCarManuals.com
Page 95 of 200

Refueling
CAUTION!
- Do not refuel with the engine running
1. Turn the ignition off or to position I. If the ignition is on, an incorrect
reading could occur in the fuel gauge.
- After refueling, close the fuel filler cap by turning it clockwise until it clicks into place.
1
- Avoid overfilling the fuel tank. Do not press the handle on the filler nozzle more than one extra time. Too much
fuel in the tank in hot weather conditions can cause the fuel to overflow. Overfilling could also cause damage to the
emission control systems.
- Avoid spilling gasoline during refueling. In addition to causing damage to the environment, gasolines containing
alcohol can cause damage to painted surfaces, which may not be covered under the New Vehicle Limited Warranty.
- Do not use gasolines containing methanol (methyl alcohol, wood alcohol). This practice can result in vehicle
performance deterioration and can damage critical parts in the fuel system. Such damage may not be covered under
the New Vehicle Limited Warranty.
1. If the fuel filler cap is not closed tightly or if the engine is running when the vehicle is refueled, the Check Engine Light (malfunction indicator
lamp) may indicate a fault. However, your vehicle's performance will not be affected. Use only Volvo original or approved fuel filler caps.
pg. 111 Starting and driving
Starting the vehicle
Starting the engine
- Fasten the seat belt.
WARNING!
Before starting, check that the seat, steering wheel and mirrors are adjusted properly. Make sure the brake pedal can
be depressed completely. Adjust the seat if necessary. See pages 80
and 82.
- Apply the parking brake (hand brake) if not already set. The gear selector (automatic transmission) is locked in the
( P )ark position ( SHIFTLOCK ). Manual transmission: the clutch must be fully depressed.
- Without touching the accelerator pedal, turn the ignition key
1 to the starting position. Allow the starter to operate for
up to 10 seconds. Release the key as soon as the engine starts. If the engine fails to start, repeat this step.
NOTE:
If the key blade section of the remote is not fully folded out when starting the vehicle, the immobilizer function may
make it impossible to start the engine.
After a cold start, idle speed may be noticeably higher than normal for a short period. This is done to help bring
components in the emission control system to their normal operating temperature as quickly as possible, which enables
them to control emissions and help reduce the vehicle's impact on the environment.
For cold starts at altitudes above 6000 ft (1800 meters), depress the accelerator pedal halfway and turn the key to the
starting position. Release the pedal slowly when the engine starts.
- To release the gear selector from the ( P)ark position, the engine must be running (or the ignition key must be in
position II) and the brake pedal must be depressed.
- Select the desired gear. The gear engages after a very slight delay which is especially noticeable when selecting R.
NOTE : Your vehicle is equipped with a KEYLOCK system (automatic transmission). When the engine is switched
ProCarManuals.com
Page 181 of 200

Turn the knob clockwise to increase volume. Volume control is electronic and does not have an end stop. If you have
a key pad in the steering wheel, increase or decrease the volume with the + or - buttons.
Volume control - ALARM
If a CD is playing when the radio receives an alarm bulletin (available in certain areas only), the CD player enters
pause mode. The bulletin is broadcast at the volume selected for this type of message.
After the bulletin has been completed, the audio system reverts to the originally selected sound.
pg. 216 Specifications
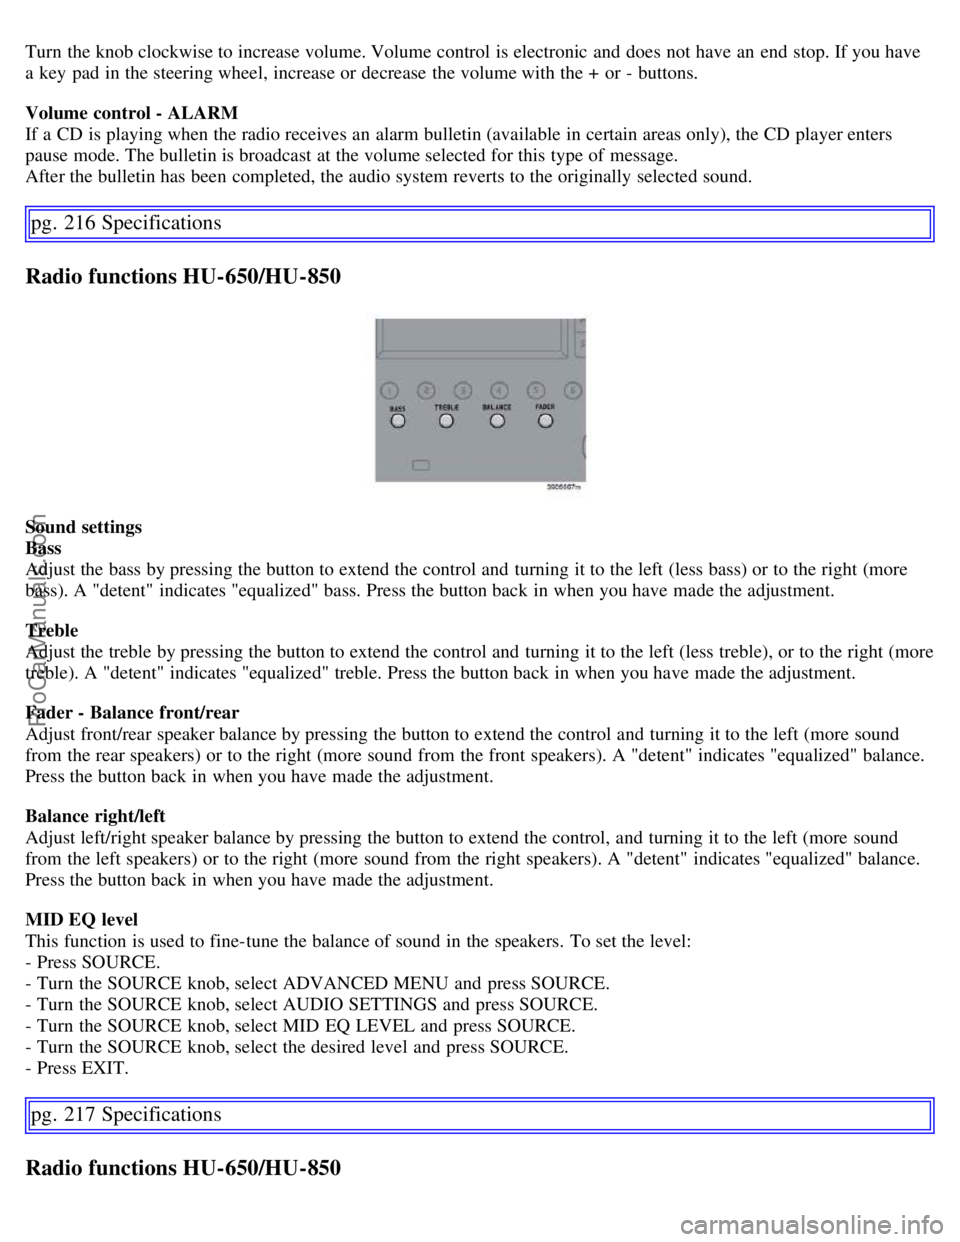
Radio functions HU-650/HU-850
Sound settings
Bass
Adjust the bass by pressing the button to extend the control and turning it to the left (less bass) or to the right (more
bass). A "detent" indicates "equalized" bass. Press the button back in when you have made the adjustment.
Treble
Adjust the treble by pressing the button to extend the control and turning it to the left (less treble), or to the right (more
treble). A "detent" indicates "equalized" treble. Press the button back in when you have made the adjustment.
Fader - Balance front/rear
Adjust front/rear speaker balance by pressing the button to extend the control and turning it to the left (more sound
from the rear speakers) or to the right (more sound from the front speakers). A "detent" indicates "equalized" balance.
Press the button back in when you have made the adjustment.
Balance right/left
Adjust left/right speaker balance by pressing the button to extend the control, and turning it to the left (more sound
from the left speakers) or to the right (more sound from the right speakers). A "detent" indicates "equalized" balance.
Press the button back in when you have made the adjustment.
MID EQ level
This function is used to fine-tune the balance of sound in the speakers. To set the level:
- Press SOURCE.
- Turn the SOURCE knob, select ADVANCED MENU and press SOURCE.
- Turn the SOURCE knob, select AUDIO SETTINGS and press SOURCE.
- Turn the SOURCE knob, select MID EQ LEVEL and press SOURCE.
- Turn the SOURCE knob, select the desired level and press SOURCE.
- Press EXIT.
pg. 217 Specifications
Radio functions HU-650/HU-850
ProCarManuals.com