service reset VOLVO V60 2014 Owners Manual
[x] Cancel search | Manufacturer: VOLVO, Model Year: 2014, Model line: V60, Model: VOLVO V60 2014Pages: 442, PDF Size: 13.85 MB
Page 19 of 442

01 Introduction
01
* Option/accessory, for more information, see Introduction.17
Accessories and extra equipment
The incorrect connection and installation of accessories and extra equipment can nega-tively affect the car's electronic system. Certain accessories only function when asso- ciated software is installed in the car's com-puter system. Volvo therefore recommendsthat you always contact an authorised Volvoworkshop before installing accessories orextra equipment which are connected to oraffect the electrical system.
Heat-reflecting windscreen*
Areas where IR film is not applied.
Dimensions
A40 mm
B80 mm
The windscreen is equipped with a heat- reflecting film (IR) that reduces the solar heatradiation into the passenger compartment. The positioning of electronic equipment, such as a transponder, behind a glass surface withheat-reflecting film may affect its function andperformance. For the optimal function of electronic equip- ment, it should be positioned on the part ofthe windscreen with no heat-reflecting film(see the highlighted area in the above illustra-tion).Change of ownership for cars with Volvo On Call*
If the car is equipped with Volvo On Call, VOC it is important to change the owner of theservice. VOC is a supplemental service that consists of safety, security and comfort services. Inthe event of change of ownership it is impor-tant to change the owner of the service.
Closing the VOC serviceContact a Volvo dealer in the event of changeof ownership in order to close the VOC serv-ice. In the event of change of ownership it is important to reset personal settings in the car to the original factory settings 2
, see Change
of ownership.
Starting the VOC serviceIt is very important that the VOC service changes owner so that the previous owner'sability to use services in the car is stopped.Contact a Volvo dealer in the event of achange of ownership.
Related information
• Information on the Internet (p. 18)
ProCarManuals.co’
Page 40 of 442
02 Safety
02
38
Safety mode - attempting to start the car
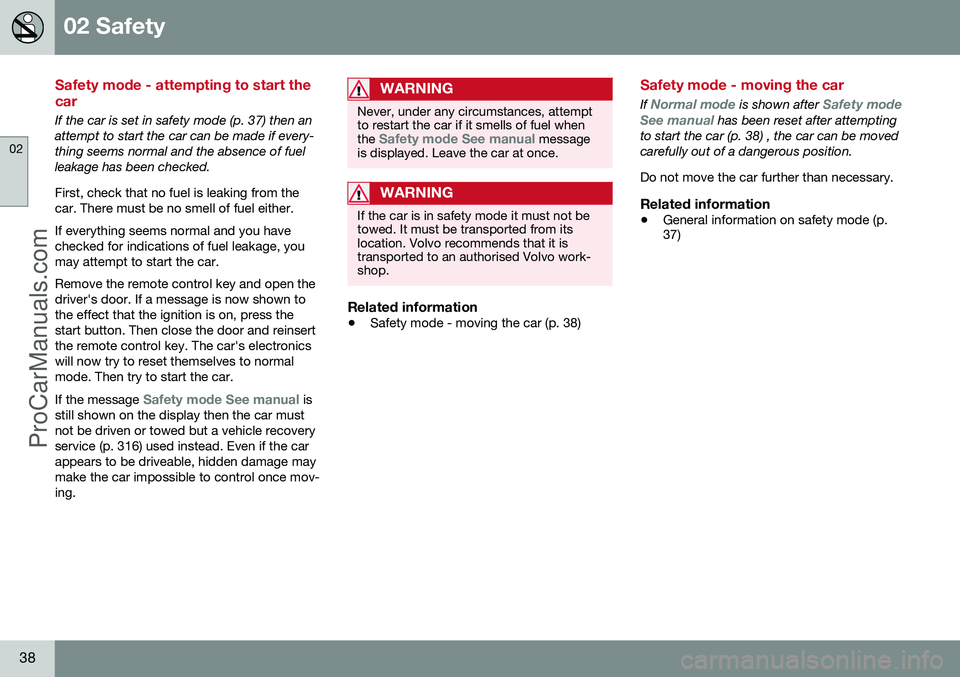
If the car is set in safety mode (p. 37) then an attempt to start the car can be made if every-thing seems normal and the absence of fuelleakage has been checked. First, check that no fuel is leaking from the car. There must be no smell of fuel either. If everything seems normal and you have checked for indications of fuel leakage, youmay attempt to start the car. Remove the remote control key and open the driver's door. If a message is now shown tothe effect that the ignition is on, press thestart button. Then close the door and reinsertthe remote control key. The car's electronicswill now try to reset themselves to normalmode. Then try to start the car. If the message
Safety mode See manual is
still shown on the display then the car must not be driven or towed but a vehicle recoveryservice (p. 316) used instead. Even if the carappears to be driveable, hidden damage maymake the car impossible to control once mov-ing.
WARNING
Never, under any circumstances, attempt to restart the car if it smells of fuel when the
Safety mode See manual message
is displayed. Leave the car at once.
WARNING
If the car is in safety mode it must not be towed. It must be transported from itslocation. Volvo recommends that it istransported to an authorised Volvo work-shop.
Related information
• Safety mode - moving the car (p. 38)
Safety mode - moving the car
If Normal mode is shown after Safety mode
See manual has been reset after attempting
to start the car (p. 38) , the car can be moved carefully out of a dangerous position. Do not move the car further than necessary.
Related information
• General information on safety mode (p. 37)
ProCarManuals.co’
Page 92 of 442
03 Instruments and controls
03
90* Option/accessory, for more information, see Introduction.
Headlamps - adjusting headlamp pattern
If the car is equipped with active Xenon head- lamps and has the Active High Beam functionthen the headlamp pattern must be resetwhen changing from right to left-hand traffic,and vice versa.
Active Xenon headlamps*No headlamp pattern adjustment is requiredfor cars with the function Active High Beam*.The headlamp pattern is designed in such away that oncoming traffic is not dazzled. Headlamp pattern adjustment is required for cars with Active High Beam. The car must bestationary with the engine running when theheadlamp pattern is shifted between right andleft-hand traffic. The headlamp pattern is changed in the menu system MY CAR, see MY CAR (p. 103).
Halogen headlampsNo headlamp pattern adjustment needs to bemade. The headlamp pattern is designed insuch a way that oncoming traffic is not daz-zled.
Wipers and washing
Wipers and washers clean the windscreen and rear window. The headlamps are cleanedwith high-pressure washing.
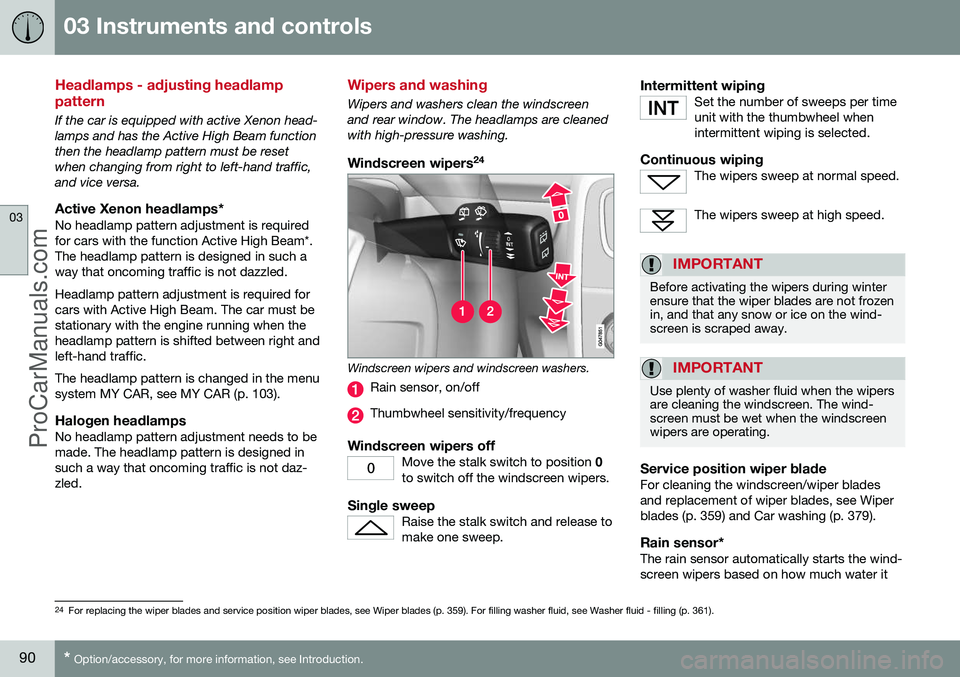
Windscreen wipers 24
Windscreen wipers and windscreen washers.
Rain sensor, on/off
Thumbwheel sensitivity/frequency
Windscreen wipers offMove the stalk switch to position
0
to switch off the windscreen wipers.
Single sweepRaise the stalk switch and release to make one sweep.
Intermittent wipingSet the number of sweeps per time unit with the thumbwheel whenintermittent wiping is selected.
Continuous wipingThe wipers sweep at normal speed.
The wipers sweep at high speed.
IMPORTANT
Before activating the wipers during winter ensure that the wiper blades are not frozenin, and that any snow or ice on the wind-screen is scraped away.
IMPORTANT
Use plenty of washer fluid when the wipers are cleaning the windscreen. The wind-screen must be wet when the windscreenwipers are operating.
Service position wiper bladeFor cleaning the windscreen/wiper blades and replacement of wiper blades, see Wiperblades (p. 359) and Car washing (p. 379).
Rain sensor*The rain sensor automatically starts the wind-screen wipers based on how much water it
24 For replacing the wiper blades and service position wiper blades, see Wiper blades (p. 359). For filling washer fluid, see Washer fluid - filling (p. 361).
ProCarManuals.co’
Page 103 of 442
03 Instruments and controls
03
* Option/accessory, for more information, see Introduction.101
Menu overview - combined instrument panel
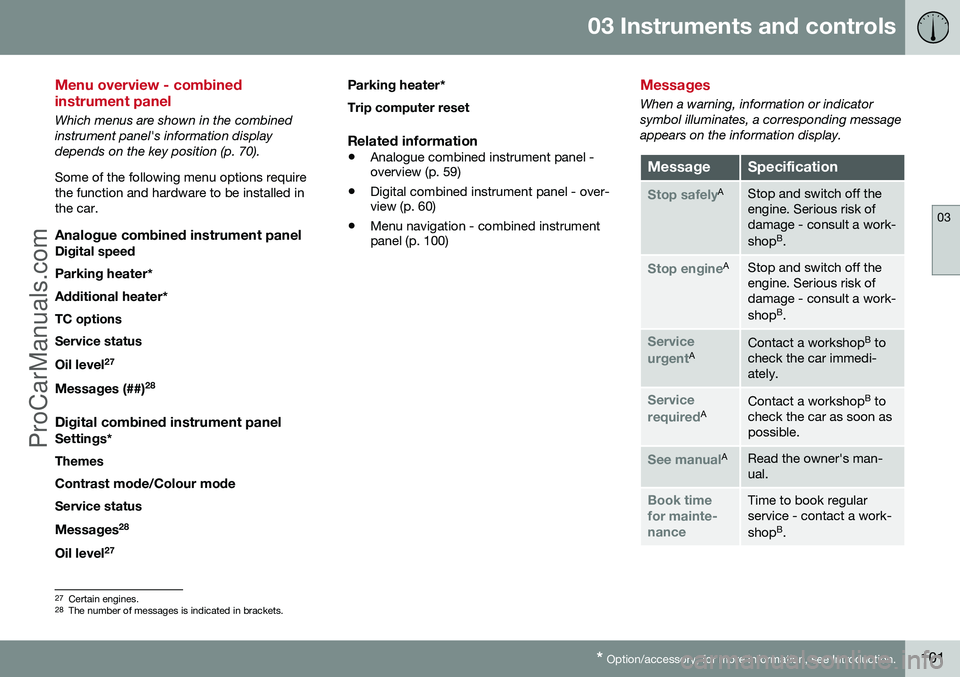
Which menus are shown in the combined instrument panel's information displaydepends on the key position (p. 70). Some of the following menu options require the function and hardware to be installed inthe car.
Analogue combined instrument panelDigital speed
Parking heater *
Additional heater *
TC options Service status
Oil level 27
Messages (##) 28
Digital combined instrument panel
Settings
*
Themes
Contrast mode /Colour mode
Service status
Messages 28
Oil level 27 Parking heater
*
Trip computer reset
Related information
• Analogue combined instrument panel - overview (p. 59)
• Digital combined instrument panel - over-view (p. 60)
• Menu navigation - combined instrumentpanel (p. 100)
Messages
When a warning, information or indicator symbol illuminates, a corresponding messageappears on the information display.
MessageSpecification
Stop safelyAStop and switch off the engine. Serious risk ofdamage - consult a work- shop B
.
Stop engineAStop and switch off the engine. Serious risk ofdamage - consult a work- shop B
.
Service urgentAContact a workshop B
to
check the car immedi- ately.
Service requiredAContact a workshop B
to
check the car as soon as possible.
See manualARead the owner's man- ual.
Book time for mainte-nanceTime to book regular service - contact a work- shop B
.
27 Certain engines.
28 The number of messages is indicated in brackets.
ProCarManuals.co’
Page 104 of 442
||
03 Instruments and controls
03
102* Option/accessory, for more information, see Introduction.
MessageSpecification
Time for reg- ular mainte-nanceTime for regular service - contact a workshop B
. The
timing is determined by the number of kilometresdriven, number of monthssince the last service,engine running time andoil grade.
Maintenance overdueIf the service intervals are not followed then thewarranty does not coverany damaged parts - contact a workshop B
.
Transmission Oil changeneededContact a workshop B
to
check the car as soon as possible.
Transmission ReducedperformanceThe gearbox cannot han- dle full capacity. Drivecarefully until the mes- sage clears C
.
If shown repeatedly -contact a workshop B
.
Transmission hot ReducespeedDrive more smoothly or stop the car in a safemanner. Disengage thegear and run the engineat idling speed until the message clears C
.
MessageSpecification
Transmission hot Stopsafely Waitfor coolingCritical fault. Stop the car immediately in a safemanner and contact a workshop B
.
Temporarily offAA function has been tem- porarily switched off andis reset automaticallywhile driving or after star-ting again.
Low battery chargePower savemodeThe audio system is switched off to saveenergy. Charge the bat-tery.
A Part of message, shown together with information on where the problem has arisen.
B An authorised Volvo workshop is recommended.
C For more information regarding the automatic gearbox, seeAutomatic gearbox -- Geartronic* (p. 273).
Related information
• Messages - handling (p. 102)
• Menu navigation - combined instrument panel (p. 100)
Messages - handling
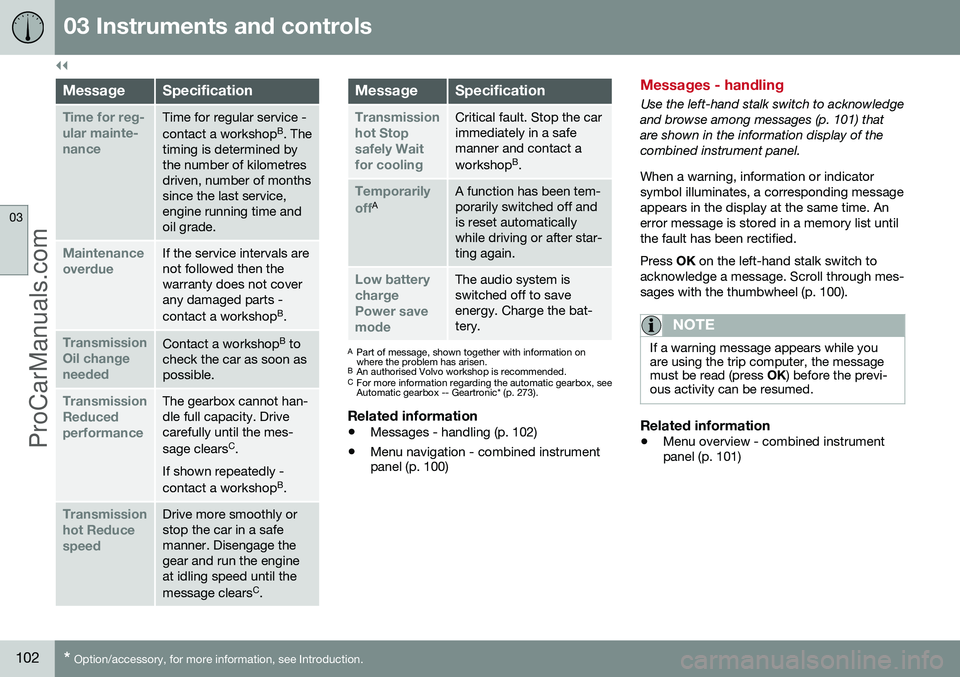
Use the left-hand stalk switch to acknowledge and browse among messages (p. 101) thatare shown in the information display of thecombined instrument panel. When a warning, information or indicator symbol illuminates, a corresponding messageappears in the display at the same time. Anerror message is stored in a memory list untilthe fault has been rectified. Press
OK on the left-hand stalk switch to
acknowledge a message. Scroll through mes- sages with the thumbwheel (p. 100).
NOTE
If a warning message appears while you are using the trip computer, the messagemust be read (press OK) before the previ-
ous activity can be resumed.
Related information
• Menu overview - combined instrument panel (p. 101)
ProCarManuals.co’
Page 108 of 442
||
03 Instruments and controls
03
106* Option/accessory, for more information, see Introduction.
FunctionsInformation
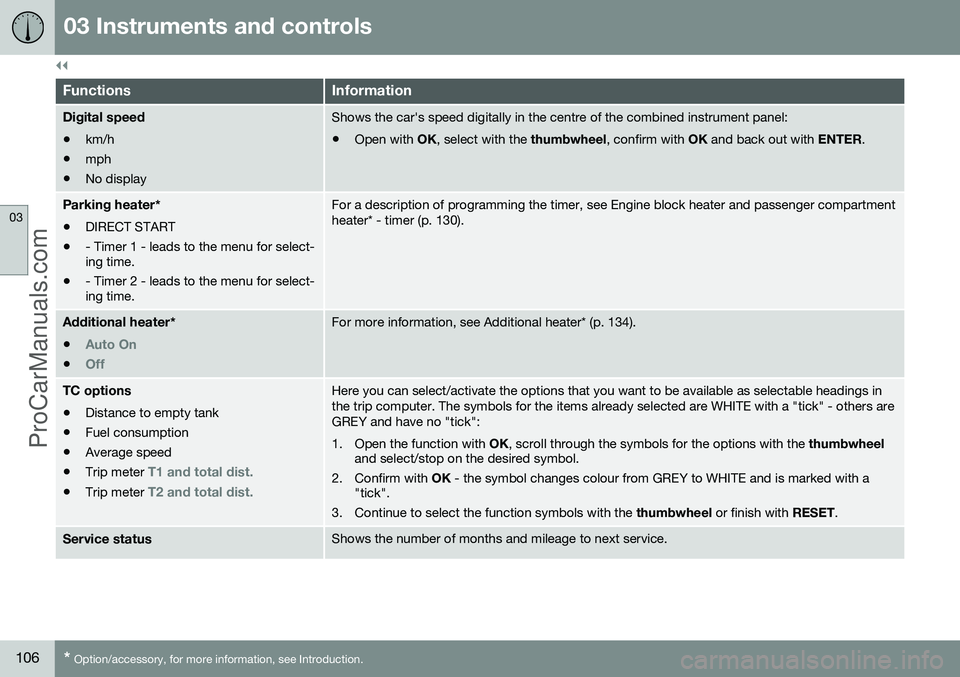
Digital speed
• km/h
• mph
• No displayShows the car's speed digitally in the centre of the combined instrument panel:
• Open with
OK, select with the thumbwheel, confirm with OK and back out with ENTER.
Parking heater *
• DIRECT START
• - Timer 1 - leads to the menu for select- ing time.
• - Timer 2 - leads to the menu for select-ing time.For a description of programming the timer, see Engine block heater and passenger compartment heater* - timer (p. 130).
Additional heater
*
•
Auto On
•Off
For more information, see Additional heater* (p. 134).
TC options • Distance to empty tank
• Fuel consumption
• Average speed
• Trip meter
T1 and total dist.
•Trip meter T2 and total dist.
Here you can select/activate the options that you want to be available as selectable headings in the trip computer. The symbols for the items already selected are WHITE with a "tick" - others areGREY and have no "tick":
1. Open the function with
OK, scroll through the symbols for the options with the thumbwheel
and select/stop on the desired symbol.
2. Confirm with OK - the symbol changes colour from GREY to WHITE and is marked with a
"tick".
3. Continue to select the function symbols with the thumbwheel or finish with RESET.
Service statusShows the number of months and mileage to next service.
ProCarManuals.co’
Page 112 of 442
||
03 Instruments and controls
03
110* Option/accessory, for more information, see Introduction.
FunctionsInformation
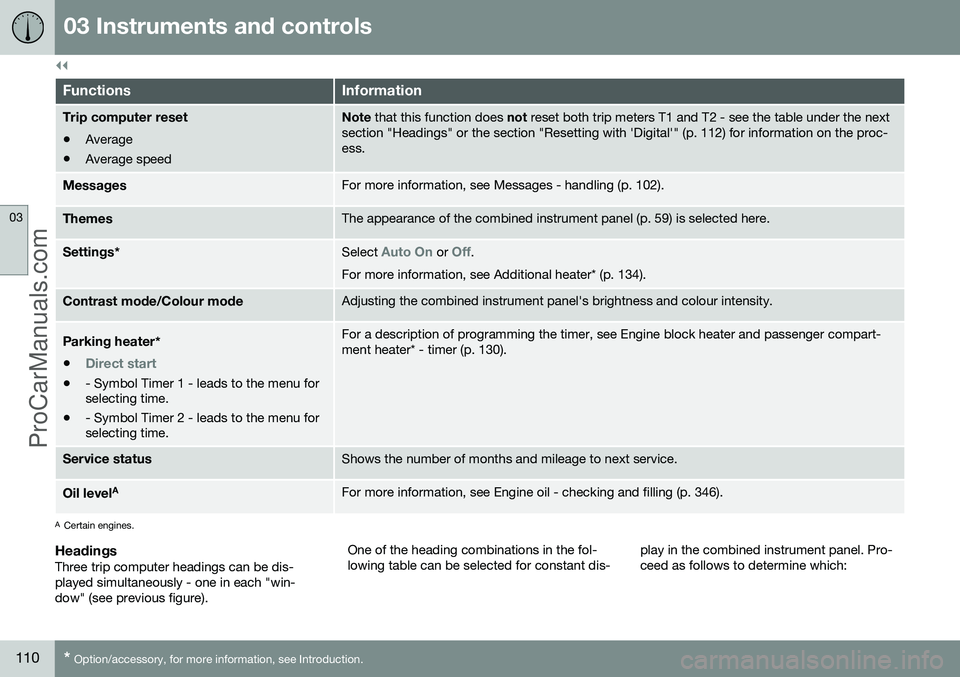
Trip computer reset • Average
• Average speedNote
that this function does not reset both trip meters T1 and T2 - see the table under the next
section "Headings" or the section "Resetting with 'Digital'" (p. 112) for information on the proc- ess.
MessagesFor more information, see Messages - handling (p. 102).
ThemesThe appearance of the combined instrument panel (p. 59) is selected here.
Settings *Select Auto On or Off.
For more information, see Additional heater* (p. 134).
Contrast mode /Colour modeAdjusting the combined instrument panel's brightness and colour intensity.
Parking heater *
•
Direct start
• - Symbol Timer 1 - leads to the menu for selecting time.
• - Symbol Timer 2 - leads to the menu forselecting time.
For a description of programming the timer, see Engine block heater and passenger compart- ment heater* - timer (p. 130).
Service statusShows the number of months and mileage to next service.
Oil level AFor more information, see Engine oil - checking and filling (p. 346).
A
Certain engines.
HeadingsThree trip computer headings can be dis- played simultaneously - one in each "win-dow" (see previous figure). One of the heading combinations in the fol-lowing table can be selected for constant dis-
play in the combined instrument panel. Pro-ceed as follows to determine which:
ProCarManuals.co’
Page 264 of 442
||
08 Starting and driving
08
262* Option/accessory, for more information, see Introduction.
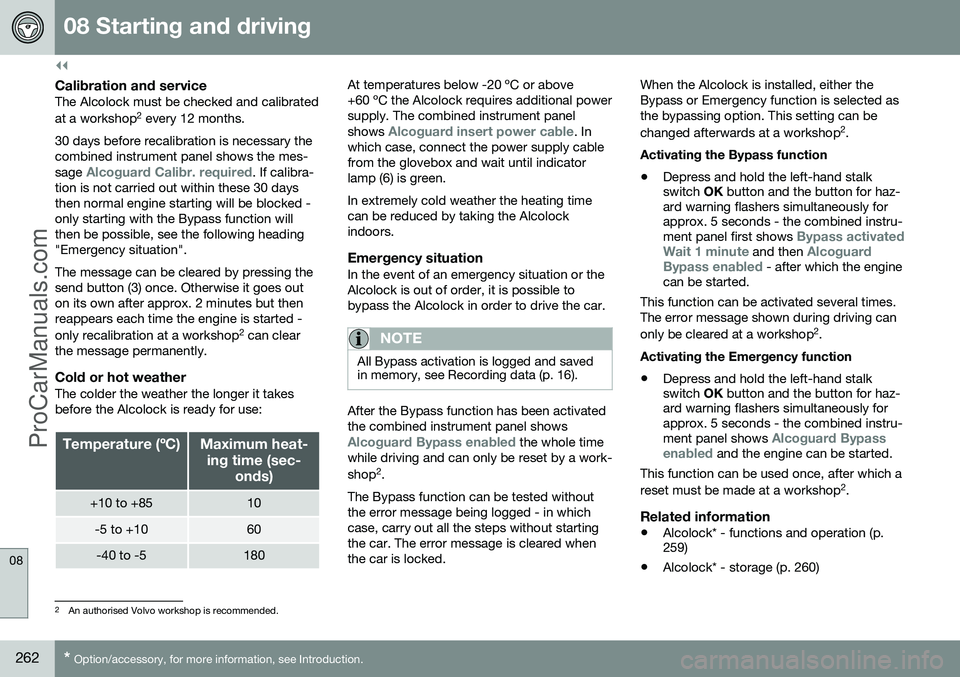
Calibration and serviceThe Alcolock must be checked and calibrated at a workshop 2
every 12 months.
30 days before recalibration is necessary the combined instrument panel shows the mes- sage
Alcoguard Calibr. required. If calibra-
tion is not carried out within these 30 days then normal engine starting will be blocked -only starting with the Bypass function willthen be possible, see the following heading"Emergency situation". The message can be cleared by pressing the send button (3) once. Otherwise it goes outon its own after approx. 2 minutes but thenreappears each time the engine is started - only recalibration at a workshop 2
can clear
the message permanently.
Cold or hot weatherThe colder the weather the longer it takes before the Alcolock is ready for use:
Temperature (ºC)Maximum heat-
ing time (sec- onds)
+10 to +8510
-5 to +1060
-40 to -5180
At temperatures below -20 ºC or above +60 ºC the Alcolock requires additional powersupply. The combined instrument panel shows
Alcoguard insert power cable. In
which case, connect the power supply cable from the glovebox and wait until indicatorlamp (6) is green. In extremely cold weather the heating time can be reduced by taking the Alcolockindoors.
Emergency situationIn the event of an emergency situation or theAlcolock is out of order, it is possible tobypass the Alcolock in order to drive the car.
NOTE
All Bypass activation is logged and saved in memory, see Recording data (p. 16).
After the Bypass function has been activated the combined instrument panel shows
Alcoguard Bypass enabled the whole time
while driving and can only be reset by a work- shop 2
.
The Bypass function can be tested without the error message being logged - in whichcase, carry out all the steps without startingthe car. The error message is cleared whenthe car is locked. When the Alcolock is installed, either theBypass or Emergency function is selected asthe bypassing option. This setting can be changed afterwards at a workshop
2
.
Activating the Bypass function
• Depress and hold the left-hand stalk switch
OK button and the button for haz-
ard warning flashers simultaneously forapprox. 5 seconds - the combined instru- ment panel first shows
Bypass activated
Wait 1 minute and then Alcoguard
Bypass enabled - after which the engine
can be started.
This function can be activated several times. The error message shown during driving can only be cleared at a workshop 2
.
Activating the Emergency function • Depress and hold the left-hand stalk switch
OK button and the button for haz-
ard warning flashers simultaneously forapprox. 5 seconds - the combined instru- ment panel shows
Alcoguard Bypass
enabled and the engine can be started.
This function can be used once, after which a reset must be made at a workshop 2
.
Related information
• Alcolock* - functions and operation (p. 259)
• Alcolock* - storage (p. 260)
2
An authorised Volvo workshop is recommended.
ProCarManuals.co’