window VOLVO V60 2014 Owners Manual
[x] Cancel search | Manufacturer: VOLVO, Model Year: 2014, Model line: V60, Model: VOLVO V60 2014Pages: 442, PDF Size: 13.85 MB
Page 5 of 442
Table of contents
* Option/accessory, for more information, see Introduction.3
03
03 Instruments and controls
Instruments and controls, left-hand drive
car - overview........................................... 53 Instruments and controls, right-hand
drive car - overview................................... 56
Combined instrument panel...................... 59Analogue combined instrument panel -
overview.................................................... 59 Digital combined instrument panel -
overview.................................................... 60
Eco guide & Power guide*........................ 63Combined instrument panel - meaning of
indicator symbols...................................... 64 Combined instrument cluster - meaning
of warning symbols................................... 65
Outside temperature gauge...................... 67
Trip meter.................................................. 68
Clock......................................................... 68
Volvo Sensus............................................ 68
Key positions............................................ 70Key positions - functions at different lev-
els.............................................................. 70
Seats, front................................................ 72
Seats, front - electrically operated............ 73
Key memory* in remote control key.......... 74
Seats, rear................................................. 74
03
Steering wheel.......................................... 76
Heating* of the steering wheel.................. 77
Light switches........................................... 78
Position/parking lamps............................. 80
Daytime running lights.............................. 80
Tunnel detection*...................................... 81
Main/dipped beam.................................... 81
Active high beam*..................................... 82
Active Xenon headlamps*......................... 84
Rear fog lamp........................................... 85
Brake lights............................................... 86
Hazard warning flashers........................... 86
Direction indicators................................... 87
Interior lighting.......................................... 88
Home safe light duration........................... 89
Approach light duration............................ 89Headlamps - adjusting headlamp pat-
tern............................................................ 90
Wipers and washing.................................. 90
Power windows......................................... 92
Door mirrors.............................................. 94Windows and rearview and door mirrors
- heating.................................................... 96
Rearview mirror - interior.......................... 96
03
Compass*................................................. 97
Sunroof*.................................................... 98Menu navigation - combined instrument
panel....................................................... 100 Menu overview - combined instrument
panel....................................................... 101
Messages................................................ 101
Messages - handling............................... 102
MY CAR.................................................. 103
Trip computer......................................... 104Trip computer - combined instrument
panel "Analog"........................................ 105 Trip computer - combined instrument
panel "Digital"......................................... 109 Trip computer - supplementary informa-
tion.......................................................... 112
Trip computer - trip statistics*................ 113
ProCarManuals.co’
Page 20 of 442
01 Introduction
01
18
Information on the Internet
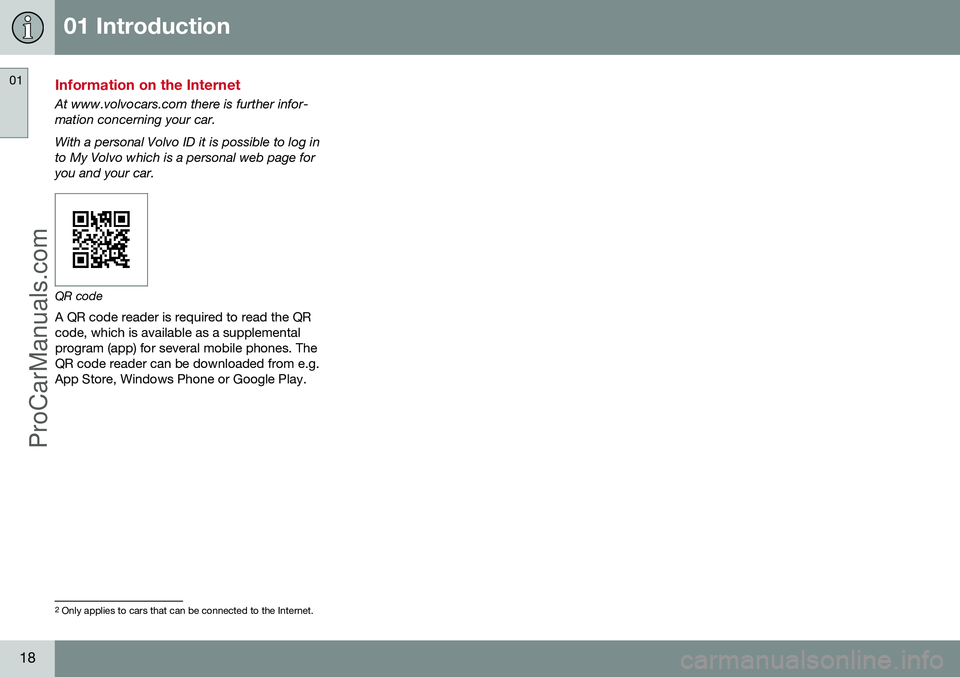
At www.volvocars.com there is further infor- mation concerning your car. With a personal Volvo ID it is possible to log in to My Volvo which is a personal web page foryou and your car.
QR codeA QR code reader is required to read the QR code, which is available as a supplementalprogram (app) for several mobile phones. TheQR code reader can be downloaded from e.g.App Store, Windows Phone or Google Play.
2 Only applies to cars that can be connected to the Internet.
ProCarManuals.co’
Page 23 of 442
01 Introduction
01
* Option/accessory, for more information, see Introduction.21
The owner's manual and the environment
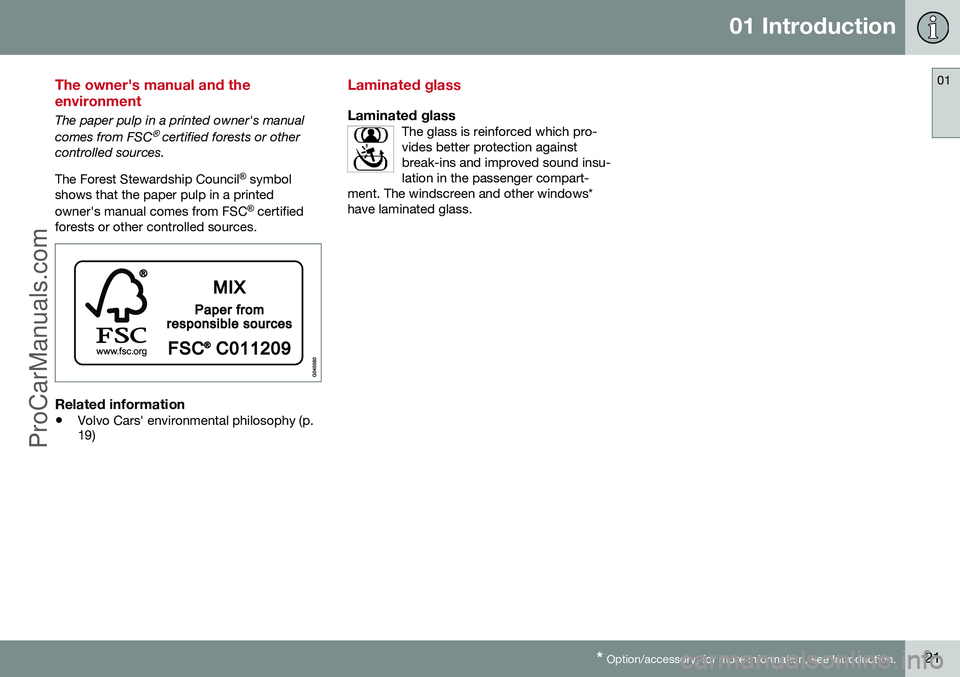
The paper pulp in a printed owner's manual comes from FSC® certified forests or other
controlled sources. The Forest Stewardship Council ®
symbol
shows that the paper pulp in a printed owner's manual comes from FSC ®
certified
forests or other controlled sources.
Related information
• Volvo Cars' environmental philosophy (p. 19)
Laminated glass
Laminated glassThe glass is reinforced which pro- vides better protection againstbreak-ins and improved sound insu-lation in the passenger compart-
ment. The windscreen and other windows*have laminated glass.
ProCarManuals.co’
Page 35 of 442
02 Safety
02
33
Inflatable Curtain (IC)
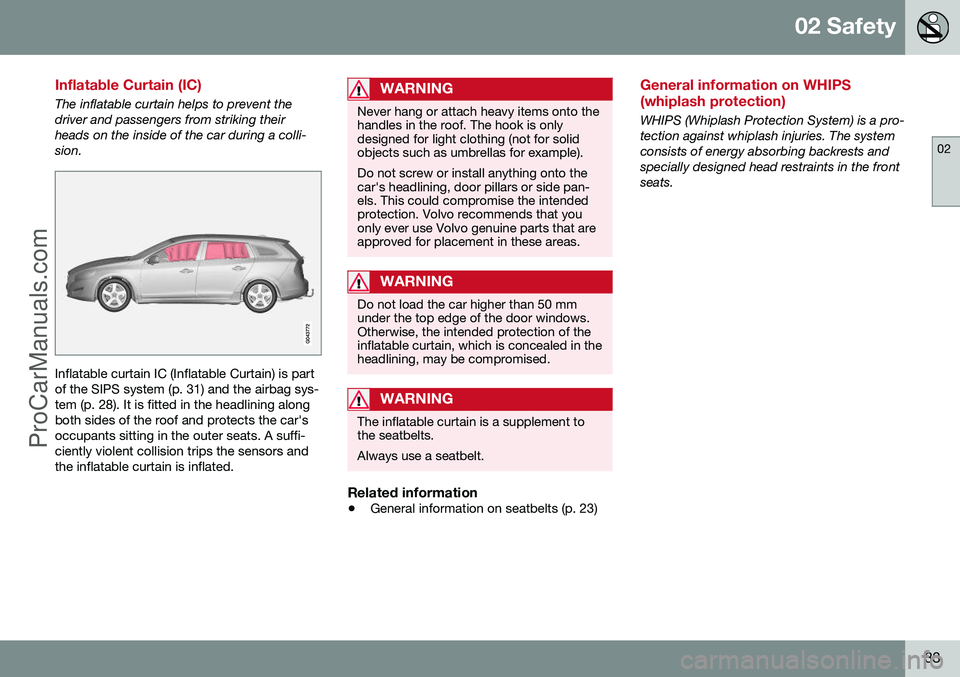
The inflatable curtain helps to prevent the driver and passengers from striking theirheads on the inside of the car during a colli-sion.
Inflatable curtain IC (Inflatable Curtain) is part of the SIPS system (p. 31) and the airbag sys-tem (p. 28). It is fitted in the headlining alongboth sides of the roof and protects the car'soccupants sitting in the outer seats. A suffi-ciently violent collision trips the sensors andthe inflatable curtain is inflated.
WARNING
Never hang or attach heavy items onto the handles in the roof. The hook is onlydesigned for light clothing (not for solidobjects such as umbrellas for example). Do not screw or install anything onto the car's headlining, door pillars or side pan-els. This could compromise the intendedprotection. Volvo recommends that youonly ever use Volvo genuine parts that areapproved for placement in these areas.
WARNING
Do not load the car higher than 50 mm under the top edge of the door windows.Otherwise, the intended protection of theinflatable curtain, which is concealed in theheadlining, may be compromised.
WARNING
The inflatable curtain is a supplement to the seatbelts. Always use a seatbelt.
Related information
•General information on seatbelts (p. 23)
General information on WHIPS (whiplash protection)
WHIPS (Whiplash Protection System) is a pro- tection against whiplash injuries. The systemconsists of energy absorbing backrests andspecially designed head restraints in the frontseats.
ProCarManuals.com
Page 41 of 442
02 Safety
02
* Option/accessory, for more information, see Introduction.39
General information on child safety
Children of all ages and sizes must always sit correctly secured in the car. Never allow achild to sit on the knee of a passenger. Volvo recommends that children travel in rear-facing child seats until as late an age aspossible, at least until 3-4 years of age, andthen front-facing booster cushions/child seatsuntil up to 10 years of age. The position of a child in the car and the choice of equipment are dictated by thechild's weight and size; see Child seats (p.40).
NOTE
Regulations regarding the placement of children in cars vary from country to coun-try. Check what does apply.
Volvo has child safety equipment (child seats, booster cushions & attachment devices)which is designed for your particular car.Using Volvo's child safety equipment pro-vides you with optimum conditions for yourchild to travel safely in the car. Furthermore,the child safety equipment fits and is easy touse.
NOTE
In the event of questions when fitting child safety products, contact the manufacturerfor clearer instructions.
Child safety locksThe rear doors and rear door windows* can be blocked manually (p. 169) or electronically(p. 170)* from opening from the inside.
Related information
• Child seats - location (p. 44)
• Child seat - ISOFIX (p. 47)
• Child seats - upper mounting points (p. 51)
ProCarManuals.co’
Page 73 of 442
03 Instruments and controls
03
* Option/accessory, for more information, see Introduction.71
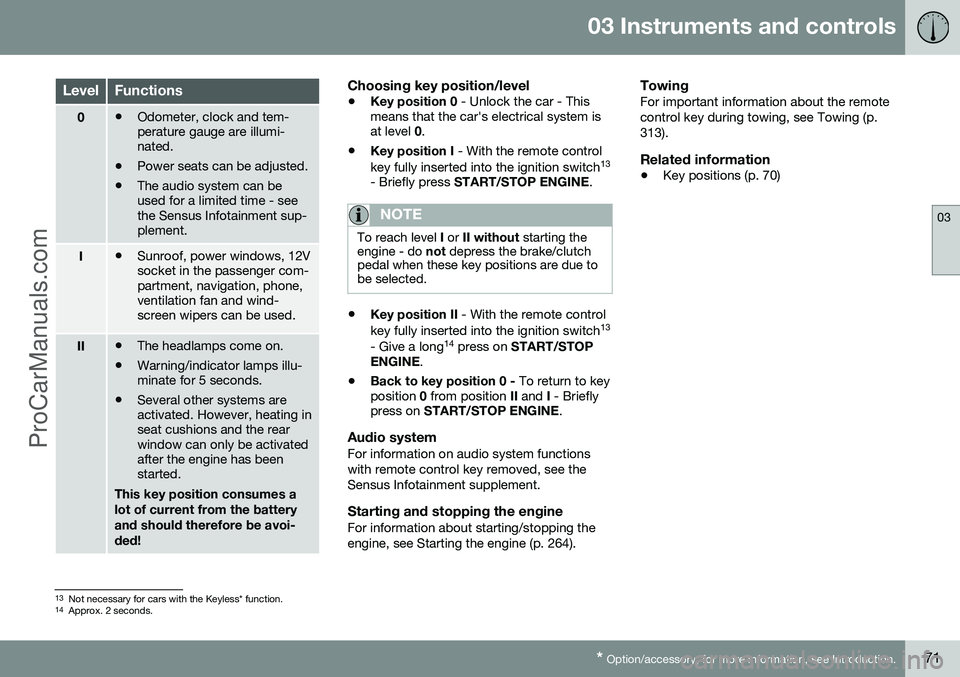
LevelFunctions
0• Odometer, clock and tem- perature gauge are illumi-nated.
• Power seats can be adjusted.
• The audio system can beused for a limited time - seethe Sensus Infotainment sup-plement.
I•Sunroof, power windows, 12V socket in the passenger com-partment, navigation, phone,ventilation fan and wind-screen wipers can be used.
II•The headlamps come on.
• Warning/indicator lamps illu- minate for 5 seconds.
• Several other systems areactivated. However, heating inseat cushions and the rearwindow can only be activatedafter the engine has beenstarted.
This key position consumes a lot of current from the batteryand should therefore be avoi-ded!
Choosing key position/level
• Key position 0
- Unlock the car - This
means that the car's electrical system is at level 0.
• Key position I
- With the remote control
key fully inserted into the ignition switch 13
- Briefly press START/STOP ENGINE .
NOTE
To reach level I or II without starting the
engine - do not depress the brake/clutch
pedal when these key positions are due to be selected.
• Key position II
- With the remote control
key fully inserted into the ignition switch 13
- Give a long 14
press on START/STOP
ENGINE .
• Back to key position 0 -
To return to key
position 0 from position II and I - Briefly
press on START/STOP ENGINE .
Audio systemFor information on audio system functions with remote control key removed, see theSensus Infotainment supplement.
Starting and stopping the engineFor information about starting/stopping theengine, see Starting the engine (p. 264).
TowingFor important information about the remotecontrol key during towing, see Towing (p.313).
Related information
•Key positions (p. 70)
13
Not necessary for cars with the Keyless* function.
14 Approx. 2 seconds.
ProCarManuals.co’
Page 92 of 442
03 Instruments and controls
03
90* Option/accessory, for more information, see Introduction.
Headlamps - adjusting headlamp pattern
If the car is equipped with active Xenon head- lamps and has the Active High Beam functionthen the headlamp pattern must be resetwhen changing from right to left-hand traffic,and vice versa.
Active Xenon headlamps*No headlamp pattern adjustment is requiredfor cars with the function Active High Beam*.The headlamp pattern is designed in such away that oncoming traffic is not dazzled. Headlamp pattern adjustment is required for cars with Active High Beam. The car must bestationary with the engine running when theheadlamp pattern is shifted between right andleft-hand traffic. The headlamp pattern is changed in the menu system MY CAR, see MY CAR (p. 103).
Halogen headlampsNo headlamp pattern adjustment needs to bemade. The headlamp pattern is designed insuch a way that oncoming traffic is not daz-zled.
Wipers and washing
Wipers and washers clean the windscreen and rear window. The headlamps are cleanedwith high-pressure washing.
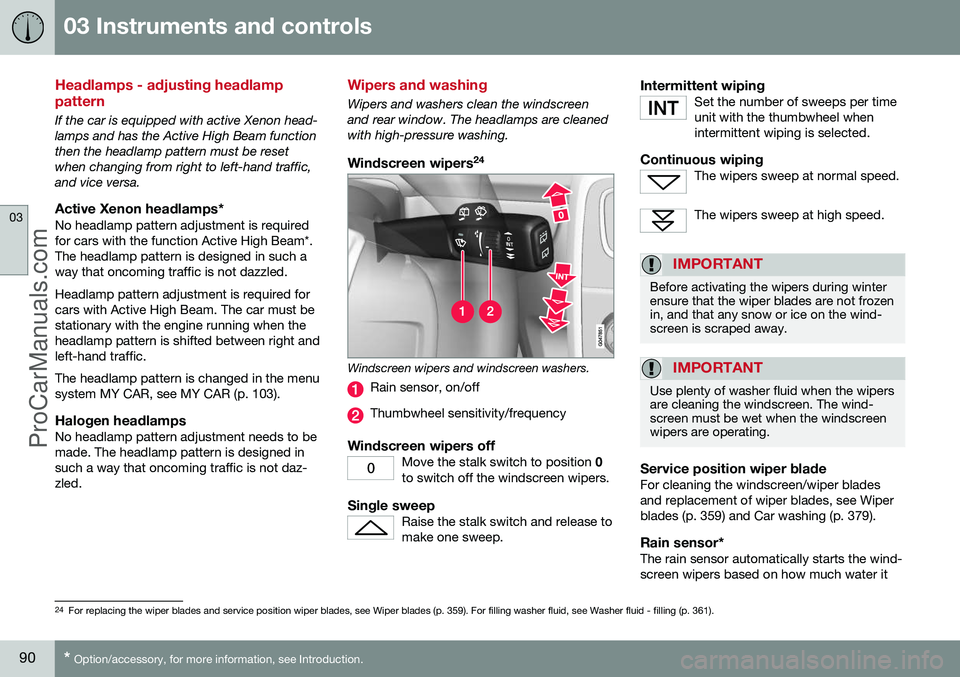
Windscreen wipers 24
Windscreen wipers and windscreen washers.
Rain sensor, on/off
Thumbwheel sensitivity/frequency
Windscreen wipers offMove the stalk switch to position
0
to switch off the windscreen wipers.
Single sweepRaise the stalk switch and release to make one sweep.
Intermittent wipingSet the number of sweeps per time unit with the thumbwheel whenintermittent wiping is selected.
Continuous wipingThe wipers sweep at normal speed.
The wipers sweep at high speed.
IMPORTANT
Before activating the wipers during winter ensure that the wiper blades are not frozenin, and that any snow or ice on the wind-screen is scraped away.
IMPORTANT
Use plenty of washer fluid when the wipers are cleaning the windscreen. The wind-screen must be wet when the windscreenwipers are operating.
Service position wiper bladeFor cleaning the windscreen/wiper blades and replacement of wiper blades, see Wiperblades (p. 359) and Car washing (p. 379).
Rain sensor*The rain sensor automatically starts the wind-screen wipers based on how much water it
24 For replacing the wiper blades and service position wiper blades, see Wiper blades (p. 359). For filling washer fluid, see Washer fluid - filling (p. 361).
ProCarManuals.co’
Page 93 of 442
03 Instruments and controls
03
}}
* Option/accessory, for more information, see Introduction.91
detects on the windscreen. The sensitivity of the rain sensor can be adjusted using thethumbwheel. When the rain sensor is activated a lamp in the button illuminates and the rain sensor symbol
is shown in the combined
instrument panel.
Activating and setting the sensitivityWhen activating the rain sensor, the car must be running or the remote control key in posi-tion I or II while the windscreen wiper stalk
switch must be in position 0 or in the position
for a single sweep. Activate the rain sensor by pressing the but- ton
. The windscreen wipers make one
sweep. Press the stalk switch up for the wipers to make an extra sweep. Turn the thumbwheel upward for higher sen- sitivity and downward for lower sensitivity.(An extra sweep is made when the thumb-wheel is turned upward.)
DeactivateDeactivate the rain sensor by pressing the button
or move the stalk switch down
to another wiper program. The rain sensor is automatically deactivated when the remote control key is removed from the ignition switch or five minutes after theengine has been switched off.
IMPORTANT
The windscreen wipers could start and be damaged in an automatic car wash.Switch off the rain sensor while the car isin motion or when the remote control keyis in position
I or II. The symbol in the
combined instrument panel and the lampin the button go out.
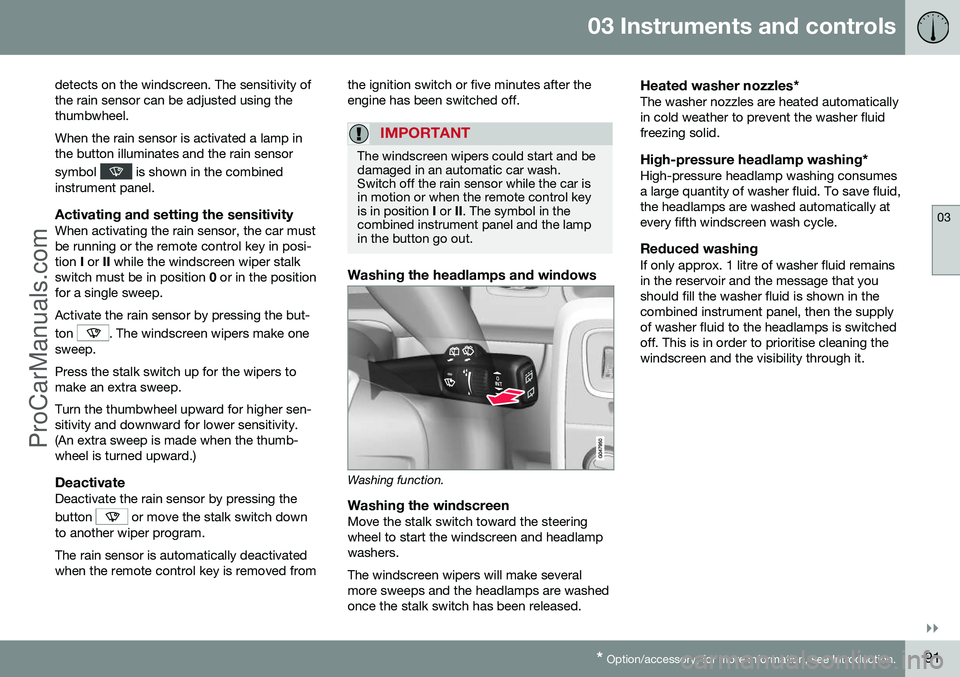
Washing the headlamps and windows
Washing function.
Washing the windscreenMove the stalk switch toward the steering wheel to start the windscreen and headlampwashers. The windscreen wipers will make several more sweeps and the headlamps are washedonce the stalk switch has been released.
Heated washer nozzles*The washer nozzles are heated automaticallyin cold weather to prevent the washer fluidfreezing solid.
High-pressure headlamp washing*High-pressure headlamp washing consumesa large quantity of washer fluid. To save fluid,the headlamps are washed automatically atevery fifth windscreen wash cycle.
Reduced washingIf only approx. 1 litre of washer fluid remainsin the reservoir and the message that youshould fill the washer fluid is shown in thecombined instrument panel, then the supplyof washer fluid to the headlamps is switchedoff. This is in order to prioritise cleaning thewindscreen and the visibility through it.
ProCarManuals.co’
Page 94 of 442
||
03 Instruments and controls
03
92* Option/accessory, for more information, see Introduction.
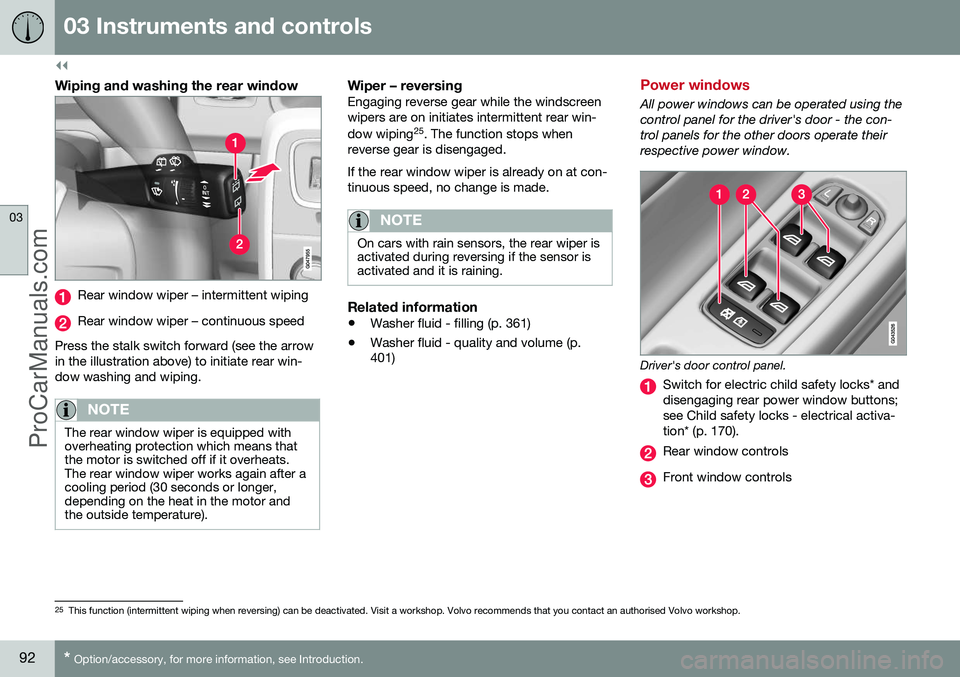
Wiping and washing the rear window
Rear window wiper – intermittent wiping
Rear window wiper – continuous speed
Press the stalk switch forward (see the arrow in the illustration above) to initiate rear win-dow washing and wiping.
NOTE
The rear window wiper is equipped with overheating protection which means thatthe motor is switched off if it overheats.The rear window wiper works again after acooling period (30 seconds or longer,depending on the heat in the motor andthe outside temperature).
Wiper – reversingEngaging reverse gear while the windscreen wipers are on initiates intermittent rear win- dow wiping 25
. The function stops when
reverse gear is disengaged. If the rear window wiper is already on at con- tinuous speed, no change is made.
NOTE
On cars with rain sensors, the rear wiper is activated during reversing if the sensor isactivated and it is raining.
Related information
• Washer fluid - filling (p. 361)
• Washer fluid - quality and volume (p. 401)
Power windows
All power windows can be operated using the control panel for the driver's door - the con-trol panels for the other doors operate theirrespective power window.
Driver's door control panel.
Switch for electric child safety locks* and disengaging rear power window buttons;see Child safety locks - electrical activa-tion* (p. 170).
Rear window controls
Front window controls
25
This function (intermittent wiping when reversing) can be deactivated. Visit a workshop. Volvo recommends that you contact an authorised Volvo workshop.
ProCarManuals.co’
Page 95 of 442
03 Instruments and controls
03
}}
93
WARNING
Check that no rear seat passengers are trapped when the windows are closedfrom the driver's door.
WARNING
Check that children or other passengers are not trapped if the windows are closed,even when the remote control key is used.
WARNING
If there are children in the car - remember to always switch off the power supply tothe power windows by selecting key posi-tion 0 and then take the remote control key
with you when leaving the car. For infor-mation on key positions - see Key posi-tions - functions at different levels (p. 70).
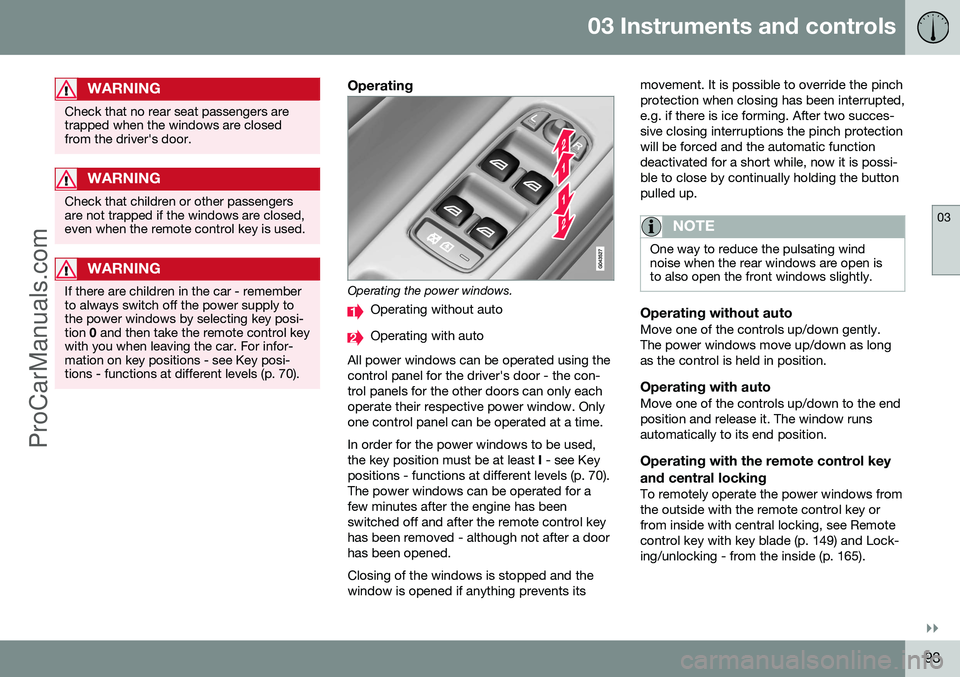
Operating
Operating the power windows.
Operating without auto
Operating with auto
All power windows can be operated using the control panel for the driver's door - the con-trol panels for the other doors can only eachoperate their respective power window. Onlyone control panel can be operated at a time. In order for the power windows to be used, the key position must be at least I - see Key
positions - functions at different levels (p. 70).The power windows can be operated for afew minutes after the engine has beenswitched off and after the remote control keyhas been removed - although not after a doorhas been opened. Closing of the windows is stopped and the window is opened if anything prevents its movement. It is possible to override the pinchprotection when closing has been interrupted,e.g. if there is ice forming. After two succes-sive closing interruptions the pinch protectionwill be forced and the automatic functiondeactivated for a short while, now it is possi-ble to close by continually holding the buttonpulled up.
NOTE
One way to reduce the pulsating wind noise when the rear windows are open isto also open the front windows slightly.
Operating without autoMove one of the controls up/down gently. The power windows move up/down as longas the control is held in position.
Operating with autoMove one of the controls up/down to the endposition and release it. The window runsautomatically to its end position.
Operating with the remote control key and central locking
To remotely operate the power windows from the outside with the remote control key orfrom inside with central locking, see Remotecontrol key with key blade (p. 149) and Lock-ing/unlocking - from the inside (p. 165).
ProCarManuals.co’