buttons VOLVO V60 2021 User Guide
[x] Cancel search | Manufacturer: VOLVO, Model Year: 2021, Model line: V60, Model: VOLVO V60 2021Pages: 661, PDF Size: 12.68 MB
Page 124 of 661
DISPLAYS AND VOICE CONTROL
122
Moving apps and buttons in the center display The apps and buttons for vehicle functions can be moved and organized in the App andFunction views.
1. Swipe from right to left11
to access App
view or swipe from left to right 11
to access
Function view.
2. Press and hold an app or button. > The app or button will change size andbecome slightly transparent. It can then be moved.
3. Drag the app or button to an available position in the view.
A maximum of 48 rows can be used to posi-tion apps or buttons. To move an app or but-ton outside the visible view, drag it to the bot-tom of the view. New rows will be added andthe app or button can be placed in one of these. Apps or buttons placed below the view's nor- mal display will not be visible on the screen. Swipe the screen to scroll up or down in the view to display information outside the view.
NOTE
Hide the apps that are rarely or never used by moving them far down, outside of thevisible view. This makes it easier to find theapps used more frequently.
NOTE
Apps and vehicle function buttons cannot be situated at spots already in use.
Related information
Function view in the center display (p. 120)
Apps (p. 450)
Handling the center display (p. 110)
Symbols in the center display status bar
Overview of symbols displayed in the center display status bar.
The status bar shows current vehicle activities and in certain cases, also their status. Due tothe limited space in the status bar, not all sym-bols will be displayed at all times.
Symbol Meaning
Connected to the Internet.
Roaming activated.
Cell phone network signal strength.
Bluetooth device connected.
Bluetooth activated but no device connected.
Information sent to and from GPS.
Connected to Wi-Fi network.
11 Applies for left-hand drive vehicles. For right-hand drive vehicles, swipe in the other direction.
Page 127 of 661
DISPLAYS AND VOICE CONTROL
}}
125
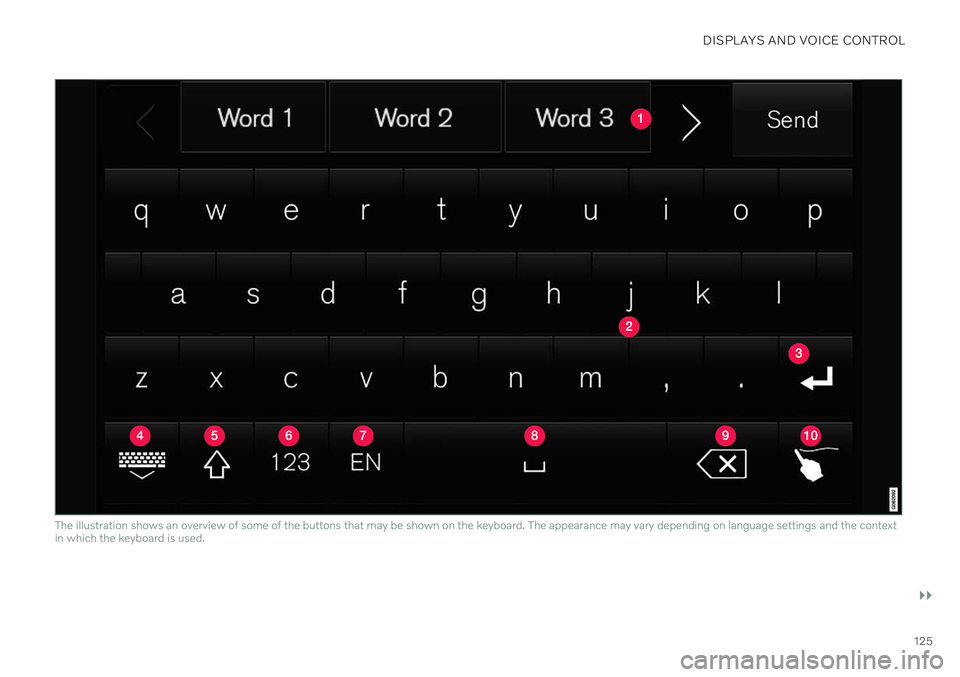
The illustration shows an overview of some of the buttons that may be shown on the keyboard. The appearance may vary depending on language settings and the context in which the keyboard is used.
Page 128 of 661
||
DISPLAYS AND VOICE CONTROL
126
Row showing suggestions for words or characters12
. The suggested words
change as new letters are entered. Scroll through the list of suggested words bytapping the right or left arrows. Tap a sug-gestion to select it. Please note that thisfunction is not available in all languages.When unavailable, this row will not beshown on the keyboard.
Available characters are adapted to the language selected for the keyboard (seenumber 7 below). Tap a character to enterit.
Different buttons are displayed here depending on the context in which thekeyboard is used, e.g. @ to enter an email
address or the return key to start a new
line .
This button hides the keyboard. In cases where this is not possible, the button willnot be displayed.
Used to enter uppercase letters. Tap once to enter one uppercase letter and thencontinue with lowercase letters. Tap twicefor caps lock (all text will be entered inuppercase letters). Tap again to return thekeyboard to lowercase letters. In thismode, the first letter after a period, excla-mation point or question mark will beautomatically entered in uppercase form. The first letter entered in text fields willalso be uppercase. In text fields intendedfor names or addresses, each word will beautomatically started with an uppercaseletter. In text fields intended for pass-words, website addresses or emailaddresses, all letters will automatically belowercase unless uppercase is selected.
Used to enter numbers. The number key- board (2) will then be displayed. Tap
, which is shown instead of in
number mode, to return to the keyboard with letters, or
to display the key-
board with special characters.
Used to change the keyboard language, e.g. EN. The available characters and word
suggestions (1) vary depending on the selected language. In order to togglebetween keyboard languages, the lan-guages must first be added under Set-tings.
Space bar.
Delete. Tap to delete characters one at a time. Press and hold to delete multiplecharacters quickly.
Used to change to handwriting mode.
Tap the confirm button over the keyboard (not shown in illustration) once to confirm the text that has been entered. The button's appear- ance differs depending on the context.
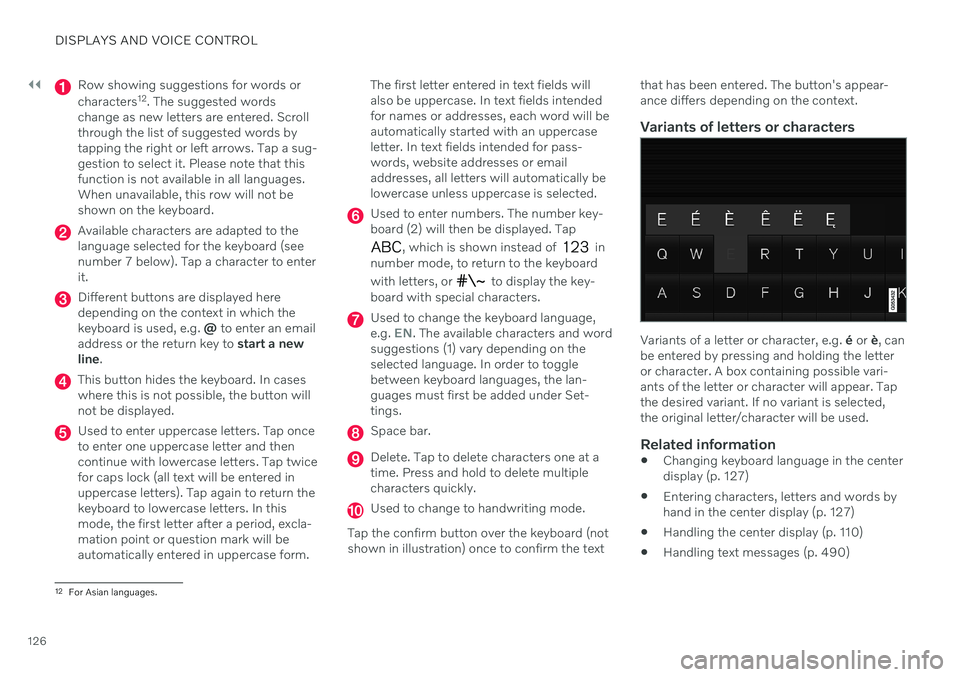
Variants of letters or characters
Variants of a letter or character, e.g.
é or è, can
be entered by pressing and holding the letter or character. A box containing possible vari-ants of the letter or character will appear. Tapthe desired variant. If no variant is selected,the original letter/character will be used.
Related information
Changing keyboard language in the centerdisplay (p. 127)
Entering characters, letters and words byhand in the center display (p. 127)
Handling the center display (p. 110)
Handling text messages (p. 490)
12
For Asian languages.
Page 133 of 661
DISPLAYS AND VOICE CONTROL
131
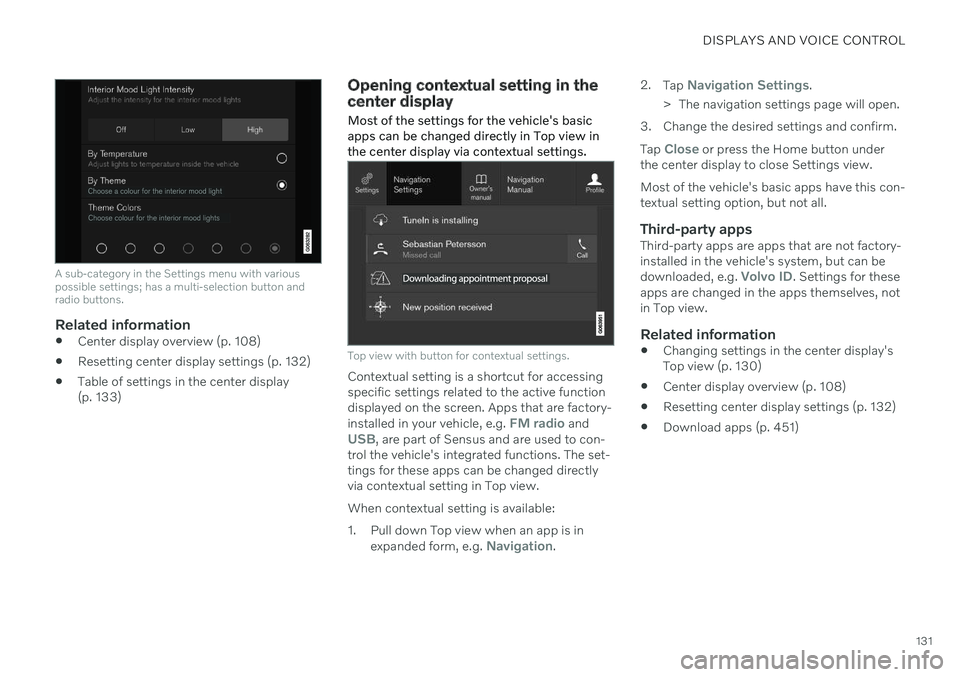
A sub-category in the Settings menu with various possible settings; has a multi-selection button andradio buttons.
Related information
Center display overview (p. 108)
Resetting center display settings (p. 132)
Table of settings in the center display (p. 133)
Opening contextual setting in the center display Most of the settings for the vehicle's basic apps can be changed directly in Top view inthe center display via contextual settings.
Top view with button for contextual settings.
Contextual setting is a shortcut for accessing specific settings related to the active functiondisplayed on the screen. Apps that are factory- installed in your vehicle, e.g.
FM radio andUSB, are part of Sensus and are used to con-
trol the vehicle's integrated functions. The set- tings for these apps can be changed directlyvia contextual setting in Top view. When contextual setting is available:
1. Pull down Top view when an app is in
expanded form, e.g.
Navigation. 2.
Tap
Navigation Settings.
> The navigation settings page will open.
3. Change the desired settings and confirm. Tap
Close or press the Home button under
the center display to close Settings view. Most of the vehicle's basic apps have this con- textual setting option, but not all.
Third-party appsThird-party apps are apps that are not factory-installed in the vehicle's system, but can be downloaded, e.g.
Volvo ID. Settings for these
apps are changed in the apps themselves, not in Top view.
Related information
Changing settings in the center display'sTop view (p. 130)
Center display overview (p. 108)
Resetting center display settings (p. 132)
Download apps (p. 451)
Page 140 of 661
DISPLAYS AND VOICE CONTROL
138
Messages in the center display
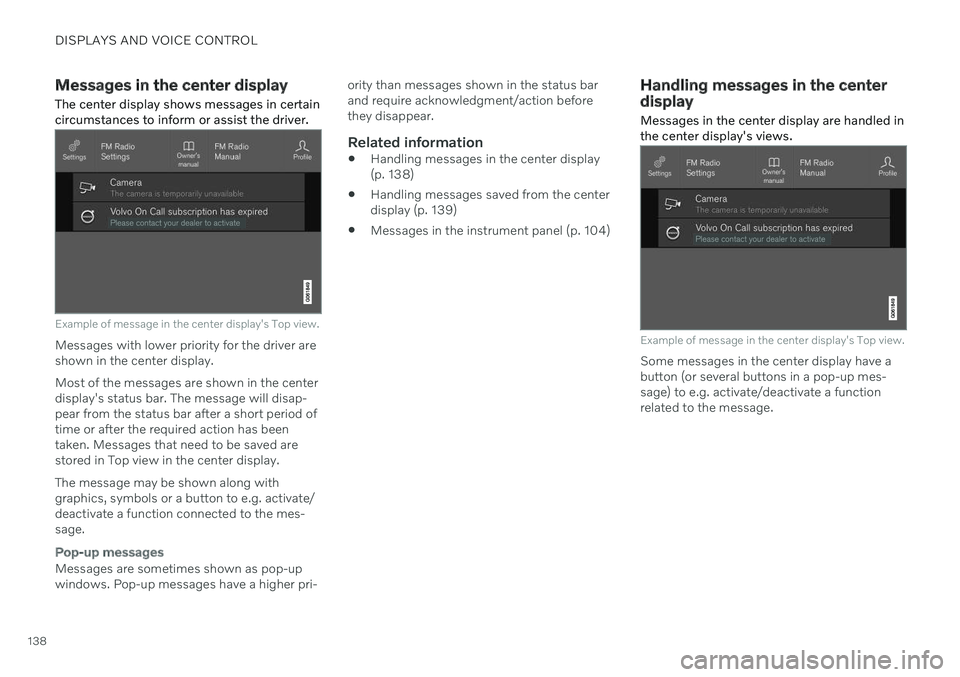
The center display shows messages in certain circumstances to inform or assist the driver.
Example of message in the center display's Top view.
Messages with lower priority for the driver are shown in the center display. Most of the messages are shown in the center display's status bar. The message will disap- pear from the status bar after a short period of time or after the required action has beentaken. Messages that need to be saved are stored in Top view in the center display. The message may be shown along with graphics, symbols or a button to e.g. activate/deactivate a function connected to the mes-sage.
Pop-up messages
Messages are sometimes shown as pop-up windows. Pop-up messages have a higher pri- ority than messages shown in the status barand require acknowledgment/action beforethey disappear.
Related information
Handling messages in the center display(p. 138)
Handling messages saved from the centerdisplay (p. 139)
Messages in the instrument panel (p. 104)
Handling messages in the center display
Messages in the center display are handled in the center display's views.
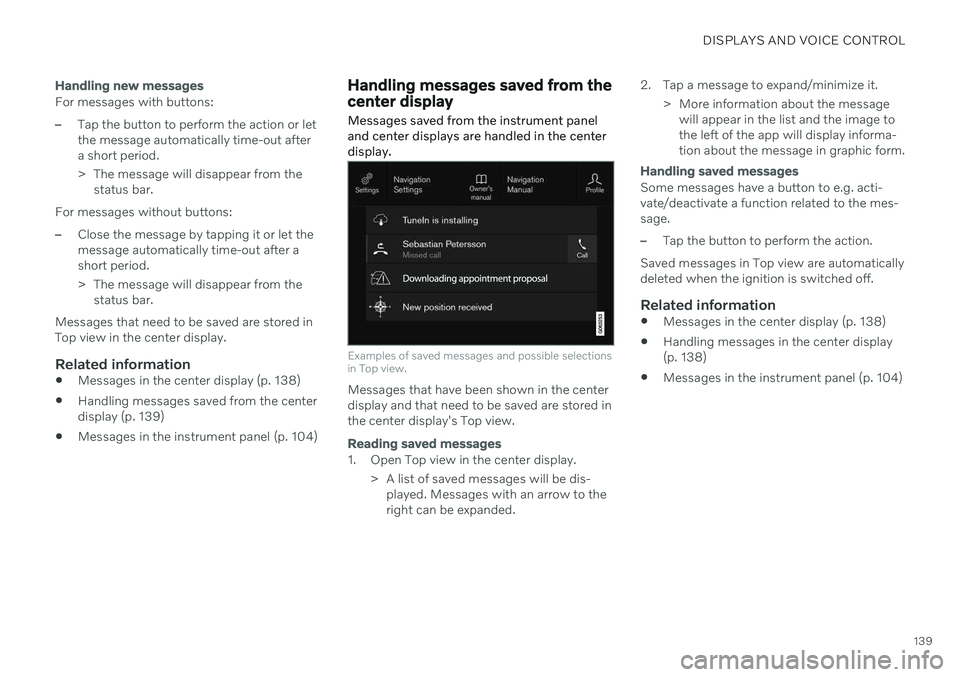
Example of message in the center display's Top view.
Some messages in the center display have a button (or several buttons in a pop-up mes-sage) to e.g. activate/deactivate a functionrelated to the message.
Page 141 of 661
DISPLAYS AND VOICE CONTROL
139
Handling new messages
For messages with buttons:
–Tap the button to perform the action or let the message automatically time-out aftera short period.
> The message will disappear from thestatus bar.
For messages without buttons:
–Close the message by tapping it or let the message automatically time-out after ashort period.
> The message will disappear from the status bar.
Messages that need to be saved are stored in Top view in the center display.
Related information
Messages in the center display (p. 138)
Handling messages saved from the centerdisplay (p. 139)
Messages in the instrument panel (p. 104)
Handling messages saved from the center display Messages saved from the instrument panel and center displays are handled in the centerdisplay.
Examples of saved messages and possible selections in Top view.
Messages that have been shown in the center display and that need to be saved are stored inthe center display's Top view.
Reading saved messages
1. Open Top view in the center display.
> A list of saved messages will be dis-played. Messages with an arrow to the right can be expanded. 2. Tap a message to expand/minimize it.
> More information about the messagewill appear in the list and the image tothe left of the app will display informa-tion about the message in graphic form.
Handling saved messages
Some messages have a button to e.g. acti- vate/deactivate a function related to the mes-sage.
–Tap the button to perform the action.
Saved messages in Top view are automatically deleted when the ignition is switched off.
Related information
Messages in the center display (p. 138)
Handling messages in the center display(p. 138)
Messages in the instrument panel (p. 104)
Page 147 of 661
DISPLAYS AND VOICE CONTROL
}}
* Option/accessory.145
These may include:
Wait until after the tone, and then speak in your normal voice at a normal speed.
Do not speak while the system is respond-ing (the system is unable to process com-mands during this time).
Avoid background noises in the passengercompartment by keeping doors, windows and the panoramic roof
* closed.
NOTE
Not all system languages support voice control. If a language supports voice con- trol, it is marked with a
symbol in the
list of available system languages. Read more about where the information is foundin the section on voice control settings.
Generally, the system will listen for a basic command that is then followed by moredetailed commands specifying what you wantthe system to do. To change the audio volume of the system, turn the volume knob while the voice is speak-ing. It is possible to use other buttons whilevoice commands are being given. However,because other audio is silenced during dialogwith the system, it is not possible to perform any functions connected to audio using thebuttons.
Canceling voice controlTo cancel voice control, do one of the follow-ing:
Briefly press
and say "Cancel".
Press and hold the steering wheel key- pad's voice command button
until
two audible signals are given. This cancels voice control even when the system isspeaking.
Voice control will also be canceled if you donot respond during a dialog. The system willfirst ask three times for a response and if theresponse is still not given, voice control will beautomatically canceled. To speed up communication and skip prompts from the system, press the voice control but- ton
on the steering wheel keypad. This
will interrupt the system's response and you can say the next command.
Voice command examples
1. Tap . 2.
Say "
Call [First name] [Last name]
[number category]", e.g. "Call Robyn
Smith cellular".
> The system will call the selected con- tact from the phone book. If the contact has several phone numbers (e.g. home,cell, work), the right category must alsobe given.
Commands/phrasesThe following commands can usually be usedin any situation:
"
Repeat" - repeats the most recent voice
command in the current dialog.
"
Cancel" - cancels the dialog. 19
"
Help" - initiates a help dialog. The sys-
tem responds with commands that can be used in the current situation, an instruc-tion or an example.
Commands for specific functions, such as phone and audio, are described in the sections related to that function.
19 Note that this only cancels the dialog when the system is not speaking. To do this, press and hold until you hear two beeps.
Page 163 of 661
LIGHTING
}}
* Option/accessory.161
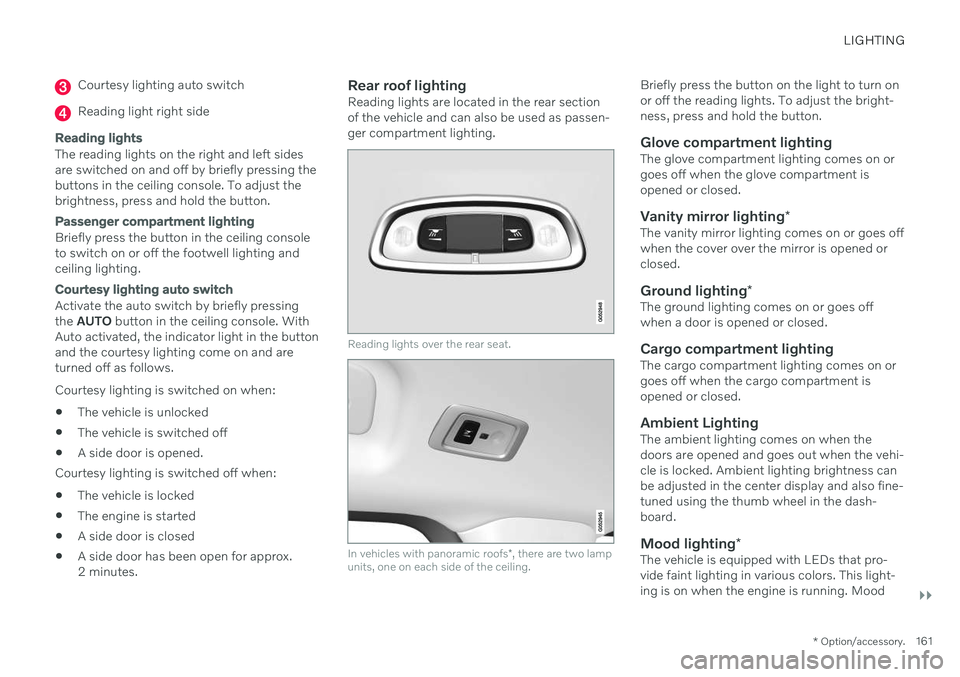
Courtesy lighting auto switch
Reading light right side
Reading lights
The reading lights on the right and left sides are switched on and off by briefly pressing thebuttons in the ceiling console. To adjust thebrightness, press and hold the button.
Passenger compartment lighting
Briefly press the button in the ceiling console to switch on or off the footwell lighting andceiling lighting.
Courtesy lighting auto switch
Activate the auto switch by briefly pressing the AUTO button in the ceiling console. With
Auto activated, the indicator light in the buttonand the courtesy lighting come on and areturned off as follows. Courtesy lighting is switched on when:
The vehicle is unlocked
The vehicle is switched off
A side door is opened.
Courtesy lighting is switched off when: The vehicle is locked
The engine is started
A side door is closed
A side door has been open for approx. 2 minutes.
Rear roof lightingReading lights are located in the rear sectionof the vehicle and can also be used as passen-ger compartment lighting.
Reading lights over the rear seat.
In vehicles with panoramic roofs
*, there are two lamp
units, one on each side of the ceiling.
Briefly press the button on the light to turn on or off the reading lights. To adjust the bright-ness, press and hold the button.
Glove compartment lightingThe glove compartment lighting comes on orgoes off when the glove compartment isopened or closed.
Vanity mirror lighting *The vanity mirror lighting comes on or goes offwhen the cover over the mirror is opened orclosed.
Ground lighting*The ground lighting comes on or goes offwhen a door is opened or closed.
Cargo compartment lightingThe cargo compartment lighting comes on orgoes off when the cargo compartment isopened or closed.
Ambient LightingThe ambient lighting comes on when thedoors are opened and goes out when the vehi-cle is locked. Ambient lighting brightness canbe adjusted in the center display and also fine-tuned using the thumb wheel in the dash-board.
Mood lighting*The vehicle is equipped with LEDs that pro-vide faint lighting in various colors. This light-ing is on when the engine is running. Mood
Page 169 of 661
WINDOWS, GLASS AND MIRRORS
* Option/accessory.167
Keyless locking and unlocking
* (p. 255)
Locking and unlocking using the remote key (p. 241)
Rearview/door mirrors
The rearview mirror and door mirrors can be used to improve the driver's visibility behindthe vehicle.
Rearview mirrorThe rearview mirror is equipped with Home- Link *, auto-dim * and compass *.
The rearview mirror can be adjusted manually.
Door mirrors
WARNING
The door mirror on the passenger side is curved to improve visibility. Objects in themirror may appear farther away than theyactually are.
The joystick in the drivers' door control panel is used to adjust the position of the door mir-rors. There are also several automatic settings that can also be connected to the memory function buttons for the power seat *.
Related information
HomeLink ®
* (p. 441)
Compass
* (p. 445)
Adjusting the rearview mirror dimming function (p. 168)
Adjusting the door mirrors (p. 168)
Storing positions for seats, mirrors and head-up display
* (p. 184)
Activating and deactivating the heated rear window and door mirrors (p. 219)
Page 170 of 661
WINDOWS, GLASS AND MIRRORS
* Option/accessory.
168
Adjusting the rearview mirror dimming function
Bright light entering the vehicle from behind, e.g. from the headlights of following vehicles,could reflect in the rearview mirror and doormirrors and cause a glare. Use the dimmingfunction when light from behind is distract-ing.
Auto-dimIf bright light enters the vehicle from behind, the door mirrors will automatically dim when itis dark outside or when lighting conditions arelow, for example when driving in tunnels.Auto-dim is always active when the engine isrunning, except when reverse gear is engaged.
NOTE
Adjustments to the sensitivity level will not be noticeable immediately but will insteadtake effect after a short period of time.
The sensitivity level for dimming will affect both the rearview mirror and door mirrors. To change the dimming sensitivity level:1. Tap
Settings in the Top view in the center
display.
2. Tap
My CarMirrors and Convenience.
3. Under
Rearview Mirror Auto Dimming,
select Normal, Dark or Light. The rearview mirror has two sensors - one pointing forward and one pointing rearward -which work together to identify and eliminateglare. The forward-pointing sensor monitorsambient light, while the rearward-pointingsensor monitors light from the headlights offollowing vehicles. For the door mirrors to be equipped with auto- dim, the rearview mirror must also be equip-ped with auto-dim.
NOTE
If the sensors are obstructed by e.g. a parking permit, transponder, sunshade orobjects on the seats or in the cargo com-partment in a way that prevents light fromreaching the sensors, the auto-dim func-tion in the door and rearview mirrors willbe reduced.
Related information
Rearview/door mirrors (p. 167)
Adjusting the door mirrors (p. 168)
Adjusting the door mirrors
To improve visibility to the rear, the door mir- rors need to be adjusted to the driver's heightand seating position. There are several automatic settings that can also be connected to the memory function buttons for the power seat *.
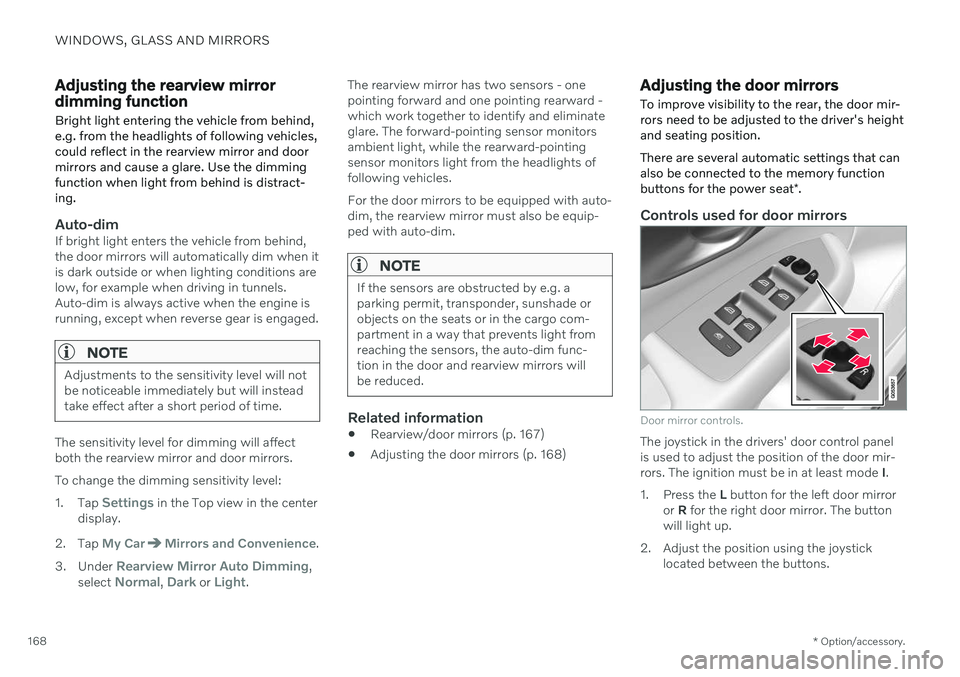
Controls used for door mirrors
Door mirror controls.
The joystick in the drivers' door control panel is used to adjust the position of the door mir-rors. The ignition must be in at least mode I.
1. Press the L button for the left door mirror
or R for the right door mirror. The button
will light up.
2. Adjust the position using the joystick located between the buttons.