dashboard VOLVO V60 2021 User Guide
[x] Cancel search | Manufacturer: VOLVO, Model Year: 2021, Model line: V60, Model: VOLVO V60 2021Pages: 661, PDF Size: 12.68 MB
Page 208 of 661
CLIMATE CONTROL
* Option/accessory.
206
Opening, closing and directing air vents
Some of the air vents in the passenger com- partment can be individually opened, closedand directed.
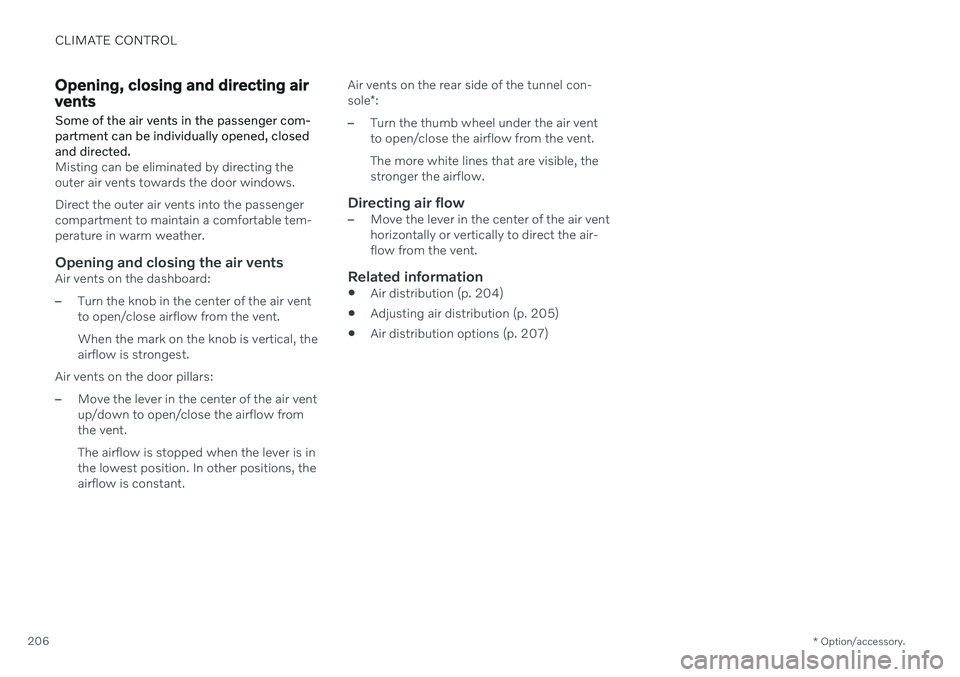
Misting can be eliminated by directing the outer air vents towards the door windows. Direct the outer air vents into the passenger compartment to maintain a comfortable tem-perature in warm weather.
Opening and closing the air ventsAir vents on the dashboard:
–Turn the knob in the center of the air vent to open/close airflow from the vent. When the mark on the knob is vertical, the airflow is strongest.
Air vents on the door pillars:
–Move the lever in the center of the air vent up/down to open/close the airflow fromthe vent. The airflow is stopped when the lever is in the lowest position. In other positions, theairflow is constant. Air vents on the rear side of the tunnel con- sole
*:
–Turn the thumb wheel under the air vent to open/close the airflow from the vent. The more white lines that are visible, the stronger the airflow.
Directing air flow–Move the lever in the center of the air vent horizontally or vertically to direct the air-flow from the vent.
Related information
Air distribution (p. 204)
Adjusting air distribution (p. 205)
Air distribution options (p. 207)
Page 209 of 661
CLIMATE CONTROL
}}
207
Air distribution options
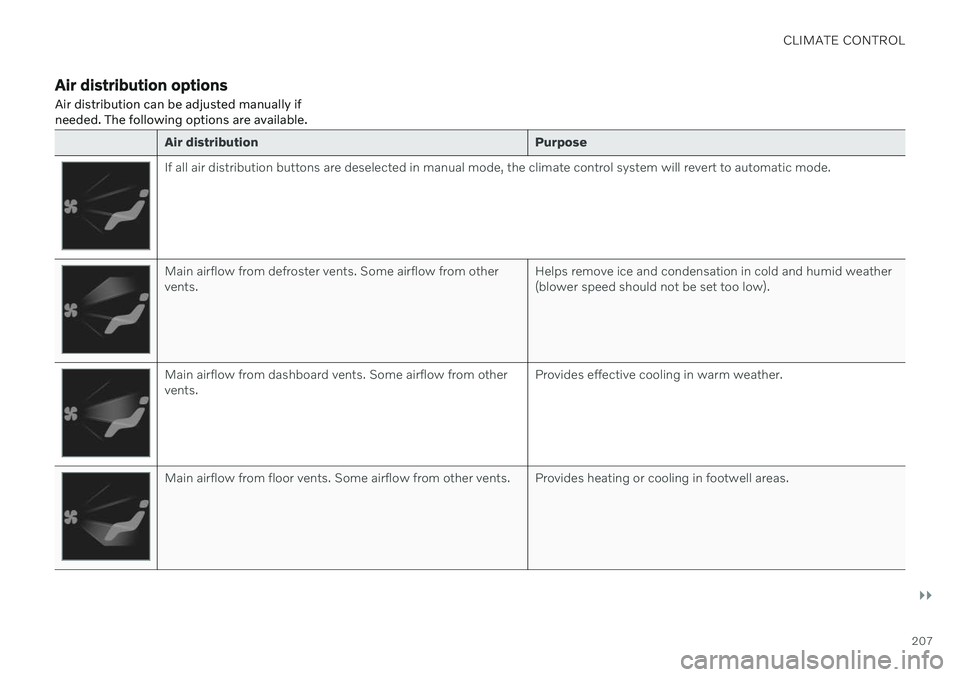
Air distribution can be adjusted manually if needed. The following options are available.
Air distribution Purpose
If all air distribution buttons are deselected in manual mode, the climate control system will revert to automatic mode.
Main airflow from defroster vents. Some airflow from other vents.Helps remove ice and condensation in cold and humid weather(blower speed should not be set too low).
Main airflow from dashboard vents. Some airflow from other vents.Provides effective cooling in warm weather.
Main airflow from floor vents. Some airflow from other vents. Provides heating or cooling in footwell areas.
Page 210 of 661
||
CLIMATE CONTROL
208
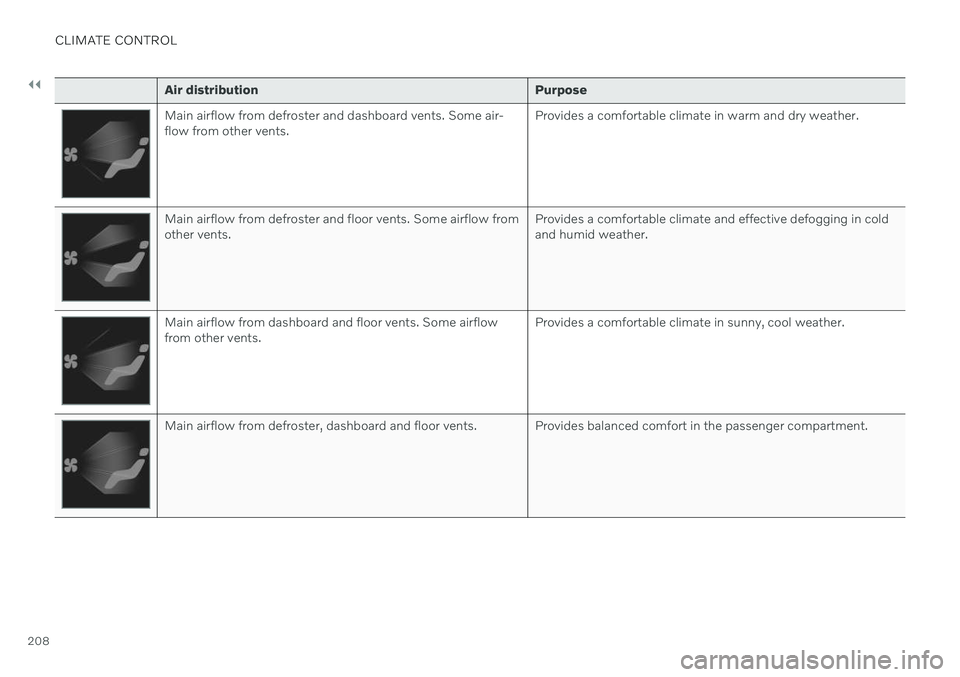
Air distributionPurpose
Main airflow from defroster and dashboard vents. Some air- flow from other vents.Provides a comfortable climate in warm and dry weather.
Main airflow from defroster and floor vents. Some airflow from other vents.Provides a comfortable climate and effective defogging in coldand humid weather.
Main airflow from dashboard and floor vents. Some airflow from other vents.Provides a comfortable climate in sunny, cool weather.
Main airflow from defroster, dashboard and floor vents. Provides balanced comfort in the passenger compartment.
Page 239 of 661
KEY, LOCKS AND ALARM
* Option/accessory.237
Lock and alarm indicators on the dashboard
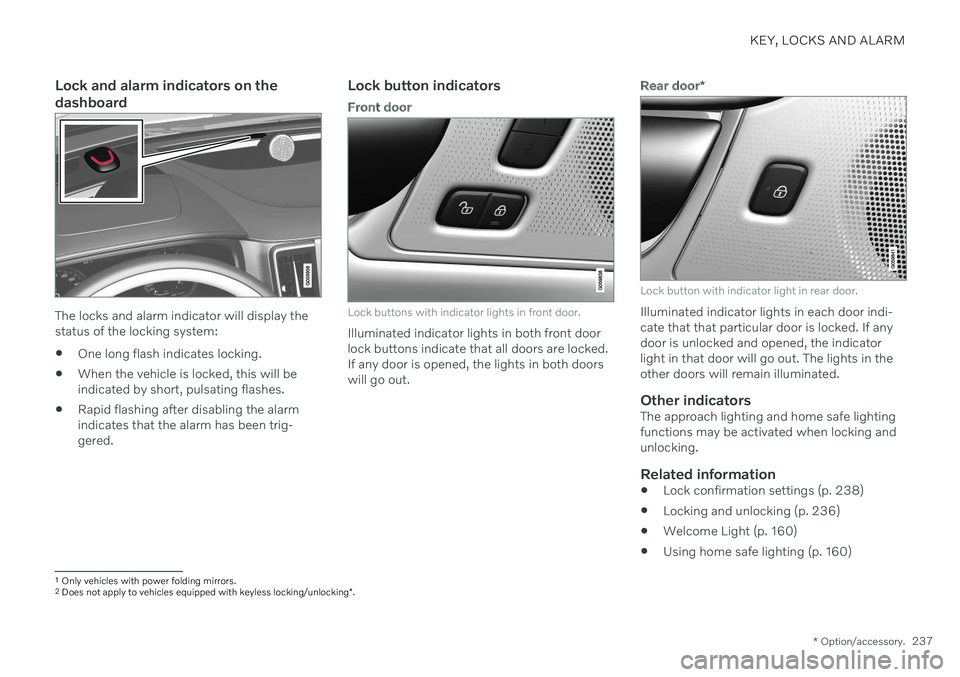
The locks and alarm indicator will display the status of the locking system:
One long flash indicates locking.
When the vehicle is locked, this will beindicated by short, pulsating flashes.
Rapid flashing after disabling the alarmindicates that the alarm has been trig-gered.
Lock button indicators
Front door
Lock buttons with indicator lights in front door.
Illuminated indicator lights in both front door lock buttons indicate that all doors are locked.If any door is opened, the lights in both doorswill go out.
Rear door
*
Lock button with indicator light in rear door.
Illuminated indicator lights in each door indi- cate that that particular door is locked. If anydoor is unlocked and opened, the indicatorlight in that door will go out. The lights in theother doors will remain illuminated.
Other indicatorsThe approach lighting and home safe lightingfunctions may be activated when locking andunlocking.
Related information
Lock confirmation settings (p. 238)
Locking and unlocking (p. 236)
Welcome Light (p. 160)
Using home safe lighting (p. 160)
1
Only vehicles with power folding mirrors.
2 Does not apply to vehicles equipped with keyless locking/unlocking *.
Page 245 of 661
KEY, LOCKS AND ALARM
}}
* Option/accessory.243
Unlocking the tailgate using the remote key
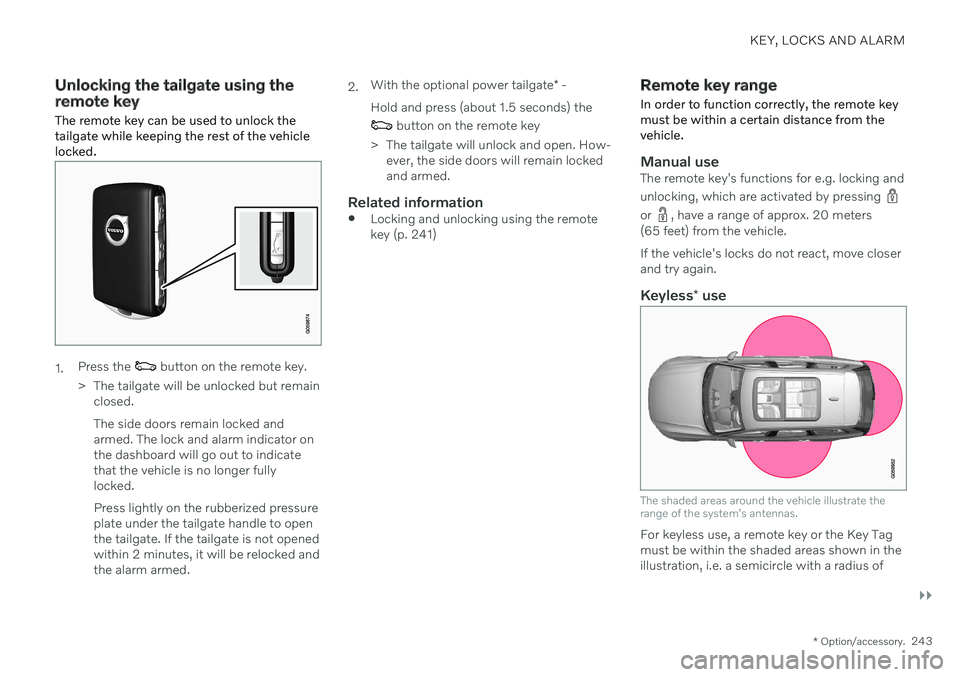
The remote key can be used to unlock the tailgate while keeping the rest of the vehiclelocked.
1. Press the button on the remote key.
> The tailgate will be unlocked but remain closed. The side doors remain locked and armed. The lock and alarm indicator onthe dashboard will go out to indicatethat the vehicle is no longer fullylocked. Press lightly on the rubberized pressure plate under the tailgate handle to openthe tailgate. If the tailgate is not openedwithin 2 minutes, it will be relocked andthe alarm armed. 2.
With the optional power tailgate
* -
Hold and press (about 1.5 seconds) the
button on the remote key
> The tailgate will unlock and open. How- ever, the side doors will remain locked and armed.
Related information
Locking and unlocking using the remotekey (p. 241)
Remote key range
In order to function correctly, the remote key must be within a certain distance from thevehicle.
Manual useThe remote key's functions for e.g. locking and unlocking, which are activated by pressing
or , have a range of approx. 20 meters
(65 feet) from the vehicle. If the vehicle's locks do not react, move closer and try again.
Keyless * use
The shaded areas around the vehicle illustrate the range of the system's antennas.
For keyless use, a remote key or the Key Tag must be within the shaded areas shown in theillustration, i.e. a semicircle with a radius of
Page 261 of 661
KEY, LOCKS AND ALARM
}}
* Option/accessory.259
Related information
Settings for remote and inside door unlock (p. 242)
Unlocking the tailgate from inside thevehicle (p. 259)
Activating and deactivating child locks(p. 259)
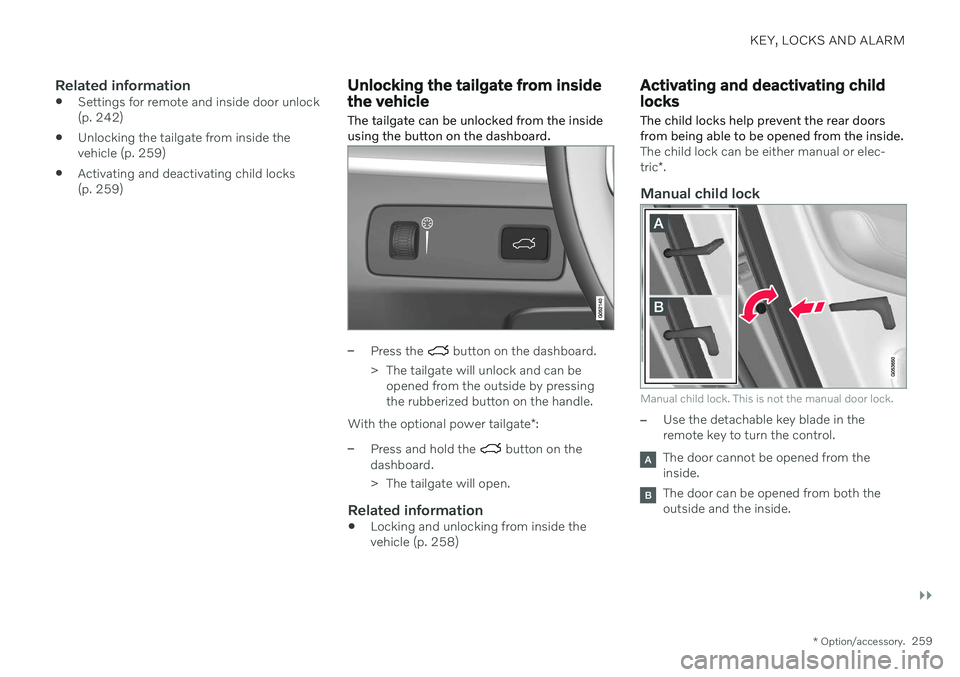
Unlocking the tailgate from inside the vehicle The tailgate can be unlocked from the inside using the button on the dashboard.
–Press the button on the dashboard.
> The tailgate will unlock and can be opened from the outside by pressing the rubberized button on the handle.
With the optional power tailgate *:
–Press and hold the button on the
dashboard.
> The tailgate will open.
Related information
Locking and unlocking from inside the vehicle (p. 258)
Activating and deactivating child locks
The child locks help prevent the rear doors from being able to be opened from the inside.
The child lock can be either manual or elec- tric *.
Manual child lock
Manual child lock. This is not the manual door lock.
–Use the detachable key blade in the remote key to turn the control.
The door cannot be opened from the inside.
The door can be opened from both the outside and the inside.
Page 264 of 661
||
KEY, LOCKS AND ALARM
* Option/accessory.
262
Interrupting closing
Press the button on the dashboard.
Press the button on the remote key.
Press the close button on the underside of the tailgate 13
.
Press the rubberized pressure plate on the underside of the tailgate's outer handle.
Using a foot movement
*.
Tailgate movement is interrupted and stops.The tailgate can then be opened or closedmanually. If the tailgate stops near the closed position, it will open the next time it is activated.
Pinch protectionIf anything obstructs the tailgate with enoughforce to prevent it from opening or closing,pinch protection will be activated.
When opening - the tailgate will stopmoving and an audible signal will sound.
When closing - the tailgate will stop, along audible signal will sound and the tail-gate will return to the programmed maxi-mum opening position.
WARNING
Be aware of the risk of injury when opening and closing. Before opening or closing, make sure that no one is near the tailgate's range ofmotion. Serious injury could occur. Always operate the tailgate with caution.
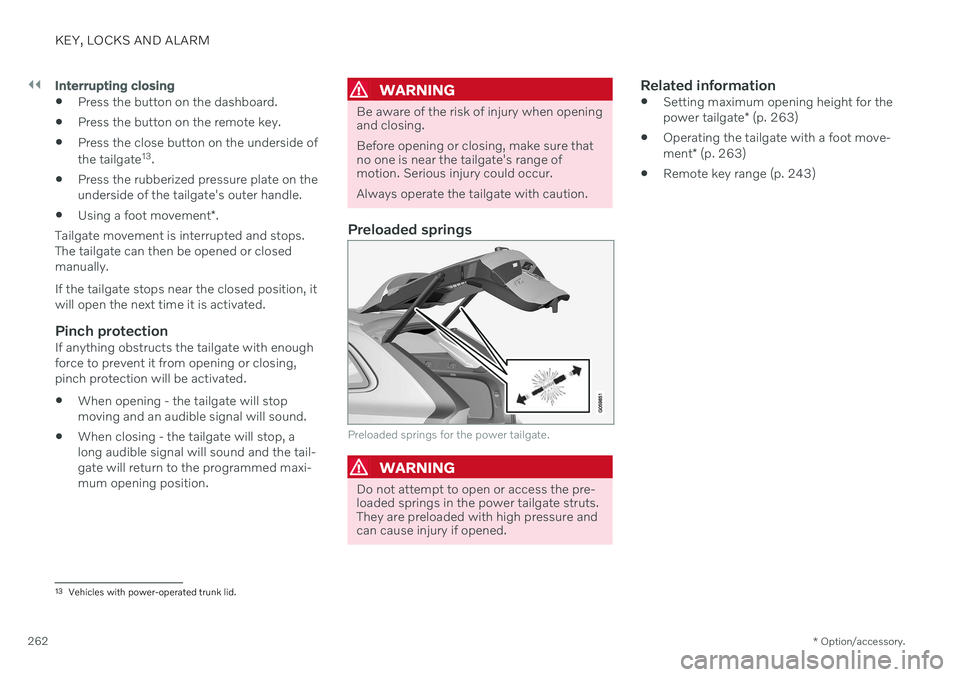
Preloaded springs
Preloaded springs for the power tailgate.
WARNING
Do not attempt to open or access the pre- loaded springs in the power tailgate struts.They are preloaded with high pressure andcan cause injury if opened.
Related information
Setting maximum opening height for the power tailgate
* (p. 263)
Operating the tailgate with a foot move-ment
* (p. 263)
Remote key range (p. 243)
13
Vehicles with power-operated trunk lid.
Page 268 of 661
||
KEY, LOCKS AND ALARM
266
Related information
Private Locking (p. 264)
Alarm The alarm emits sound and light signals if anyone without a valid remote key attemptsto break into the vehicle or interferes with thestart battery or alarm siren.
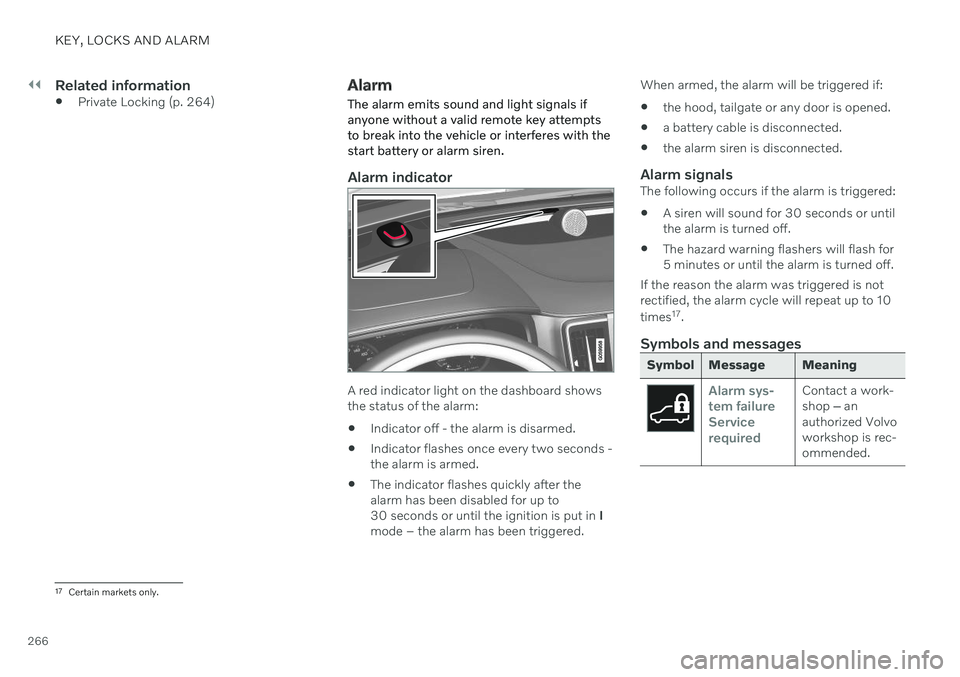
Alarm indicator
A red indicator light on the dashboard shows the status of the alarm:
Indicator off - the alarm is disarmed.
Indicator flashes once every two seconds -the alarm is armed.
The indicator flashes quickly after thealarm has been disabled for up to30 seconds or until the ignition is put in
I
mode – the alarm has been triggered. When armed, the alarm will be triggered if:
the hood, tailgate or any door is opened.
a battery cable is disconnected.
the alarm siren is disconnected.
Alarm signalsThe following occurs if the alarm is triggered:
A siren will sound for 30 seconds or untilthe alarm is turned off.
The hazard warning flashers will flash for5 minutes or until the alarm is turned off.
If the reason the alarm was triggered is notrectified, the alarm cycle will repeat up to 10 times 17
.
Symbols and messages
Symbol Message Meaning
Alarm sys- tem failureServicerequiredContact a work- shop ‒ an
authorized Volvoworkshop is rec-ommended.
17 Certain markets only.
Page 631 of 661
SPECIFICATIONS
}}
629
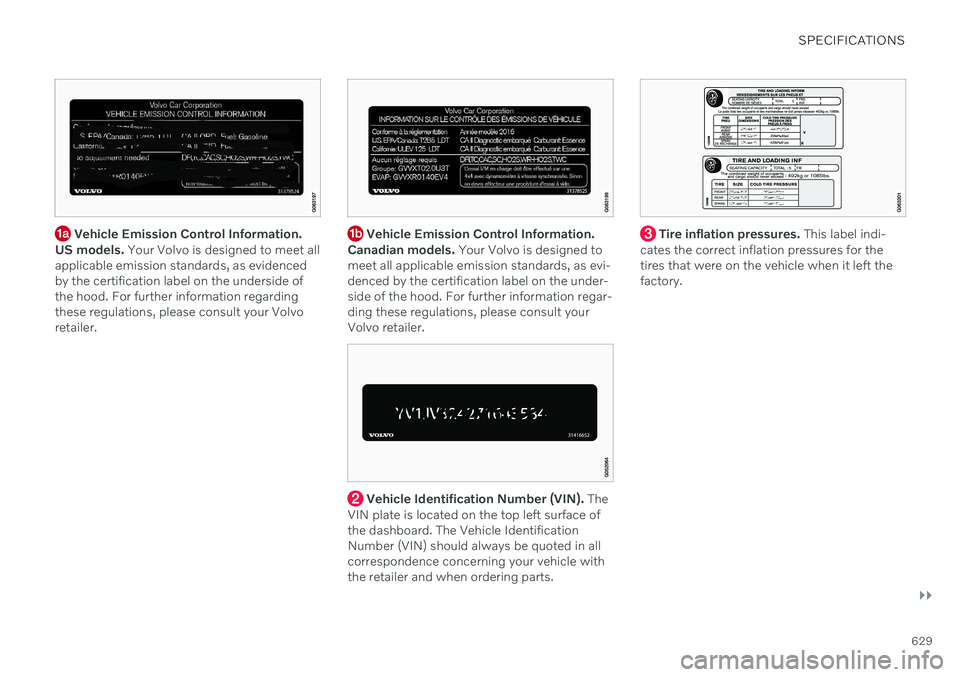
Vehicle Emission Control Information.
US models. Your Volvo is designed to meet all
applicable emission standards, as evidenced by the certification label on the underside ofthe hood. For further information regardingthese regulations, please consult your Volvoretailer. Vehicle Emission Control Information.
Canadian models. Your Volvo is designed to
meet all applicable emission standards, as evi- denced by the certification label on the under-side of the hood. For further information regar-ding these regulations, please consult yourVolvo retailer.
Vehicle Identification Number (VIN). The
VIN plate is located on the top left surface of the dashboard. The Vehicle IdentificationNumber (VIN) should always be quoted in allcorrespondence concerning your vehicle withthe retailer and when ordering parts.
Tire inflation pressures. This label indi-
cates the correct inflation pressures for the tires that were on the vehicle when it left thefactory.