start stop button VOLVO V60 2021 User Guide
[x] Cancel search | Manufacturer: VOLVO, Model Year: 2021, Model line: V60, Model: VOLVO V60 2021Pages: 661, PDF Size: 12.68 MB
Page 421 of 661

STARTING AND DRIVING
419
Stop the vehicle by applying the brakes and keep the brake pedal depressed. Theengine will auto-stop.
In
Comfort or Eco drive mode, the engine
may auto-stop before the vehicle has com- pletely stopped. With Adaptive Cruise Control or Pilot Assist activated, the engine will auto-stop aboutthree seconds after the vehicle has stopped.
Auto-startThe following conditions must be met for theengine to auto-start.
Release the brake pedal. The engine willauto-start and the vehicle can be driven.On an uphill gradient, Hill Start Assist (HSA 13
) will activate to help prevent the
vehicle from rolling backward.
When the Auto-hold function is activated, auto-start will be delayed until the acceler-ator is pressed.
When Adaptive Cruise Control or PilotAssist are activated, the engine will auto- start when the accelerator pedal is depressed or the
button on the left-
side steering wheel keypad is pressed.
Maintain pressure on the brake pedal and press the accelerator pedal. The enginewill auto-start.
On a downhill gradient: Release the brakepedal slightly so that the vehicle begins toroll. The engine will auto-start after a slightincrease in speed.
Symbols in the instrument panel
White – Displayed in the tachometer
when the function is available.
Green – Shown in the tachometer
when the function is active and the engine is auto-stopped.
Gray – When the symbol is grayed-
out with a line through it, the function is not available. If no symbol is shown, the function is switched off.
The function is active and the engine has auto-stop- ped.
On vehicles with the 8-inch instrument panel, the symbol will be shown at the bottom of thespeedometer.
Related information
Deactivating the Start/Stop function(p. 420)
Conditions for the Start/Stop function(p. 420)
Start/Stop function (p. 418)
Hill Start Assist (p. 405)
Auto-hold brakes (p. 403)
13
Hill Start Assist
Page 422 of 661
STARTING AND DRIVING
420
Deactivating the Start/Stop function
In certain situations, it may be advisable to turn the Start/Stop function off.
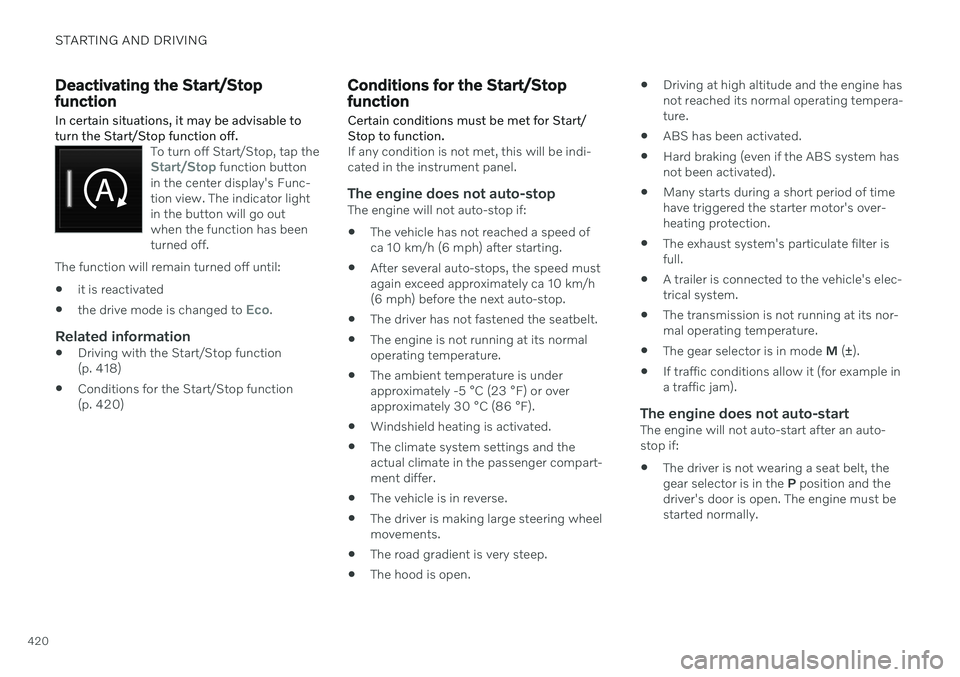
To turn off Start/Stop, tap theStart/Stop function button
in the center display's Func- tion view. The indicator lightin the button will go outwhen the function has beenturned off.
The function will remain turned off until:
it is reactivated
the drive mode is changed to
Eco.
Related information
Driving with the Start/Stop function (p. 418)
Conditions for the Start/Stop function(p. 420)
Conditions for the Start/Stop function
Certain conditions must be met for Start/ Stop to function.
If any condition is not met, this will be indi- cated in the instrument panel.
The engine does not auto-stopThe engine will not auto-stop if: The vehicle has not reached a speed of ca 10 km/h (6 mph) after starting.
After several auto-stops, the speed mustagain exceed approximately ca 10 km/h(6 mph) before the next auto-stop.
The driver has not fastened the seatbelt.
The engine is not running at its normaloperating temperature.
The ambient temperature is underapproximately -5 °C (23 °F) or overapproximately 30 °C (86 °F).
Windshield heating is activated.
The climate system settings and theactual climate in the passenger compart-ment differ.
The vehicle is in reverse.
The driver is making large steering wheelmovements.
The road gradient is very steep.
The hood is open.
Driving at high altitude and the engine hasnot reached its normal operating tempera-ture.
ABS has been activated.
Hard braking (even if the ABS system hasnot been activated).
Many starts during a short period of timehave triggered the starter motor's over-heating protection.
The exhaust system's particulate filter isfull.
A trailer is connected to the vehicle's elec-trical system.
The transmission is not running at its nor-mal operating temperature.
The gear selector is in mode
M (±
).
If traffic conditions allow it (for example ina traffic jam).
The engine does not auto-startThe engine will not auto-start after an auto-stop if:
The driver is not wearing a seat belt, thegear selector is in the
P position and the
driver's door is open. The engine must bestarted normally.
Page 444 of 661
STARTING AND DRIVING
* Option/accessory.
442
Programming HomeLink ®
*22
Follow these instructions to program HomeLink ®
, reset all programming, or pro-
gram individual buttons.
NOTE
In some vehicles, the ignition must be on or in the "accessory position" before HomeLink ®
can be programmed or used. It
can be a good idea to put new batteries in the remote control being replaced by HomeLink ®
for faster programming and
better radio signal transmission. TheHomeLink ®
buttons should be reset before
programming.
WARNING
While HomeLink ®
is being programmed,
the garage door or gate being programmed may be activated. Make sure that no one isnear the door or gate during programming.When programming a garage door opener,it is advised to park outside of the garage. 1. Point the remote control at the
HomeLink ®
button to be programmed and
hold it about 2-8 cm (1-3 inches) from the button. Do not obstruct the HomeLink ®
indicator light. Note: Some remote controls are more
effective at programming HomeLink ®
from
a distance of about 15-20 cm (6-12 inches). Keep this in mind if you experi-ence any programming difficulties.
2. Press and hold both the remote control button and the HomeLink ®
button to be
programmed. 3. Do not release the buttons until the indica-
tor light has stopped flashing slowly(about once a second) and either flashesquickly (about 10 times a second) orglows steadily. >If the indicator light glows steadily: Indication that programming is com-plete. Press the programmed buttontwice to activate. If the indicator light flashes quickly: The device being programmed with HomeLink ®
may have a security func-
tion that requires an extra step. Try pressing the programmed button twiceto see whether the programmingworks. Otherwise, continue with thefollowing steps.
22 Certain markets only.
Page 447 of 661
STARTING AND DRIVING
}}
* Option/accessory.445
Compass*
An integrated compass 27
in the upper right
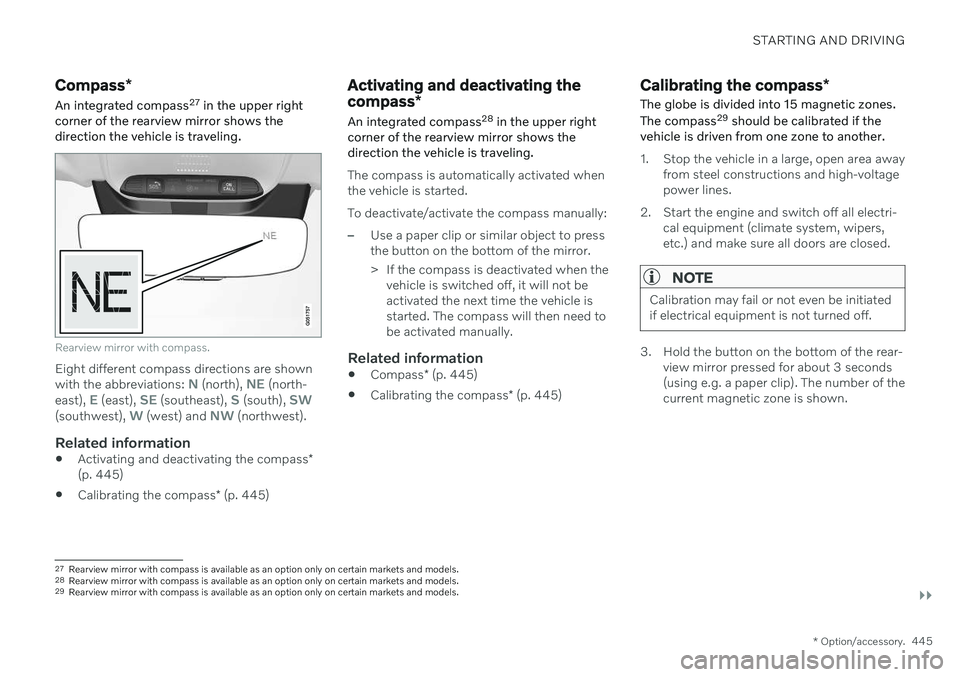
corner of the rearview mirror shows the direction the vehicle is traveling.
Rearview mirror with compass.
Eight different compass directions are shown with the abbreviations: N (north), NE (north-
east), E (east), SE (southeast), S (south), SW(southwest), W (west) and NW (northwest).
Related information
Activating and deactivating the compass
*
(p. 445)
Calibrating the compass
* (p. 445)
Activating and deactivating the compass *
An integrated compass 28
in the upper right
corner of the rearview mirror shows the direction the vehicle is traveling.
The compass is automatically activated when the vehicle is started. To deactivate/activate the compass manually:
–Use a paper clip or similar object to press the button on the bottom of the mirror.
> If the compass is deactivated when the vehicle is switched off, it will not be activated the next time the vehicle isstarted. The compass will then need tobe activated manually.
Related information
Compass
* (p. 445)
Calibrating the compass
* (p. 445)
Calibrating the compass *
The globe is divided into 15 magnetic zones. The compass 29
should be calibrated if the
vehicle is driven from one zone to another.
1. Stop the vehicle in a large, open area away from steel constructions and high-voltage power lines.
2. Start the engine and switch off all electri- cal equipment (climate system, wipers,etc.) and make sure all doors are closed.
NOTE
Calibration may fail or not even be initiated if electrical equipment is not turned off.
3. Hold the button on the bottom of the rear-view mirror pressed for about 3 seconds (using e.g. a paper clip). The number of thecurrent magnetic zone is shown.
27Rearview mirror with compass is available as an option only on certain markets and models.
28 Rearview mirror with compass is available as an option only on certain markets and models.
29 Rearview mirror with compass is available as an option only on certain markets and models.
Page 647 of 661
INDEX
645
Door mirrors 167
compass 445
dimming 168
outer 167
power folding 168
resetting 168
store position 184, 185
Download Center 569 use 569
Driveline transmission 406
Drive mode 413 changing 415
ECO 416, 418
when using driver support 315
Driver Alert Control 348 activating/deactivating 349
limitations 350
rest stop guidance 349
Driver performance 90 settings 91
Driver profile 134 edit 135, 136, 137
select 135
Driver support system 270 Drive mode 315
Drivingcooling system 430
with a trailer 434
Driving economy 423
Driving through standing water 425driving with a trailer towball load 634
towing capacity 634
E
ECO climate 416
ECO mode 416
activate with function button 418
Economical driving 416, 423
Electrical outlet 552 use 553
Electrical system 584
Electric parking brake 400
Electronic immobilizer 252
emergency brake lights 159
Emission inspection readiness 566 Engine overheating 430
start 392
Start/Stopfunction 418
turn off 394
Engine braking 397 Engine compartment coolant 582
engine oil 579
overview 578
Engine drag control 271
Engine oil 579 checking and filling 580
grade and volume 636
Engine shutdown 394
Engine specifications 635Engine temperature high 430
Environment 28Ethanol content max. 10% by volume 427
Exterior dimensions 631
F
Federal Clean Air Act 566
Ferry transport 422
Flooded road 425
Fluids, volumes 626, 637
Page 655 of 661
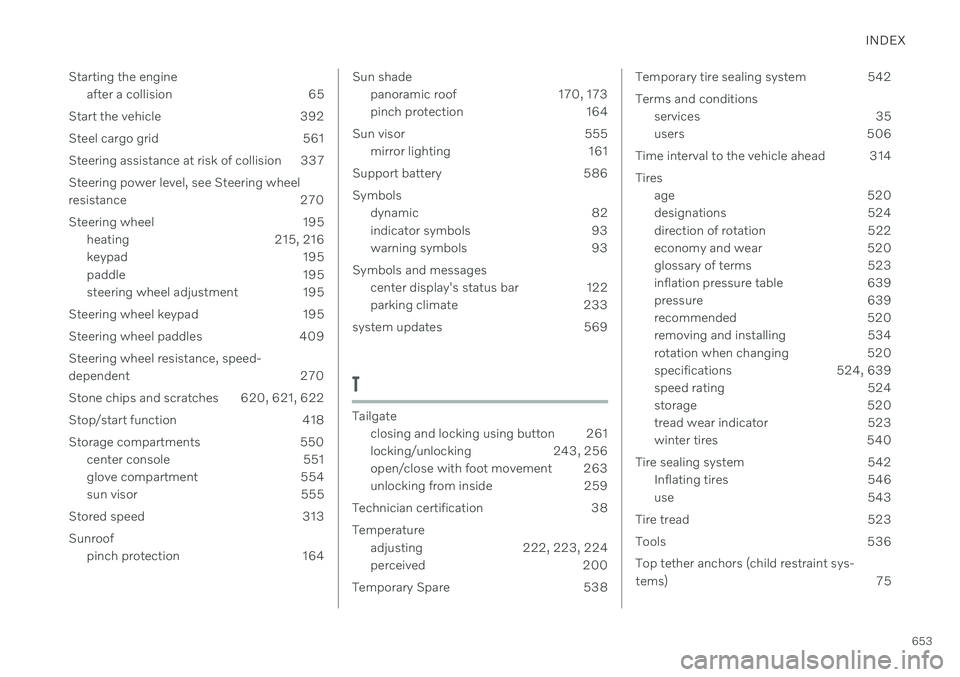
INDEX
653
Starting the engine
after a collision 65
Start the vehicle 392
Steel cargo grid 561 Steering assistance at risk of collision 337Steering power level, see Steering wheel
resistance 270
Steering wheel 195 heating 215, 216
keypad 195
paddle 195
steering wheel adjustment 195
Steering wheel keypad 195
Steering wheel paddles 409 Steering wheel resistance, speed-
dependent 270
Stone chips and scratches 620, 621, 622
Stop/start function 418
Storage compartments 550 center console 551
glove compartment 554
sun visor 555
Stored speed 313 Sunroof pinch protection 164
Sun shade
panoramic roof 170, 173
pinch protection 164
Sun visor 555 mirror lighting 161
Support battery 586 Symbols dynamic 82
indicator symbols 93
warning symbols 93
Symbols and messages center display's status bar 122
parking climate 233
system updates 569
T
Tailgate closing and locking using button 261
locking/unlocking 243, 256
open/close with foot movement 263
unlocking from inside 259
Technician certification 38 Temperature adjusting 222, 223, 224
perceived 200
Temporary Spare 538
Temporary tire sealing system 542 Terms and conditions services 35
users 506
Time interval to the vehicle ahead 314 Tires age 520
designations 524
direction of rotation 522
economy and wear 520
glossary of terms 523
inflation pressure table 639
pressure 639
recommended 520
removing and installing 534
rotation when changing 520
specifications 524, 639
speed rating 524
storage 520
tread wear indicator 523
winter tires 540
Tire sealing system 542 Inflating tires 546
use 543
Tire tread 523
Tools 536 Top tether anchors (child restraint sys-
tems) 75