key VOLVO V70 2005 Owner's Manual
[x] Cancel search | Manufacturer: VOLVO, Model Year: 2005, Model line: V70, Model: VOLVO V70 2005Pages: 139, PDF Size: 3.84 MB
Page 116 of 139

2 0 0 5
VOLVO V70
Chapter 10 - Audio systems
pg. 169 Audio systems
Introduction170
HU-650 overview171
HU-850 overview172
Radio functions173
RBDS functions177
HU - 650 CD player180
HU - 850 internal CD changer181
External CD changer (option)182
Dolby Surround Pro Logic II183
Specifications185
HomeLink®186
pg. 170 Introduction
The audio system in your car is operated with the buttons and knobs in the system's front panel. Certain functions,
such as adjusting the volume, changing radio stations or tracks on a CD, etc, can also be controlled with the optional
steering wheel-mounted keypad.
The audio system is available in two versions:
HU-650
Features: AM/FM radio, single-disc CD player, 4x25W output, six speakers.
HU-850
Features: AM/FM radio, integrated 6-disc CD changer, 4x50W or 4x70W output plus 25W Dolby Pro Logic II, eleven
speakers.
A subwoofer mounted under the floor in the cargo area is available as an option. Consult your Volvo retailer.
Compact disc care
• Before using a new disc for the first time, remove any burrs in the center/outer edge by running the stem of a pen or
similar object around the hole/edge of the disc.
ProCarManuals.com
Page 119 of 139

12. Dolby Surround Pro Logic II
13. 2-channel stereo
14. 3-channel stereo
15. CD slot
16. CD random play
17. FM (select FM1, FM2, FM3)
18. AM (select AM1 or AM2)
19. CD player
20. AUTO - automatically search for radio stations
21. Display
pg. 173 Radio functions HU-650/HU-850
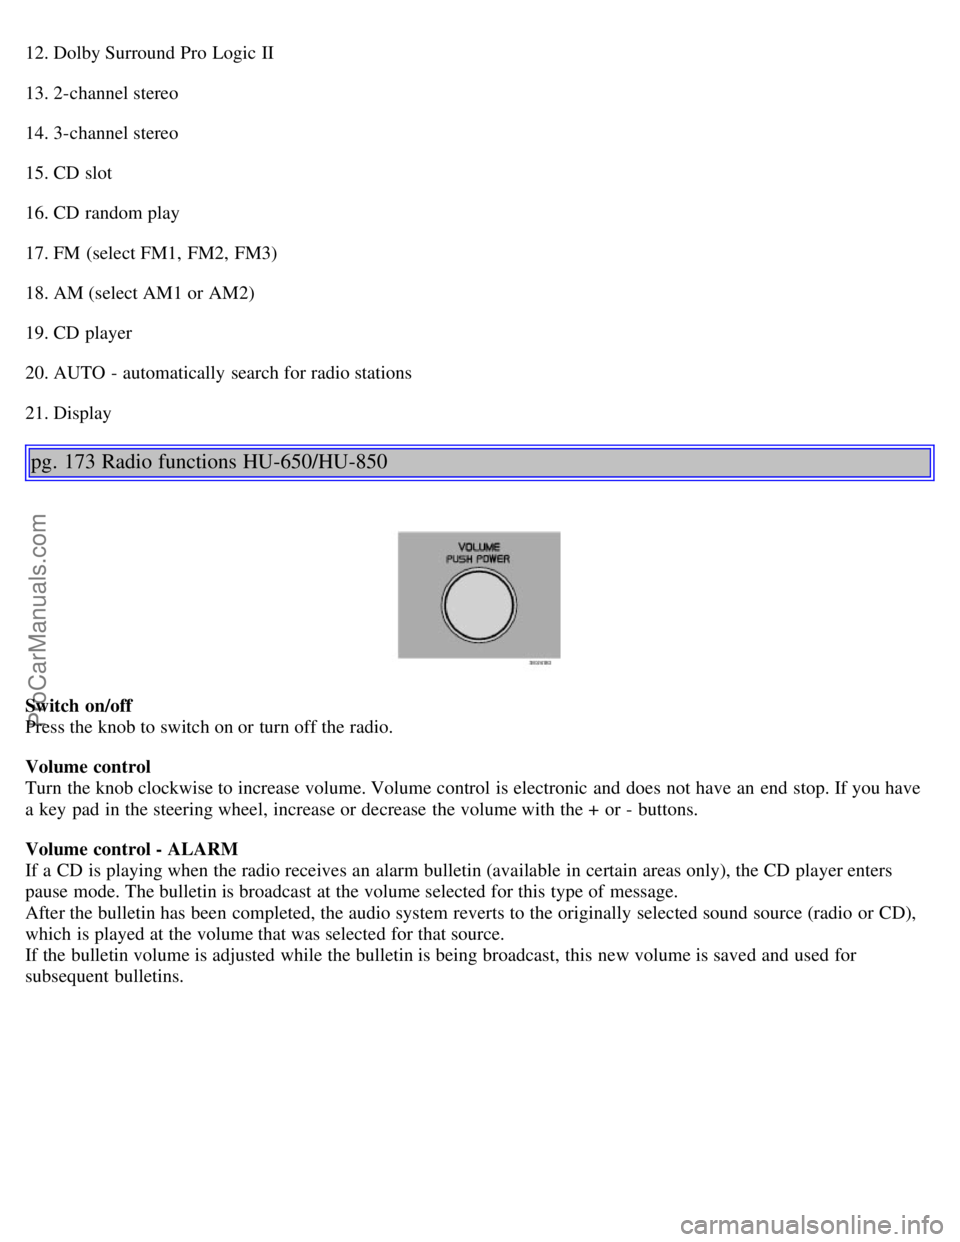
Switch on/off
Press the knob to switch on or turn off the radio.
Volume control
Turn the knob clockwise to increase volume. Volume control is electronic and does not have an end stop. If you have
a key pad in the steering wheel, increase or decrease the volume with the + or - buttons.
Volume control - ALARM
If a CD is playing when the radio receives an alarm bulletin (available in certain areas only), the CD player enters
pause mode. The bulletin is broadcast at the volume selected for this type of message.
After the bulletin has been completed, the audio system reverts to the originally selected sound source (radio or CD),
which is played at the volume that was selected for that source.
If the bulletin volume is adjusted while the bulletin is being broadcast, this new volume is saved and used for
subsequent bulletins.
ProCarManuals.com
Page 122 of 139

will increase the scanning speed after a few seconds. Release the button when the desired frequency appears in the
display.
The frequency can be fine-tuned by short presses on the
keys.
The system will remain in manual search mode for 5 seconds after the button is released, after which it will return to
seek mode.
Steering wheel key pad (option)
If the vehicle is equipped with the key pad in the steering wheel press the right or left arrow to switch between preset
stations.
pg. 176 Radio functions HU-650/HU-850
Storing stations
To store a selected station under one of the station setting buttons 1-6:
1. Tune to the desired station.
2. Press the button under which the station is to be stored and keep it depressed. The audio system sound will be
interrupted for a few seconds and STORED will appear in the display. The station is now stored.
A total of 30 stations can be stored; 6 stations each in AM1, AM2, FM1, FM2, and FM3.
Storing stations automatically
ProCarManuals.com
Page 123 of 139

This function automatically searches for and stores up to 10 strong AM or FM stations in a separate memory. If more
than ten stations are found, the ten strongest ones are stored. This function is especially useful in areas in which you
are not familiar with radio stations or their frequencies.
To use the AUTO function:
1. Select radio mode using the AM or FM buttons, or by turning the SOURCE knob.
2. Start the search by pressing AUTO for more than 2 seconds.
3. AUTO appears in the display and a number of stations with strong signals (max. 10) from the selected frequency
band will be stored in the auto-store memory. If there are no stations with sufficient signal strength, NO STATION is
displayed.
4. Press the AUTO button or the arrow keys on the optional steering wheel controls briefly to select the stored stations.
When the radio is in auto-store mode, AUTO is shown in the display. AUTO disappears when you return to the
normal radio mode.
Return to the normal radio mode by pressing the AM, FM, or EXIT button.
To return to the Auto-store mode, press the AUTO button briefly.
Contents | Top of Page
ProCarManuals.com
Page 126 of 139

original hand -held transmitter can also be used, as desired, to operate the garage door.
The remaining two HomeLink® buttons can be programmed in the same way. In the event of any problems in
programming the HomeLink® Universal Transceiver, call toll-free 1-800-355-3515 (Internet: www.HomeLink.com
).
Operating the HomeLink® Universal Transceiver
Once programmed, the HomeLink® Universal Transceiver can be used in place of your hand -held transmitters.
To operate, the key must be turned to the "accessory" position (II) or the engine must be running. Press the
programmed HomeLink® button to activate the garage door, driveway gate, security lighting, home security system,
etc.
Your original hand -held transmitters may, of course, be used at any time.
Erasing programmed buttons
Individual buttons cannot be erased. To erase all three programmed buttons:
1. Turn the ignition key to the "accessory" position (II).
2. Hold down the two outside buttons on the HomeLink® Universal Transceiver for about 20 seconds, until
HomeLink®'s indicator light begins to flash.
3. Release both buttons.
The HomeLink® buttons can be reprogrammed using the procedures described on the previous page.
(HomeLink® information continues on the next page)
pg. 188 HomeLink® Universal Transceiver (option)
Reprogramming a single HomeLink® button
1. Press and hold the desired HomeLink® button. Do not release the button until step 3 has been completed.
2. When the indicator light begins to flash slowly (after approximately 20 seconds), position your hand -held
transmitter 2 to 5 in. (5 to 12 cm) away from the HomeLink® surface.
3. Press and hold the hand -held transmitter button. The HomeLink® indicator light will flash first slowly, then rapidly.
When the indicator light flashes rapidly, release both buttons.
The previously programmed device has now been erased and the new device can be activated by pressing the
HomeLink® button that has just been programmed. This procedure will not affect any other programmed HomeLink®
buttons.
NOTE:
Retain the original transmitter(s) for future programming procedures (e.g., if you purchase a new car).
For your own security, erase all programmed buttons on the HomeLink® Universal Transceiver when you sell your
car.
Metallic sun protection films should not be used on any windows in a car equipped with HomeLink® Universal
Transceiver. This could interfere with the transceiver's function.
ProCarManuals.com
Page 132 of 139

HomeLink®186, 187, 188
Hood - opening151
HU -650 - overview171
HU -850 - overview172
I
Ignition switch38, 39
Immobilizer (start inhibitor)80, 91
Indicator lights30, 31
Inflatable curtain (IC)11
Instrument illumination37
Instrument panel29
Instruments28
Integrated booster cushion14
Interior Air Quality system55
Interior features - overview26
Interior lighting78
ISOFIX child seat anchors17
J
Jack76
, 126
Jump starting109
K
Key - removing from ignition switch91
Keyless entry system81, 82
Keyless entry system - replacing batteries82
Keylock91
Keys80
Kickdown95, 96
L
Label information160
LATCH/ISOFIX anchors17
License plate lights - replacing140
Lifting the car150
Load carriers103
Locking and unlocking the car80
Locking steering wheel38
Long distance trip111
Long loads62
M
Maintenance service146
Malfunction indicator lamp31
Manual climate control with air conditioning56-58
Manual transmission93
Mirrors45
Mirrors, sideview - memory function45
ProCarManuals.com
Page 133 of 139

Moonroof46
N
Net - cargo73
Nylon cargo net73
O
Occupant safety19
Octane rating88
Odometer29
Oil - engine110, 152, 153
Oil -level (R-models)153
Oil pressure warning light30
Opening the hood151
P
Paint touch-up142
Panic function (alarm)84
Park Assist100
Parking brake43
Parking brake reminder light30
Parking lights37
Passenger's seat backrest - folding62
PCV system149
Pen holder65
Polishing144
Power moonroof46
Power seats60, 61
Power steering - speed sensitive101
Power steering fluid154
Power windows44
R
R-models, checking oil level153
Radio169
Rain sensor40
Rain sensor - windshield wipers40
Reading lights - front/rear78
Rear fog light31, 38
Rear park assist87, 100
Rear reading lights78
Rear seat backrest70
Rear window - heated42
Rearview mirror45
Refrigerant51
Refueling90
Remote central locking system and sideview mirrors system45
Remote control - keyless entry system81
ProCarManuals.com
Page 134 of 139

Remote control - Homelink® Universal Transceiver187
Remote keyless entry system81
Remote keyless entry system - replacing batteries82
Removing the seat cushion70
Replacing bulbs135-141
Replacing fuses130
Replacing the battery155
Replacing wiper blades157
Road assistance167
Roadholding101
Roof load - maximum162
Roof racks103
Run flat tires119
S
Safety locks - child86
Seat belt maintenance19
Seat belts2, 3, 16
Seat belts - cleaning145
Seats - front60, 61
Securing cargo72
Self supporting run flat tires119
Servicing150
Shiftlock91, 94, 96
Side impact airbag system (SIPS)10
Side windows - laminated41
Sideview mirrors45
Sideview mirrors - heated42
Sideview mirrors - memory function45
Spare tire76
Spark plugs149, 165
Specifications163
Speed -sensitive power steering101
Sport mode (automatic transmission)97
SRS6
SRS diagnostic system30
Stability Traction Control (STC)21
Start inhibitor (immobilizer)80, 91
Starting the engine91, 92
Steel grid73
Steering wheel adjustment38
Steering wheel lock38
Stop and Store bag68
Storage compartments63
Storage in the glove compartment65
ProCarManuals.com