start stop button VOLVO V90 CROSS COUNTRY 2021 User Guide
[x] Cancel search | Manufacturer: VOLVO, Model Year: 2021, Model line: V90 CROSS COUNTRY, Model: VOLVO V90 CROSS COUNTRY 2021Pages: 683, PDF Size: 14.19 MB
Page 436 of 683
||
STARTING AND DRIVING
* Option/accessory.
434 pedal. When the accelerator pedal is released, the vehicle will return to very low speedregardless of how steep the hill is and withoutthe brakes needing to be applied. The brakelights will illuminate when the function is acti-vated. The driver can brake to stop or slow the vehi- cle at any time by depressing the brake pedal. HDC is activated along with Low Speed Con- trol (LSC
18
), which facilitates and improves
traction and control on rough and slippery sur- faces. The system is intended to be used atlow speeds, up to approximately 40 km/h (25mph).
To keep in mind when using HDC
If the function is switched off while drivingon a steep downhill gradient, brakingeffect will be gradually reduced.
HDC can be used in gear positions
D and
R , and in manual gears 1 or 2.
It is not possible to manually shift to thirdgear or higher when HDC is active.
NOTE
When LSC with HDC is activated, the feel of the accelerator pedal and engineresponse will change.
NOTE
This drive mode is not designed to be used for normal street driving.
NOTE
The function is deactivated when driving at high speeds and must be reactivated atlower speeds if so desired.
Related information
Activating and deactivating Hill Descent Control using the function button (p. 434)
Changing drive mode
* (p. 421)
Low Speed Control (p. 432)
All Wheel Drive (AWD) (p. 419)
Activating and deactivating Hill Descent Control using the functionbutton There is a function button for assistance on steep gradients with
Hill Descent Control in
the center display's Function view if the vehi- cle is not equipped with a drive mode controlin the tunnel console.
Selecting Hill Descent Control in the center display's Function view
HDC only works at low speeds.
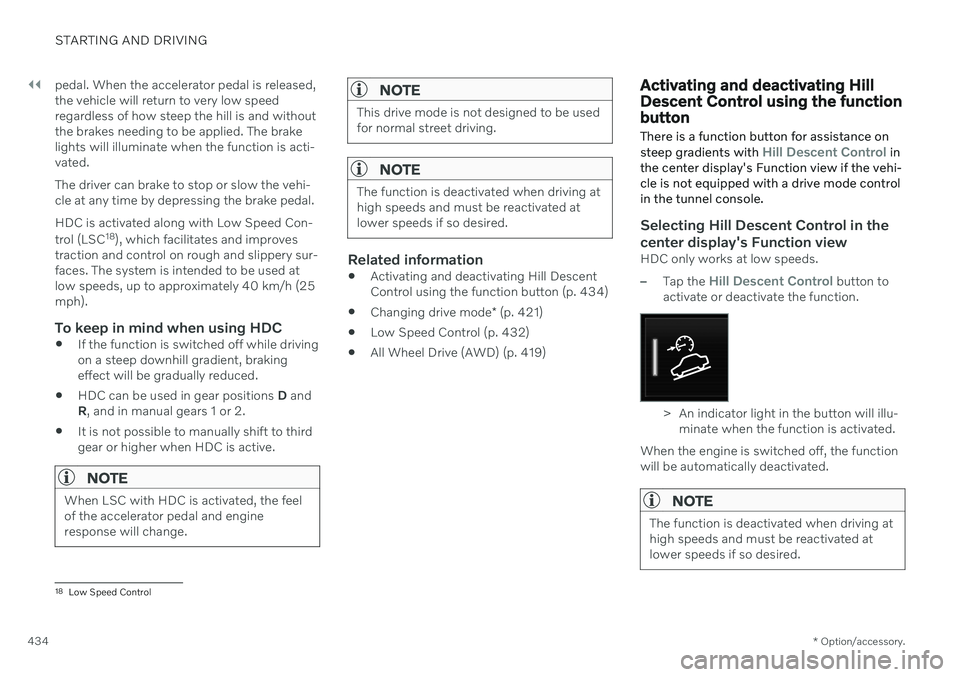
–Tap the Hill Descent Control button to
activate or deactivate the function.
> An indicator light in the button will illu- minate when the function is activated.
When the engine is switched off, the function will be automatically deactivated.
NOTE
The function is deactivated when driving at high speeds and must be reactivated atlower speeds if so desired.
18 Low Speed Control
Page 457 of 683
STARTING AND DRIVING
}}
* Option/accessory.455
Programming HomeLink ®
*27
Follow these instructions to program HomeLink ®
, reset all programming, or pro-
gram individual buttons.
NOTE
In some vehicles, the ignition must be on or in the "accessory position" before HomeLink ®
can be programmed or used. It
can be a good idea to put new batteries in the remote control being replaced by HomeLink ®
for faster programming and
better radio signal transmission. TheHomeLink ®
buttons should be reset before
programming.
WARNING
While HomeLink ®
is being programmed,
the garage door or gate being programmed may be activated. Make sure that no one isnear the door or gate during programming.When programming a garage door opener,it is advised to park outside of the garage. 1. Point the remote control at the
HomeLink ®
button to be programmed and
hold it about 2-8 cm (1-3 inches) from the button. Do not obstruct the HomeLink ®
indicator light. Note: Some remote controls are more
effective at programming HomeLink ®
from
a distance of about 15-20 cm (6-12 inches). Keep this in mind if you experi-ence any programming difficulties.
2. Press and hold both the remote control button and the HomeLink ®
button to be
programmed. 3. Do not release the buttons until the indica-
tor light has stopped flashing slowly(about once a second) and either flashesquickly (about 10 times a second) orglows steadily. >If the indicator light glows steadily: Indication that programming is com-plete. Press the programmed buttontwice to activate. If the indicator light flashes quickly: The device being programmed with HomeLink ®
may have a security func-
tion that requires an extra step. Try pressing the programmed button twiceto see whether the programmingworks. Otherwise, continue with thefollowing steps.
27 Certain markets only.
Page 460 of 683

STARTING AND DRIVING
* Option/accessory.
458
Compass *
An integrated compass 32
in the upper right
corner of the rearview mirror shows the direction the vehicle is traveling.
Rearview mirror with compass.
Eight different compass directions are shown with the abbreviations: N (north), NE (north-
east), E (east), SE (southeast), S (south), SW(southwest), W (west) and NW (northwest).
Related information
Activating and deactivating the compass
*
(p. 458)
Calibrating the compass
* (p. 458)
Activating and deactivating the compass *
An integrated compass 33
in the upper right
corner of the rearview mirror shows the direction the vehicle is traveling.
The compass is automatically activated when the vehicle is started. To deactivate/activate the compass manually:
–Use a paper clip or similar object to press the button on the bottom of the mirror.
> If the compass is deactivated when the vehicle is switched off, it will not be activated the next time the vehicle isstarted. The compass will then need tobe activated manually.
Related information
Compass
* (p. 458)
Calibrating the compass
* (p. 458)
Calibrating the compass *
The globe is divided into 15 magnetic zones. The compass 34
should be calibrated if the
vehicle is driven from one zone to another.
1. Stop the vehicle in a large, open area away from steel constructions and high-voltage power lines.
2. Start the engine and switch off all electri- cal equipment (climate system, wipers,etc.) and make sure all doors are closed.
NOTE
Calibration may fail or not even be initiated if electrical equipment is not turned off.
3. Hold the button on the bottom of the rear-view mirror pressed for about 3 seconds (using e.g. a paper clip). The number of thecurrent magnetic zone is shown.
32Rearview mirror with compass is available as an option only on certain markets and models.
33 Rearview mirror with compass is available as an option only on certain markets and models.
34 Rearview mirror with compass is available as an option only on certain markets and models.
Page 669 of 683
INDEX
667
Door mirrors 176
compass 458
dimming 177
outer 176
power folding 177
resetting 177
store position 192, 193
Download Center 585 use 585
Driveline transmission 412
Drive mode 419 changing 421
ECO 422, 424
when using driver support 323
Driver Alert Control 356 activating/deactivating 357
limitations 358
rest stop guidance 357
Driver performance 96 settings 97
Driver profile 140 edit 141, 142, 143
select 141
Driver support system 278 Drive mode 323
Drivingcooling system 442
with a trailer 446
Driving economy 435
Driving through standing water 437driving with a trailer towball load 656
towing capacity 656
E
ECO climate 422
ECO mode 422
activate with function button 424
Economical driving 422, 435
Electrical outlet 566 use 567
Electrical system 600
Electric parking brake 406
Electronic immobilizer 260
emergency brake lights 165
Emission inspection readiness 582 Engine overheating 442
start 398
Start/Stopfunction 425
turn off 400
Engine braking 403, 433 Engine compartment coolant 598
engine oil 595
overview 594
Engine drag control 279
Engine oil 595 checking and filling 596
grade and volume 658
Engine shutdown 400
Engine specifications 657Engine temperature high 442
Environment 28Ethanol content max. 10% by volume 439
Exterior dimensions 653
F
Federal Clean Air Act 582
Ferry transport 429
Flooded road 437
Fluids, volumes 646, 659
Page 673 of 683
INDEX
671
Locks and remote keys 244 Low battery charge level
start battery 443
Low beams 159
Low-speed driving 432 activate with function button 433
M
Maintained climate comfort 239start/stop 239
Maintenance 582 corrosion protection 641
Max. axle weight 655
Max. roof load 655
Media player 483, 484, 485 compatible file formats 491
voice control 153
Messages and symbols Adaptive Cruise Control 302
Assistance at risk of collision 350
BLIS 355
camera and radar unit 395
City Safety 344
Cross Traffic Alert 363
Lane Keeping Aid 328
Park Assist Camera 377
Park Assist Pilot 386
Parking Assist 368
Pilot Assist 314
stability and traction control system 282
Messages in display 110, 144 handling 111, 144
saved 112, 145
Mileage 93 Misting condensation in headlights 634, 637
Mood lighting 168 adjusting 168
N
Netcargo compartment 577
O
Occupant safety 45
Occupant weight sensor 59
Octane rating 440
Oil, see also Engine oil 658
Oil filter 595
Oil level 596
On-board diagnostics 582
On-board Diagnostic socket 37
Option/accessory 21
Outside temperature gauge 98
Overheating 442, 446
Owner's information 16
OWNER'S MANUAL 21 environmental labeling 23
in cellular phone 20
in the center display 17, 18
P
Paddle at steering wheel 202 Paint
color code 643
paint damage and touch-up 641, 642 , 643
Panoramic roof 179 opening and closing 180
pinch protection 172
sun shade 182
ventilation position 181
Parallel parking 379
Park Assist Camera 369 activating 375
limitations 390
Page 677 of 683
INDEX
675
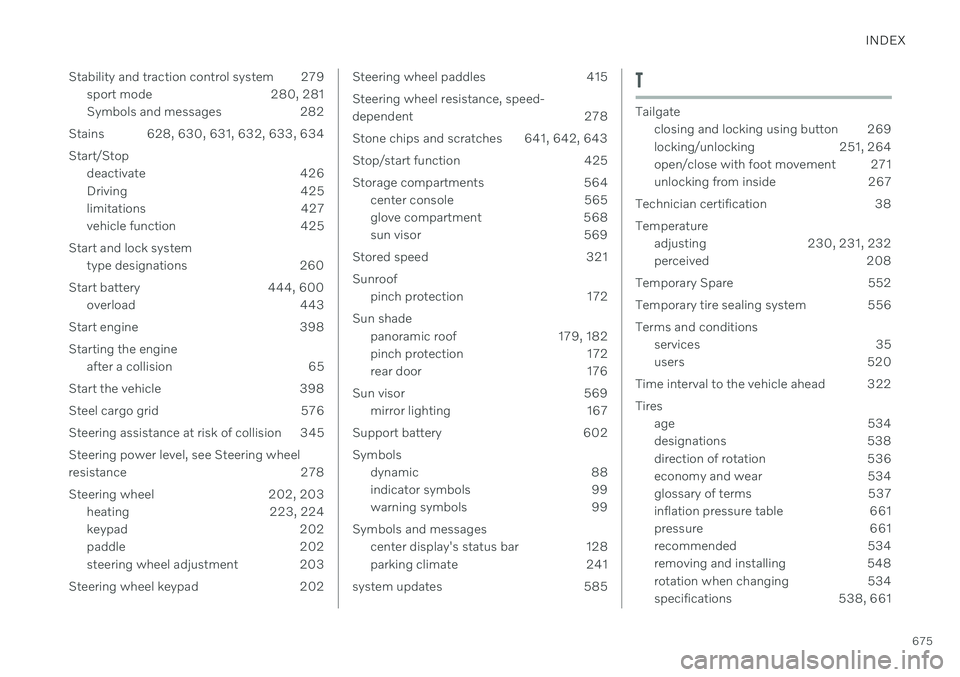
Stability and traction control system 279
sport mode 280, 281
Symbols and messages 282
Stains 628, 630, 631, 632, 633, 634
Start/Stop deactivate 426
Driving 425
limitations 427
vehicle function 425
Start and lock system type designations 260
Start battery 444, 600 overload 443
Start engine 398 Starting the engine after a collision 65
Start the vehicle 398
Steel cargo grid 576
Steering assistance at risk of collision 345 Steering power level, see Steering wheel
resistance 278
Steering wheel 202, 203 heating 223, 224
keypad 202
paddle 202
steering wheel adjustment 203
Steering wheel keypad 202
Steering wheel paddles 415 Steering wheel resistance, speed-
dependent 278
Stone chips and scratches 641, 642, 643
Stop/start function 425
Storage compartments 564 center console 565
glove compartment 568
sun visor 569
Stored speed 321 Sunroof pinch protection 172
Sun shade panoramic roof 179, 182
pinch protection 172
rear door 176
Sun visor 569 mirror lighting 167
Support battery 602 Symbols dynamic 88
indicator symbols 99
warning symbols 99
Symbols and messages center display's status bar 128
parking climate 241
system updates 585T
Tailgate closing and locking using button 269
locking/unlocking 251, 264
open/close with foot movement 271
unlocking from inside 267
Technician certification 38 Temperature adjusting 230, 231, 232
perceived 208
Temporary Spare 552
Temporary tire sealing system 556 Terms and conditions services 35
users 520
Time interval to the vehicle ahead 322 Tires age 534
designations 538
direction of rotation 536
economy and wear 534
glossary of terms 537
inflation pressure table 661
pressure 661
recommended 534
removing and installing 548
rotation when changing 534
specifications 538, 661