buttons VOLVO V90 CROSS COUNTRY 2021 Owners Manual
[x] Cancel search | Manufacturer: VOLVO, Model Year: 2021, Model line: V90 CROSS COUNTRY, Model: VOLVO V90 CROSS COUNTRY 2021Pages: 683, PDF Size: 14.19 MB
Page 5 of 683
3
Top tether anchors75
Lower child seat attachment points 77
ISOFIX/LATCH lower anchors 77
Integrated booster cushion *
79
Folding up the integrated booster cushion * 80
Folding down the integratedbooster cushion * 82
DISPLAYS AND VOICE CONTROL
Displays and controls by the driver in a left-hand drive vehicle
86
Instrument panel 88
Instrument panel settings 92
Fuel gauge 93
Trip computer 93
Displaying trip data in the instru-ment panel 95
Resetting the trip odometer 96
Displaying trip statistics in thecenter display 96
Trip statistics settings 97
Date and time 98
Ambient temperature sensor 98
Indicator and warning symbols 99
Instrument panel licenses 102
App menu in instrument panel 108
Handling the App menu in theinstrument panel 109
Messages in the instrument panel 110
Handling messages in the instru-ment panel 111
Handling messages saved fromthe instrument panel 112
Center display overview 114
Handling the center display 116
Activating and deactivating the center display119
Navigating in the center display'sviews 119
Handling tiles in the center display 123
Function view in the center display 126
Moving apps and buttons in thecenter display 128
Symbols in the center display sta-tus bar 128
Using the center display keyboard 130
Changing keyboard language inthe center display 133
Entering characters, letters andwords by hand in the center display 133
Changing the appearance of thecenter display 135
Turning off and adjusting the vol-ume of the center display systemsounds 135
Changing system units of meas-urement 136
Changing system language 136
Changing settings in the centerdisplay's Top view 136
Opening contextual setting in thecenter display 137
Resetting user data when thevehicle changes owners 138
Page 8 of 683
6
Parking climate*
234
Preconditioning *
234
Starting and stopping precondi- tioning * 234
Preconditioning timer *
235
Adding and editing timer settingsfor preconditioning * 235
Activating and deactivating pre-conditioning timer * 236
Deleting preconditioning timersettings * 237
Pre-cleaning *
238
Starting and stopping pre-cleaning *
238
Climate comfort retaining function *
239
Starting and switching off the cli-mate retaining function when parking *239
Parking climate symbols and mes-sages * 241
KEY, LOCKS AND ALARM
Locking and unlocking
244
Lock indication 244
Lock confirmation settings 246
Remote key 246
Locking and unlocking using the remote key 249
Settings for remote and insidedoor unlock 250
Unlocking the tailgate using theremote key 251
Remote key range 251
Replacing the remote key's battery 252
Ordering additional remote keys 256
Care Key – restricted remote key 256
Care Key settings 257
Detachable key blade 257
Locking and unlocking withdetachable key blade 258
Electronic immobilizer 260
Start and lock system type desig-nations 260
Keyless and touch-sensitive surfaces *
262
Keyless locking and unlocking *
263
Keyless unlock settings *
264
Keyless tailgate unlock *
264
Antenna locations for the start and lock system 265
Locking and unlocking from insidethe vehicle 266
Unlocking the tailgate from insidethe vehicle 267
Activating and deactivating child locks 267
Automatic locking when driving 268
Closing and locking the tailgate using the buttons * 269
Setting maximum opening heightfor the power tailgate *271
Operating the tailgate with a footmovement * 271
Private Locking 272
Activating and deactivating pri- vate locking 273
Alarm 274
Arming and disarming the alarm 275
Page 34 of 683
||
YOUR VOLVO
* Option/accessory.
32
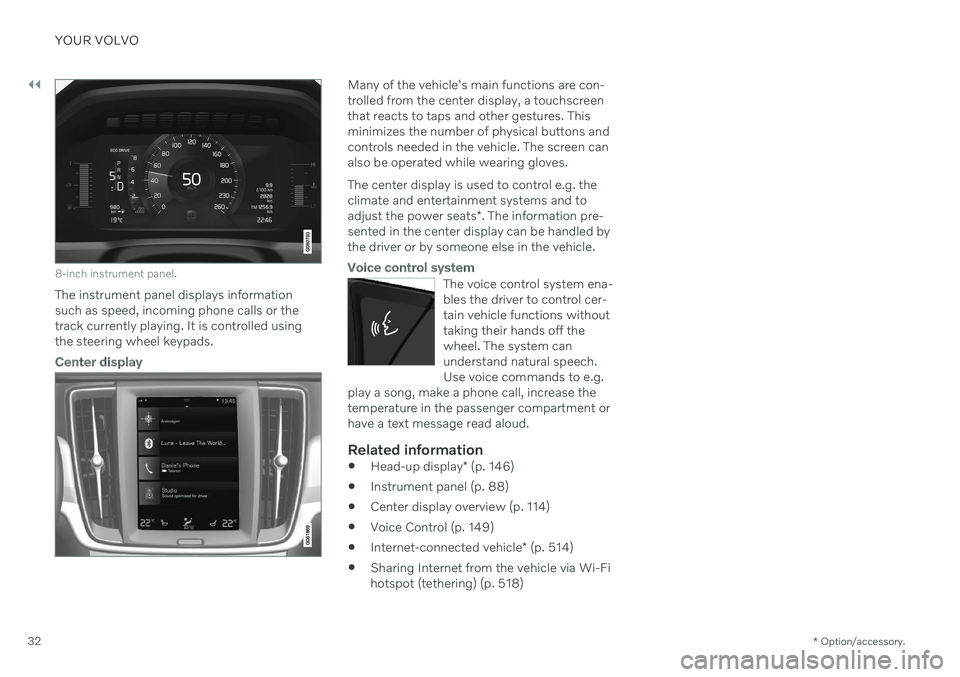
8-inch instrument panel.
The instrument panel displays information
such as speed, incoming phone calls or thetrack currently playing. It is controlled usingthe steering wheel keypads.
Center display
Many of the vehicle's main functions are con- trolled from the center display, a touchscreenthat reacts to taps and other gestures. Thisminimizes the number of physical buttons andcontrols needed in the vehicle. The screen canalso be operated while wearing gloves. The center display is used to control e.g. the climate and entertainment systems and to adjust the power seats *. The information pre-
sented in the center display can be handled by the driver or by someone else in the vehicle.
Voice control system
The voice control system ena- bles the driver to control cer-tain vehicle functions withouttaking their hands off thewheel. The system canunderstand natural speech.Use voice commands to e.g.
play a song, make a phone call, increase thetemperature in the passenger compartment orhave a text message read aloud.
Related information
Head-up display
* (p. 146)
Instrument panel (p. 88)
Center display overview (p. 114)
Voice Control (p. 149)
Internet-connected vehicle
* (p. 514)
Sharing Internet from the vehicle via Wi-Fi hotspot (tethering) (p. 518)
Page 98 of 683
||
DISPLAYS AND VOICE CONTROL
963. Scroll down to the option buttons to
choose which information to show in the instrument panel: Odometer
Distance to empty tank
Tourist (alternative speedometer)
Mileage for trip odometer TM, TA or no display of mileage
Current fuel consumption, average fuelconsumption for TM or TA, or no dis-play of fuel consumption
Select or clear a selection using the O but-
ton (4). The change will apply immedi-ately.
Related information
Trip computer (p. 93)
Resetting the trip odometer (p. 96)
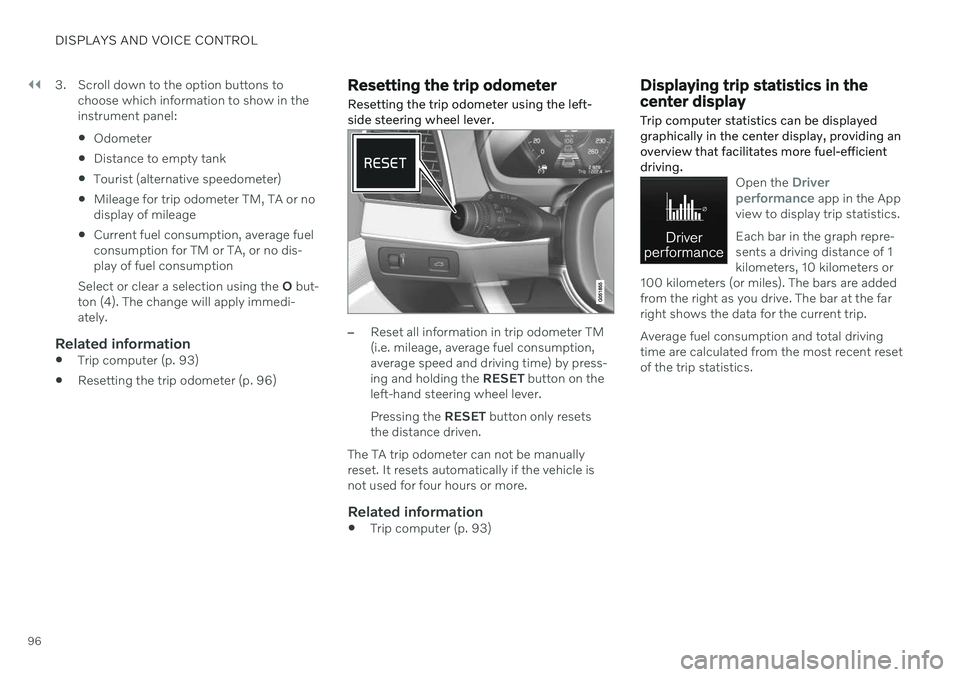
Resetting the trip odometer Resetting the trip odometer using the left- side steering wheel lever.
–Reset all information in trip odometer TM (i.e. mileage, average fuel consumption,average speed and driving time) by press-ing and holding the
RESET button on the
left-hand steering wheel lever. Pressing the RESET button only resets
the distance driven.
The TA trip odometer can not be manually reset. It resets automatically if the vehicle isnot used for four hours or more.
Related information
Trip computer (p. 93)
Displaying trip statistics in the center display Trip computer statistics can be displayed graphically in the center display, providing anoverview that facilitates more fuel-efficientdriving.
Open the Driver
performance app in the App
view to display trip statistics. Each bar in the graph repre- sents a driving distance of 1kilometers, 10 kilometers or
100 kilometers (or miles). The bars are addedfrom the right as you drive. The bar at the farright shows the data for the current trip. Average fuel consumption and total driving time are calculated from the most recent resetof the trip statistics.
Page 112 of 683
||
DISPLAYS AND VOICE CONTROL
110The next time the App menu is opened, the functions for the most recently selected appwill be displayed automatically.
Related information
App menu in instrument panel (p. 108)
Messages in the instrument panel(p. 110)
Messages in the instrument panel
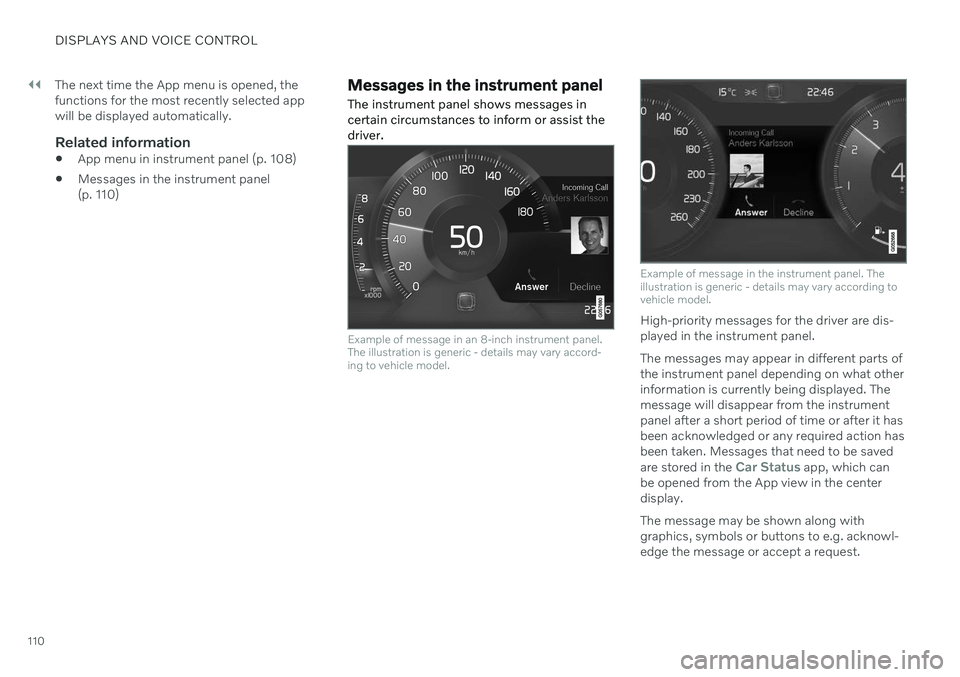
The instrument panel shows messages in certain circumstances to inform or assist thedriver.
Example of message in an 8-inch instrument panel. The illustration is generic - details may vary accord-ing to vehicle model.
Example of message in the instrument panel. The illustration is generic - details may vary according tovehicle model.
High-priority messages for the driver are dis- played in the instrument panel. The messages may appear in different parts of the instrument panel depending on what otherinformation is currently being displayed. Themessage will disappear from the instrumentpanel after a short period of time or after it hasbeen acknowledged or any required action hasbeen taken. Messages that need to be saved are stored in the
Car Status app, which can
be opened from the App view in the center display. The message may be shown along with graphics, symbols or buttons to e.g. acknowl-edge the message or accept a request.
Page 114 of 683
||
DISPLAYS AND VOICE CONTROL
112
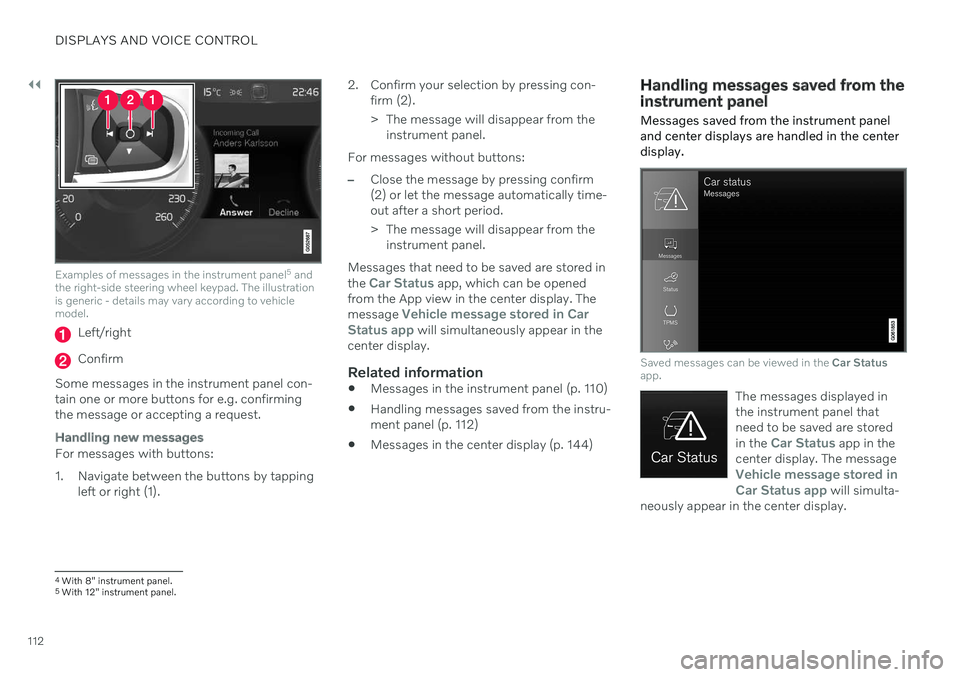
Examples of messages in the instrument panel5
and
the right-side steering wheel keypad. The illustration is generic - details may vary according to vehiclemodel.
Left/right
Confirm
Some messages in the instrument panel con- tain one or more buttons for e.g. confirmingthe message or accepting a request.
Handling new messages
For messages with buttons:
1. Navigate between the buttons by tapping left or right (1). 2. Confirm your selection by pressing con-
firm (2).
> The message will disappear from theinstrument panel.
For messages without buttons:
–Close the message by pressing confirm (2) or let the message automatically time-out after a short period.
> The message will disappear from the instrument panel.
Messages that need to be saved are stored in the
Car Status app, which can be opened
from the App view in the center display. The message
Vehicle message stored in Car
Status app will simultaneously appear in the
center display.
Related information
Messages in the instrument panel (p. 110)
Handling messages saved from the instru- ment panel (p. 112)
Messages in the center display (p. 144)
Handling messages saved from the instrument panel
Messages saved from the instrument panel and center displays are handled in the centerdisplay.
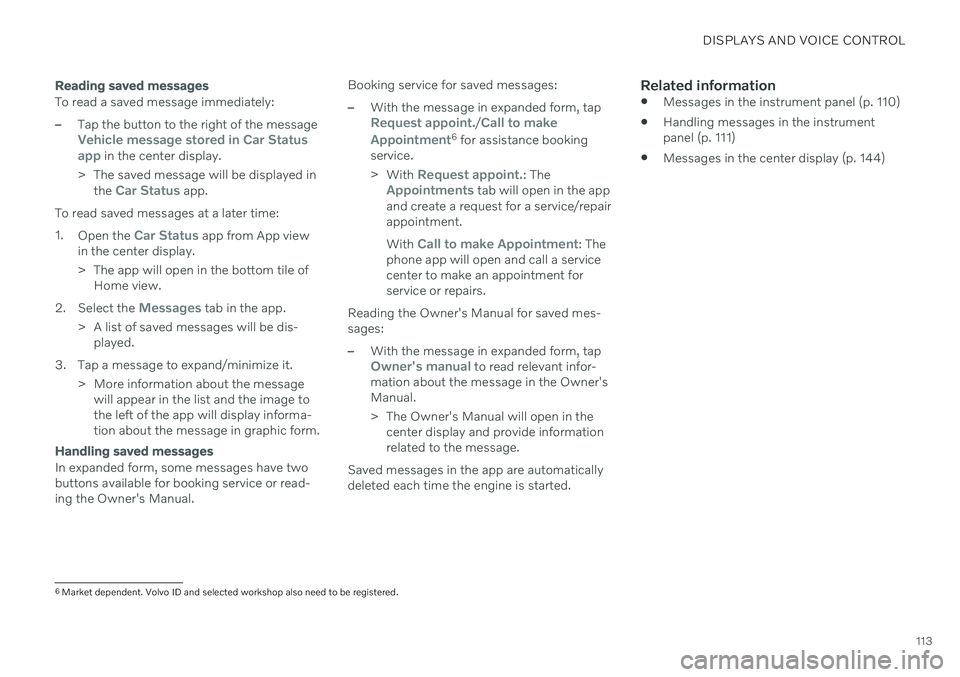
Saved messages can be viewed in the Car Status
app.
The messages displayed in the instrument panel thatneed to be saved are stored in the
Car Status app in the
center display. The message
Vehicle message stored in Car Status app will simulta-
neously appear in the center display.
4 With 8" instrument panel.
5 With 12" instrument panel.
Page 115 of 683
DISPLAYS AND VOICE CONTROL
113
Reading saved messages
To read a saved message immediately:
–Tap the button to the right of the messageVehicle message stored in Car Status app in the center display.
> The saved message will be displayed in the
Car Status app.
To read saved messages at a later time: 1. Open the
Car Status app from App view
in the center display.
> The app will open in the bottom tile of Home view.
2. Select the
Messages tab in the app.
> A list of saved messages will be dis- played.
3. Tap a message to expand/minimize it. > More information about the messagewill appear in the list and the image to the left of the app will display informa-tion about the message in graphic form.
Handling saved messages
In expanded form, some messages have two buttons available for booking service or read-ing the Owner's Manual. Booking service for saved messages:
–With the message in expanded form, tapRequest appoint./Call to make
Appointment6 for assistance booking
service. > With
Request appoint.: TheAppointments tab will open in the app
and create a request for a service/repair appointment. With
Call to make Appointment: The
phone app will open and call a service center to make an appointment forservice or repairs.
Reading the Owner's Manual for saved mes-sages:
–With the message in expanded form, tapOwner's manual to read relevant infor-
mation about the message in the Owner's Manual.
> The Owner's Manual will open in the center display and provide information related to the message.
Saved messages in the app are automatically deleted each time the engine is started.
Related information
Messages in the instrument panel (p. 110)
Handling messages in the instrument panel (p. 111)
Messages in the center display (p. 144)
6
Market dependent. Volvo ID and selected workshop also need to be registered.
Page 120 of 683
||
DISPLAYS AND VOICE CONTROL
118
Returning to Home view from another view
1. Briefly press the home button below thecenter display.
> The most recent Home view mode willbe displayed.
2. Press briefly again. > All of the Home view's tiles will returnto standard mode.
NOTE
In Home view's standard mode – short press on the Home button. An animationdescribing access to the various views isshown on the screen.
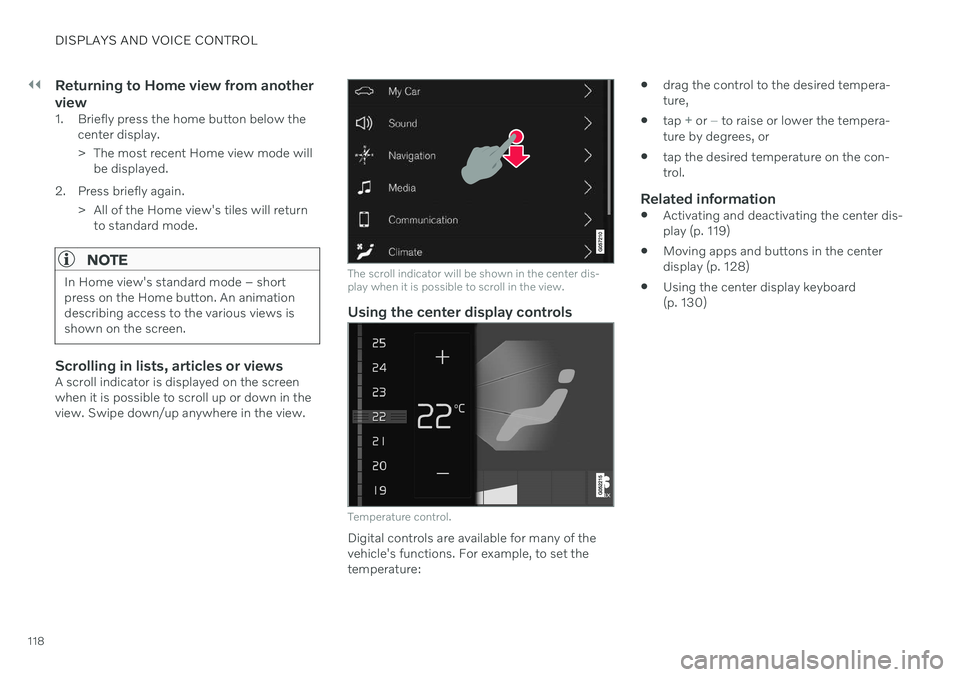
Scrolling in lists, articles or viewsA scroll indicator is displayed on the screen when it is possible to scroll up or down in theview. Swipe down/up anywhere in the view.
The scroll indicator will be shown in the center dis- play when it is possible to scroll in the view.
Using the center display controls
Temperature control.
Digital controls are available for many of the vehicle's functions. For example, to set thetemperature:
drag the control to the desired tempera-ture,
tap
+ or − to raise or lower the tempera-
ture by degrees, or
tap the desired temperature on the con- trol.
Related information
Activating and deactivating the center dis-play (p. 119)
Moving apps and buttons in the centerdisplay (p. 128)
Using the center display keyboard(p. 130)
Page 123 of 683
DISPLAYS AND VOICE CONTROL
}}
* Option/accessory.121
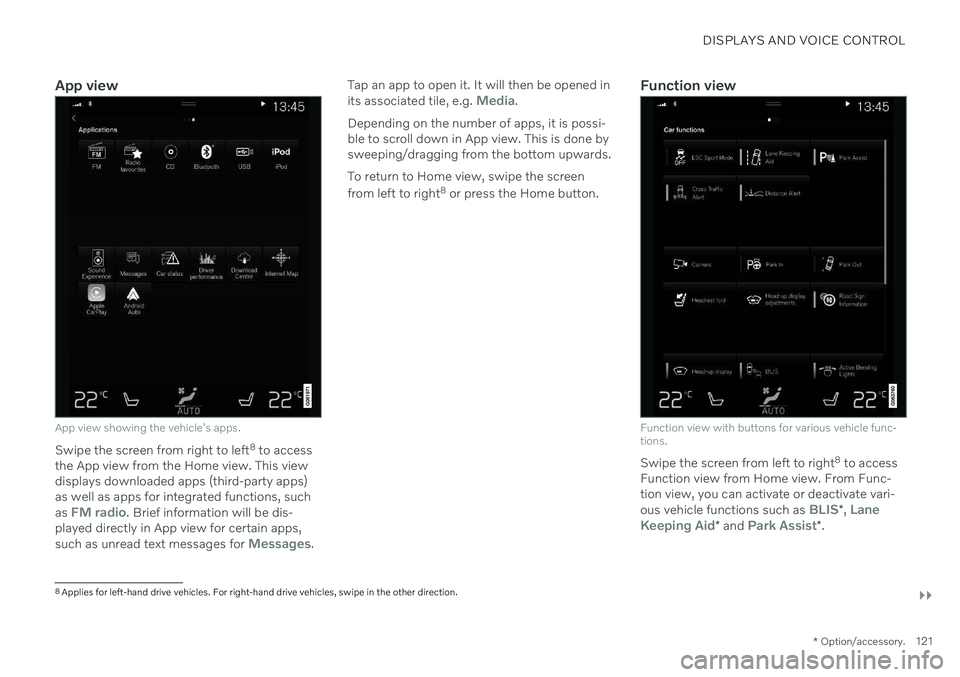
App view
App view showing the vehicle's apps.
Swipe the screen from right to left 8
to access
the App view from the Home view. This view displays downloaded apps (third-party apps)as well as apps for integrated functions, such as
FM radio. Brief information will be dis-
played directly in App view for certain apps, such as unread text messages for
Messages. Tap an app to open it. It will then be opened in its associated tile, e.g.
Media.
Depending on the number of apps, it is possi- ble to scroll down in App view. This is done bysweeping/dragging from the bottom upwards. To return to Home view, swipe the screen from left to right 8
or press the Home button.Function view
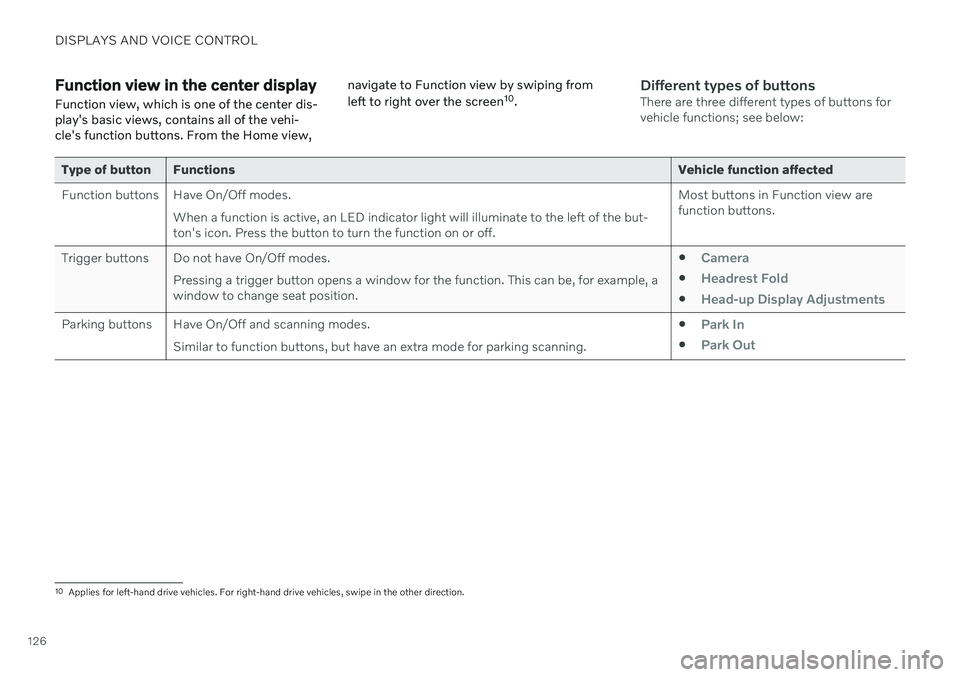
Function view with buttons for various vehicle func- tions.
Swipe the screen from left to right 8
to access
Function view from Home view. From Func- tion view, you can activate or deactivate vari- ous vehicle functions such as
BLIS* , Lane
Keeping Aid* and Park Assist*.
8
Applies for left-hand drive vehicles. For right-hand drive vehicles, swipe in the other direction.
Page 128 of 683
DISPLAYS AND VOICE CONTROL
126
Function view in the center displayFunction view, which is one of the center dis- play's basic views, contains all of the vehi-cle's function buttons. From the Home view, navigate to Function view by swiping from left to right over the screen
10
.Different types of buttonsThere are three different types of buttons for vehicle functions; see below:
Type of button Functions Vehicle function affected
Function buttons Have On/Off modes. When a function is active, an LED indicator light will illuminate to the left of the but- ton's icon. Press the button to turn the function on or off. Most buttons in Function view arefunction buttons.
Trigger buttons Do not have On/Off modes. Pressing a trigger button opens a window for the function. This can be, for example, awindow to change seat position.
Camera
Headrest Fold
Head-up Display Adjustments
Parking buttons Have On/Off and scanning modes.
Similar to function buttons, but have an extra mode for parking scanning. Park In
Park Out
10
Applies for left-hand drive vehicles. For right-hand drive vehicles, swipe in the other direction.