warning VOLVO XC60 TWIN ENGINE 2020 Owners Manual
[x] Cancel search | Manufacturer: VOLVO, Model Year: 2020, Model line: XC60 TWIN ENGINE, Model: VOLVO XC60 TWIN ENGINE 2020Pages: 687, PDF Size: 14.65 MB
Page 579 of 687
LOADING, STORAGE AND PASSENGER COMPARTMENT
}}
* Option/accessory.577
Sun visors
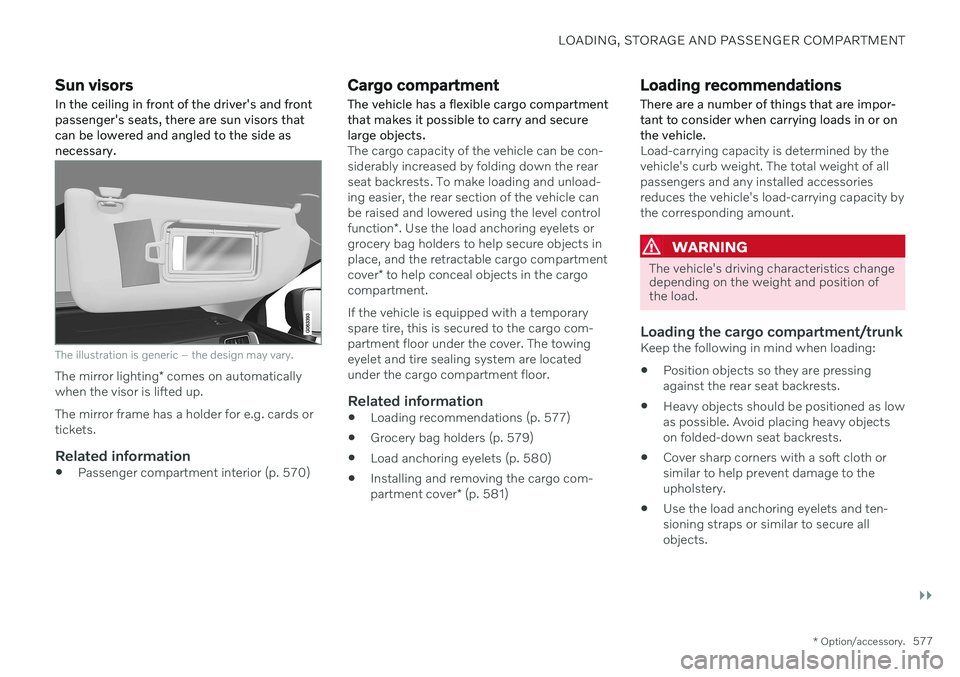
In the ceiling in front of the driver's and front passenger's seats, there are sun visors thatcan be lowered and angled to the side asnecessary.
The illustration is generic – the design may vary.
The mirror lighting * comes on automatically
when the visor is lifted up. The mirror frame has a holder for e.g. cards or tickets.
Related information
Passenger compartment interior (p. 570)
Cargo compartment
The vehicle has a flexible cargo compartment that makes it possible to carry and securelarge objects.
The cargo capacity of the vehicle can be con- siderably increased by folding down the rearseat backrests. To make loading and unload-ing easier, the rear section of the vehicle canbe raised and lowered using the level control function *. Use the load anchoring eyelets or
grocery bag holders to help secure objects in place, and the retractable cargo compartment cover * to help conceal objects in the cargo
compartment. If the vehicle is equipped with a temporary spare tire, this is secured to the cargo com-partment floor under the cover. The towingeyelet and tire sealing system are locatedunder the cargo compartment floor.
Related information
Loading recommendations (p. 577)
Grocery bag holders (p. 579)
Load anchoring eyelets (p. 580)
Installing and removing the cargo com- partment cover
* (p. 581)
Loading recommendations
There are a number of things that are impor- tant to consider when carrying loads in or onthe vehicle.
Load-carrying capacity is determined by the vehicle's curb weight. The total weight of allpassengers and any installed accessoriesreduces the vehicle's load-carrying capacity bythe corresponding amount.
WARNING
The vehicle's driving characteristics change depending on the weight and position ofthe load.
Loading the cargo compartment/trunkKeep the following in mind when loading:
Position objects so they are pressing against the rear seat backrests.
Heavy objects should be positioned as lowas possible. Avoid placing heavy objectson folded-down seat backrests.
Cover sharp corners with a soft cloth orsimilar to help prevent damage to theupholstery.
Use the load anchoring eyelets and ten-sioning straps or similar to secure allobjects.
Page 580 of 687

||
LOADING, STORAGE AND PASSENGER COMPARTMENT
* Option/accessory.
578
WARNING
In a head-on collision at a speed of 50 km/h (30 mph), an unsecured objectweighing 20 kg (44 pounds) can reach aprojectile weight equivalent to 1000 kg(2200 pounds).
WARNING
If objects are loaded higher than the upper edge of the side windows, leave a 10 cm(4 in.) space between the objects and thewindow. Objects placed closer to thiscould impede the function of the inflatablecurtain concealed inside the headlining.
WARNING
Always secure the load. Otherwise, it may shift during heavy braking and injure peo-ple in the vehicle. Cover sharp edges and sharp corners with something soft. Turn off the engine and apply the parking brake when loading/unloading longobjects. Otherwise, it is possible for theload to reach the gear lever or gear selectorand move it to a drive position – whichcould cause the vehicle to begin rolling.
Extra cargo space
The rear seat backrests can be folded down to increase cargo space in the cargo compart- ment/trunk and simplify loading. If the rearseat backrests are folded down, make surethat no objects loaded into the vehicle preventthe WHIPS system for the front seats fromfunctioning correctly. The ski hatch in the rear seat can be folded down to carry skis or other long, thin objects.
Raising/lowering the rear end of the
vehicle *
The rear end of the vehicle can be lowered orraised for easier loading into the cargo com-partment/trunk or to facilitate attaching a trailer*.
The controls for raising/lowering are located at the rear edge of the right side panel in thecargo compartment/trunk.
Controls for raising/lowering the rear end of the vehi- cle.
The controls consist of two buttons ‒ one but-
ton for lowering and one button for raising the rear end. Press and hold the relevant buttonuntil the desired height is reached. The rear end of the vehicle cannot be raised higher than its normal height. The rear end will return to the normal height when the vehicle begins driving.
NOTE
It is not possible to adjust the height of the vehicle's rear when one or more of thedoors or the hood is open. This does notapply to the tailgate.
WARNING
Make sure that no people, animals or objects are found under the vehicle when itis lowered. This could endanger life andcause damage to the vehicle or objects.
Related information
Load anchoring eyelets (p. 580)
Folding down the rear seat backrests (p. 198)
Rear seat ski hatch (p. 580)
Roof loads and load carriers (p. 579)
Leveling control
* and suspension (p. 430)
Weights (p. 659)
Page 581 of 687
LOADING, STORAGE AND PASSENGER COMPARTMENT
}}
579
Roof loads and load carriers
Volvo-developed load carriers are recom- mended for carrying loads on the roof of thevehicle.
Volvo load carriers are specially designed to help prevent damage to your vehicle and helpensure maximum safety while driving. Volvoload carriers are available from authorizedVolvo retailers. Carefully follow the installation instructions provided with the load carriers. Distribute the load evenly throughout the load carriers. Place heavier cargo at thebottom of the load.
Check periodically to ensure that the loadcarriers and load are properly secured.Secure the load firmly using tie straps orsimilar.
If the load is longer than the vehicle, suchas a canoe or kayak, attach the towingeyelet in its front outlet and secure the tiestraps in it.
The vehicle's wind resistance and fuelconsumption increase with the size of theload.
Drive smoothly. Avoid rapid acceleration,hard braking and fast cornering.
WARNING
The vehicle's center of gravity and driving characteristics are altered by roof loads. Follow the vehicle's specifications regar- ding weights and maximum permittedload.
Related information
Loading recommendations (p. 577)
Weights (p. 659)
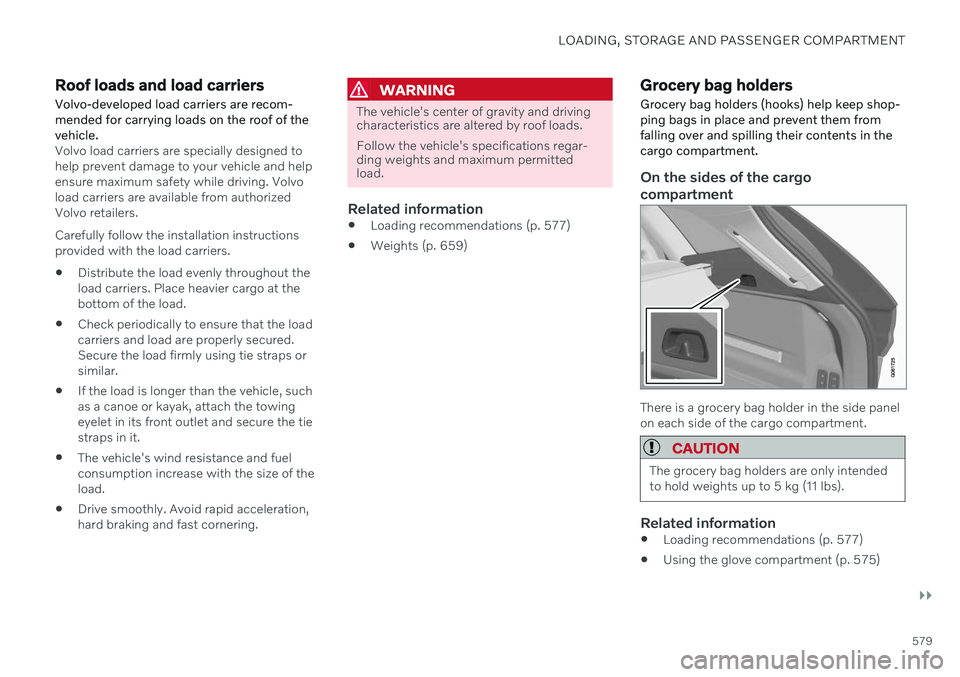
Grocery bag holders Grocery bag holders (hooks) help keep shop- ping bags in place and prevent them fromfalling over and spilling their contents in thecargo compartment.
On the sides of the cargo compartment
There is a grocery bag holder in the side panel on each side of the cargo compartment.
CAUTION
The grocery bag holders are only intended to hold weights up to 5 kg (11 lbs).
Related information
Loading recommendations (p. 577)
Using the glove compartment (p. 575)
Page 582 of 687
LOADING, STORAGE AND PASSENGER COMPARTMENT
* Option/accessory.
580
Installing and removing the cargo net
*
(p. 586)
Installing and removing the cargo com- partment cover
* (p. 581)
Installing and removing the steel cargogrid
* (p. 584)
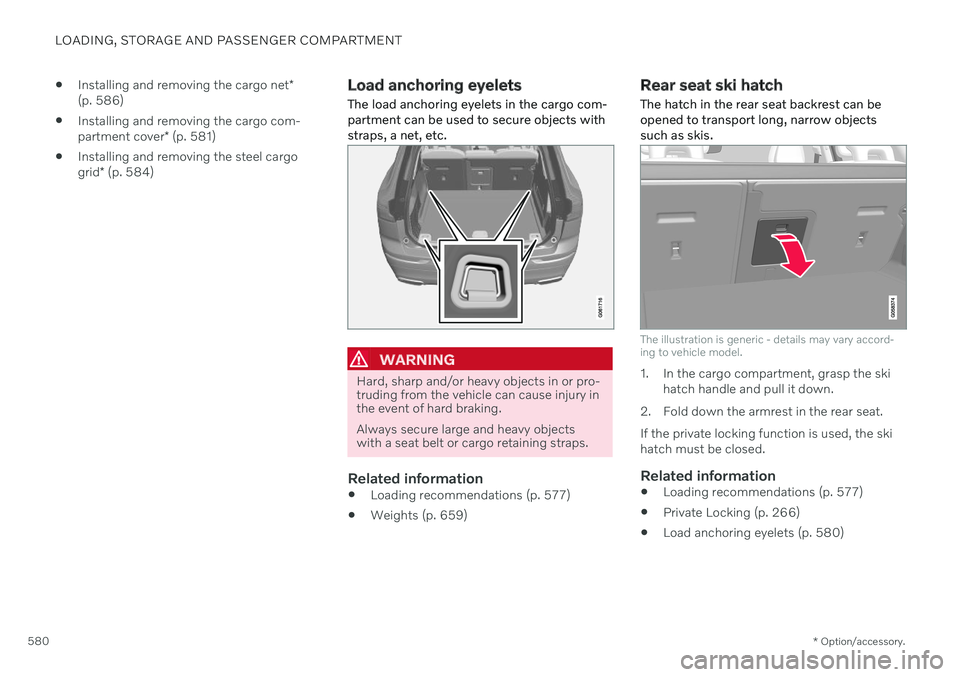
Load anchoring eyelets The load anchoring eyelets in the cargo com- partment can be used to secure objects withstraps, a net, etc.
WARNING
Hard, sharp and/or heavy objects in or pro- truding from the vehicle can cause injury inthe event of hard braking. Always secure large and heavy objects with a seat belt or cargo retaining straps.
Related information
Loading recommendations (p. 577)
Weights (p. 659)
Rear seat ski hatch
The hatch in the rear seat backrest can be opened to transport long, narrow objectssuch as skis.
The illustration is generic - details may vary accord- ing to vehicle model.
1. In the cargo compartment, grasp the ski hatch handle and pull it down.
2. Fold down the armrest in the rear seat. If the private locking function is used, the ski hatch must be closed.
Related information
Loading recommendations (p. 577)
Private Locking (p. 266)
Load anchoring eyelets (p. 580)
Page 586 of 687
||
LOADING, STORAGE AND PASSENGER COMPARTMENT
* Option/accessory.
584
CAUTION
When in the loading position, the cargo compartment cover can obstruct visibilityto the rear. Make sure that the cargo com-partment cover is fully extended or fullyretracted during driving.
Retracting the cover
1. From the fully opened position:
Lift the cover's handle and pull it rearward to release the cover's attaching pins fromthe grooves. Let the cover retract. From the partially retracted position:Grasp the handle and pull the cover out of the groves to the fully open position. Liftthe handle and pull it rearward to releasethe cover's attaching pins from thegrooves. Let the cover retract.
2. Let the cover retract with its attaching pins above the side panels until it stops inthe fully retracted position.
Related information
Installing and removing the cargo com- partment cover
* (p. 581)
Installing and removing the steel cargo grid *
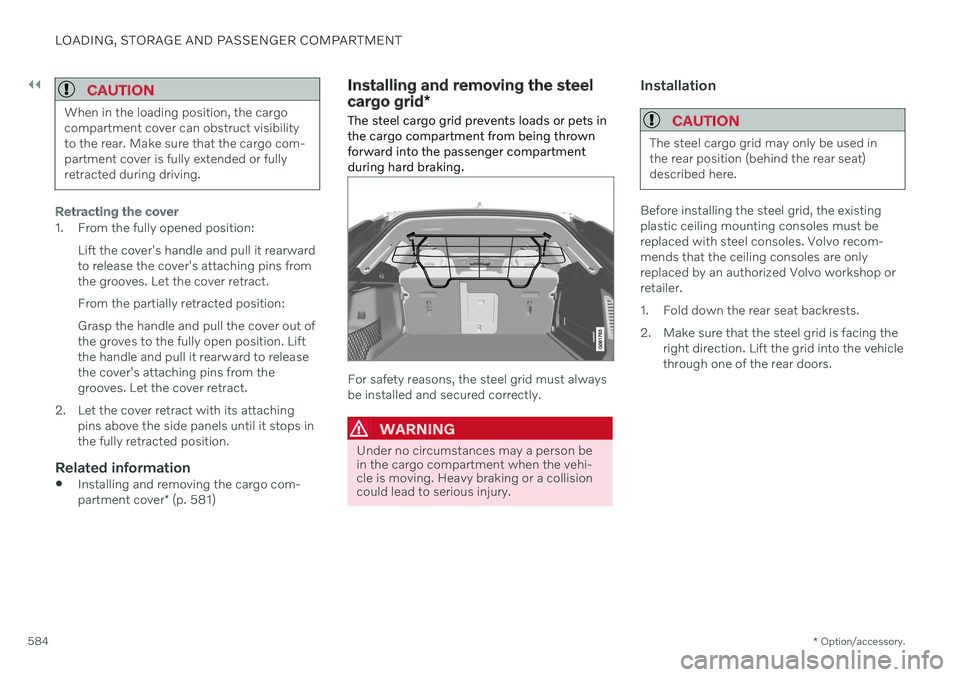
The steel cargo grid prevents loads or pets in the cargo compartment from being thrownforward into the passenger compartmentduring hard braking.
For safety reasons, the steel grid must always be installed and secured correctly.
WARNING
Under no circumstances may a person be in the cargo compartment when the vehi-cle is moving. Heavy braking or a collisioncould lead to serious injury.
Installation
CAUTION
The steel cargo grid may only be used in the rear position (behind the rear seat)described here.
Before installing the steel grid, the existing plastic ceiling mounting consoles must bereplaced with steel consoles. Volvo recom-mends that the ceiling consoles are onlyreplaced by an authorized Volvo workshop orretailer.
1. Fold down the rear seat backrests.
2. Make sure that the steel grid is facing the right direction. Lift the grid into the vehicle through one of the rear doors.
Page 588 of 687
LOADING, STORAGE AND PASSENGER COMPARTMENT
* Option/accessory.
586
Installing and removing the cargo net *
The cargo net helps prevent objects in the cargo compartment from entering the pas-senger compartment in the event of a suddenstop or hard braking.
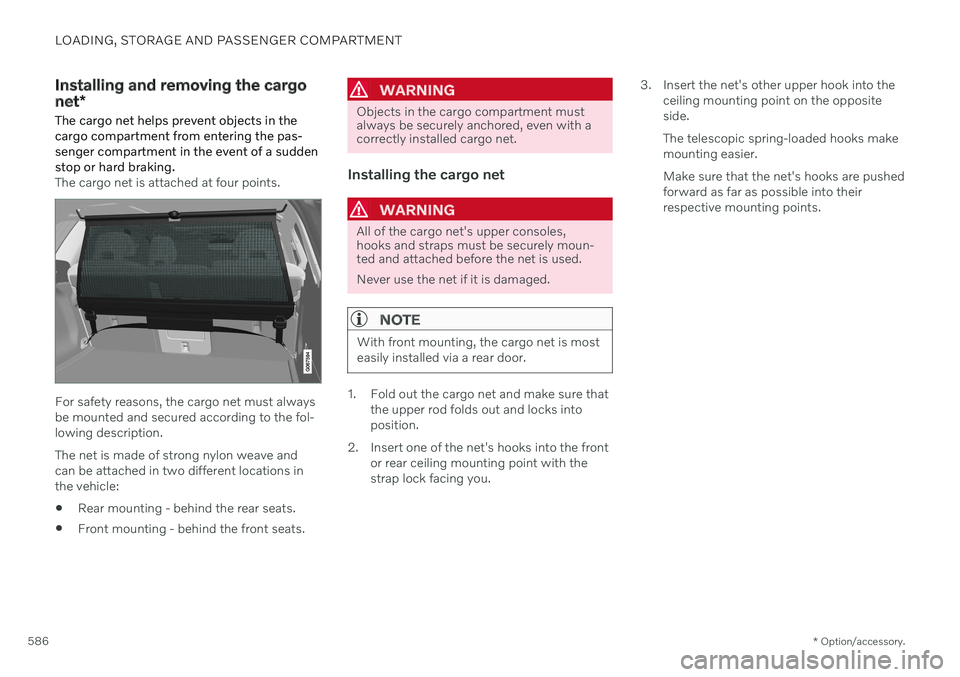
The cargo net is attached at four points.
For safety reasons, the cargo net must always be mounted and secured according to the fol-lowing description. The net is made of strong nylon weave and can be attached in two different locations inthe vehicle:
Rear mounting - behind the rear seats.
Front mounting - behind the front seats.
WARNING
Objects in the cargo compartment must always be securely anchored, even with acorrectly installed cargo net.
Installing the cargo net
WARNING
All of the cargo net's upper consoles, hooks and straps must be securely moun-ted and attached before the net is used. Never use the net if it is damaged.
NOTE
With front mounting, the cargo net is most easily installed via a rear door.
1. Fold out the cargo net and make sure that
the upper rod folds out and locks into position.
2. Insert one of the net's hooks into the front or rear ceiling mounting point with thestrap lock facing you. 3. Insert the net's other upper hook into the
ceiling mounting point on the oppositeside. The telescopic spring-loaded hooks make mounting easier. Make sure that the net's hooks are pushed forward as far as possible into theirrespective mounting points.
Page 592 of 687
MAINTENANCE AND SERVICE
590
Volvo's service program To keep the vehicle as safe and reliable as possible, follow the Volvo service schedulespecified in the Warranty and MaintenanceRecords Information booklet.
WARNING
California Proposition 65 Operating, servicing and maintaining a pas- senger vehicle can expose you to chemi-cals including engine exhaust, carbon mon-oxide, phthalates, and lead, which areknown to the State of California to causecancer and birth defects or other reproduc-tive harm. To minimize exposure, avoidbreathing exhaust, do not idle the engineexcept as necessary, service your vehicle ina well ventilated area and wear gloves orwash your hands frequently when servicingyour vehicle. For more information go towww.P65Warnings.ca.gov/passenger-vehicle.
Volvo recommends having an authorized Volvo workshop perform service and mainte-nance. Volvo workshops have the staff, serviceliterature and special tools that can providethe highest quality of service.
CAUTION
To ensure the Volvo warranty is not invali- dated, check and follow the Warranty andService Records Information booklet.
Service and repairsService the vehicle regularly. Follow Volvo's recommended service intervals. Detailed inspection and repairs may only be performed by an authorized workshop.
WARNING
Do not make any repairs on this vehicle yourself. Electrical cables and/or compo-nents that have come loose may only becorrected by an authorized workshop – anauthorized Volvo workshop is recom-mended.
IntroductionThe maintenance services contain several checks that require special instruments andtools and therefore must be performed by aqualified technician. To keep your Volvo in topcondition, specify time-tested and provenGenuine Volvo Parts and Accessories.
The Federal Clean Air Act - U.S.
The Federal Clean Air Act requires vehicle manufacturers to furnish written instructionsto the ultimate purchaser to assure the properservicing and function of the components thatcontrol emissions. These services, which arelisted in the "Warranty and Service RecordsInformation" booklet, are not covered by thewarranty. You will be required to pay for laborand material used.
Maintenance
Your Volvo passed several major inspections before it was delivered to you, in accordancewith Volvo specifications. The maintenanceprocedures outlined in the Warranty and Serv-ice Records Information booklet, many ofwhich will positively affect your vehicle's emis-sions, should be performed as indicated. It isrecommended that receipts for vehicle emis-sion maintenance be retained in case ques-tions arise concerning maintenance. Inspec-tion and maintenance should also be per-formed anytime a malfunction is observed orsuspected.
Page 595 of 687
MAINTENANCE AND SERVICE
* Option/accessory.593
Data transfer between vehicle and workshop over Wi-Fi
Volvo workshops have a designated Wi-Fi network for data transfer between your vehi-cle and the workshop. Your visit to the work-shop will be easier and more effective whendiagnostics information and software can betransferred over the workshop's network.
At the workshop, your service technician can connect your vehicle to the workshop's Wi-Finetwork to perform troubleshooting anddownload software. For this type of communi-cation, the vehicle only connects to a work-shop's network. It is not possible to connectthe vehicle to another Wi-Fi network (e.g. yourhome network) in the same way as to a work-shop's network.
Connecting with remote keyConnection is usually managed by the servicetechnician, who will use the remote key but-tons. It is therefore important to bring a keywith buttons with you when you visit theworkshop. Pressing the lock button on theremote key three times will connect the vehi-cle to the workshop's Wi-Fi network. When the car is connected to a Wi-Fi net- work, the
symbol appears in the center
display.
WARNING
The vehicle may not be driven when it is connected to the workshop's networks andsystems.
Related information
Handling system updates via Download Center (p. 594)
Scheduling service and repairs (p. 595)
Download Center With the vehicle connected to the Internet 1
,
updates for a number of the vehicle's sys- tems can be downloaded from the center dis-play.
The Download Center app is
started from the center dis- play and makes it possible to:
search for and update system software
update Sensus Navigation
* map data
download, update and delete apps.
Related information
Handling system updates via Download Center (p. 594)
Download apps (p. 473)
Updating apps (p. 473)
Deleting apps (p. 474)
Internet-connected vehicle
* (p. 516)
Navigating in the center display's views(p. 118)
1
There may be a charge for transmitting data over the Internet, depending on your service plan.
Page 599 of 687

MAINTENANCE AND SERVICE
}}
* Option/accessory.597
Hoisting the vehicle
When hoisting the vehicle, it is important that the jack is positioned on the designatedpoints under the vehicle.
For vehicles with Leveling Control* : If the
vehicle is equipped with pneumatic suspen- sion, this feature must be turned off before thevehicle is lifted onto a tow truck.
WARNING
If the vehicle is lifted on a garage jack, the jack must be placed under one of the fourlifting points. Make sure that the vehicle iscorrectly positioned on the jack and that itcannot slide off. Make sure the jack platehas a rubber pad to help keep the vehiclestable and prevent damage. Always useaxle stands or similar.
NOTE
Volvo recommends only using the jack intended for your specific vehicle model. Ifa jack other than that recommended byVolvo is used, follow the instructionsincluded with the equipment. The vehicle's ordinary jack is only intended to be used in temporary situations for shortperiods of time, such as when changingwheels in the event of a flat tire. If the vehi-cle needs to be lifted more frequently, orfor a longer period of time than for a wheelchange, a garage jack or hoist is recom-mended. Always follow the instructions foruse provided with the equipment.
Page 601 of 687
MAINTENANCE AND SERVICE
}}
* Option/accessory.599
Climate control system service
Service and repairs on the air conditioning system should only be done by an authorizedworkshop.
Troubleshooting and repairsThe air conditioning system contains a fluores- cent tracer substance. Ultraviolet light is usedto search for leaks in the system. Volvo recommends contacting an authorized Volvo workshop.
Vehicles with R134a refrigerant
WARNING
The air conditioning system contains the refrigerant R134a under pressure. Serviceand repairs to the system should only bedone by an authorized workshop.
Related information
Volvo's service program (p. 590)
Replacing a windshield with head- up display
*
Vehicles with a head-up display have a spe- cial type of windshield that meets therequirements for displaying projected infor-mation.
Volvo recommends contacting an authorized Volvo workshop for assistance replacing thewindshield. The correct type of replacementwindshield must be used in order for the head-up display to function properly.
Related information
Head-up display
* (p. 145)
Cleaning the head-up display
* (p. 634)
Opening and closing the hood
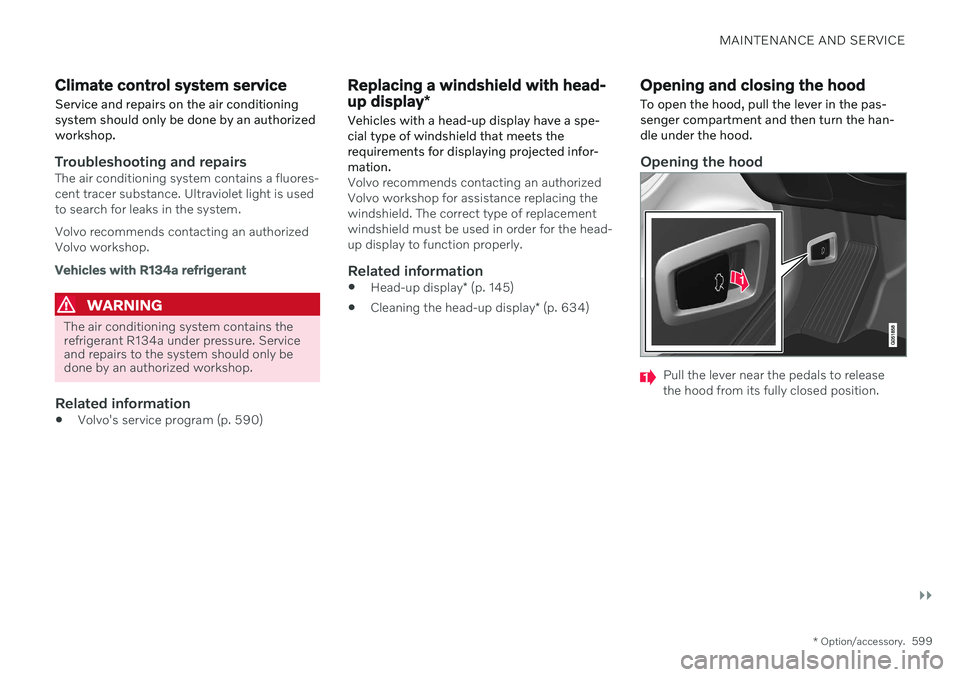
To open the hood, pull the lever in the pas- senger compartment and then turn the han-dle under the hood.
Opening the hood
Pull the lever near the pedals to release the hood from its fully closed position.