warning light VOLVO XC70 2004 Owner's Guide
[x] Cancel search | Manufacturer: VOLVO, Model Year: 2004, Model line: XC70, Model: VOLVO XC70 2004Pages: 241, PDF Size: 5.78 MB
Page 179 of 241
2004 VOLVO XC70
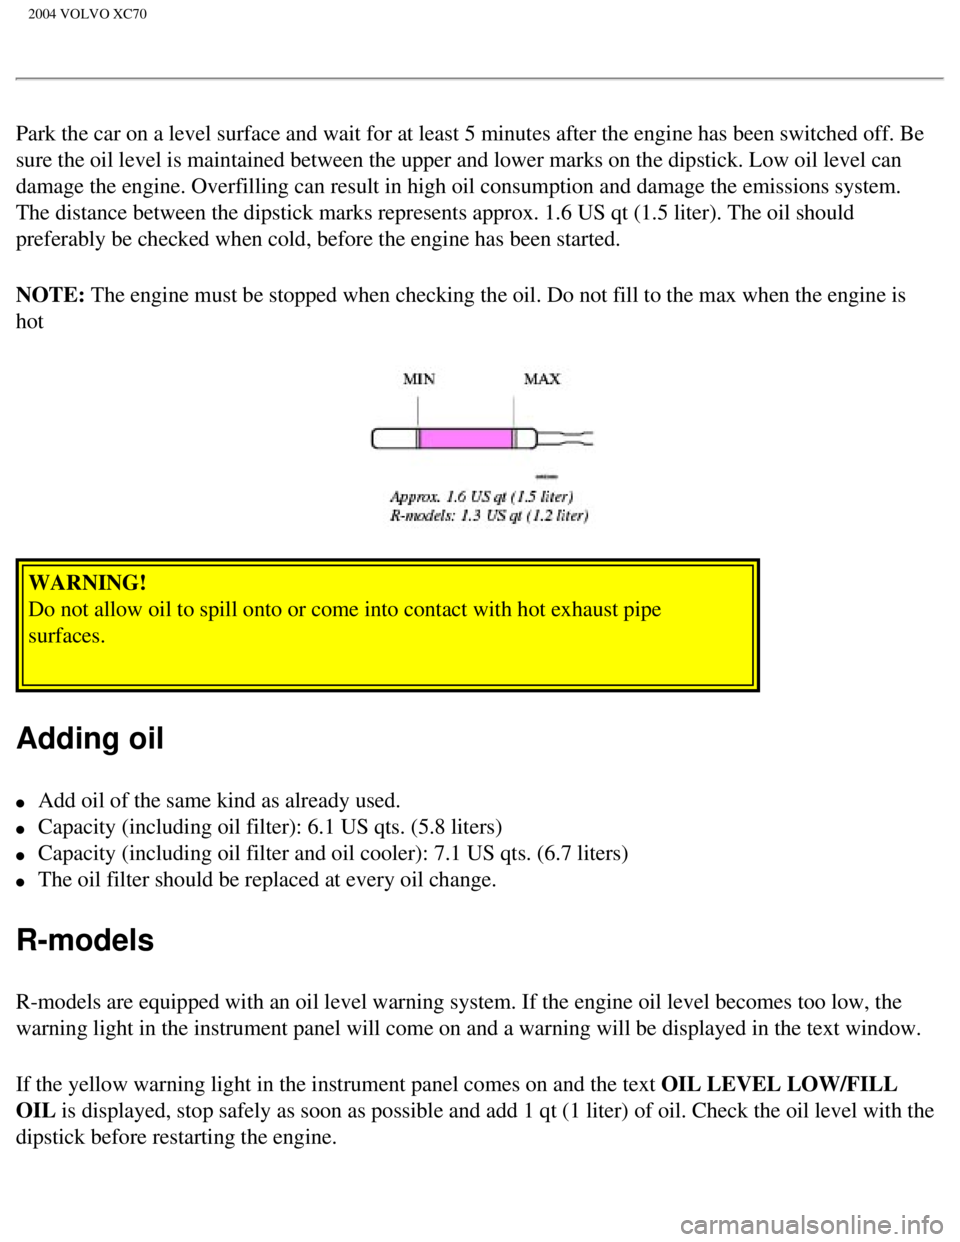
Park the car on a level surface and wait for at least 5 minutes after th\
e engine has been switched off. Be
sure the oil level is maintained between the upper and lower marks on th\
e dipstick. Low oil level can
damage the engine. Overfilling can result in high oil consumption and da\
mage the emissions system.
The distance between the dipstick marks represents approx. 1.6 US qt (1\
.5 liter). The oil should
preferably be checked when cold, before the engine has been started.
NOTE: The engine must be stopped when checking the oil. Do not fill to the max\
when the engine is
hot
WARNING!
Do not allow oil to spill onto or come into contact with hot exhaust pip\
e
surfaces.
Adding oil
l Add oil of the same kind as already used.
l Capacity (including oil filter): 6.1 US qts. (5.8 liters)
l Capacity (including oil filter and oil cooler): 7.1 US qts. (6.7 lite\
rs)
l The oil filter should be replaced at every oil change.
R-models
R-models are equipped with an oil level warning system. If the engine oi\
l level becomes too low, the
warning light in the instrument panel will come on and a warning will be\
displayed in the text window.
If the yellow warning light in the instrument panel comes on and the tex\
t OIL LEVEL LOW/FILL
OIL is displayed, stop safely as soon as possible and add 1 qt (1 liter) o\
f oil. Check the oil level with the
dipstick before restarting the engine.
file:///K|/ownersdocs/2004/2004_XC70/04xc70_08b.htm (10 of 16)12/30/20\
06 4:33:06 PM
Page 180 of 241
2004 VOLVO XC70
If the red warning light in the instrument panel comes on and the text OIL LEVEL LOW/STOP
SAFELY-->STOP ENGINE-->SEE MANUAL is displayed, stop safely as soon as possible and add
oil (not more than 1.6 qts (1.5 liters). Check the oil level with the\
dipstick before restarting the engine. If
no oil level is visible on the dipstick, do not start the engine. Have t\
he car towed to an authorized Volvo
workshop.
pg. 139 Power steering/Brake fluid reservoirs
Power steering fluid
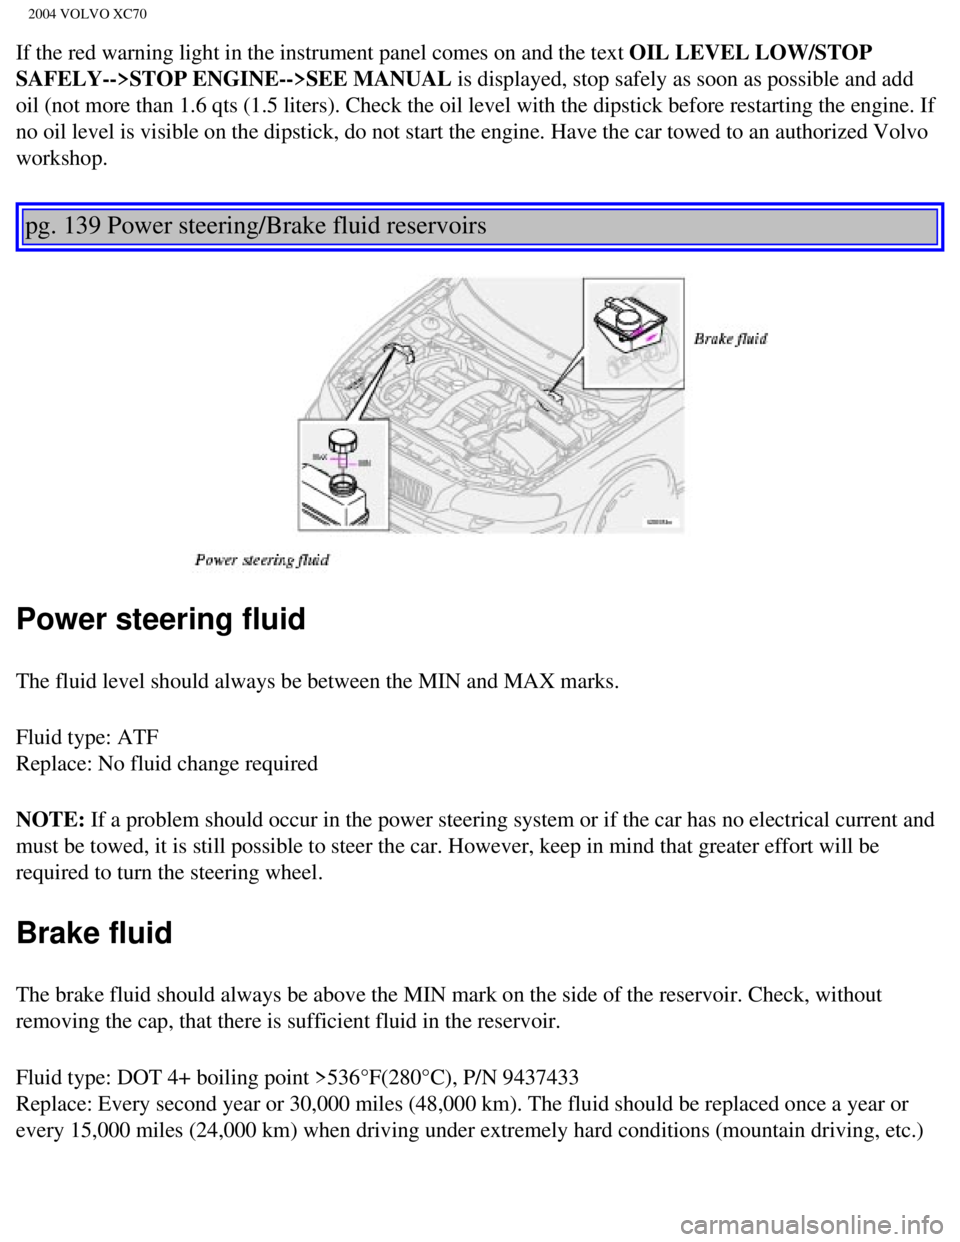
The fluid level should always be between the MIN and MAX marks.
Fluid type: ATF
Replace: No fluid change required
NOTE: If a problem should occur in the power steering system or if the car ha\
s no electrical current and
must be towed, it is still possible to steer the car. However, keep in m\
ind that greater effort will be
required to turn the steering wheel.
Brake fluid
The brake fluid should always be above the MIN mark on the side of the r\
eservoir. Check, without
removing the cap, that there is sufficient fluid in the reservoir.
Fluid type: DOT 4+ boiling point >536°F(280°C), P/N 9437433
Replace: Every second year or 30,000 miles (48,000 km). The fluid shou\
ld be replaced once a year or
every 15,000 miles (24,000 km) when driving under extremely hard condi\
tions (mountain driving, etc.)
file:///K|/ownersdocs/2004/2004_XC70/04xc70_08b.htm (11 of 16)12/30/20\
06 4:33:06 PM
Page 181 of 241

2004 VOLVO XC70
Always entrust brake fluid changing to an authorized Volvo retailer.
pg. 140 Battery maintenance
Battery maintenance
The battery in your car is located under the floor of the cargo area.
Driving habits and conditions, climate, the number of starts, etc. all a\
ffect the service life and function of
the battery. In order for your battery to perform satisfactorily, keep t\
he following in mind:
l Check the fluid level in each cell in the battery every 24 months or eve\
ry 15,000* miles (24,000 km),
whichever is sooner. The fluid should be at the level shown in the illus\
tration above (A**).
Use a screwdriver to open the caps and a flashlight to inspect the level\
.
l If necessary, add distilled water. The level should never be above the indicator (A).
l The fluid level should be checked if the battery has been recharged.
l After inspection, be sure the cap over each battery cell is securely in \
place.
l Check that the battery cables are correctly connected and properly tight\
ened.
l Never disconnect the battery when the engine is running, for example whe\
n changing the battery.
l The battery should be disconnected from the vehicle when a battery charg\
er is used directly on the
battery. However, if the battery is being charged via the connecting poi\
nts in the engine compartment
(see
page 104), the battery must be connected.
PROPOSITION 65 WARNING!
Battery posts, terminals, and related accessories contain lead and lead \
compounds, chemicals known
to the state of California to cause cancer and reproductive harm. Wash h\
ands after handling.
file:///K|/ownersdocs/2004/2004_XC70/04xc70_08b.htm (12 of 16)12/30/20\
06 4:33:06 PM
Page 183 of 241
2004 VOLVO XC70
Replacing the battery
l Switch off the ignition.
l Unscrew the cover over the battery. Wait at least 10 minutes after switching off the ignition before
disconnecting the battery so that all information in the car's electrica\
l system can be stored in the control
modules.
l Disconnect the negative (ground) cable first.
l Disconnect the positive cable and pull the ventilation hose* from the ba\
ttery.
l Lift out the old battery and put a new battery into place.
l Connect the positive cable first.
l Connect the negative (ground) cable.
l Be sure that the ventilation hose* is securely connected to the battery \
and that the other end of the
hose is properly routed through the ventilation opening in the floor of \
the battery compartment.
l Reinstall the cover and screw it securely in place.
WARNING!
l Never expose the battery to open flame or electric spark.
l Do not smoke near the battery.
l Battery fluid contains sulfuric acid. Do not allow battery fluid to cont\
act eyes, skin, fabrics or
painted surfaces. If contact occurs, flush the affected area immediately\
with water. Obtain medical
help immediately if eyes are affected.
NOTE: After the battery has been disconnected or replaced, lock and unlock th\
e car with the central
locking system's remote control to reactivate such features as the power\
windows, moonroof, courtesy
lighting, etc. WARNING!
* Ventilation hose: The battery generates hydrogen gas, which is flammab\
le and explosive. The
battery is fitted with a ventilation hose which vents hydrogen gas out o\
f the battery
compartment through a ventilation opening in the bottom of this compartm\
ent. If the battery
must be replaced, it is essential that the ventilation hose is properly \
connected to the battery
and that it is routed through the ventilation opening provided (see ill\
ustration).
Be sure the ventilation hose is free of debris.
Only use replacement batteries equipped with a ventilation hose. Consult\
your Volvo retailer.
file:///K|/ownersdocs/2004/2004_XC70/04xc70_08b.htm (14 of 16)12/30/20\
06 4:33:06 PM
Page 196 of 241
2004 VOLVO XC70
Instrument lighting- 3 W W
2.1x9.5d
* Bi-Xenon headlight bulbs (option) contain trace amounts of mercury. \
These bulbs should always be
disposed of by an authorized Volvo retailer.
WARNING!
Bi-Xenon headlights (option) - due to the high voltage used by these h\
eadlights, these bulbs should
only be replaced by an authorized Volvo service technician.
All specifications are subject to change without prior notice.
pg. 151 On Call Roadside Assistance
Volvo On Call Roadside Assistance
Your new Volvo comes with a four-year On Call Roadside Assistance progra\
m. Additional information,
features, and benefits are described in a separate information package i\
n your glove compartment.
If you have misplaced your package, dial:
In the U.S.A.
1-800-63-VOLVO (1-800-638-6586)
In Canada:
1-800-263-0475
file:///K|/ownersdocs/2004/2004_XC70/04xc70_09.htm (11 of 12)12/30/200\
6 4:33:07 PM
Page 222 of 241
2004 VOLVO XC70
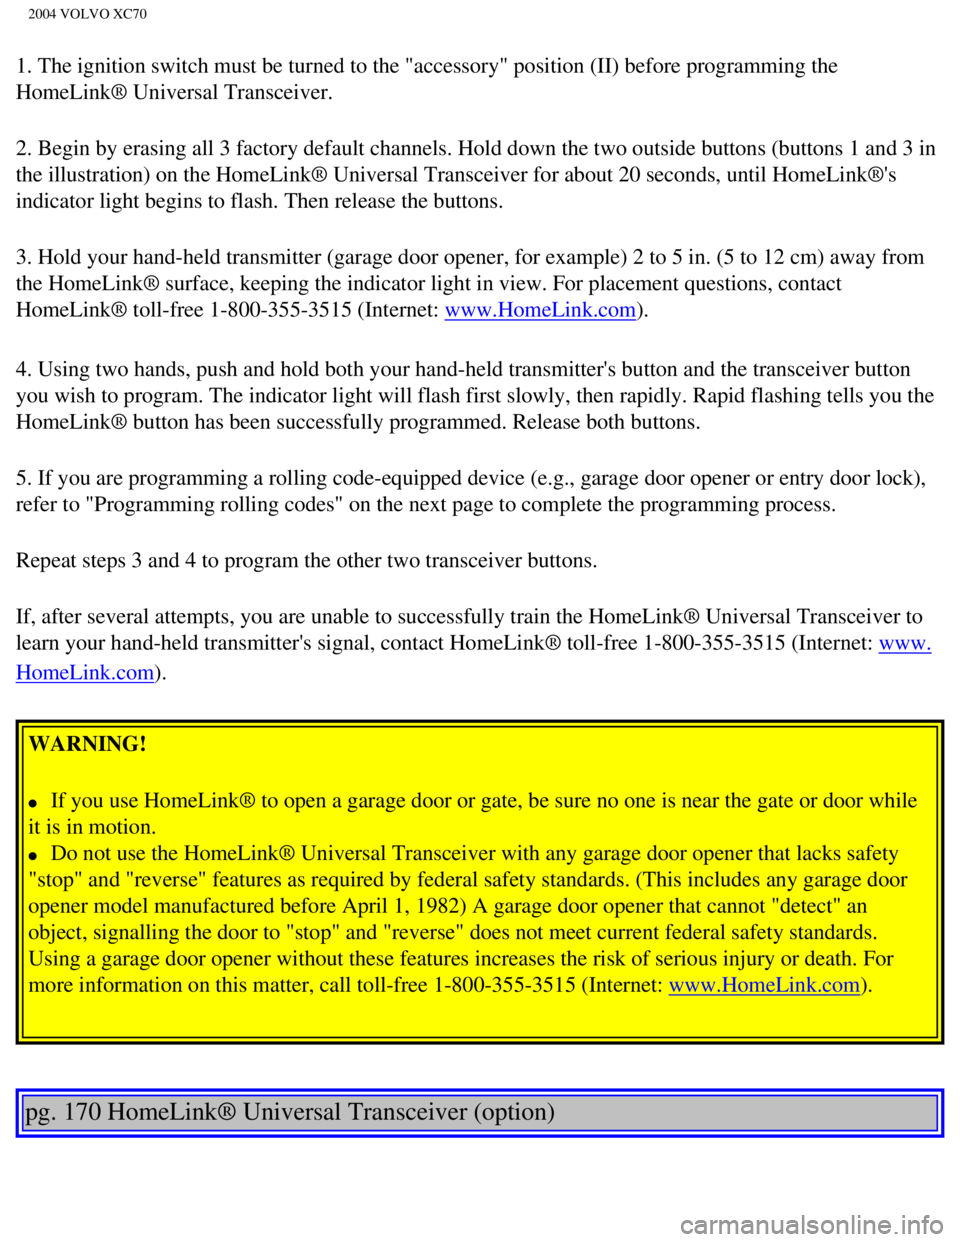
1. The ignition switch must be turned to the "accessory" position (II)\
before programming the
HomeLink® Universal Transceiver.
2. Begin by erasing all 3 factory default channels. Hold down the two ou\
tside buttons (buttons 1 and 3 in
the illustration) on the HomeLink® Universal Transceiver for about 2\
0 seconds, until HomeLink®'s
indicator light begins to flash. Then release the buttons.
3. Hold your hand-held transmitter (garage door opener, for example) 2\
to 5 in. (5 to 12 cm) away from
the HomeLink® surface, keeping the indicator light in view. For place\
ment questions, contact
HomeLink® toll-free 1-800-355-3515 (Internet:
www.HomeLink.com).
4. Using two hands, push and hold both your hand-held transmitter's butt\
on and the transceiver button
you wish to program. The indicator light will flash first slowly, then r\
apidly. Rapid flashing tells you the
HomeLink® button has been successfully programmed. Release both butto\
ns.
5. If you are programming a rolling code-equipped device (e.g., garage \
door opener or entry door lock),
refer to "Programming rolling codes" on the next page to complete the pr\
ogramming process.
Repeat steps 3 and 4 to program the other two transceiver buttons.
If, after several attempts, you are unable to successfully train the Hom\
eLink® Universal Transceiver to
learn your hand-held transmitter's signal, contact HomeLink® toll-fre\
e 1-800-355-3515 (Internet:
www.
HomeLink.com).
WARNING!
l If you use HomeLink® to open a garage door or gate, be sure no one is\
near the gate or door while
it is in motion.
l Do not use the HomeLink® Universal Transceiver with any garage door o\
pener that lacks safety
"stop" and "reverse" features as required by federal safety standards. (\
This includes any garage door
opener model manufactured before April 1, 1982) A garage door opener th\
at cannot "detect" an
object, signalling the door to "stop" and "reverse" does not meet curren\
t federal safety standards.
Using a garage door opener without these features increases the risk of \
serious injury or death. For
more information on this matter, call toll-free 1-800-355-3515 (Interne\
t:
www.HomeLink.com).
pg. 170 HomeLink® Universal Transceiver (option)
file:///K|/ownersdocs/2004/2004_XC70/04xc70_11.htm (2 of 5)12/30/2006 \
4:33:09 PM
Page 226 of 241
2004 VOLVO XC70
2 0 0 4
VOLVO XC70
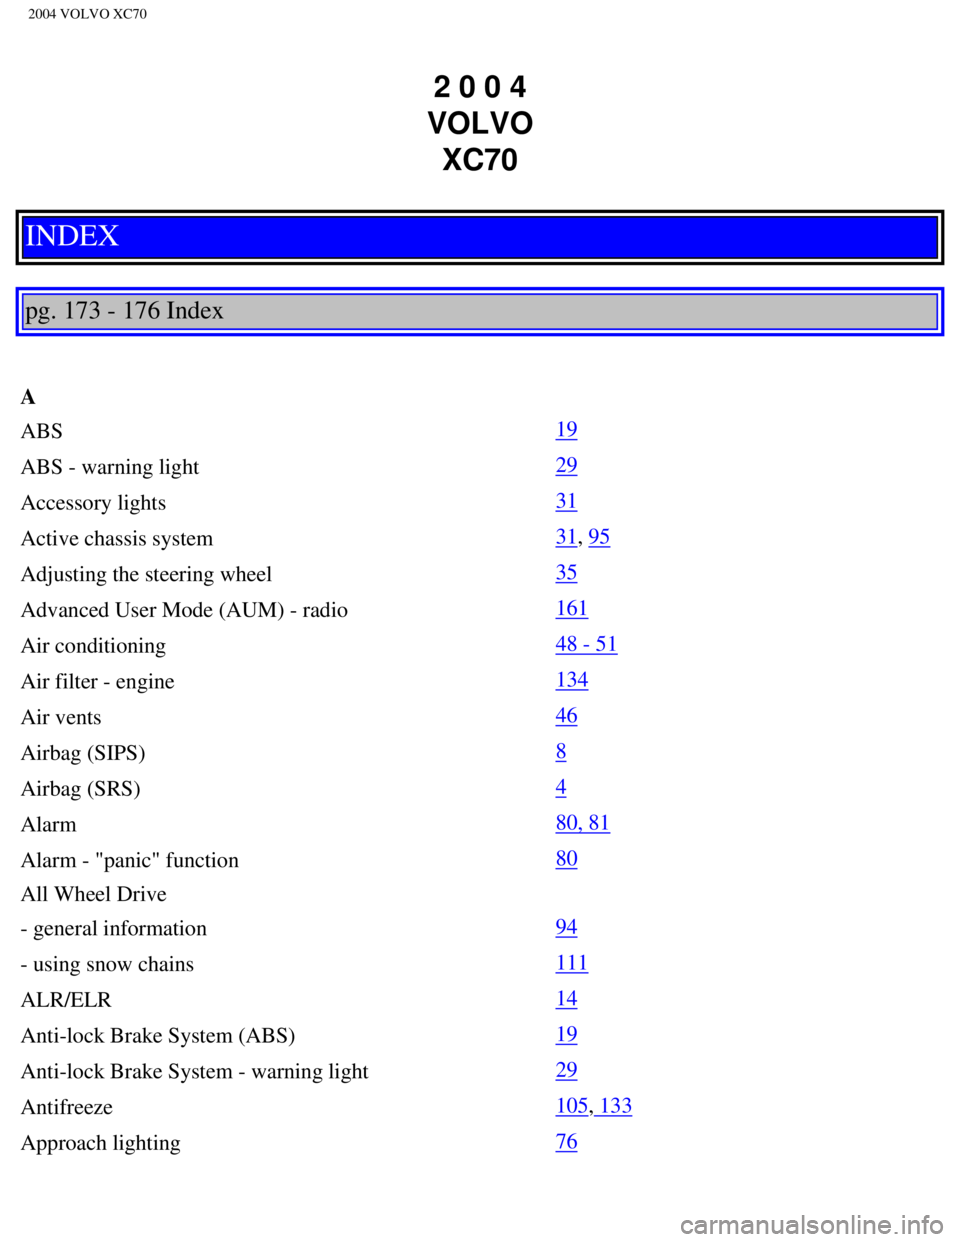
INDEX
pg. 173 - 176 Index
A
ABS
19
ABS - warning light
29
Accessory lights
31
Active chassis system
31, 95
Adjusting the steering wheel
35
Advanced User Mode (AUM) - radio
161
Air conditioning
48 - 51
Air filter - engine
134
Air vents
46
Airbag (SIPS)
8
Airbag (SRS)
4
Alarm
80, 81
Alarm - "panic" function
80
All Wheel Drive
- general information
94
- using snow chains
111
ALR/ELR
14
Anti-lock Brake System (ABS)
19
Anti-lock Brake System - warning light
29
Antifreeze
105, 133
Approach lighting
76
file:///K|/ownersdocs/2004/2004_XC70/04xc70_12.htm (1 of 12)12/30/2006\
4:33:10 PM
Page 227 of 241

2004 VOLVO XC70
Armrest (center) - 3-section rear seat 65
Ashtray
39, 59
Audio systems
153
- cassette deck
164
- CD player
162
- HU-613 - overview
154
- HU-803 - overview
155
- specifications
165
AUM (Advanced User Mode) - radio
161
Automatic car washing
130
Automatic Locking Retractor (ALR)
14
Automatic transmission
90, 91
- Cold starts
91
- Geartronic
92, 93
- Kickdown
91, 92
- Sport mode
93
Auxiliary socket
31, 39
AWD
- general information
94
- using snow chains
111
B
Backrest (center) - 3-section rear seat
64
Battery
105, 150
Battery maintenance
140, 141
- Replacing the battery
141
- Ventilation hose
141
Booster cushion
12, 16
Brake failure warning light
28
Brake fluid
139
Brake system
18
Bulbs (list)
150
Bulbs - replacing
122-127
file:///K|/ownersdocs/2004/2004_XC70/04xc70_12.htm (2 of 12)12/30/2006\
4:33:10 PM
Page 229 of 241

2004 VOLVO XC70
Courtesy lights (front) - replacing 126
Courtesy lights - exterior
76
Cruise control
33
Cup holder
59
Cup holder in the center console
60
D
Detachable trailer hitch - installing
103
Dimensions
145
Direction indicators
36
Distributor ignition system
149
Door step courtesy lights - replacing
125
Doors and locks
76
Drive belt
133
Driver's seat and remote keyless entry system
57
Driving economy
96
Driving mode indicator
27
Driving mode W
91, 93, 105
Driving with trunk open
97
E
Economical driving
96
Electric socket in cargo compartment
67
Electrical system
150
Electrical system - general information
97
Electrically operated front seats
56
Electrically operated moonroof
42
Electrically operated sideview mirrors
41
Electrically operated windows
40
Electronic Brake Force Distribution
19
Electronic Climate Control (ECC)
48 - 51
Emergency Locking Retractor (ELR)
14
Emergency towing
100, 101
Emergency warning flashers
38
file:///K|/ownersdocs/2004/2004_XC70/04xc70_12.htm (4 of 12)12/30/2006\
4:33:10 PM
Page 230 of 241
2004 VOLVO XC70
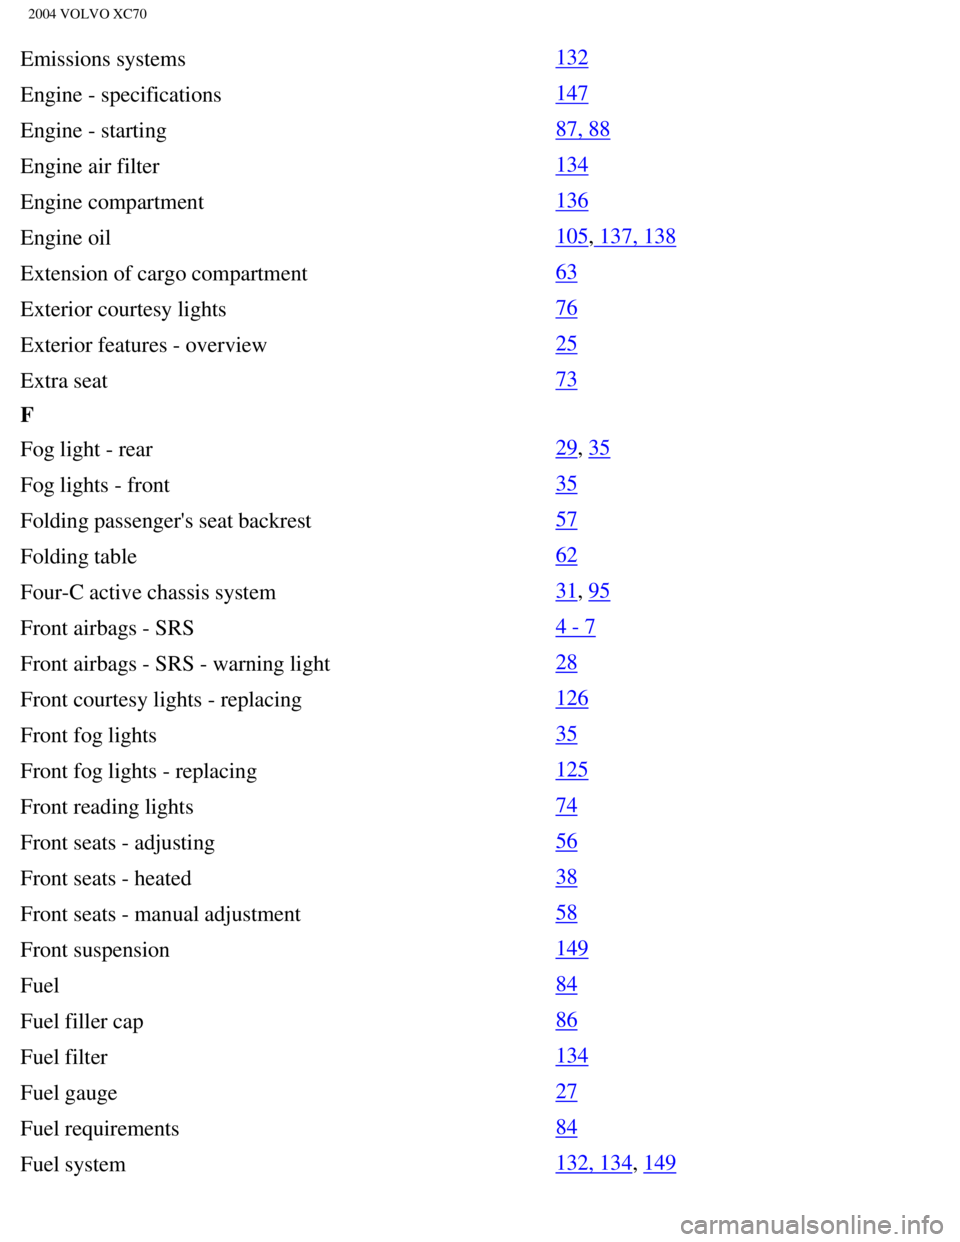
Emissions systems 132
Engine - specifications
147
Engine - starting
87, 88
Engine air filter
134
Engine compartment
136
Engine oil
105, 137, 138
Extension of cargo compartment
63
Exterior courtesy lights
76
Exterior features - overview
25
Extra seat
73
F
Fog light - rear
29, 35
Fog lights - front
35
Folding passenger's seat backrest
57
Folding table
62
Four-C active chassis system
31, 95
Front airbags - SRS
4 - 7
Front airbags - SRS - warning light
28
Front courtesy lights - replacing
126
Front fog lights
35
Front fog lights - replacing
125
Front reading lights
74
Front seats - adjusting
56
Front seats - heated
38
Front seats - manual adjustment
58
Front suspension
149
Fuel
84
Fuel filler cap
86
Fuel filter
134
Fuel gauge
27
Fuel requirements
84
Fuel system
132, 134, 149
file:///K|/ownersdocs/2004/2004_XC70/04xc70_12.htm (5 of 12)12/30/2006\
4:33:10 PM