dashboard VOLVO XC90 TWIN ENGINE 2020 Owner's Manual
[x] Cancel search | Manufacturer: VOLVO, Model Year: 2020, Model line: XC90 TWIN ENGINE, Model: VOLVO XC90 TWIN ENGINE 2020Pages: 693, PDF Size: 13.34 MB
Page 279 of 693

KEY, LOCKS AND ALARM
}}
* Option/accessory.277
Arming and disarming the alarm
The alarm is armed when the vehicle is locked.
Arming the alarmLock and arm the vehicle by
pressing the lock button on the remote key
.
touch the marked surface on the outside of the door handle or the rubberized pres- sure plate on the tailgate 16
.
If the vehicle is equipped with both keyless locking/unlocking * and power tailgate *, the
button
on the lower edge of the tailgate
can also be used to lock and arm the vehicle.
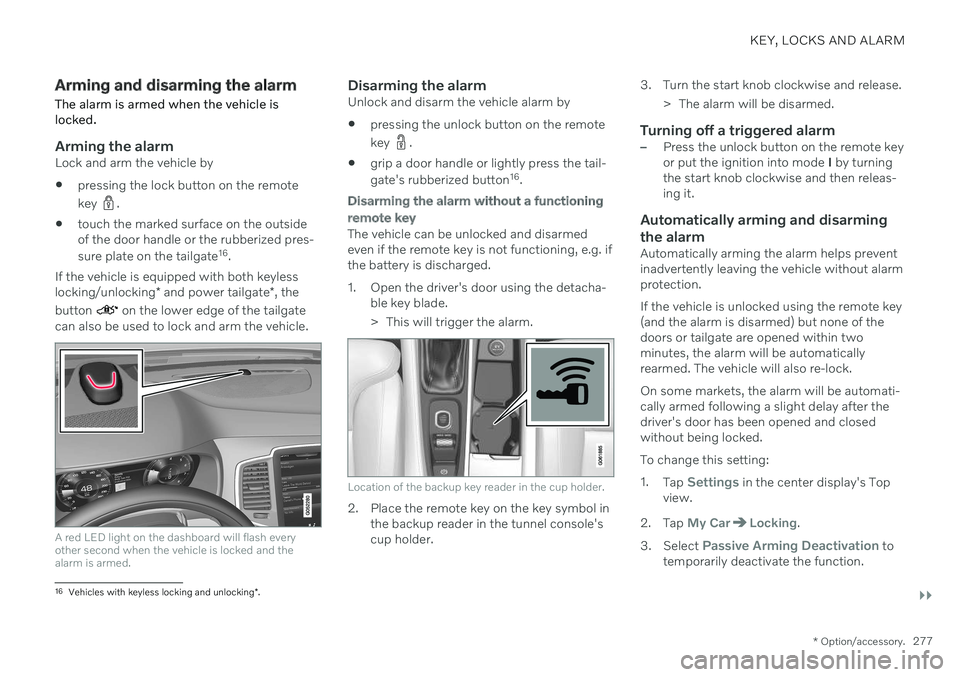
A red LED light on the dashboard will flash every other second when the vehicle is locked and thealarm is armed.
Disarming the alarmUnlock and disarm the vehicle alarm by
pressing the unlock button on the remote key
.
grip a door handle or lightly press the tail- gate's rubberized button 16
.
Disarming the alarm without a functioning
remote key
The vehicle can be unlocked and disarmed even if the remote key is not functioning, e.g. ifthe battery is discharged.
1. Open the driver's door using the detacha- ble key blade.
> This will trigger the alarm.
Location of the backup key reader in the cup holder.
2. Place the remote key on the key symbol inthe backup reader in the tunnel console's cup holder. 3. Turn the start knob clockwise and release.
> The alarm will be disarmed.
Turning off a triggered alarm–Press the unlock button on the remote key or put the ignition into mode I by turning
the start knob clockwise and then releas-ing it.
Automatically arming and disarming the alarm
Automatically arming the alarm helps prevent inadvertently leaving the vehicle without alarmprotection. If the vehicle is unlocked using the remote key (and the alarm is disarmed) but none of thedoors or tailgate are opened within twominutes, the alarm will be automaticallyrearmed. The vehicle will also re-lock. On some markets, the alarm will be automati- cally armed following a slight delay after thedriver's door has been opened and closedwithout being locked. To change this setting:1. Tap
Settings in the center display's Top
view.
2. Tap
My CarLocking.
3. Select
Passive Arming Deactivation to
temporarily deactivate the function.
16 Vehicles with keyless locking and unlocking *.
Page 454 of 693

||
STARTING AND DRIVING
452
Related information
Recovery (p. 470)
Low Speed Control (p. 443)
Opening/closing the fuel filler door
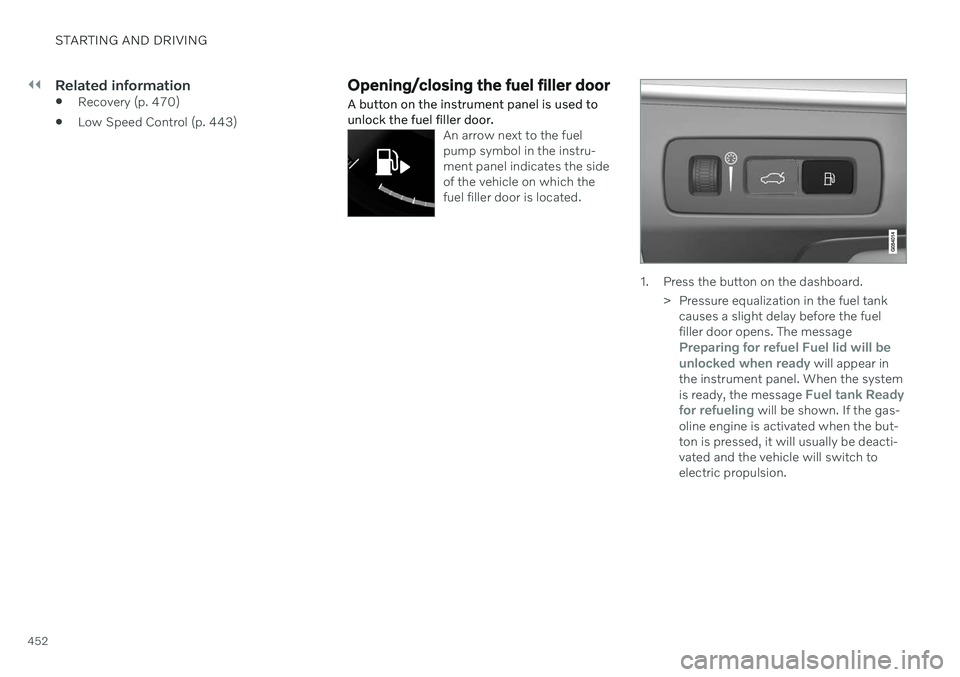
A button on the instrument panel is used to unlock the fuel filler door.
An arrow next to the fuel pump symbol in the instru-ment panel indicates the sideof the vehicle on which thefuel filler door is located.
1. Press the button on the dashboard.
> Pressure equalization in the fuel tankcauses a slight delay before the fuel filler door opens. The message
Preparing for refuel Fuel lid will be
unlocked when ready will appear in
the instrument panel. When the system is ready, the message
Fuel tank Ready
for refueling will be shown. If the gas-
oline engine is activated when the but- ton is pressed, it will usually be deacti-vated and the vehicle will switch toelectric propulsion.
Page 663 of 693

SPECIFICATIONS
}}
661
Vehicle Emission Control Information.
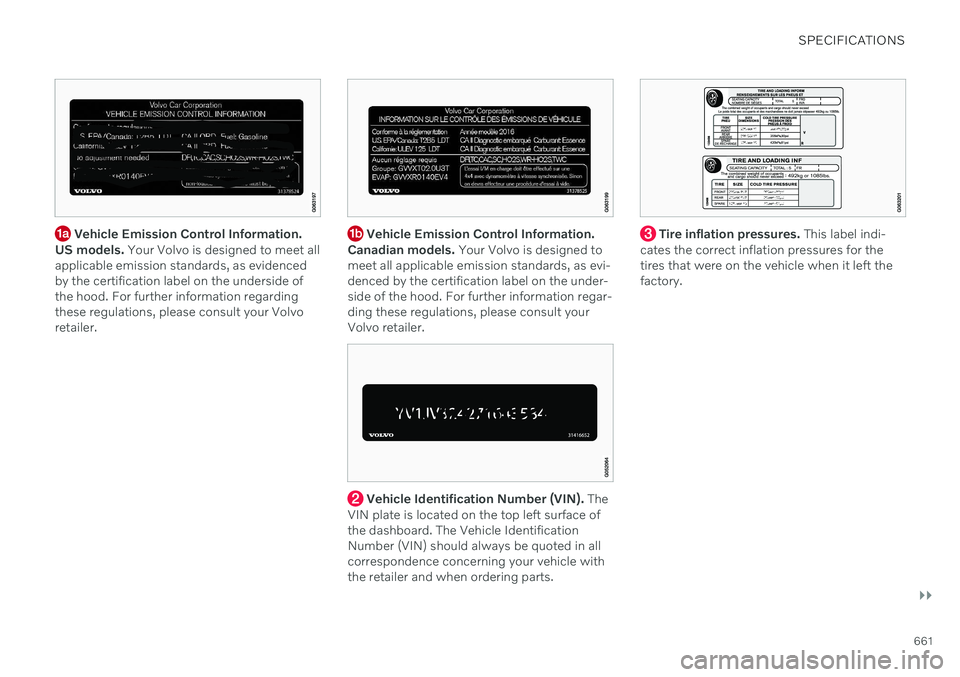
US models. Your Volvo is designed to meet all
applicable emission standards, as evidenced by the certification label on the underside ofthe hood. For further information regardingthese regulations, please consult your Volvoretailer. Vehicle Emission Control Information.
Canadian models. Your Volvo is designed to
meet all applicable emission standards, as evi- denced by the certification label on the under-side of the hood. For further information regar-ding these regulations, please consult yourVolvo retailer.
Vehicle Identification Number (VIN). The
VIN plate is located on the top left surface of the dashboard. The Vehicle IdentificationNumber (VIN) should always be quoted in allcorrespondence concerning your vehicle withthe retailer and when ordering parts.
Tire inflation pressures. This label indi-
cates the correct inflation pressures for the tires that were on the vehicle when it left thefactory.