stop start VOLVO XC90 TWIN ENGINE 2020 Service Manual
[x] Cancel search | Manufacturer: VOLVO, Model Year: 2020, Model line: XC90 TWIN ENGINE, Model: VOLVO XC90 TWIN ENGINE 2020Pages: 693, PDF Size: 13.34 MB
Page 478 of 693

STARTING AND DRIVING
* Option/accessory.
476
Calibrating the compass *
The globe is divided into 15 magnetic zones. The compass 27
should be calibrated if the
vehicle is driven from one zone to another.
1. Stop the vehicle in a large, open area away from steel constructions and high-voltage power lines.
2. Start the engine and switch off all electri- cal equipment (climate system, wipers,etc.) and make sure all doors are closed.
NOTE
Calibration may fail or not even be initiated if electrical equipment is not turned off.
3. Hold the button on the bottom of the rear-view mirror pressed for about 3 seconds (using e.g. a paper clip). The number of thecurrent magnetic zone is shown.
15
14
13
12
11
9
8
7
6
5
4
3
2
1
10
Magnetic zones.
4. Press the button on the underside of themirror repeatedly until the desired mag- netic zone (
1–15) appears (see the map of
magnetic zones).
5. Wait until the display again shows
C, or
press and hold the button on the under- side of the rearview mirror for approx.
6 seconds until
C is displayed.
6. Drive slowly in a circle at a speed of no more than 10 km/h (6 mph) until a com- pass direction is shown in the display. Thisindicates that calibration is complete.Drive in a circle two more times to fine-tune the calibration. 7.
Vehicles with heated windshields *: If
Cis shown in the display when the wind- shield heating function is activated, per-form step 6 above with the heating func-tion on.
8. Repeat the above procedure as needed.
Related information
Compass
* (p. 475)
Activating and deactivating the compass
*
(p. 475)
27 Rearview mirror with compass is available as an option only on certain markets and models.
Page 546 of 693

VOLVO ON CALL
544
Planning and scheduling vehicle charging with the Volvo On Callapp With the Volvo On Call app, you can plan and schedule charging for your vehicle.
You can schedule charging for the charging locations that you have saved in your app,which can be practical of you want to e.g. plana charging stop along a travel route or plancharging intervals for your vehicle at home orin your neighborhood. 1.From the
home tab, select Fuel range orBattery charge.
> In the view that appears, you can see your saved charging locations under
Saved locations. If you haven't saved
any charging locations yet or you want to add new locations, e.g. stationsalong a route or in your neighborhood, you can choose
Add location (you can
save up to eight charging locations).
2. Choose the location you want to schedule a charging at.
> A view for the saved location will open.
3. Select a start time for the charging.
4. Select an end time for the charging. 5. Go back to the view for fuel.
> A charging icon will appear next to thesaved location you scheduled charging at. When the icon disappears, thescheduled charging is saved and input.
Page 584 of 693
LOADING, STORAGE AND PASSENGER COMPARTMENT
* Option/accessory.
582
Using the electrical outlets
The 12 V outlet can be used for devices intended for this such as MP3 players, cool-ers and cellular phones. The high-voltage outlet * can be used for devi-
ces intended for this, such as chargers, lap- tops, etc.
The ignition must be in at least mode I for the
outlets to supply current. The outlets will then be active as long as there is sufficient chargein the start battery. If the engine is turned off and the vehicle is locked, the outlets will be deactivated. If theengine is turned off and the vehicle remainsunlocked, the sockets will remain active for upto 7 minutes.
NOTE
Bear in mind that using the electrical out- lets when the engine is off could cause thestarter battery to have too low of a chargelevel, which could limit other functionality. Accessories connected to the electrical outlets can be activated even when thevehicle electrical system is off or if precon-ditioning is used. For this reason, discon-nect plugs when they are not in use to pre-vent the starter battery from becoming dis-charged.
WARNING
Do not use accessories with large or heavy plugs – they could damage theoutlet or come loose while you are driv-ing.
Do not use accessories that couldcause disruptions to e.g. the vehicle'sradio receiver or electrical system.
Position the accessory so that there isno risk of it injuring the driver or pas-sengers in the event of heavy brakingor a collision.
Pay attention to connected accessoriesas they can generate heat that couldburn passengers or the interior.
Using 12 V outlets1. Remove the stopper (tunnel console) or
fold down the cover (trunk/cargo com-partment) over the socket and plug in thedevice.
2. Unplug the device and put the stopper back in (tunnel console) or fold up thecover (trunk/cargo compartment) whenthe socket is not in use or left unattended.
CAUTION
The maximum power is 120 W (10 A) per outlet.
Using high-voltage outletsThe ignition must be in at least mode I for the
outlets to supply current. The outlets will then be active as long as there is sufficient chargein the start battery. 1. Slide down the cover over the outlet and plug in the device. >
The LED 2
light on the outlet will indi-
cate its status.
2. The outlet is supplying electrical current when the light is glowing steadily green.
2LED (Light Emitting Diode)
Page 616 of 693

||
MAINTENANCE AND SERVICE
614
Positive connection point
Negative connection point
CAUTION
It is not possible to charge another vehi- cle's battery by supplying current throughthe charging points. Using the chargingpoints to charge another vehicle's batterycould cause a fuse to blow, which wouldcause the charging points to stop working.
CAUTION
Only a modern battery charger with con- trolled charge voltage should be used tocharge the starter battery. The rapid charg-ing function should not be used as thiscould damage the battery.
NOTE
If both the starter battery and the hybrid battery are discharged, both batteries
must be charged. In such cases, it is notpossible to charge only the hybrid batteryfirst. The starter battery must have a certain level of charge for it to be possible tocharge the hybrid battery.
CAUTION
Failure to observe the following could cause the infotainment energy save modeto temporarily stop working and/or a mes-sage in the driver's display regarding thestate of charge of the starter battery maybe temporarily incorrect after an externalstarter battery or battery charger has beenconnected:
The negative battery terminal of thevehicle's starter battery must
never be
used to connect an external starterbattery or battery charger – only thevehicle's negative charging pointshould be used as a grounding point.
Page 677 of 693
INDEX
675
Center console 579
Center display change appearance 134
cleaning 639
climate controls 219
Function view 125
keyboard 129
messages 143, 144
operation 115, 118, 122, 127
overview 113
settings 135, 136
switch off and change volume 134
symbols in status bar 127
views 118
Central locking 265
Change of owner 137
Changing a wheel 560 Charge vehicle function 449
Charge level vehicle function 449
Charging hybrid battery 395 opening and closing the charging
door 400
start charging 401
Status 403, 405
stop charging 407
Charging cable 397
Charging current 397
Checking engine oil level 609
Child restraints 65, 67booster cushions 74
convertible seats 72
infant seats 69
integrated booster cushion 79
ISOFIX/LATCH anchors 77
lower attachment points 77
recalls and registration 67
top tether anchors 75
Child safety 65
Child safety locks 267
Circuit breaker 399
City Safety 327 braking for oncoming vehicles 336
crossing traffic 333
delayed evasive maneuver 335
detecting obstacles 331
evasive maneuver 335
limitations 337
limitations in crossing traffic 334
setting warning distance 330
sub-functions 328
Symbols and messages 340
Cleaning 641, 643 automatic car wash 647car wash 644, 645, 647, 648, 649, 650
center display 639
Seat belts 641
textile upholstery 639, 641, 642
upholstery 639, 641, 642, 643
wheels 650
Cleaning wheels 650
Cleaning wiper blades 648
Clean Zone 211
Clean Zone Interior Package 212
Climate 208 auto-regulation 224
blower control 227, 228
parking 233
perceived temperature 209
Sensors 208
temperature control 229, 230, 231
voice control 209
zones 208
Climate controls 219 center display 219
rear seat 219
Climate system 208, 219 Refrigerant 671
repairs 605
Clock, setting 96
Collision 44, 49, 55, 64
Page 679 of 693
INDEX
677
Drive mode 433
changing 438
driver support 314
Driver Alert Control 355 activating/deactivating 356
limitations 357
rest stop guidance 356
Driver performance 94 settings 95
Driver profile 139 edit 140, 141, 143
select 140
Driver support system 280 Drive mode 314
Drive systems 432 Driving cooling system 458
with a trailer 465
Driving economy 446
Driving through standing water 451 driving with a trailer towball load 667
towing capacity 667
E
Economical driving 446
Electrical outlet 580use 582
Electrical system 613Electric drive motor specifications 668
electric motor 432 Range 448
Electric parking brake 421
Electronic immobilizer 259
emergency brake lights 164
Emission inspection readiness 596Energy distribution using map data 439
Engine automatic start and stop of combus-
tion engine 433
overheating 458
start 412
turn off 414
Engine braking 417, 428, 445 Engine compartment coolant 610
engine oil 608
overview 607
Engine drag control 281
Engine oil 608 filling 609
filter 608
grade and volume 669
Engine shutdown 414
Engine specifications 668Engine temperature high 458
Environment 30Ethanol content max. 10% by volume 454
Exterior dimensions 663
Extra heater (Auxiliary heater) 240
F
Federal Clean Air Act 596
Ferry transport 440
Flooded road 451
Fluids, volumes 656, 671
Fluids and oils 670, 671 Fog lights rear 163
Four-C 440
Page 683 of 693
INDEX
681
Low beams 159
Lower the rear end 585
Low oil level 609
Low-speed driving 443
activate with function button 444
M
Maintained climate comfort 238
start/stop 238
Maintenance 596 corrosion protection 650
Max. axle weight 665
Max. roof load 665
Media player 499, 500, 501 compatible file formats 507
voice control 152
Messages and symbols Adaptive Cruise Control 298
Assistance at risk of collision 369
BLIS 345
City Safety 340
Cross Traffic Alert 349
Lane Keeping Aid 361
Park Assist Camera 383
Park Assist Pilot 392
Parking Assist 374
Pilot Assist 308
stability and traction control system 284
Messages in display 109, 143 handling 110, 144
saved 111, 144
Mileage 91 electric motor 448
Misting condensation in headlights 644, 647
Mood lighting 167 adjusting 167
N
Net
cargo compartment 592
O
Occupant safety 45
Occupant weight sensor 59
Octane rating 455
Oil, see also Engine oil 669
On-board diagnostics 596
On-board Diagnostic socket 39
Option/accessory 23
Outside temperature gauge 96
Overheating 458, 465
Owner's information 18
OWNER'S MANUAL 23environmental labeling 25
in cellular phone 22
in the center display 19, 20
P
Paddle at steering wheel 205 Paint color code 652
paint damage and touch-up 651, 652
Panoramic roof 176 opening and closing 178
pinch protection 170
sun shade 180
ventilation position 179
Parallel parking 384
Park Assist Camera 375 activating 381
limitations 322
sensor field 380
Symbols and messages 383
trajectory lines 378
views 376
Page 684 of 693
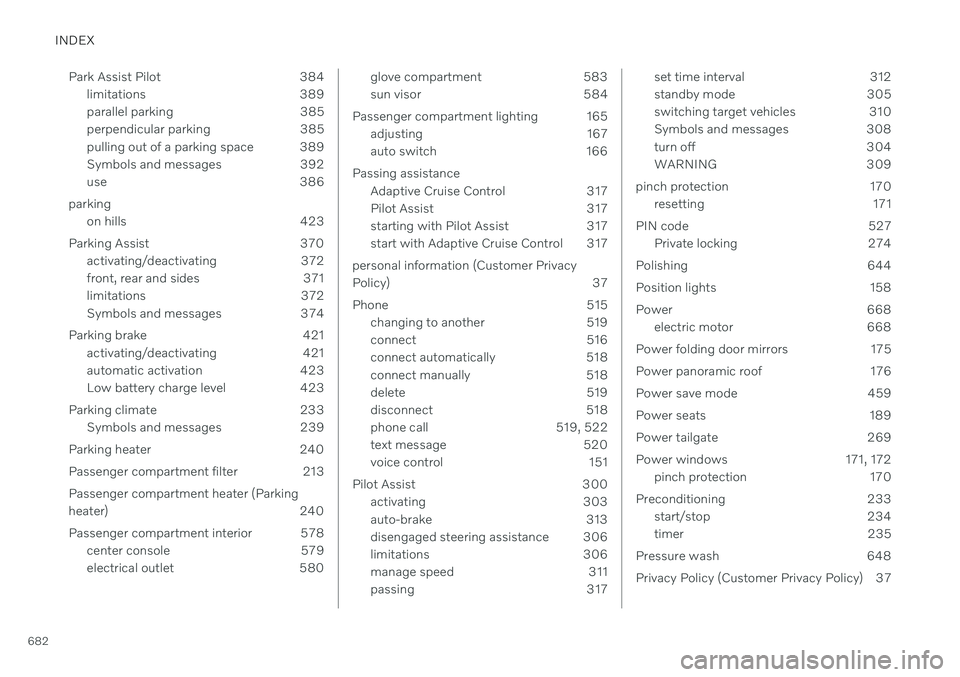
INDEX
682Park Assist Pilot 384
limitations 389
parallel parking 385
perpendicular parking 385
pulling out of a parking space 389
Symbols and messages 392
use 386
parking on hills 423
Parking Assist 370 activating/deactivating 372
front, rear and sides 371
limitations 372
Symbols and messages 374
Parking brake 421 activating/deactivating 421
automatic activation 423
Low battery charge level 423
Parking climate 233 Symbols and messages 239
Parking heater 240
Passenger compartment filter 213Passenger compartment heater (Parking
heater) 240
Passenger compartment interior 578 center console 579
electrical outlet 580
glove compartment 583
sun visor 584
Passenger compartment lighting 165 adjusting 167
auto switch 166
Passing assistance Adaptive Cruise Control 317
Pilot Assist 317
starting with Pilot Assist 317
start with Adaptive Cruise Control 317
personal information (Customer Privacy
Policy) 37
Phone 515 changing to another 519
connect 516
connect automatically 518
connect manually 518
delete 519
disconnect 518
phone call 519, 522
text message 520
voice control 151
Pilot Assist 300 activating 303
auto-brake 313
disengaged steering assistance 306
limitations 306
manage speed 311
passing 317set time interval 312
standby mode 305
switching target vehicles 310
Symbols and messages 308
turn off 304
WARNING 309
pinch protection 170 resetting 171
PIN code 527 Private locking 274
Polishing 644
Position lights 158
Power 668 electric motor 668
Power folding door mirrors 175
Power panoramic roof 176
Power save mode 459
Power seats 189
Power tailgate 269
Power windows 171, 172 pinch protection 170
Preconditioning 233 start/stop 234
timer 235
Pressure wash 648
Privacy Policy (Customer Privacy Policy) 37