jump start VOLVO XC90 TWIN ENGINE HYBRID 2017 Owners Manual
[x] Cancel search | Manufacturer: VOLVO, Model Year: 2017, Model line: XC90 TWIN ENGINE HYBRID, Model: VOLVO XC90 TWIN ENGINE HYBRID 2017Pages: 584, PDF Size: 14.2 MB
Page 10 of 584
8
STARTING AND DRIVING
Starting and driving376
Brakes376
Brake functions378
Auto-hold brake function379
Brake assist system379
Braking effect after a collision380
Emergency brake lights380
Hill Descent Control (HDC)380
Hill Start Assist381
Parking brake382
Using the parking brake382
Parking brake malfunctions384
Before a long distance trip385
Driving economically385
Driving through standing water387
Overheating the engine and transmission387
Winter driving388
Towing eyelet389
Towing recommendations389
Fuel391
Octane rating392
Opening/closing the fuel filler door393
Emission controls394
Jump starting395
Driving with a trailer397
Detachable trailer hitch398
Trailer Stability Assist (TSA)399
Ignition modes400
Battery drain402
Starting the engine402
Turning the engine off404
Driving systems405
Hybrid battery charging cable405
Hybrid charging cable circuit breaker407
Hybrid-related symbols and messages408
Preparations for charging the hybridbattery410
Stopping hybrid battery charging411
Initiating hybrid battery charging412
Charging the hybrid battery413
Hybrid battery charge status415
Charger status indicators417
Hybrid battery charging current417
Long-term storage of a vehicle witha hybrid battery418
Using the electric motor in city driving419
Maintaining/increasing the hybridbattery's charge while driving420
Drive modes420
Automatic transmission424
Shiftlock424
Gear shift indicator425
Gear selector positions425
Steering wheel paddles*427
Low Speed Control (LSC)428
All Wheel Drive (AWD)429
Suspension and leveling control*429
Page 386 of 584
||
STARTING AND DRIVING
384
Heavy load uphill
A heavy load, such as a trailer, can cause thevehicle to roll backward when the parking brakeis released automatically on a steep incline. Tohelp avoid this:
1. Keep the electric parking brake controlpushed in.
2. While pressing the accelerator pedal to pullaway, release the parking brake control onlyafter the vehicle begins to move.
Parking brake settings
Automatically setting the parking brake can beturned on or off in the center display's Top view.
1.Tap Settings in Top view.
2.Tap My CarElectric Parking Brake anddeselect Auto Activate Parking Brake.
Related information
•Parking brake (p. 382)
•Parking brake malfunctions (p. 384)
•Auto-hold brake function (p. 379)
Parking brake malfunctions
If it has not been possible to apply or release theparking brake after several attempts, consult atrained and authorized Volvo service technicianor retailer.
An audible signal will sound if the parking brakeis applied when the vehicle is being driven. If thevehicle must be parked while the parking brake isnot functioning properly:
•Put the gear selector in P.
•If the vehicle is pointing uphill, turn the frontwheels so that they point away from the curb.
•If the vehicle is pointing downhill, turn thefront wheels so that they point toward thecurb.
•Put the gear selector in P.
Low battery charge level
If the battery is discharged, the parking brakecannot be operated. Connect an auxiliary batteryto the vehicle.
Replacing brake pads
The rear brake pads have to be replaced by atrained and authorized Volvo service techniciandue to the design of the electric parking brake.
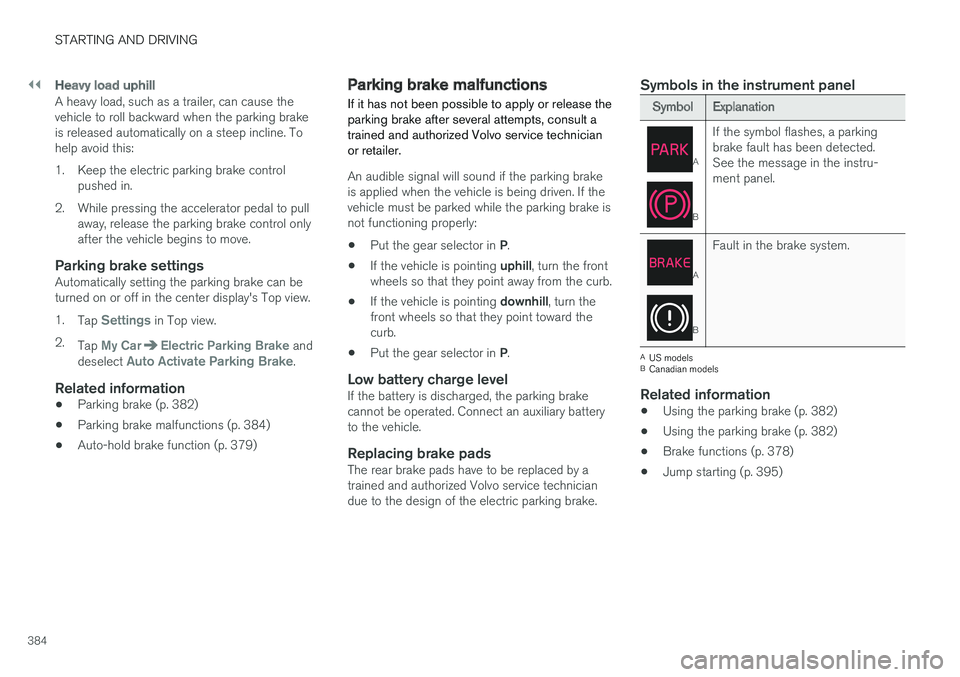
Symbols in the instrument panel
SymbolExplanation
A
B
If the symbol flashes, a parkingbrake fault has been detected.See the message in the instru-ment panel.
A
B
Fault in the brake system.
AUS modelsBCanadian models
Related information
•Using the parking brake (p. 382)
•Using the parking brake (p. 382)
•Brake functions (p. 378)
•Jump starting (p. 395)
Page 397 of 584
STARTING AND DRIVING
}}
395
Jump starting
Follow the instructions provided here to jumpstart your vehicle or to jump start another vehi-cle.
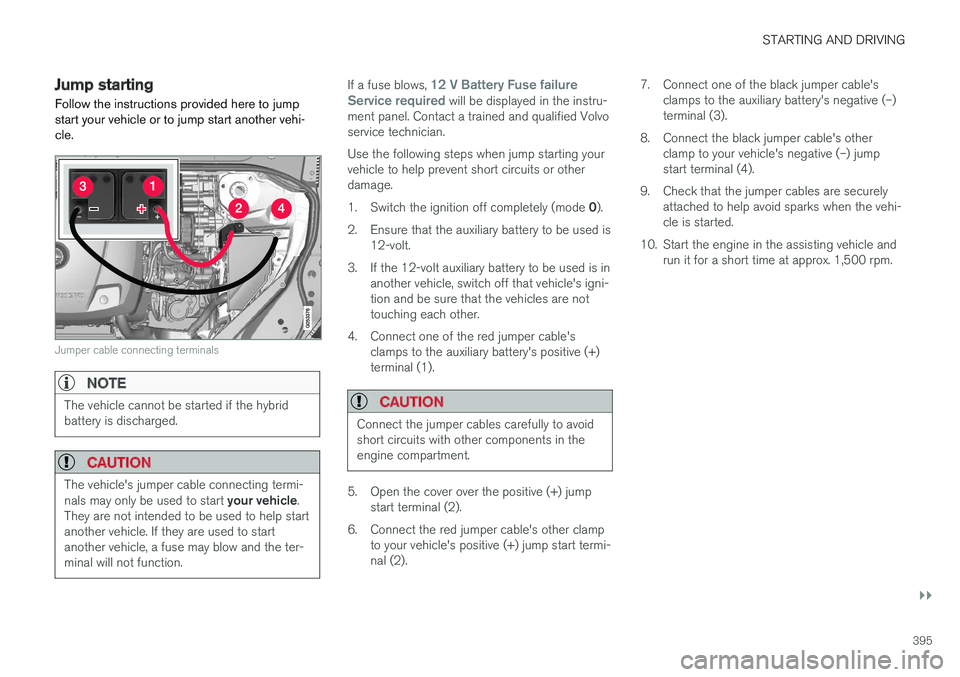
Jumper cable connecting terminals
NOTE
The vehicle cannot be started if the hybridbattery is discharged.
CAUTION
The vehicle's jumper cable connecting termi-nals may only be used to start your vehicle.They are not intended to be used to help startanother vehicle. If they are used to startanother vehicle, a fuse may blow and the ter-minal will not function.
If a fuse blows, 12 V Battery Fuse failureService required will be displayed in the instru-ment panel. Contact a trained and qualified Volvoservice technician.
Use the following steps when jump starting yourvehicle to help prevent short circuits or otherdamage.
1.Switch the ignition off completely (mode 0).
2.Ensure that the auxiliary battery to be used is12-volt.
3. If the 12-volt auxiliary battery to be used is inanother vehicle, switch off that vehicle's igni-tion and be sure that the vehicles are nottouching each other.
4. Connect one of the red jumper cable'sclamps to the auxiliary battery's positive (+)terminal (1).
CAUTION
Connect the jumper cables carefully to avoidshort circuits with other components in theengine compartment.
5. Open the cover over the positive (+) jumpstart terminal (2).
6.Connect the red jumper cable's other clampto your vehicle's positive (+) jump start termi-nal (2).
7. Connect one of the black jumper cable'sclamps to the auxiliary battery's negative (–)terminal (3).
8. Connect the black jumper cable's otherclamp to your vehicle's negative (–) jumpstart terminal (4).
9. Check that the jumper cables are securelyattached to help avoid sparks when the vehi-cle is started.
10. Start the engine in the assisting vehicle andrun it for a short time at approx. 1,500 rpm.
Page 398 of 584
||
STARTING AND DRIVING
396
11. Start the engine in your vehicle. If the vehicledoes not start, allow an additional10 minutes of charging time and then try tostart the engine again.
NOTE
During normal starts, the electric motor is pri-oritized and the gasoline engine will not start.This means that when the start knob hasbeen turned toward START and released, theelectric motor is activated ("started") and thevehicle is ready to be driven. The warning andinformation symbols in the instrument panelwill go out and the chosen theme will be dis-played to indicate that the electric motor hasbeen activated.
CAUTION
Do not touch the jumper cable connectionswhile the vehicle is being started. This couldgenerate sparks.
12. After the vehicle has started, carefullyremove the jumper cables in reverse order,beginning with the black one.
Ensure that the black jumper cable's clampsdo not come in contact with the vehicle's orthe auxiliary battery's positive terminals orthe red jumper cable's clamps while it is con-nected.
WARNING
PROPOSITION 65 WARNING!
Battery posts, terminals, and related accesso-ries contain lead and lead compounds, chemi-cals known to the state of California to causecancer and reproductive harm. Wash handsafter handling.
WARNING
•Do not connect the jumper cable to anypart of the fuel system or to any movingparts. Avoid touching hot manifolds.
•Batteries generate hydrogen gas, whichis flammable and explosive.
•Battery fluid contains sulfuric acid. Do notallow battery fluid to contact eyes, skin,fabrics or painted surfaces. If contactoccurs, flush the affected area immedi-ately with water. Obtain medical helpimmediately if eyes are affected.
•Never expose the battery to open flameor electric spark.
•Do not smoke near the battery.
•Failure to follow the instructions for jumpstarting can lead to injury.
Related information
•Ignition modes (p. 400)
•Starting the engine (p. 402)
•Turning the engine off (p. 404)
•Start battery (p. 512)
•Opening and closing the hood (p. 539)
•Charging the hybrid battery (p. 413)
Page 406 of 584
||
STARTING AND DRIVING
404
NOTE
After a cold start, idle speed may be noticea-bly higher than normal for a short period. Thisis done to help bring components in theemission control system to their normal oper-ating temperature as quickly as possible,which enables them to control emissions andhelp reduce the vehicle's impact on the envi-ronment.
CAUTION
•When starting in cold weather, the auto-matic transmission may shift up at slightlyhigher engine speeds than normal untilthe automatic transmission fluid reachesnormal operating temperature.
•Do not race a cold engine immediatelyafter starting. Oil flow may not reachsome lubrication points fast enough toprevent engine damage.
•The engine should be idling when youmove the gear selector. Never accelerateuntil after you feel the transmissionengage. Accelerating immediately afterselecting a gear will cause harsh engage-ment and premature transmission wear.
•Selecting P or N when idling at a stand-still for prolonged periods of time will helpprevent overheating of the automatictransmission fluid.
Related information
•Ignition modes (p. 400)
•Turning the engine off (p. 404)
•Changing the remote key's battery (p. 235)
•Jump starting (p. 395)
Turning the engine off
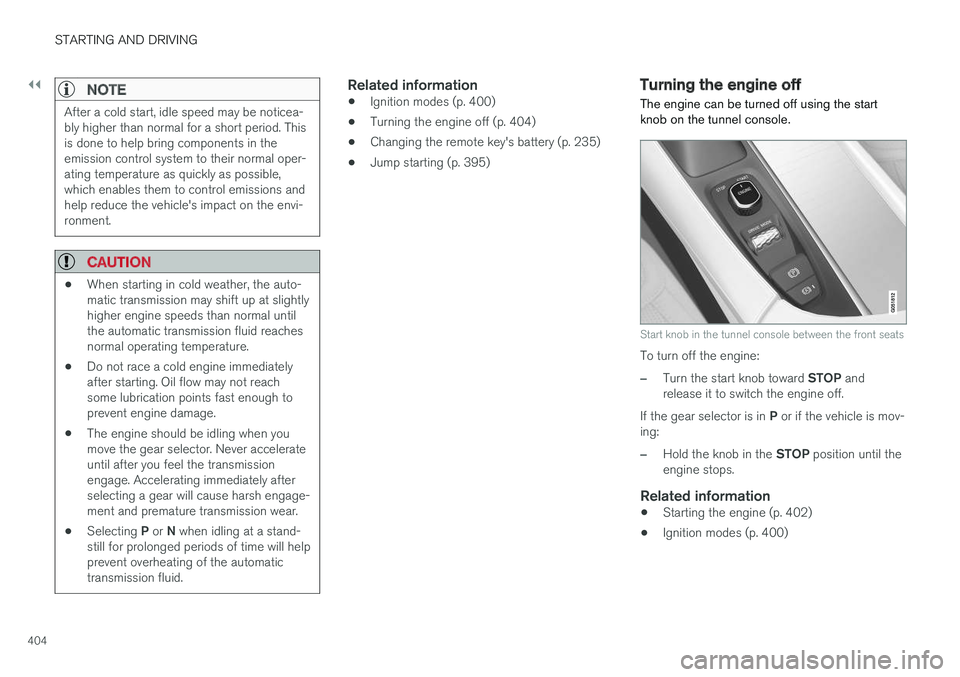
The engine can be turned off using the startknob on the tunnel console.
Start knob in the tunnel console between the front seats
To turn off the engine:
–Turn the start knob toward STOP andrelease it to switch the engine off.
If the gear selector is in P or if the vehicle is mov-ing:
–Hold the knob in the STOP position until theengine stops.
Related information
•Starting the engine (p. 402)
•Ignition modes (p. 400)
Page 420 of 584
STARTING AND DRIVING
418
NOTE
•At very low or high temperatures, some ofthe charging current is used to heat orcool the hybrid battery and the passengercompartment, which means that chargingmay take longer.
•Charging time is longer if preconditioninghas been selected. This time is primarilyaffected by the ambient temperature.
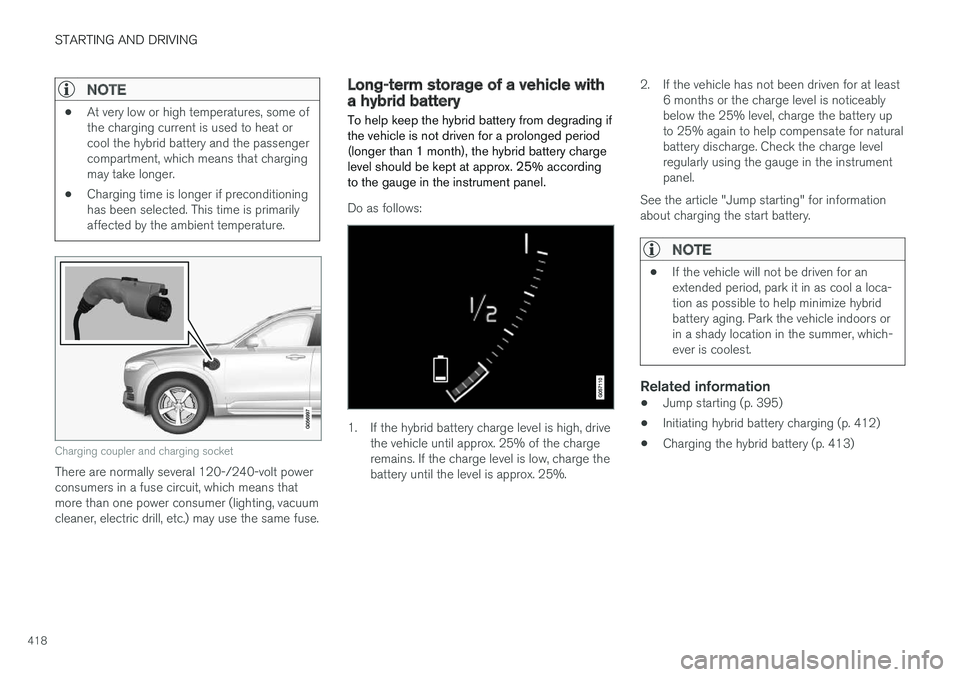
Charging coupler and charging socket
There are normally several 120-/240-volt powerconsumers in a fuse circuit, which means thatmore than one power consumer (lighting, vacuumcleaner, electric drill, etc.) may use the same fuse.
Long-term storage of a vehicle witha hybrid battery
To help keep the hybrid battery from degrading ifthe vehicle is not driven for a prolonged period(longer than 1 month), the hybrid battery chargelevel should be kept at approx. 25% accordingto the gauge in the instrument panel.
Do as follows:
1. If the hybrid battery charge level is high, drivethe vehicle until approx. 25% of the chargeremains. If the charge level is low, charge thebattery until the level is approx. 25%.
2.If the vehicle has not been driven for at least6 months or the charge level is noticeablybelow the 25% level, charge the battery upto 25% again to help compensate for naturalbattery discharge. Check the charge levelregularly using the gauge in the instrumentpanel.
See the article "Jump starting" for informationabout charging the start battery.
NOTE
•If the vehicle will not be driven for anextended period, park it in as cool a loca-tion as possible to help minimize hybridbattery aging. Park the vehicle indoors orin a shady location in the summer, which-ever is coolest.
Related information
•Jump starting (p. 395)
•Initiating hybrid battery charging (p. 412)
•Charging the hybrid battery (p. 413)
Page 515 of 584

MAINTENANCE AND SERVICING
}}
513
CAUTION
•The infotainment system's energy-savingfeature may not function correctly or atall, and/or a message may be displayed ifa battery charger or jumper cables arenot connected properly.
•The negative terminal on the battery mustnever be used to connect a jumper cableor a battery charger. Only the groundpoint on the chassis may be used.
NOTE
•The service life of the start battery isshortened if it becomes dischargedrepeatedly.
•The service life of the start battery isaffected by factors such as driving condi-tions and climate. Extreme cold may alsofurther decrease the battery's startcapacity.
•Because the battery
Page 516 of 584
||
MAINTENANCE AND SERVICING
514
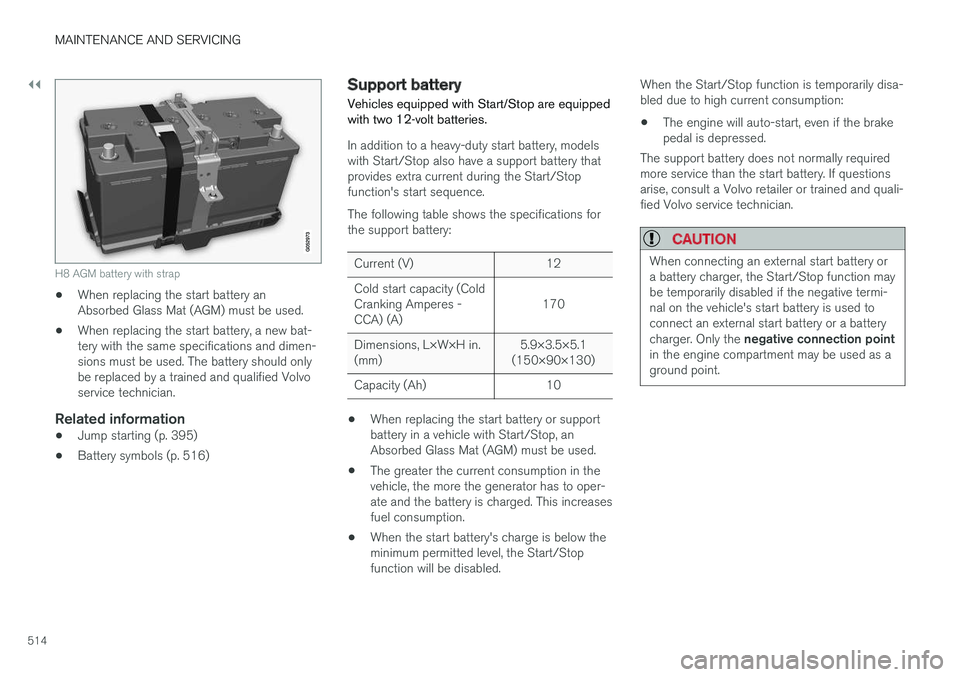
H8 AGM battery with strap
•When replacing the start battery anAbsorbed Glass Mat (AGM) must be used.
•When replacing the start battery, a new bat-tery with the same specifications and dimen-sions must be used. The battery should onlybe replaced by a trained and qualified Volvoservice technician.
Related information
•Jump starting (p. 395)
•Battery symbols (p. 516)
Support battery
Vehicles equipped with Start/Stop are equippedwith two 12-volt batteries.
In addition to a heavy-duty start battery, modelswith Start/Stop also have a support battery thatprovides extra current during the Start/Stopfunction's start sequence.
The following table shows the specifications forthe support battery:
Current (V)12
Cold start capacity (ColdCranking Amperes -CCA) (A)170
Dimensions, L×W×H in.(mm)5.9×3.5×5.1(150×90×130)
Capacity (Ah)10
•When replacing the start battery or supportbattery in a vehicle with Start/Stop, anAbsorbed Glass Mat (AGM) must be used.
•The greater the current consumption in thevehicle, the more the generator has to oper-ate and the battery is charged. This increasesfuel consumption.
•When the start battery's charge is below theminimum permitted level, the Start/Stopfunction will be disabled.
When the Start/Stop function is temporarily disa-bled due to high current consumption:
•The engine will auto-start, even if the brakepedal is depressed.
The support battery does not normally requiredmore service than the start battery. If questionsarise, consult a Volvo retailer or trained and quali-fied Volvo service technician.
CAUTION
When connecting an external start battery ora battery charger, the Start/Stop function maybe temporarily disabled if the negative termi-nal on the vehicle's start battery is used toconnect an external start battery or a batterycharger. Only the negative connection pointin the engine compartment may be used as aground point.
Page 577 of 584
INDEX
575
High beams 148
active 148
Hill Descent Control 380
Hill Start Assist (HSA) 381
Hoisting the vehicle 537
HomeLink® Wireless Control System 104,
105
Home safe lighting 155
Hood, opening/closing 539
Horn, Keypad, Paddles, Signal 164
hybrid
battery 515
Hybrid
battery charge level 420
battery charge status 415
battery specifications 565
charging cable circuit breaker 407
charging current 417
charging the battery 410, 412, 413, 417
drive systems 405
electric motor in city driving 419
information in the instrument panel 134
messages and symbols 408
vehicle storage 418
Hybrid battery
charging cable 405
stopping the charging procedure 411
I
ID, Volvo32
Ignition modes400
Immobilizer (start inhibitor) 234
Indicator lights 141
Infant seats 84
Inflatable Curtain 78
Inflation pressure 486
Inflation pressure table 569
Information lights 141
Infotainment 476
Infotainment (Infotainment system) 432
Infotainment system 436, 437, 438, 439
CD player 459
cell phone 448
general sound settings 433
Gracenote 463
introduction 432
media player 455, 459
media player sound settings 463
media search 461
radio 434
searching for radio stations 435
sound settings 433, 463
type approval 472
video464
voice control125
Inspection readiness504
Instrument lighting145
Instrument overview100
Instrument panel
hybrid information134
Intellisafe21
Interior Air Quality System197
Interior lighting152
Internet connection466
applications (apps)432
bluetooth settings468
booking service508
establishing a connection466
troubleshooting469
ISOFIX/LATCH anchors90
J
Jack488
location of488, 489
Jump starting 390, 395