spark plugs replace YAMAHA SUPERJET 2015 Owners Manual
[x] Cancel search | Manufacturer: YAMAHA, Model Year: 2015, Model line: SUPERJET, Model: YAMAHA SUPERJET 2015Pages: 78, PDF Size: 3.35 MB
Page 65 of 78

Maintenance
59
EJU40831Periodic maintenance chart
The periodic maintenance chart gives general guidelines for periodic maintenance. Have a
Yamaha dealer perform the checks in the following chart. However, maintenance may need to be performed more frequently depending on your operating conditions. If you have any
questions, consult a Yamaha dealer.
This “ ” mark indicates maintenance that you may do yourself.
This “ ” mark indicates items to be checked and serviced by a Yamaha dealer.
Item OperationInitial
Thereafter every
Page
10
hours 50 hours
100
hours 200
hours
6
months 12
months 12
months 24
months
Spark plugs Check, clean, replace 60
Lubrication points Lubricate 54
Intermediate
housing Lubricate
61
Fuel system Check —
Fuel filter Check
61
Check, replace —
Fuel tank Check, clean —
Carburetor Check, adjust —
Engine idling
speed Check, adjust
62
Carburetor throttle
shaft Check
—
Bilge strainer Clean —
Impeller Check —
Jet thrust nozzle
angle Check, adjust
—
Handlebar pivot
shaft Check, adjust
—
Steering friction Check, adjust —
Throttle cable Check, adjust —
Choke cable Check, adjust 61
Battery Check, charge —
Rubber coupling Check —
Engine mount Check —
Nuts and bolts Check —
UF4D70E0.book Page 59 Wednesday, May 7, 2014 10:53 AM
Page 66 of 78

Maintenance
60
EJU34379Checking the spark plugs
WARNING
EWJ00351
Be careful not to damage the insulator
when removing or installing a spark plug.
A damaged insulator could allow sparks to
escape, which could result in a fire or ex-
plosion.
Remove and check the condition of the spark
plugs.
The condition of a spark plug can indicate
something about the condition of the engine.
For example, if the center electrode portion is
very white, this could indicate an intake air
leak or carburetion problem in that cylinder.
Do not attempt to diagnose any problems
yourself. Have a Yamaha dealer service the
watercraft.
To remove a spark plug:
(1) Remove the hood. (See page 24 for hoodremoval and installation procedures.)
(2) Remove the spark plug cap.
(3) Remove the spark plug, and then check the condition of the spark plug and the
spark plug gap. If the electrode portion is
significantly discolored, if electrode ero-
sion becomes excessive, if carbon and
other deposits are excessive, or if the
spark plug gap is not within the specified
range, replace the spark plug.
TIP:
When the engine is operating normally, the
color of the spark plug electrode portion will
be a medium-to-light tan.
To install a spark plug:
(1) Wipe off any dirt from the threads, insu-lator, and gasket surface of the spark
plug.
(2) Install the spark plug, and then tighten it to the specified torque.
TIP:
If a torque wrench is not available when you
are installing a spark plug, a good estimate of
the correct torque is 1/4 turn to 1/2 turn past
finger tight using the spark plug wrench in-
cluded in the tool kit. Have the spark plug ad-
justed to the correct torque with a torque
wrench as soon as possible.
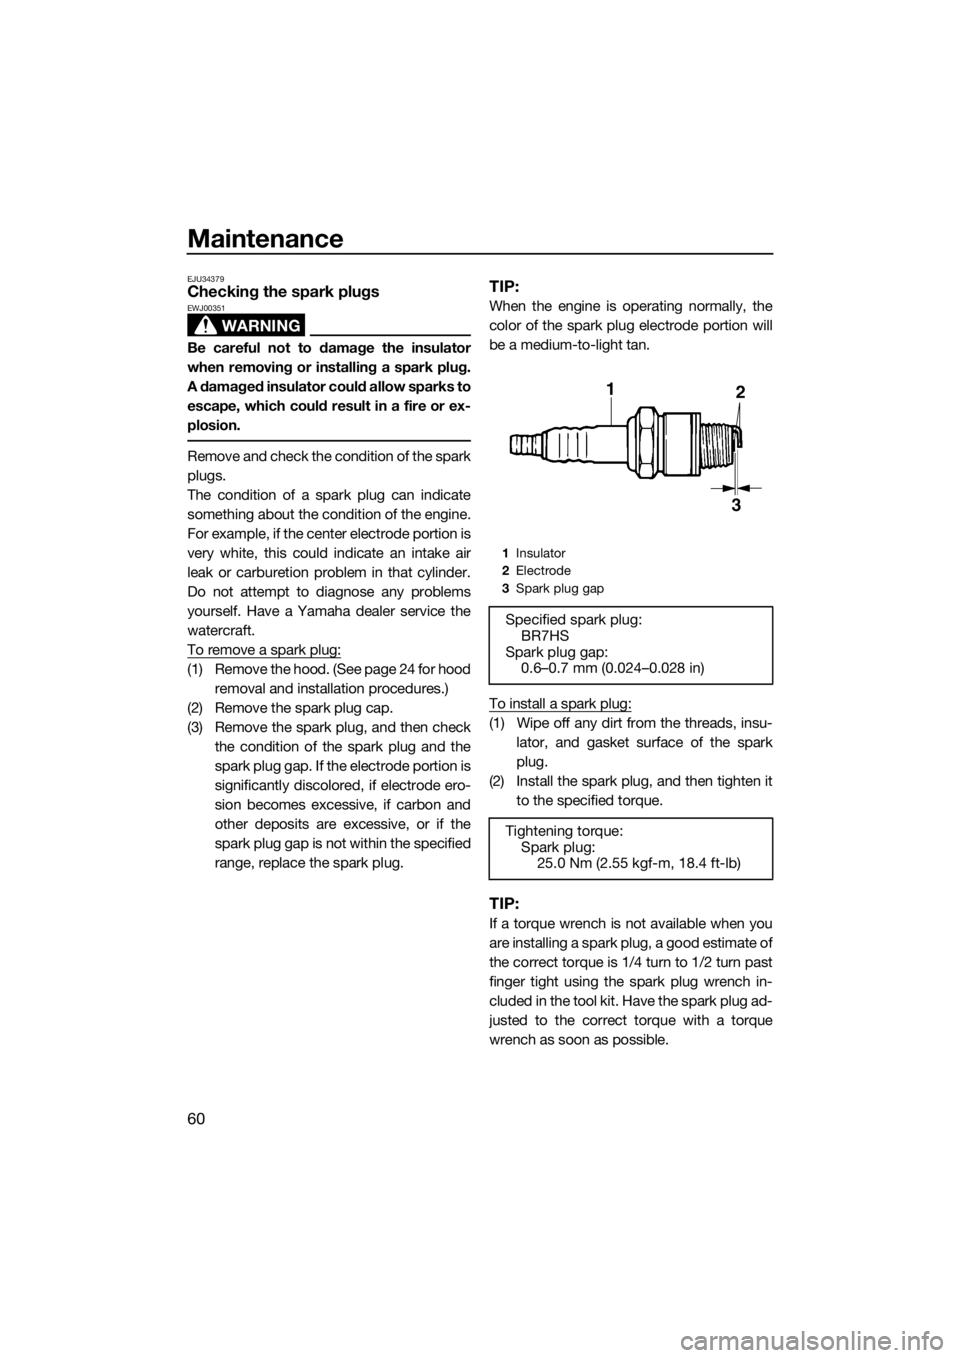
1Insulator
2 Electrode
3 Spark plug gap
Specified spark plug:
BR7HS
Spark plug gap: 0.6–0.7 mm (0.024–0.028 in)
Tightening torque: Spark plug: 25.0 Nm (2.55 kgf-m, 18.4 ft-lb)
UF4D70E0.book Page 60 Wednesday, May 7, 2014 10:53 AM