torque YAMAHA WOLVERINE 2016 Owner's Manual
[x] Cancel search | Manufacturer: YAMAHA, Model Year: 2016, Model line: WOLVERINE, Model: YAMAHA WOLVERINE 2016Pages: 192, PDF Size: 4.38 MB
Page 149 of 192
8-34
8
rect torque is one-quarter to one-half turn
past finger tight. Have the spark plug
tightened to the specified torque as soon
as possible.
3. Install the spark plug cap.
EBU33580Cleaning the air filter elementThe air filter element should be cleaned every
20–40 hours. It should be cleaned and lubri-
cated more often if the vehicle is operated in
extremely dusty areas. Ea ch time air filter ele-
ment maintenance is performed, check the air
inlet to the air filter case for obstructions.
Check the air filter elem ent rubber joint to the
throttle body and manifold fittings for an air-
tight seal. Tighten all fittings securely to avoid
the possibility of unfiltered air entering the en-
gine.
NOTICEECB02270Never operate the engine with the air filter
element removed. Doing so would allow
unfiltered air to enter, causing rapid en-
gine wear and possible engine damage.
Additionally, the fuel injection system
would be affected, re sulting in poor engine
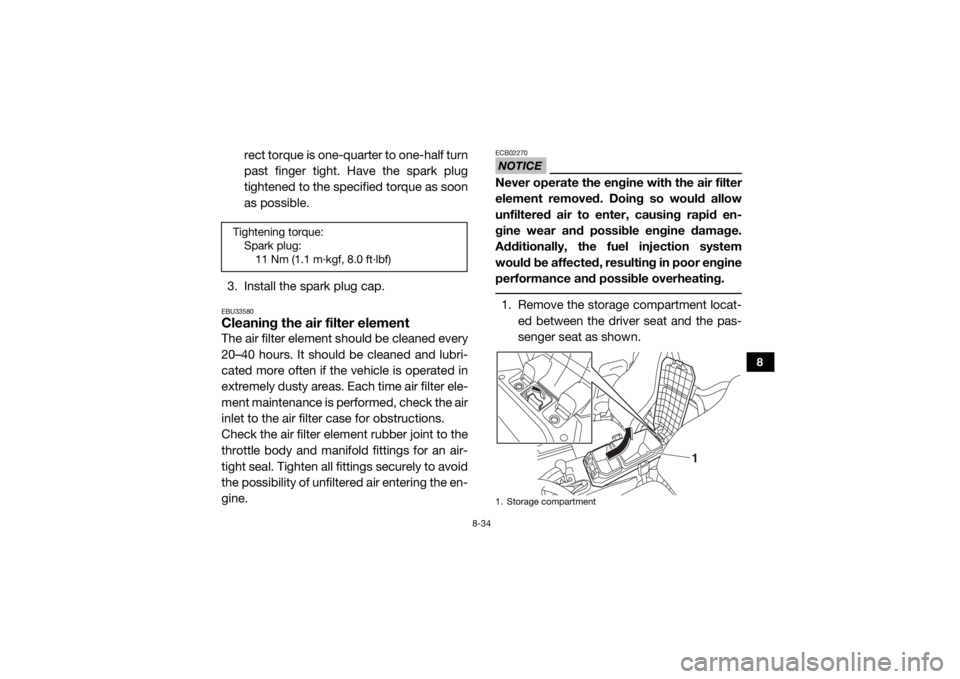
performance and possible overheating. 1. Remove the storage compartment locat- ed between the driver seat and the pas-
senger seat as shown.
Tightening torque:Spark plug:11 Nm (1.1 m·kgf, 8.0 ft·lbf)
1. Storage compartment
1
UBN57AE0.book Page 34 Tuesday, November 24, 2015 1:42 PM
Page 154 of 192
8-39
8
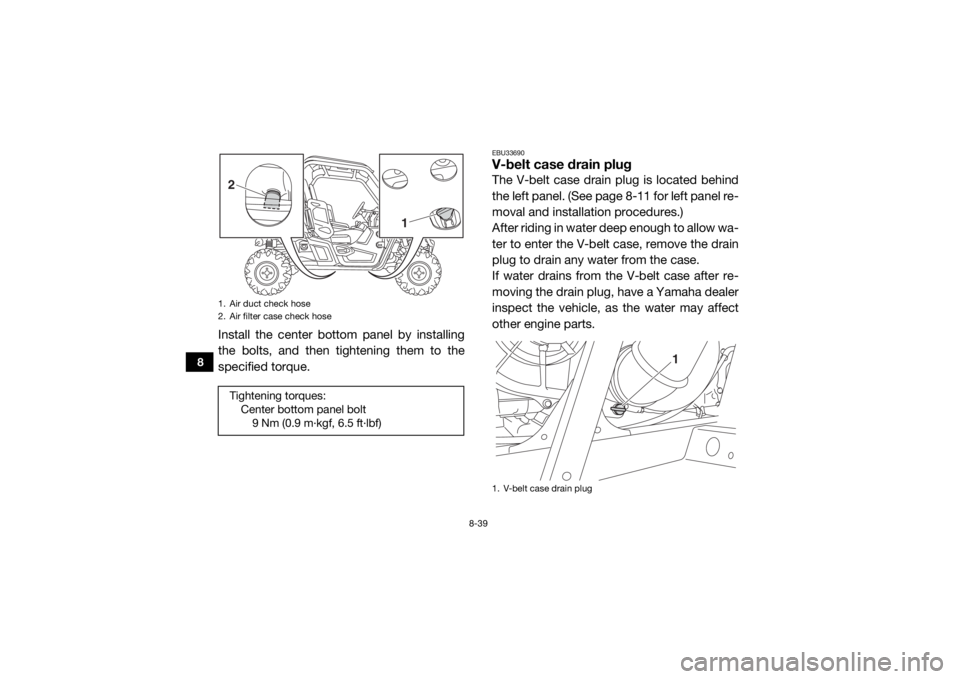
Install the center bottom panel by installing
the bolts, and then tightening them to the
specified torque.
EBU33690V-belt case drain plugThe V-belt case drain plug is located behind
the left panel. (See page 8-11 for left panel re-
moval and installation procedures.)
After riding in water deep enough to allow wa-
ter to enter the V-belt case, remove the drain
plug to drain any water from the case.
If water drains from the V-belt case after re-
moving the drain plug, have a Yamaha dealer
inspect the vehicle, as the water may affect
other engine parts.
1. Air duct check hose
2. Air filter case check hoseTightening torques: Center bottom panel bolt9 Nm (0.9 m·kgf, 6.5 ft·lbf)2
1
1. V-belt case drain plug
1
UBN57AE0.book Page 39 Tuesday, November 24, 2015 1:42 PM
Page 155 of 192

8-40
8
EBU32450Cleaning the spark arrester
WARNING
EWB03370Hot exhaust system may cause burns. To
avoid burns or fires, make sure that the en-
gine is stopped and the exhaust system is
cool before cleaning the spark arrester. Do
not start the engine while cleaning the ex-
haust system. 1. Remove the tailpipe bolts.2. Remove the tailpipe by pulling it out of
the muffler, and then remove the gasket.
3. Tap the tailpipe lightly, and then use a wire brush to remove any carbon depos-
its from the spark arrester portion of the
tailpipe and inside of the tailpipe housing.
4. Install the gasket, and then insert the tail- pipe into the muffler and align the bolt
holes.
5. Install the bolts and tighten them to the
specified torque.1. Tailpipe bolt
1
1
1. Gasket
2. Spark arrester
3. Tailpipe
3
2
1
UBN57AE0.book Page 40 Tuesday, November 24, 2015 1:42 PM
Page 156 of 192
8-41
8
EBU32460Valve clearanceThe correct valve clearance changes with
use, resulting in improper fuel/air supply or
engine noise. To prevent this, the valve clear-
ance must be adjusted regularly. This adjust-
ment however, should be left to a
professional Yamaha service technician.EBU32470BrakesReplacement of brake components requires
professional knowledge. Brake service
should be performed by a Yamaha dealer.
WARNING
EWB02572Operating with improperly serviced or ad-
justed brakes could lead to a loss in brak-
ing ability and an accident.
EBU32480Checking the front and rear brake padsEach brake pad is provided with wear indica-
tor grooves, which allow you to check the
brake pad wear without having to disassem-
ble the brake. To check the brake pad wear,
check the wear indicator grooves. If a brake
pad has worn to the point that the wear indi-
cator grooves have almost disappeared, have
a Yamaha dealer replace the brake pads as a
set.
The wheels need to be removed to check the
brake pads. (See pages 8-47, 8-49 for wheel
removal and installation procedures.)
Tightening torque: Tailpipe bolt:10 Nm (1.0 m·kgf, 7.2 ft·lbf)
UBN57AE0.book Page 41 Tuesday, November 24, 2015 1:42 PM
Page 163 of 192

8-48
8
EBU35832Checking and tightening the bead lock Check the bead lock at the intervals specified
in the general maintenance and lubrication
chart and whenever the tires have been re-
placed.Tighten the bead lock bolts to the specified
torque in a crisscross pattern.
EBU32620Tire replacementAlways use the same size and type of tires
recommended in this owner’s manual. The
tires that came with your Yamaha Wolverine
1. Wheel nut
1
1
1. Bead lock
2. BoltTightening torque: Bead lock bolts:17 Nm (1.7 m·kgf, 12 ft·lbf)
1
2
22 2
UBN57AE0.book Page 48 Tuesday, November 24, 2015 1:42 PM
Page 164 of 192
8-49
8
were designed to match the performance ca-
pabilities and to provide the best combination
of handling, braking, and comfort. It is best to
replace all four tires at the same time. If that is
not possible, you must replace the tires in
pairs (front or rear) with tires of the same size
and type as the originals. Never replace just
one tire.
WARNING
EWB03390Installing improper tires on your Yamaha
Wolverine can affect handling and stabili-
ty. This can cause a loss of control. The tires listed below have been approved by
Yamaha Motor Manufacturing Corporation of America for this model.
EBU33090Wheel installation1. Install the wheel and the nuts.
2. Lower the vehicle so that the wheel is on the ground.
3. Tighten the wheel nuts in a crisscross pattern to the specified torque.
WARNING
EWB03400Do not reverse the rims on your Yamaha
Wolverine to widen the track width. Install-
ing wheels improperly increases the risk of
wheel failure and accidents. Front tire:Size:26 x 8-12NHS
Manufacturer/model: MAXXIS/MU09
Rear tire: Size:26 x 10-12NHS
Manufacturer/model: MAXXIS/MU10
UBN57AE0.book Page 49 Tuesday, November 24, 2015 1:42 PM
Page 165 of 192
8-50
8
EBU32640BatteryThe battery is located under the hood. (See
page 8-10 for hood removal and installation
procedures.)
This model is equipped with a VRLA (Valve
Regulated Lead Acid) battery. There is no
need to check the electrolyte or to add dis-
tilled water. However, the battery lead con-
nections need to be checked and, if
necessary, tightened.
WARNING
EWB03410Avoid battery contact with skin, eyes, or
clothing. Shield eyes when working near
batteries. Keep out of reach of children.
You could be poisoned or severely burnedby the sulfuric acid in battery electrolyte. In
case of accidental contact with battery
electrolyte:
EXTERNAL: Flush with water.
INTERNAL: Drink large quantities of water
or milk. Follow with milk of magnesia,
beaten egg, or vegetable oil. Get prompt
medical attention.
EYES: Flush with water for 15 minutes and
get prompt medical attention.
WARNING
EWB03420Batteries may produce explosive gases.
Ventilate when charging or using in a
closed space. Keep batteries away from
sparks, flames, cigarettes, or other sourc-
es of ignition. To remove the battery
1. Turn the key to “ ” (off).
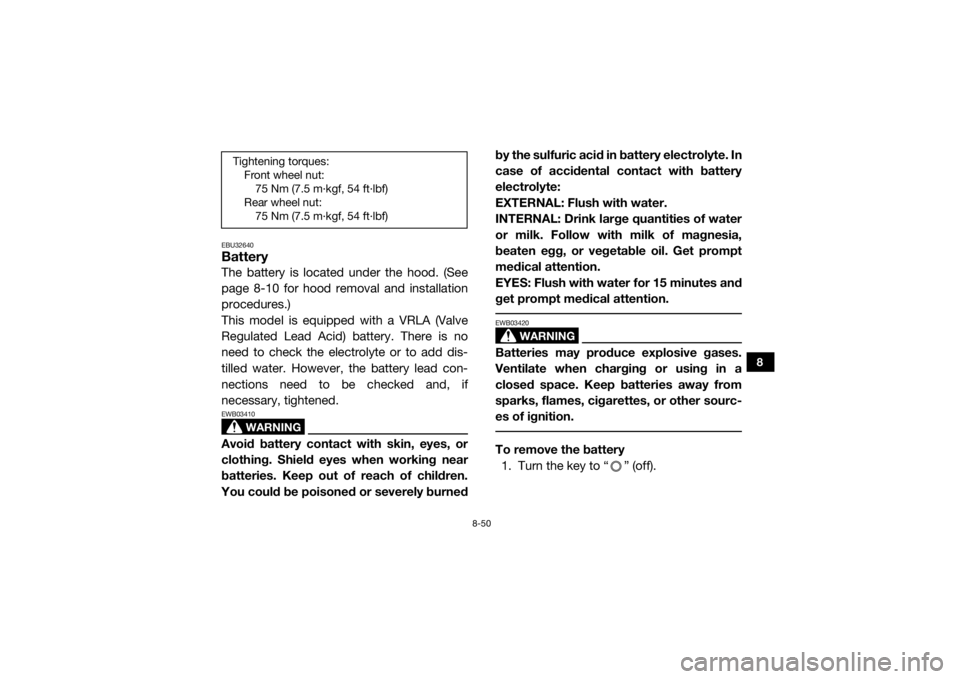
Tightening torques: Front wheel nut:75 Nm (7.5 m·kgf, 54 ft·lbf)
Rear wheel nut: 75 Nm (7.5 m·kgf, 54 ft·lbf)
UBN57AE0.book Page 50 Tuesday, November 24, 2015 1:42 PM