clock YAMAHA YS125 2017 Owners Manual
[x] Cancel search | Manufacturer: YAMAHA, Model Year: 2017, Model line: YS125, Model: YAMAHA YS125 2017Pages: 90, PDF Size: 2.24 MB
Page 23 of 90

Instrument and control functions
3-8
3
EAU13003
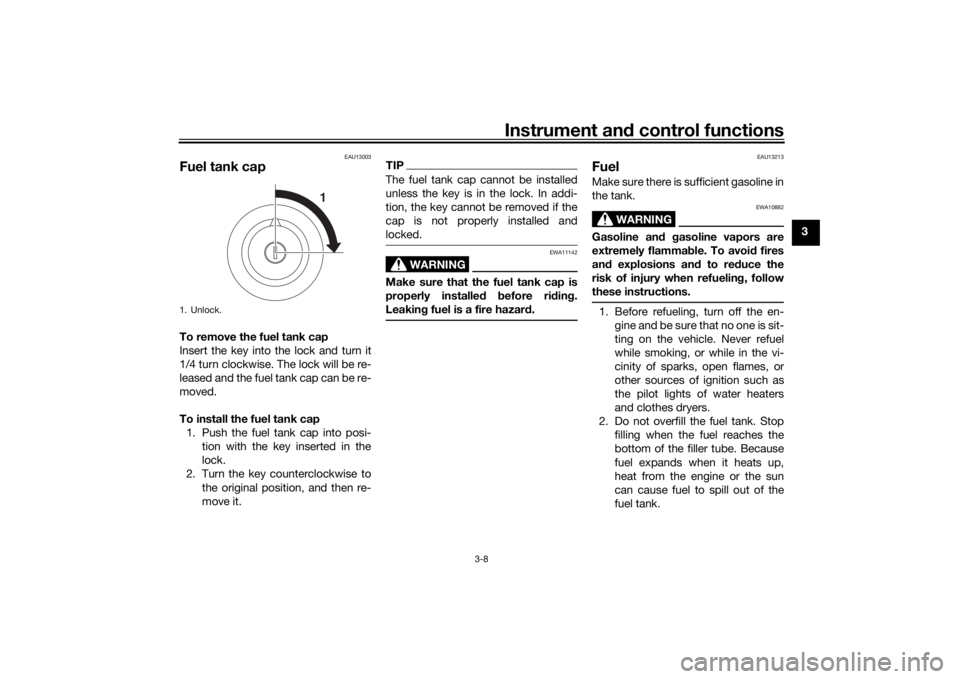
Fuel tank capTo remove the fuel tank cap
Insert the key into the lock and turn it
1/4 turn clockwise. The lock will be re-
leased and the fuel tank cap can be re-
moved.
To install the fuel tank cap
1. Push the fuel tank cap into posi- tion with the key inserted in the
lock.
2. Turn the key counterclockwise to the original position, and then re-
move it.
TIPThe fuel tank cap cannot be installed
unless the key is in the lock. In addi-
tion, the key cannot be removed if the
cap is not properly installed and
locked.
WARNING
EWA11142
Make sure that the fuel tank cap is
properly installe d before ri din g.
Leakin g fuel is a fire hazar d.
EAU13213
FuelMake sure there is sufficient gasoline in
the tank.
WARNING
EWA10882
Gasoline an d gasoline vapors are
extremely flammab le. To avoid fires
an d explosions an d to re duce the
risk of injury when refuelin g, follow
these instructions.1. Before refueling, turn off the en- gine and be sure that no one is sit-
ting on the vehicle. Never refuel
while smoking, or while in the vi-
cinity of sparks, open flames, or
other sources of ignition such as
the pilot lights of water heaters
and clothes dryers.
2. Do not overfill the fuel tank. Stop filling when the fuel reaches the
bottom of the filler tube. Because
fuel expands when it heats up,
heat from the engine or the sun
can cause fuel to spill out of the
fuel tank.
1. Unlock.
1
UBT4E0E0.book Page 8 Thursday, November 17, 2016 10:55 AM
Page 44 of 90

Periodic maintenance an d a djustment
6-9
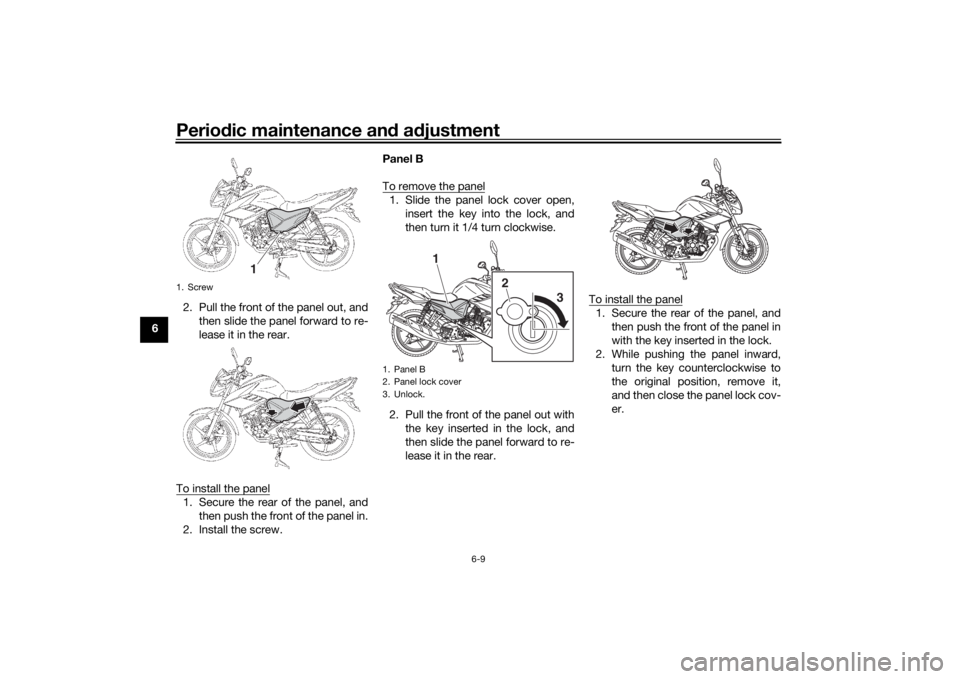
6 2. Pull the front of the panel out, and
then slide the panel forward to re-
lease it in the rear.
To install the panel
1. Secure the rear of the panel, and then push the front of the panel in.
2. Install the screw. Panel B
To remove the panel
1. Slide the panel lock cover open,
insert the key into the lock, and
then turn it 1/4 turn clockwise.
2. Pull the front of the panel out with the key inserted in the lock, and
then slide the panel forward to re-
lease it in the rear. To install the panel
1. Secure the rear of the panel, and
then push the front of the panel in
with the key inserted in the lock.
2. While pushing the panel inward, turn the key counterclockwise to
the original position, remove it,
and then close the panel lock cov-
er.
1. Screw
1
1. Panel B
2. Panel lock cover
3. Unlock.
1
2
3
UBT4E0E0.book Page 9 Thursday, November 17, 2016 10:55 AM
Page 70 of 90

Periodic maintenance an d a djustment
6-35
6
EAU78920
Replacin g the brake/tail li ght
b ul b1. Remove the seat. (See page 3-11.)
2. Remove the brake/tail light bulb
socket (together with the bulb) by
turning it counterclockwise.
3. Remove the burnt-out bulb by pushing it in and turning it coun-
terclockwise. 4. Insert a new bulb into the socket,
push it in, and then turn it clock-
wise until it stops.
5. Install the socket (together with the bulb) by turning it clockwise.
6. Install the seat.
EAU24205
Replacin g a turn si gnal li ght
b ul b1. Remove the turn signal light lens
by removing the screw.
2. Remove the burnt-out bulb by pushing it in and turning it coun-
terclockwise.
1. Brake/tail light bulb socket
1
1. Brake/tail light bulb1
1. Turn signal light lens
2. Screw
1
2
UBT4E0E0.book Page 35 Thursday, November 17, 2016 10:55 AM
Page 71 of 90

Periodic maintenance an d a djustment
6-36
6
3. Insert a new bulb into the socket,
push it in, and then turn it clock-
wise until it stops.
4. Install the lens by installing the screw. NOTICE: Do not over-
ti g hten the screw, otherwise the
lens may break.
[ECA11192] EAU78970
Replacin
g the license plate
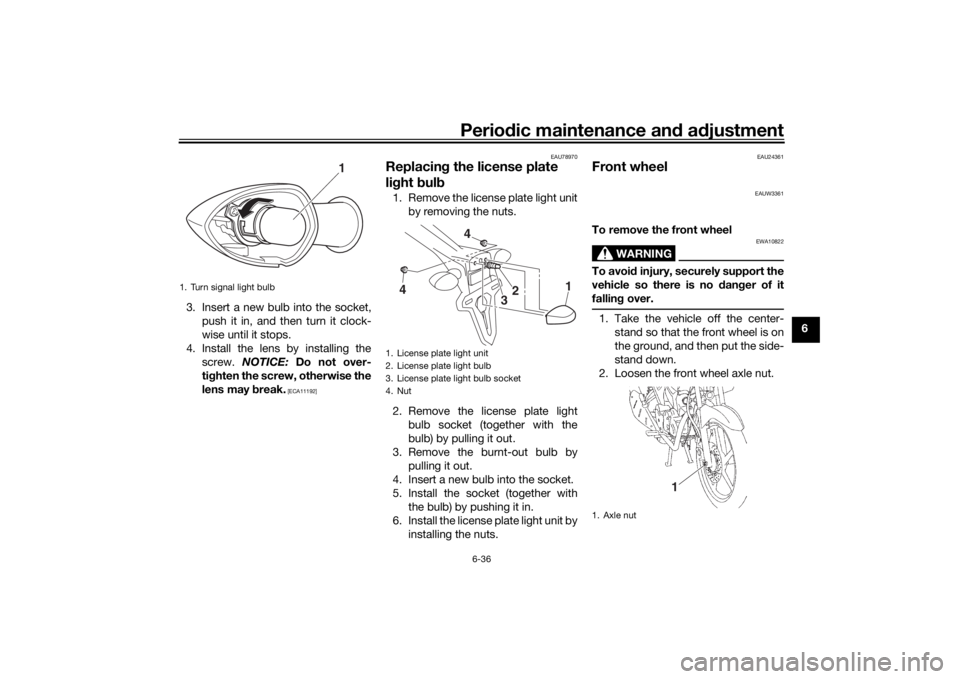
lig ht bul b1. Remove the license plate light unit
by removing the nuts.
2. Remove the license plate light bulb socket (together with the
bulb) by pulling it out.
3. Remove the burnt-out bulb by pulling it out.
4. Insert a new bulb into the socket.
5. Install the socket (together with the bulb) by pushing it in.
6. Install the license plate light unit by installing the nuts.
EAU24361
Front wheel
EAUW3361
To remove the front wheel
WARNING
EWA10822
To avoi d injury, securely support the
vehicle so there is no dan ger of it
fallin g over.1. Take the vehicle off the center-
stand so that the front wheel is on
the ground, and then put the side-
stand down.
2. Loosen the front wheel axle nut.
1. Turn signal light bulb
1
1. License plate light unit
2. License plate light bulb
3. License plate light bulb socket
4. Nut
1
32
4
4
1. Axle nut
1
UBT4E0E0.book Page 36 Thursday, November 17, 2016 10:55 AM