dashboard Abarth 500 2015 Owner handbook (in English)
[x] Cancel search | Manufacturer: ABARTH, Model Year: 2015, Model line: 500, Model: Abarth 500 2015Pages: 215, PDF Size: 19.08 MB
Page 32 of 215
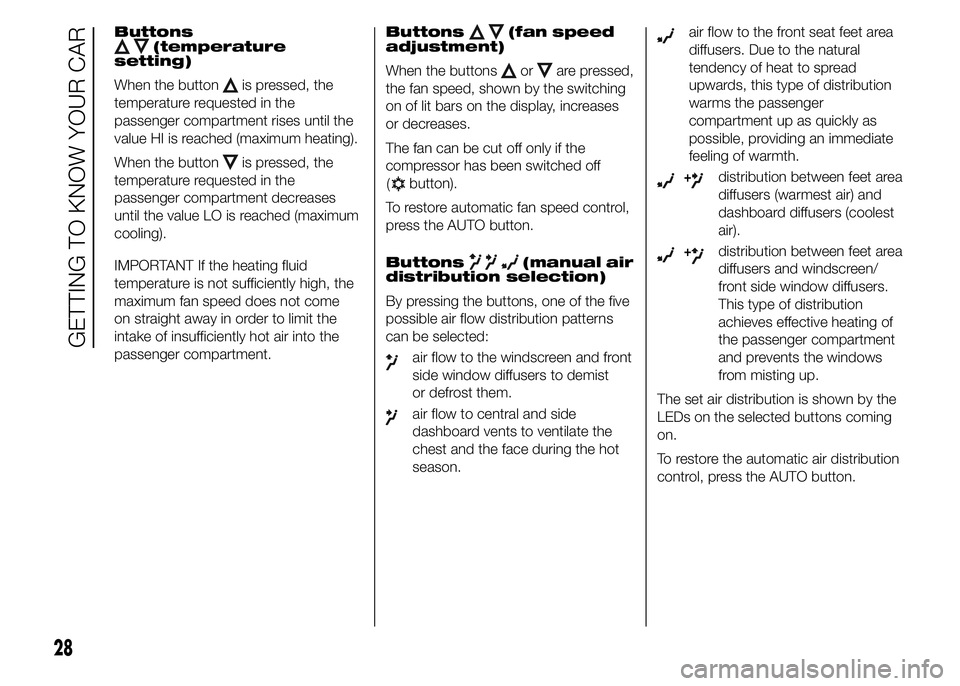
Buttons(temperature
setting)
When the button
is pressed, the
temperature requested in the
passenger compartment rises until the
value HI is reached (maximum heating).
When the button
is pressed, the
temperature requested in the
passenger compartment decreases
until the value LO is reached (maximum
cooling).
IMPORTANT If the heating fluid
temperature is not sufficiently high, the
maximum fan speed does not come
on straight away in order to limit the
intake of insufficiently hot air into the
passenger compartment.Buttons
(fan speed
adjustment)
When the buttons
orare pressed,
the fan speed, shown by the switching
on of lit bars on the display, increases
or decreases.
The fan can be cut off only if the
compressor has been switched off
button).
To restore automatic fan speed control,
press the AUTO button.
Buttons
(manual air
distribution selection)
By pressing the buttons, one of the five
possible air flow distribution patterns
can be selected:
air flow to the windscreen and front
side window diffusers to demist
or defrost them.
air flow to central and side
dashboard vents to ventilate the
chest and the face during the hot
season.
air flow to the front seat feet area
diffusers. Due to the natural
tendency of heat to spread
upwards, this type of distribution
warms the passenger
compartment up as quickly as
possible, providing an immediate
feeling of warmth.
+distribution between feet area
diffusers (warmest air) and
dashboard diffusers (coolest
air).
+distribution between feet area
diffusers and windscreen/
front side window diffusers.
This type of distribution
achieves effective heating of
the passenger compartment
and prevents the windows
from misting up.
The set air distribution is shown by the
LEDs on the selected buttons coming
on.
To restore the automatic air distribution
control, press the AUTO button.
28
GETTING TO KNOW YOUR CAR
(
Page 34 of 215
EXTERNAL LIGHTS
IN BRIEF
The left-hand stalk operates most of
the external lights. The external
lights can only be switched on when
the ignition key is at MAR-ON.
The instrument panel and the
dashboard and central tunnel
controls will light up together with the
external lights.
DAYTIME RUNNING
LIGHTS (DRL)
"Daytime Running Lights"
(for versions/markets, where provided)
With the ignition key at MAR-ON and
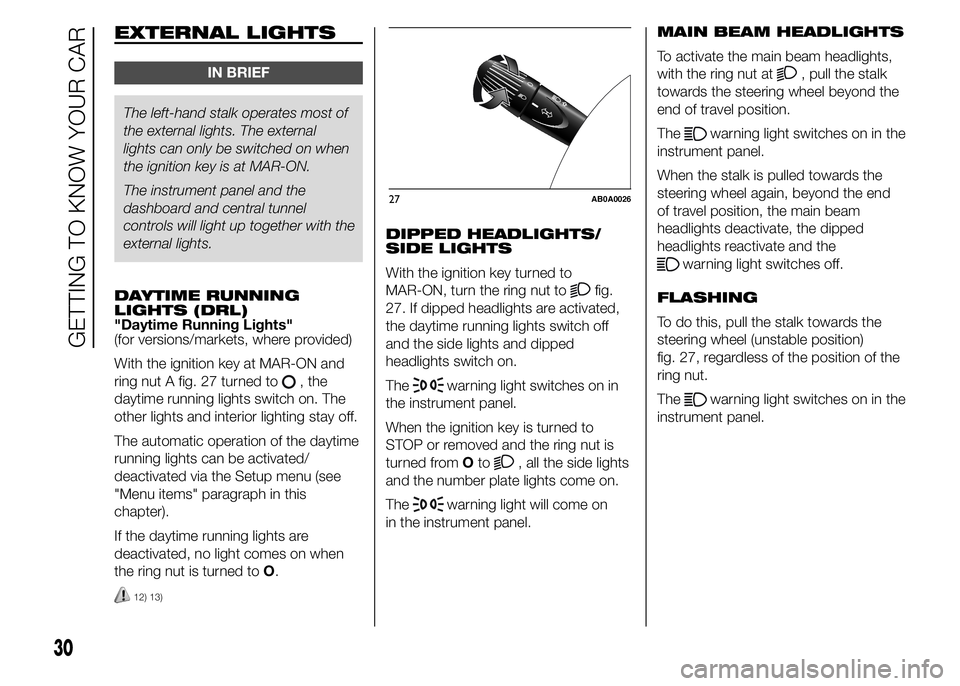
ring nut A fig. 27 turned to
, the
daytime running lights switch on. The
other lights and interior lighting stay off.
The automatic operation of the daytime
running lights can be activated/
deactivated via the Setup menu (see
"Menu items" paragraph in this
chapter).
If the daytime running lights are
deactivated, no light comes on when
the ring nut is turned toO.
12) 13)
DIPPED HEADLIGHTS/
SIDE LIGHTS
With the ignition key turned to
MAR-ON, turn the ring nut to
fig.
27. If dipped headlights are activated,
the daytime running lights switch off
and the side lights and dipped
headlights switch on.
The
warning light switches on in
the instrument panel.
When the ignition key is turned to
STOP or removed and the ring nut is
turned fromOto
, all the side lights
and the number plate lights come on.
The
warning light will come on
in the instrument panel.MAIN BEAM HEADLIGHTS
To activate the main beam headlights,
with the ring nut at
, pull the stalk
towards the steering wheel beyond the
end of travel position.
The
warning light switches on in the
instrument panel.
When the stalk is pulled towards the
steering wheel again, beyond the end
of travel position, the main beam
headlights deactivate, the dipped
headlights reactivate and the
warning light switches off.
FLASHING
To do this, pull the stalk towards the
steering wheel (unstable position)
fig. 27, regardless of the position of the
ring nut.
The
warning light switches on in the
instrument panel.
27AB0A0026
30
GETTING TO KNOW YOUR CAR
Page 37 of 215
"Smart washing"
function
Pushing the stalk towards the
dashboard (unstable position) will
activate the rear window washer.
Keep the stalk pressed, with just one
movement, to operate the rear window
washer jet and the rear window wiper
itself; the latter automatically turns on if
you keep the stalk pressed for more
than half a second.
The rear window wiper stops operating
a few strokes after releasing the stalk;
a further "cleaning stroke", after a
few seconds, completes the wiping
operation.
IMPORTANT
3) Do not use the screen wiper to
remove layers of snow or ice
from the windscreen. In such
conditions, the wiper may
be subjected to excessive stress
and the motor protection, which
prevents operation for a few
seconds, may intervene. If
operation is not subsequently
restored, contact an Abarth
Dealership.
4) Do not operate the windscreen
wiper with the blades lifted from
the windscreen.
5) Do not use the rear window wiper
to remove layers of snow or ice. In
these conditions, the rear
window wiper may be subjected
to excessive stress and the motor
protection, which prevents
operation for a few seconds, may
intervene. If operation is not
subsequently restored, contact an
Abarth Dealership.
ROOF LIGHTS
FRONT ROOF LIGHT
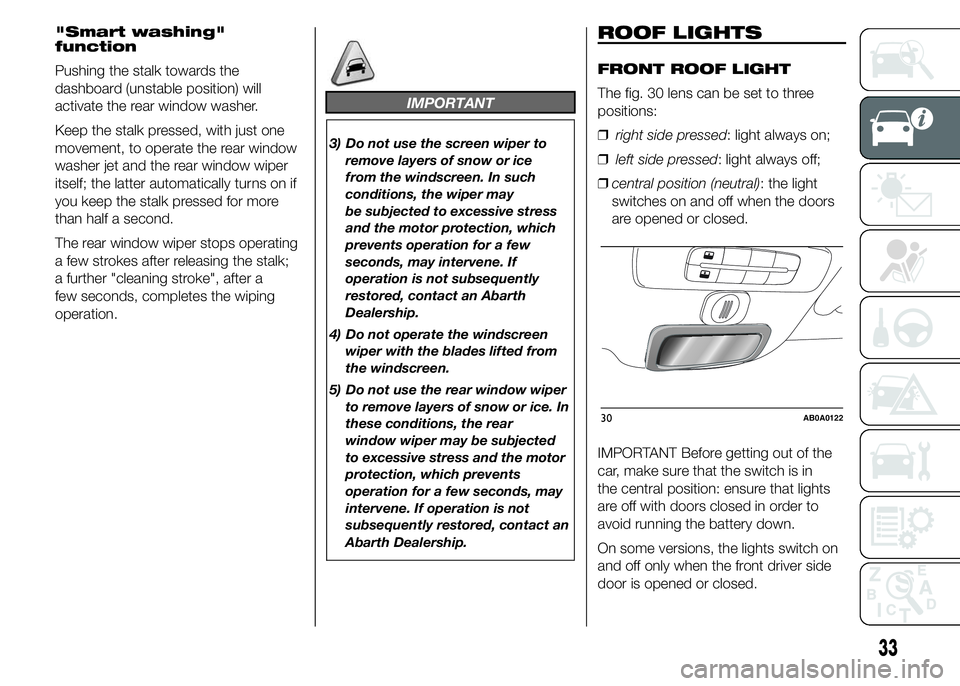
The fig. 30 lens can be set to three
positions:
❒right side pressed: light always on;
❒left side pressed: light always off;
❒central position (neutral): the light
switches on and off when the doors
are opened or closed.
IMPORTANT Before getting out of the
car, make sure that the switch is in
the central position: ensure that lights
are off with doors closed in order to
avoid running the battery down.
On some versions, the lights switch on
and off only when the front driver side
door is opened or closed.
30AB0A0122
33
Page 41 of 215

SUN VISORS
They are located at the sides of the
interior rear view mirror. They can be
adjusted forwards and sideways fig. 34.
The passenger side sun visor includes
a courtesy mirror, lighted by a specific
light that can be switched on using
the button B fig. 34.
The driver and passenger side sun
visors include document pockets.
16)
GLOVE COMPARTMENT
(for versions/markets, where provided)
It is located on the dashboard,
passenger side.
To open the compartment, use the
handle A fig. 35.STORAGE
COMPARTMENT
This is located on the central tunnel.
To open the compartment, pull housing
B fig. 36 outwards.
17)
34AB0A0031
35AB0A0032
36AB0A0034
37
Page 43 of 215
PREPARATION TO
INSTALL A PORTABLE
NAVIGATION SYSTEM
(for versions/markets, where provided)
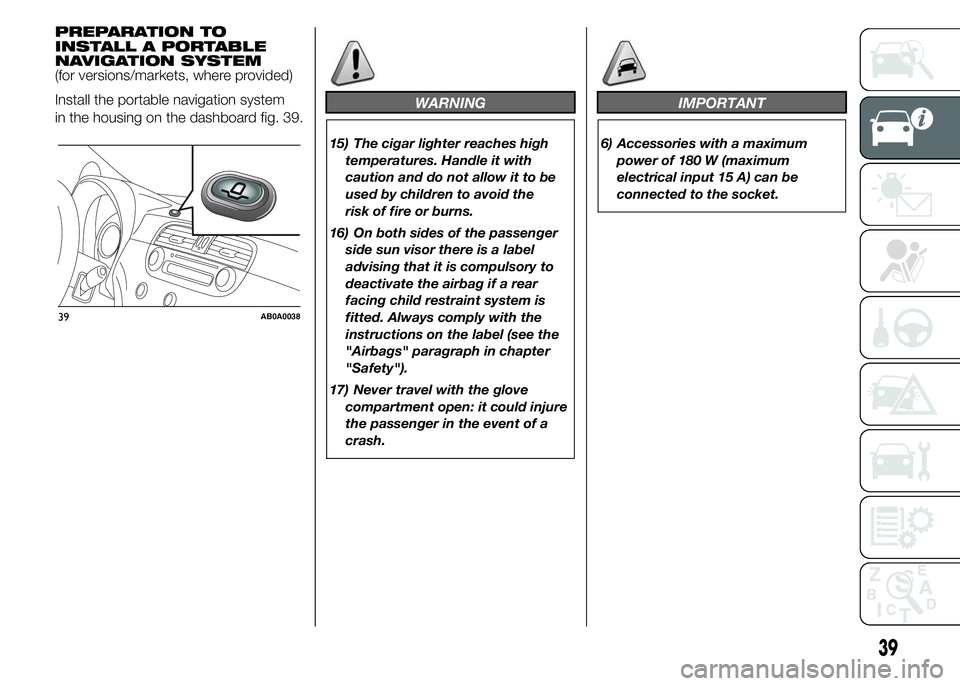
Install the portable navigation system
in the housing on the dashboard fig. 39.
WARNING
15) The cigar lighter reaches high
temperatures. Handle it with
caution and do not allow it to be
used by children to avoid the
risk of fire or burns.
16) On both sides of the passenger
side sun visor there is a label
advising that it is compulsory to
deactivate the airbag if a rear
facing child restraint system is
fitted. Always comply with the
instructions on the label (see the
"Airbags" paragraph in chapter
"Safety").
17) Never travel with the glove
compartment open: it could injure
the passenger in the event of a
crash.
IMPORTANT
6) Accessories with a maximum
power of 180 W (maximum
electrical input 15 A) can be
connected to the socket.
39AB0A0038
39
Page 59 of 215

TTC SYSTEM (Torque
Transfer Control)
It is an integral part of the ESC system.
This system improves the transfer of
drive torque to the wheels,
guaranteeing safer and more sporty
driving, especially when cornering, far
more able to prevent understeer.
System activation
It is turned off by pressing the button
again or when the vehicle is switched
off (ignition key in the OFF position).
WARNING
31) When the ABS intervenes and
you feel the brake pedal pulsating,
do not reduce the pressure, but
hold it down firmly and
confidently; in doing so you will
brake in the shortest distance
possible, depending on the
current road conditions.
32) To obtain the maximum
efficiency of the braking system, a
bedding-in period of about 500
km is needed: during this period it
is better to avoid sharp, repeated
and prolonged braking.
33) If the ABS system intervenes,
this indicates that the traction
of the tyres on the road is about
to reach its limit. You must slow
down to a speed compatible with
the available traction.
34) The ABS cannot overrule the
natural laws of physics, and
cannot increase the grip available
according to the condition of
the road.35) The ABS cannot prevent
accidents, including those due to
excessive speed on corners,
driving on low-grip surfaces or
aquaplaning.
36) The capability of the ABS must
never be tested irresponsibly and
dangerously, in such a way as
to compromise personal safety
and the safety of others.
37) For the correct operation of the
ABS, it is essential that the tyres
are of the same make and type on
all wheels, in perfect condition
and, above all, of the specified
type and dimensions.
38) For the correct operation of the
ASR system, it is essential that
the tyres are of the same make
and type on all wheels, in perfect
condition and, above all, of the
specified type and dimensions.
39) The ASR system cannot overrule
the natural laws of physics, and
cannot increase the grip available
according to the condition of
the road.
40) The ASR system cannot prevent
accidents, including those due to
excessive speed on corners,
driving on low-grip surfaces or
aquaplaning.
60AB0A0226
55
The system is activated by pressing
button A fig. 60 in the dashboard.
Activation is signalled by the LED in the
TTC button lighting up.
Page 103 of 215

Warning lights on
displayWhat it means What to do
amberSERVICE (SCHEDULED SERVICING)
The symbol is shown on the display together with
a dedicated message, with key at MAR-ON,
2,000 km (or equivalent value in miles) before the
following scheduled servicing interval and is
activated again every 200 km (or equivalent value
in miles).Go to an Abarth Dealership, where the operations
of the "Scheduled Servicing Plan" will be
performed and the message will be reset.
whiteSPEED LIMIT EXCEEDED
(for versions/markets, where provided)
When the car exceeds the speed limit set in the
Setup menu (e.g. 120 km/h), a message and a
dedicated symbol are shown on the display.
ENGAGEMENT OF SPORT FUNCTION
The SPORT indication is shown on the analogue
pressure gauge and the instrument panel shows
a dedicated screen when the "SPORT" function is
engaged by pressing the relevant button on the
dashboard (see the "Controls" paragraph in the
"Knowing your car" chapter). The indication
SPORT will switch off when the button is pressed
again.
99
Page 110 of 215
All restraint devices must bear the
certification data, together with the
control mark, on a label solidly fixed to
the child restraint system which must
never be removed.
Lineaccessori Abarth offers child
restraint systems for each weight
group. These devices are
recommended having been specifically
designed for Abarth cars.
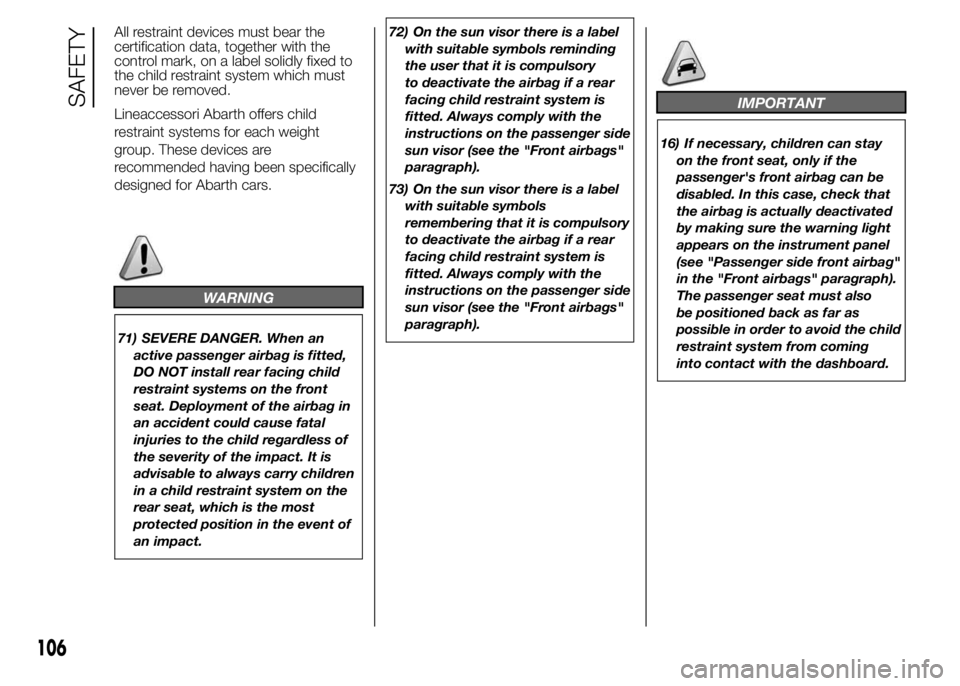
WARNING
71) SEVERE DANGER. When an
active passenger airbag is fitted,
DO NOT install rear facing child
restraint systems on the front
seat. Deployment of the airbag in
an accident could cause fatal
injuries to the child regardless of
the severity of the impact. It is
advisable to always carry children
in a child restraint system on the
rear seat, which is the most
protected position in the event of
an impact.72) On the sun visor there is a label
with suitable symbols reminding
the user that it is compulsory
to deactivate the airbag if a rear
facing child restraint system is
fitted. Always comply with the
instructions on the passenger side
sun visor (see the "Front airbags"
paragraph).
73) On the sun visor there is a label
with suitable symbols
remembering that it is compulsory
to deactivate the airbag if a rear
facing child restraint system is
fitted. Always comply with the
instructions on the passenger side
sun visor (see the "Front airbags"
paragraph).
IMPORTANT
16) If necessary, children can stay
on the front seat, only if the
passenger's front airbag can be
disabled. In this case, check that
the airbag is actually deactivated
by making sure the warning light
appears on the instrument panel
(see "Passenger side front airbag"
in the "Front airbags" paragraph).
The passenger seat must also
be positioned back as far as
possible in order to avoid the child
restraint system from coming
into contact with the dashboard.
106
SAFETY
Page 118 of 215

FRONT AIRBAGS
The front driver/passenger airbags and
the driver's knee bag (for versions/
markets, where provided) protect the
front seat occupants in the event of
frontal impacts of medium/high severity,
by placing the bag between the
occupant and the steering wheel or
dashboard.
Therefore non-activation in other types
of collisions (side impacts, rear shunts,
roll-overs, etc.) does not indicate a
system malfunction.
An electronic control unit will make the
bag inflate in the event of a frontal
impact.
The bag will inflate instantaneously
placing itself between the front
occupants body and the structures
which could cause injury. It will deflate
immediately afterwards.
Front airbags are not a replacement of
but complementary to the seat belts,
which you are recommended to always
wear, as specified by law in Europe
and most non-European countries.In the event of an impact, someone not
wearing a seat belt will move forward
and come into contact with the bag
which is still in the opening stage. The
protection offered by the bag is
compromised in these circumstances.
Front airbags may not be activated
in the following situations:
❒frontal impacts against highly
deformable objects not involving the
front surface of the car (e.g. wing
collision against guard rail);
❒jamming of the car underneath other
vehicles or protective barriers (e.g.
underneath a truck or a guard rail)
since the bags would offer no
additional protection with respect to
the seat belt and their deployment
would be inappropriate. In these
cases, non-deployment does not
indicate a system malfunction.
80)
The front airbags (driver, passenger,
driver's knee bags) are designed and
calibrated to protect front seat
passengers wearing seat belts.Their volume at the moment of
maximum inflation fills most of the
space between the steering wheel and
the driver, between the lower steering
column guard and the knees on driver
side and between the dashboard and
the passenger.
The airbags are not deployed in the
event of minor frontal impacts (for
which the restraining action of the seat
belts is sufficient). Seat belts must
always be worn. In the event of frontal
impacts they guarantee correct
positioning of the passenger.
DRIVER'S SIDE FRONT
AIRBAG
This consists of an instantly inflating
cushion contained in a special
compartment in the centre of the
steering wheel fig. 86.
86AB0A0070
114
SAFETY
Page 119 of 215
PASSENGER SIDE FRONT
AIRBAG
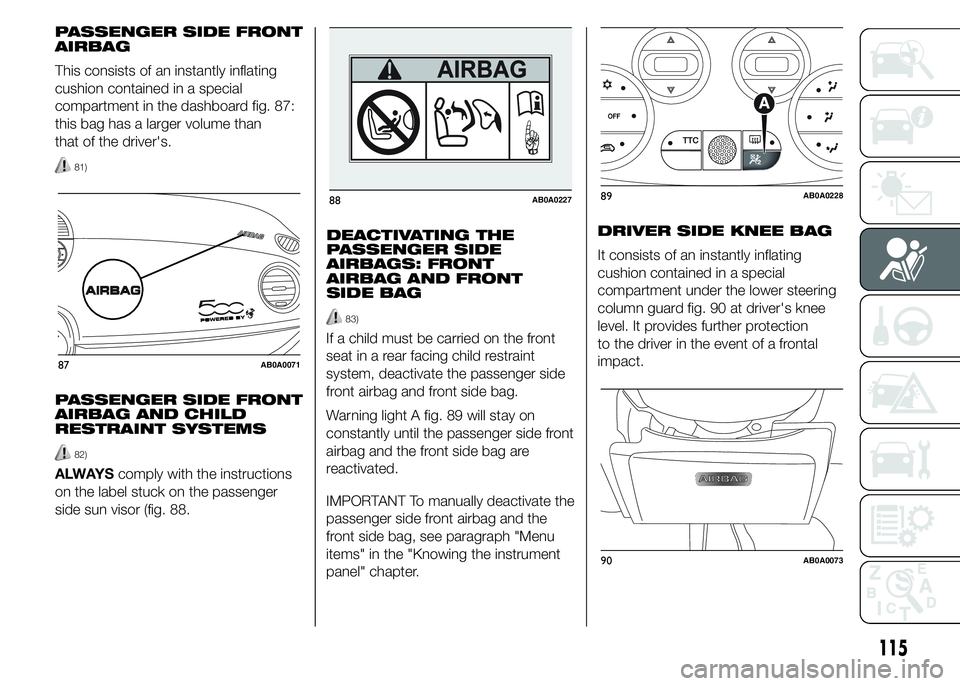
This consists of an instantly inflating
cushion contained in a special
compartment in the dashboard fig. 87:
this bag has a larger volume than
that of the driver's.
81)
PASSENGER SIDE FRONT
AIRBAG AND CHILD
RESTRAINT SYSTEMS
82)
ALWAYScomply with the instructions
on the label stuck on the passenger
side sun visor (fig. 88.DEACTIVATING THE
PASSENGER SIDE
AIRBAGS: FRONT
AIRBAG AND FRONT
SIDE BAG
83)
If a child must be carried on the front
seat in a rear facing child restraint
system, deactivate the passenger side
front airbag and front side bag.
Warning light A fig. 89 will stay on
constantly until the passenger side front
airbag and the front side bag are
reactivated.
IMPORTANT To manually deactivate the
passenger side front airbag and the
front side bag, see paragraph "Menu
items" in the "Knowing the instrument
panel" chapter.DRIVER SIDE KNEE BAG
It consists of an instantly inflating
cushion contained in a special
compartment under the lower steering
column guard fig. 90 at driver's knee
level. It provides further protection
to the driver in the event of a frontal
impact.
87AB0A0071
88AB0A022789AB0A0228
90AB0A0073
115