change Acura Integra 2000 Hatchback Owner's Manual
[x] Cancel search | Manufacturer: ACURA, Model Year: 2000, Model line: Integra, Model: Acura Integra 2000Pages: 279, PDF Size: 3.57 MB
Page 2 of 279
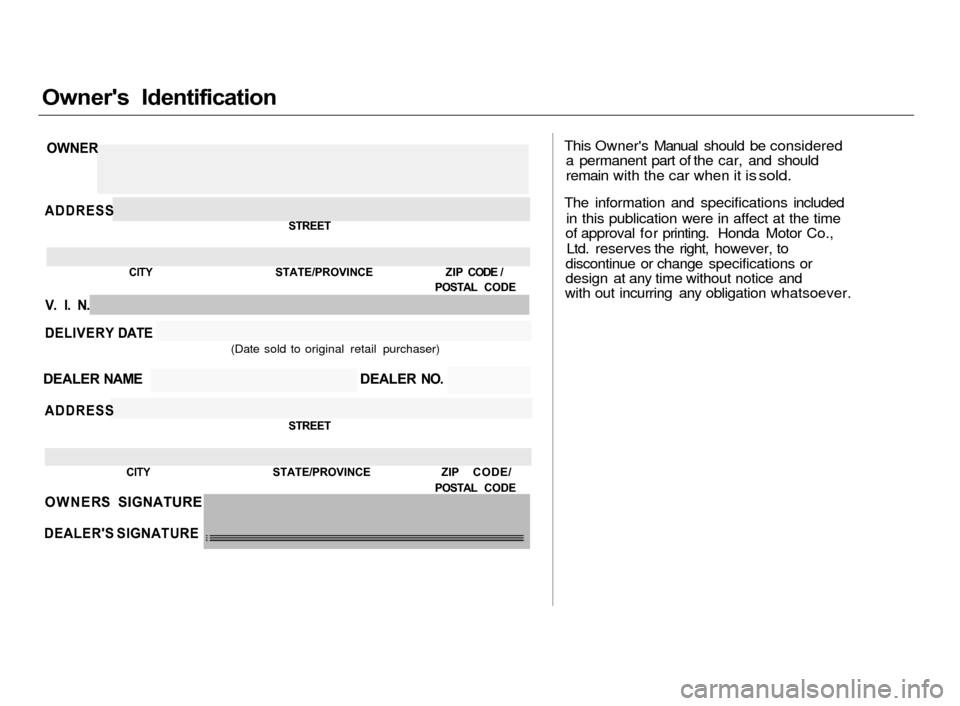
Owner's Identification
This Owner's Manual should be considereda permanent part of the car, and shouldremain with the car when it is sold.
The information and specifications included
in this publication were in affect at the time
of approval for printing. Honda Motor Co.,
Ltd. reserves the right, however, to
discontinue or change specifications or
design at any time without notice and
with out incurring any obligation whatsoever.
OWNER
ADDRESSSTREET
CITY STATE/PROVINCE ZIP CODE /POSTAL CODE
V. I. N.
DELIVERY DATE(Date sold to original retail purchaser)
DEALER NAME DEALER NO.
ADDRESSSTREET
CITY STATE/PROVINCE ZIP CODE/
POSTAL CODEOWNER'S SIGNATURE
DEALER'S SIGNATURE
Page 52 of 279
Carbo
n Monoxid e Hazar d
Your car's exhaust contains carbon monoxide gas. You should have no
problem with carbon monoxide entering the car in normal driving if
you maintain your car properly. Have the exhaust system inspected
for leaks whenever: The car is raised for an oil change.
You notice a change in the sound of the exhaust.
The car was in an accident that may have damaged the underside. High levels of carbon monoxide can
collect rapidly in enclosed areas,such as a garage. Do not run the
engine with the garage door closed.
Even with the door open, run the
engine only long enough to move the
vehicle out of the garage. With the hatch open, air flow can
pull exhaust gas into your car's
interior and create a hazardouscondition. If you must drive with the
hatch open, open all the windows and set the heating and cooling
system as shown below.
If you must sit in your parked car, even in an unconfined area, with the
engine running, adjust the heating
and cooling system as follows:
1. Select the Fresh Air mode.
2. Select the mode.
3. Turn the fan on high speed.
4. Set the temperature control to a
comfortable setting.
Drive
r an d Passenge r Safet y
Carbon monoxide gas is toxic.
Breathing it can cause
unconsciousness and even kill
you.
Avoid any enclosed areas or activities that expose you to
carbon monoxide.
Page 59 of 279
Indicato
r Light s
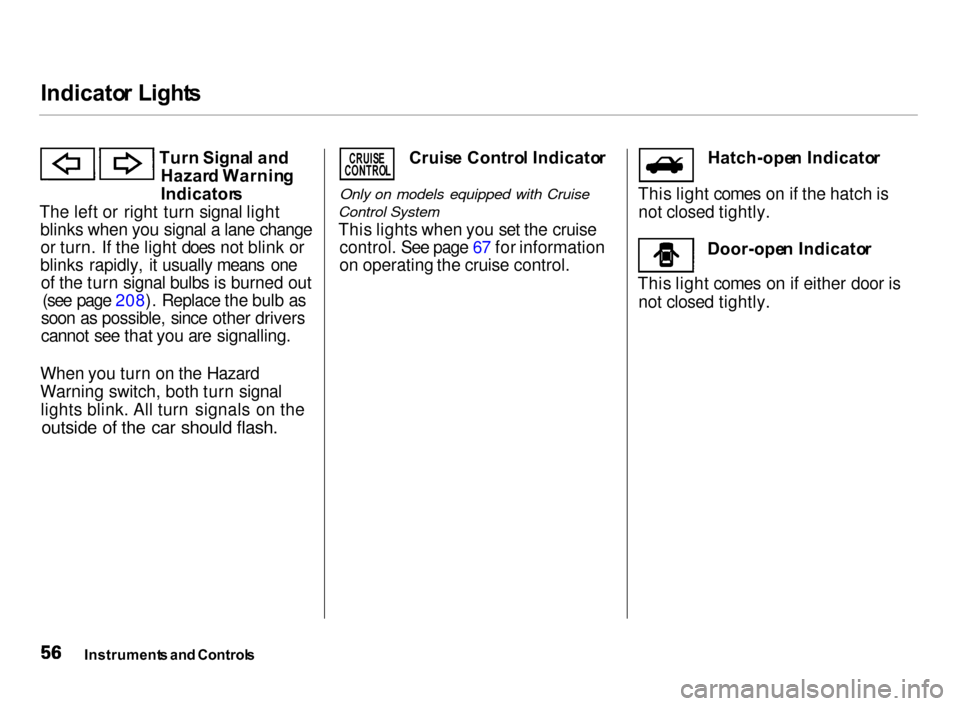
Turn Signa l an d
Hazar d Warnin g
Indicator s
The left or right turn signal light blinks when you signal a lane changeor turn. If the light does not blink or
blinks rapidly, it usually means one of the turn signal bulbs is burned out (see page 208). Replace the bulb as
soon as possible, since other drivers
cannot see that you are signalling.
When you turn on the Hazard
Warning switch, both turn signal lights blink. All turn signals on theoutside of the car should flash.
Cruis e Contro l Indicato r
Only on models equipped with Cruise
Control System
This lights when you set the cruise control. See page 67 for information
on operating the cruise control. Hatch-ope
n Indicato r
This light comes on if the hatch is not closed tightly.
Door-ope n Indicato r
This light comes on if either door is not closed tightly.
Instrument s an d Control s
CRUIS
E
CONTRO L
Page 61 of 279
Gauge
s
SPEEDOMETERFUE
L GAUG E
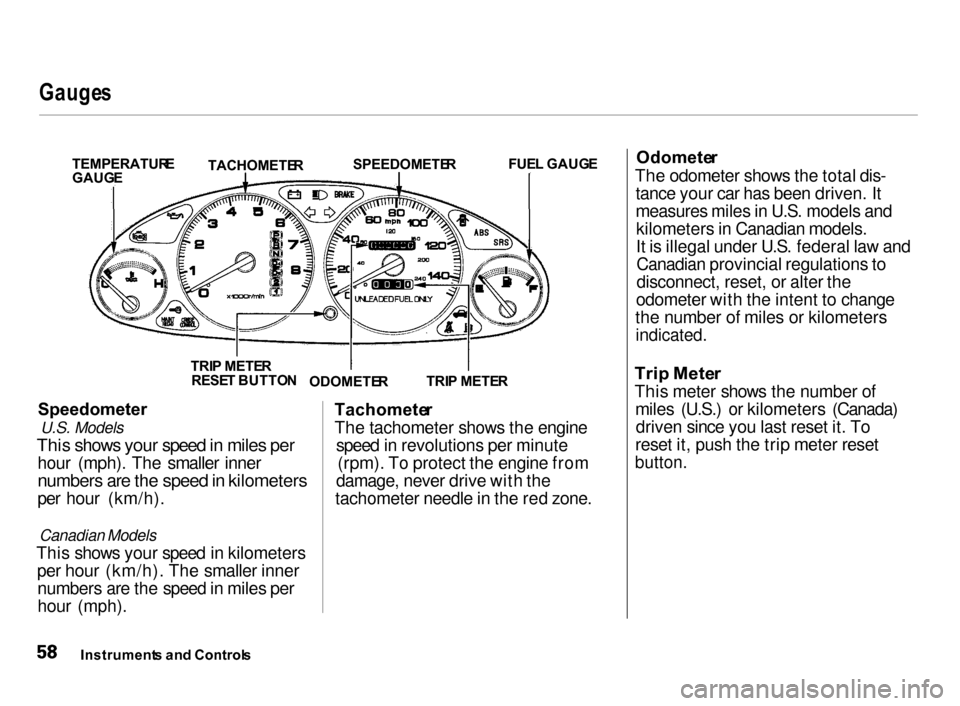
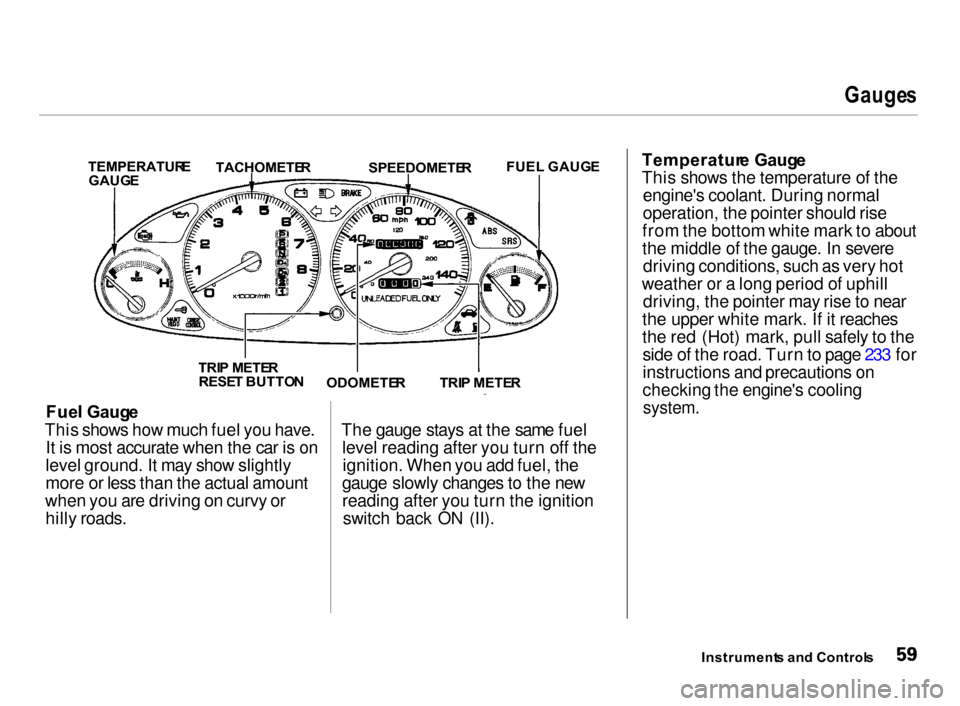
Speedometer U.S. Models
This shows your speed in miles per
hour (mph). The smaller inner
numbers are the speed in kilometers
per hour (km/h).
Canadian Models
This shows your speed in kilometers per hour (km/h). The smaller innernumbers are the speed in miles per
hour (mph). Tachomete
r
The tachometer shows the engine speed in revolutions per minute(rpm). To protect the engine from
damage, never drive with the
tachometer needle in the red zone. Odomete
r
The odometer shows the total dis- tance your car has been driven. It
measures miles in U.S. models andkilometers in Canadian models.
It is illegal under U.S. federal law andCanadian provincial regulations to
disconnect, reset, or alter the
odometer with the intent to change
the number of miles or kilometers
indicated.
Trip Mete r
This meter shows the number of miles (U.S.) or kilometers (Canada)driven since you last reset it. To
reset it, push the trip meter reset
button.
Instrument s an d Control s
TEMPERATUR
E
GAUG E TACHOMETE
R
TRI P METE R
RESE T BUTTO N
ODOMETE RTRI
P METE R
Page 62 of 279
Gauge
s
Fue l Gaug e
This shows how much fuel you have. It is most accurate when the car is on
level ground. It may show slightly
more or less than the actual amount
when you are driving on curvy or hilly roads. The gauge stays at the same fuel
level reading after you turn off theignition. When you add fuel, the
gauge slowly changes to the new
reading after you turn the ignitionswitch back ON (II).
Temperatur e Gaug e
This shows the temperature of the engine's coolant. During normal
operation, the pointer should rise
from the bottom white mark to about
the middle of the gauge. In severe driving conditions, such as very hot
weather or a long period of uphill driving, the pointer may rise to near
the upper white mark. If it reaches
the red (Hot) mark, pull safely to the side of the road. Turn to page 233 for
instructions and precautions on
checking the engine's cooling
system.
Instrument s an d Control s
TEMPERATUR
E
GAUG E
TACHOMETE
R
SPEEDOMETE R
FUEL GAUG
E
TRI P METE R
ODOMETE R
TRI
P METE R
RESE T BUTTO N
Page 65 of 279
Control
s Nea r th e Steerin g Whee l
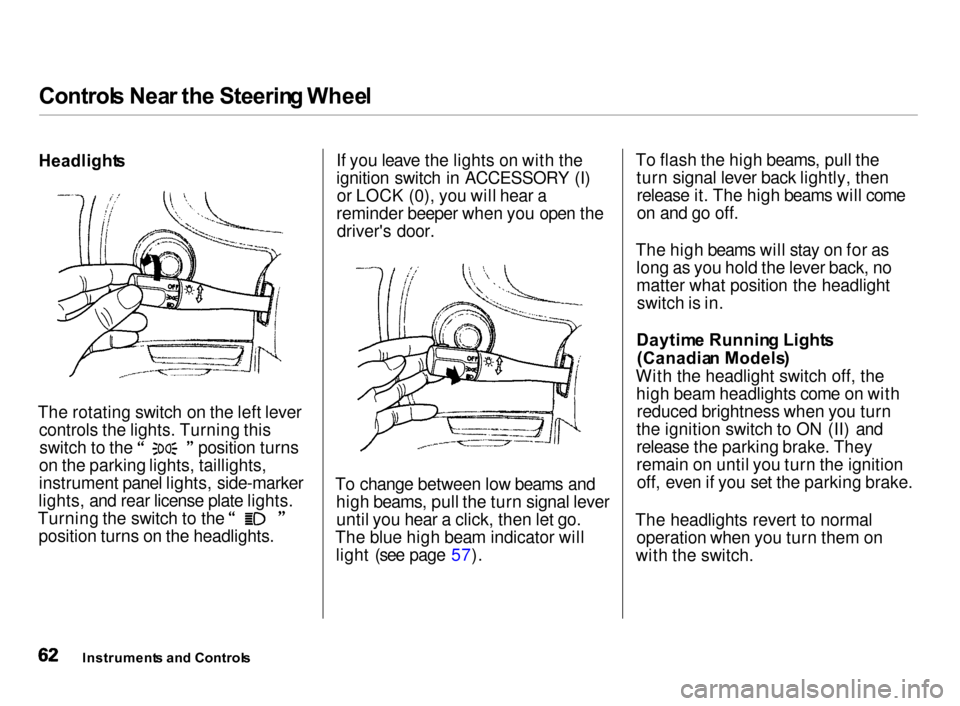
Headlight s
The rotating switch on the left lever controls the lights. Turning this switch to the position turns
on the parking lights, taillights,
instrument panel lights, side-marker
lights, and rear license plate lights. Turning the switch to the
position turns on the headlights. If you leave the lights on with the
ignition switch in ACCESSORY (I)
or LOCK (0), you will hear a
reminder beeper when you open the driver's door.
To change between low beams and high beams, pull the turn signal leveruntil you hear a click, then let go.
The blue high beam indicator will light (see page 57). To flash the high beams, pull the
turn signal lever back lightly, thenrelease it. The high beams will come
on and go off.
The high beams will stay on for as long as you hold the lever back, no
matter what position the headlightswitch is in.
Daytim e Runnin g Light s
(Canadia n Models )
With the headlight switch off, the high beam headlights come on with reduced brightness when you turn
the ignition switch to ON (II) and
release the parking brake. They
remain on until you turn the ignition off, even if you set the parking brake.
The headlights revert to normal operation when you turn them on
with the switch.
Instrument s an d Control s
Page 66 of 279
Control
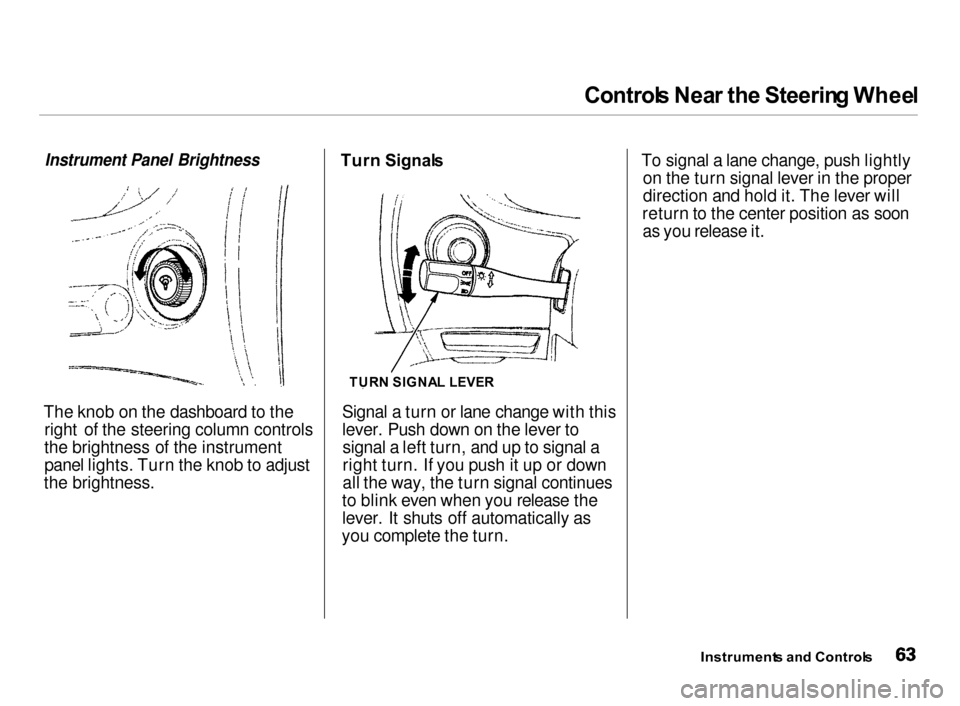
s Nea r th e Steerin g Whee lInstrument Panel Brightness
The knob on the dashboard to the
right of the steering column controls
the brightness of the instrument
panel lights. Turn the knob to adjust
the brightness. Turn
Signal s
Signal a turn or lane change with this
lever. Push down on the lever to signal a left turn, and up to signal a
right turn. If you push it up or down
all the way, the turn signal continues
to blink even when you release the
lever. It shuts off automatically as
you complete the turn. To signal a lane change, push lightly
on the turn signal lever in the proper
direction and hold it. The lever will
return to the center position as soon as you release it.
Instrument s an d Control s
TUR
N SIGNA L LEVER
Page 76 of 279
Key
s an d Lock s
Do not attempt to alter this system
or add other devices to it. Electrical
problems could result that may make
your car undriveable.
If you have lost your key and you
cannot start the engine, contact your
Acura dealer.
As required by the FCC:
This device complies with Part 15 of the FCC rules. Operation is subject to the
following two conditions: (1) This device may not cause harmful interference, and (2) this device must accept any
interference received, including
interference that may cause undesired
operation.
Changes or modifications not expressly
approved by the party responsible for
compliance could void the user's
authority to operate the equipment.
This device complies with Industry
Canada Standard RSS-210.
Operation is subject to the following two conditions: (1) this device may not causeinterference, and (2) this device must
accept any interference that may cause
undesired operation of the device.
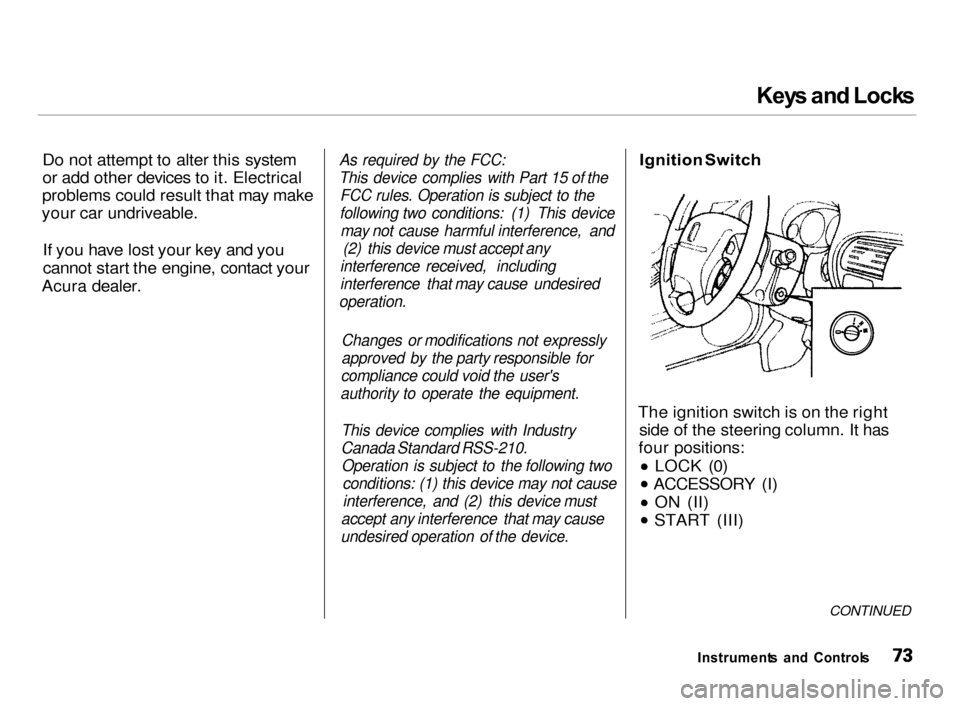
Ignition
Switch
The ignition switch is on the right side of the steering column. It has
four positions:
LOCK (0) ACCESSORY (I)
ON (II)
START (III)
CONTINUED
Instrument s an d Control s
Page 82 of 279

Sea
t Adjustment s
Front Seat Adjustment s
See pages 13 — 14 for important safety
information and warnings about how to
properly position seats and seat-backs.
Make all seat adjustments before
you start driving.
To adjust the seat forward andbackward, pull up on the lever under
the seat cushion's front edge. Move
the seat to the desired position and
release the lever. Try to move theseat to make sure it is locked in
position.
To change the angle of the seat-back,
pull up on the lever on the outside of
the seat bottom. Move the seat-back
to the desired position and release
the lever. Let the seat-back latch in
the new position.
Instrument s an d Control s
Page 96 of 279
Comfor
t an d Convenienc e Feature s
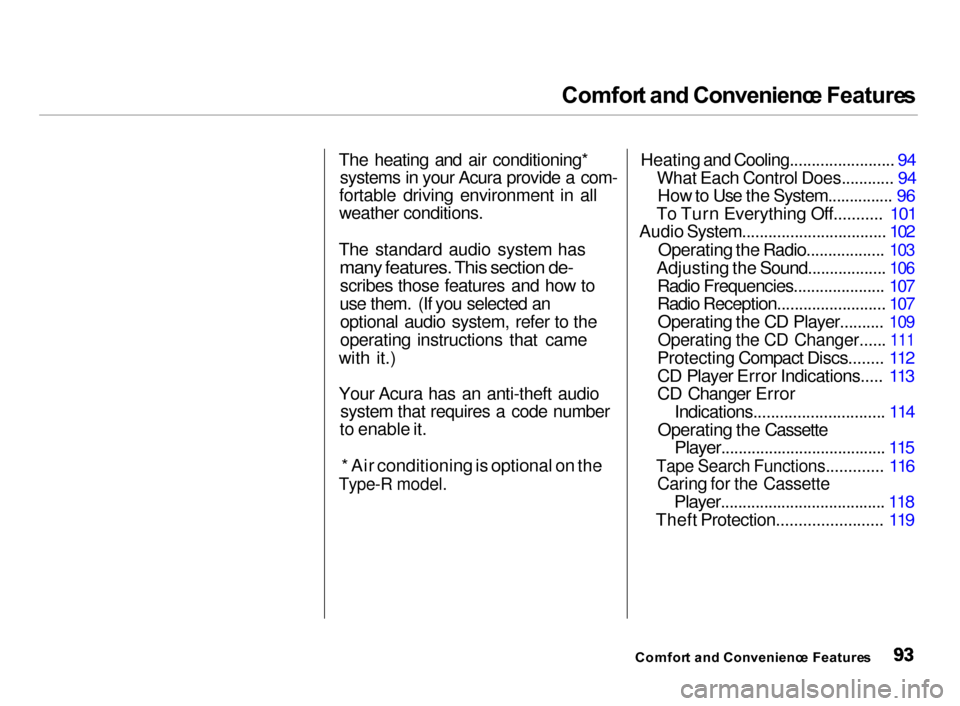
The heating and air conditioning* systems in your Acura provide a com-
fortable driving environment in all
weather conditions.
The standard audio system has
many features. This section de-
scribes those features and how to
use them. (If you selected an optional audio system, refer to the
operating instructions that came
with it.)
Your Acura has an anti-theft audio system that requires a code number
to enable it.
* Air conditioning is optional on the
Type-R model.
Heating and Cooling........................ 94What Each Control Does............ 94
How to Use the System............... 96
To Turn Everything Off........... 101
Audio System................................. 102
Operating the Radio..................
103
Adjusting the Sound.................. 106
Radio Frequencies..................... 107
Radio Reception......................... 107Operating the CD Player..........
109
Operating the CD Changer...... 111
Protecting Compact Discs........ 112
CD Player Error Indications..... 113
CD Changer Error Indications.............................. 114
Operating the Cassette
Player...................................... 115
Tape Search Functions............. 116
Caring for the Cassette
Player...................................... 118
Theft Protection........................ 119
Comfor t an d Convenienc e Feature s