display Acura MDX 2014 Navigation Manual
[x] Cancel search | Manufacturer: ACURA, Model Year: 2014, Model line: MDX, Model: Acura MDX 2014Pages: 343, PDF Size: 15.72 MB
Page 157 of 343
156
Playing FM/AM Radio
Audio Menu
Audio
•Radio Text : Displays the text information br oadcast by the current RDS station.
• Tag Song : Displays the TAG information save d to the audio system when an HD
Radio
TM station is selected.
• Tagged Song List : You can store the TAG information in the connected iPod®/
iPhone®. If the iPod®/iPhone® is not connected to the audio system, the
information is stored in the audio unit temporarily, then once the device is
connected to the system, data is transferred to the iPod®/iPhone®.
• Tune/Seek : Tunes the radio to the frequency you select. Rotate i to select a
frequency, then Move u.
• HD subchannel : Displays the subchannel list when an HD Radio
TM station is
selected.
1 Audio Menu
iTunes Tagging
“iTunes” in “iTunes Ta gging” is a trademark of
Apple Inc.
When an HD Radio
TM station is selected, the HD
indicator appears on the Navigation screen and
On Demand Multi-Use Display
TM.
If you want to have the information on the song
played from the HD Radio
TM station, select TAG
in On Demand Multi-Use Display
TM or select Tag
Song in the menu with Interface dial.
If iPod®/iPhone® is co nnected, the tag is
transferred to the connect ed device immediately,
otherwise the tag will be transferred when the
device will be connected and select Tag Song in
the menu with Interface dial.
Page 158 of 343
157
Playing FM/AM Radio
Audio Menu
Audio
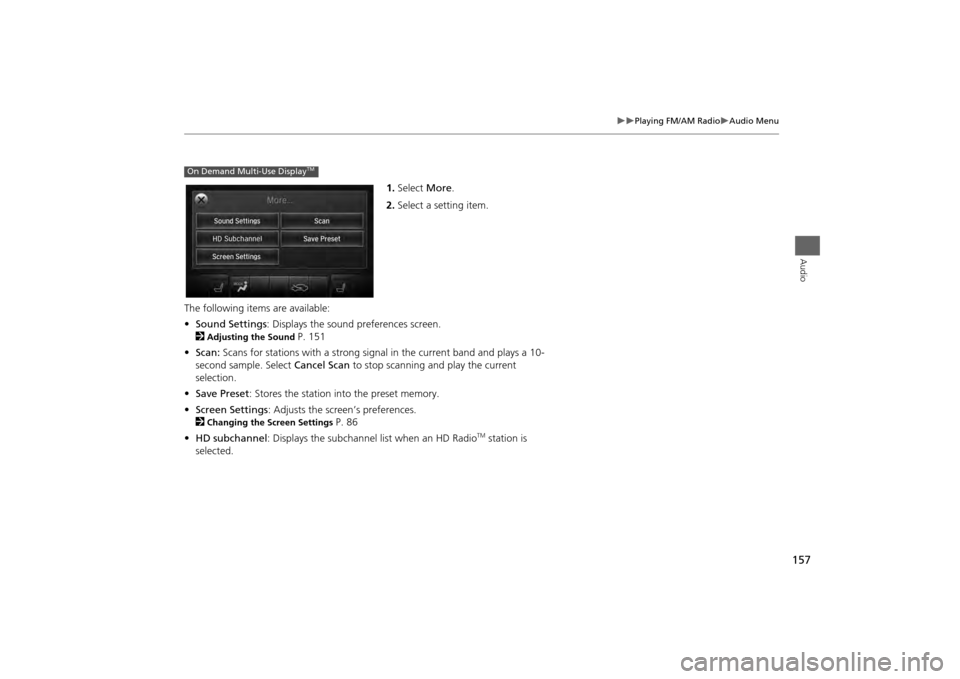
1.Select More.
2. Select a setting item.
The following items are available:
• Sound Settings : Displays the sound preferences screen.
2
Adjusting the Sound
P. 151
• Scan: Scans for stations with a strong signal in the current band and plays a 10-
second sample. Select Cancel Scan to stop scanning and play the current
selection.
• Save Preset : Stores the station into the preset memory.
• Screen Settings : Adjusts the screen’s preferences.
2
Changing the Screen Settings
P. 86
• HD subchannel : Displays the subchannel list when an HD Radio
TM station is
selected.
On Demand Multi-Use Display
TM
Page 160 of 343
159Audio
Playing XM® RadioSelecting XM® Mode1.Press the MENU button. (in AUDIO mode)
2. Rotate i to select Change Source . Press u.
3. Rotate i to select XM. Press u.
The band and channel are displayed on the navigation screen.
1. Select Audio Source .
2. Select the XM® icon.
The band and channel are displayed on the On Demand Multi-Use display
TM.
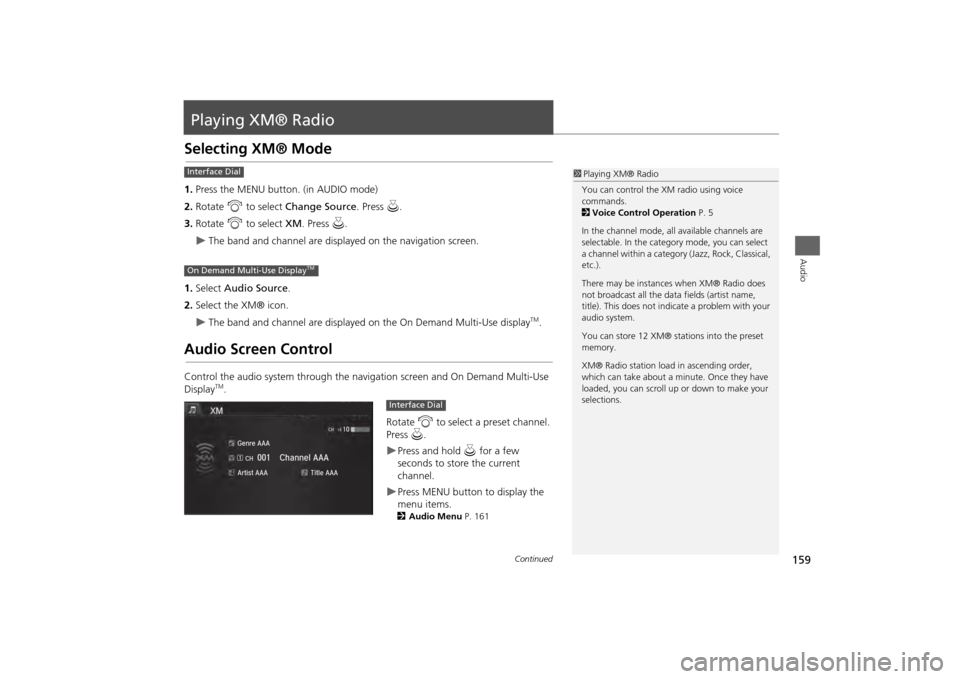
Audio Screen ControlControl the audio system through the navigation screen and On Demand Multi-Use
Display
TM.
Rotate i to select a preset channel.
Press u.
Press and hold u for a few
seconds to store the current
channel.Press MENU button to display the
menu items.2 Audio Menu P. 161
1Playing XM® Radio
You can control the XM radio using voice
commands.
2 Voice Control Operation P. 5
In the channel mode, all available channels are
selectable. In the categor y mode, you can select
a channel within a category (Jazz, Rock, Classical,
etc.).
There may be instances when XM® Radio does
not broadcast all the data fields (artist name,
title). This does not indicate a problem with your
audio system.
You can store 12 XM® stations into the preset
memory.
XM® Radio station load in ascending order,
which can take about a minute. Once they have
loaded, you can scroll up or down to make your
selections.
Interface DialOn Demand Multi-Use Display
TM
Interface Dial
Continued
Page 161 of 343
160
Playing XM® Radio
Audio Screen Control
Audio
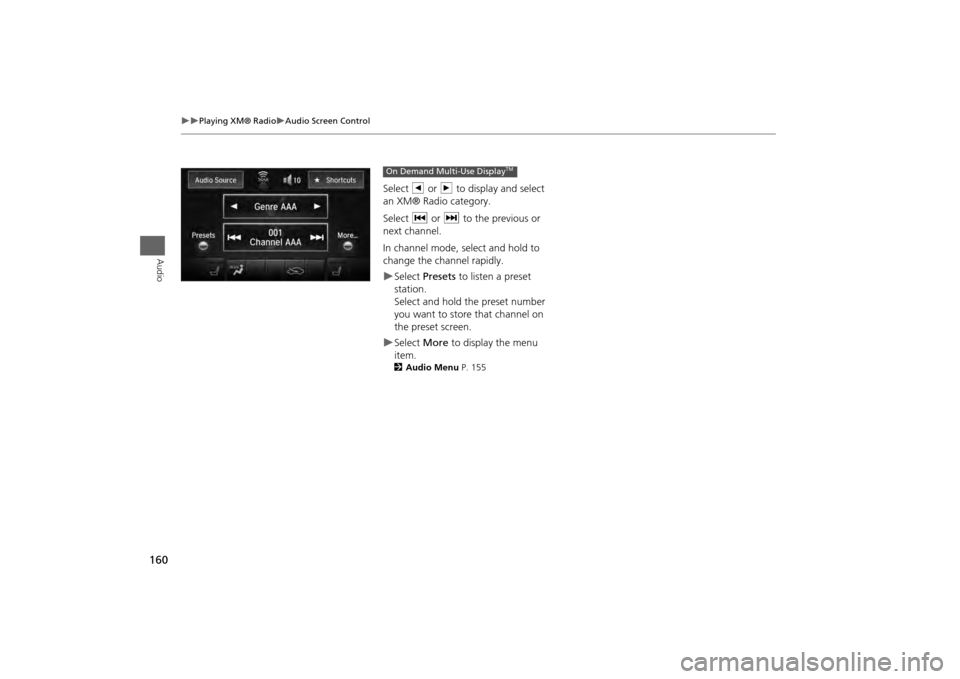
Select b or n to display and select
an XM® Radio category.
Select c or x to the previous or
next channel.
In channel mode, select and hold to
change the channel rapidly.Select Presets to listen a preset
station.
Select and hold the preset number
you want to store that channel on
the preset screen.Select More to display the menu
item.2 Audio Menu P. 155On Demand Multi-Use Display
TM
Page 162 of 343
161
Playing XM® Radio
Audio Menu
Audio
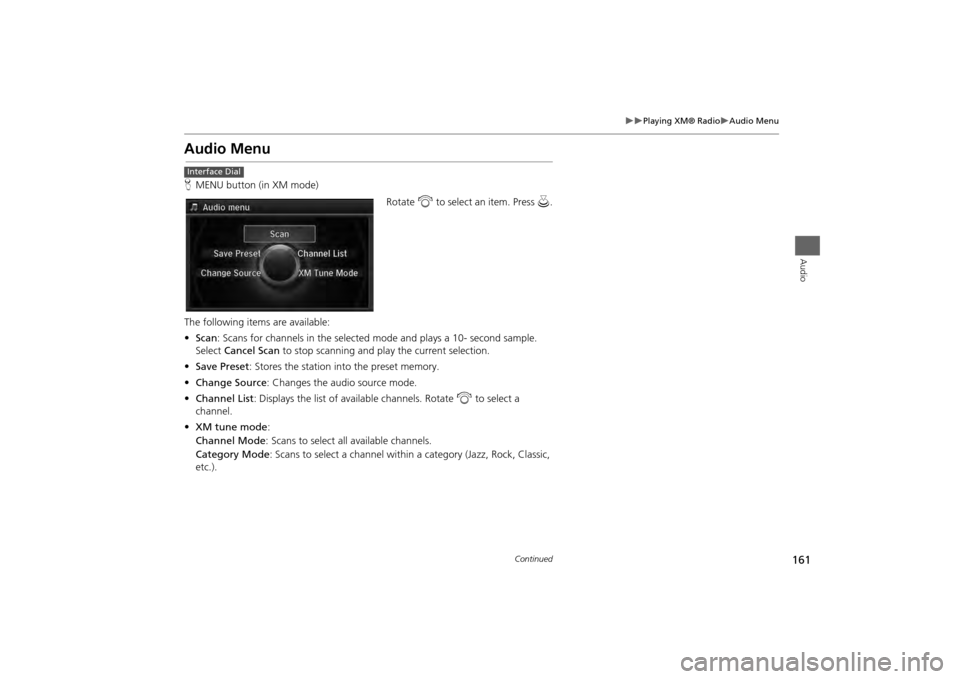
Audio MenuHMENU button (in XM mode)
Rotate i to select an item. Press u.
The following items are available:
• Scan : Scans for channels in the selected mode and plays a 10- second sample.
Select Cancel Scan to stop scanning and play the current selection.
• Save Preset : Stores the station into the preset memory.
• Change Source : Changes the audio source mode.
• Channel List : Displays the list of available channels. Rotate i to select a
channel.
• XM tune mode :
Channel Mode : Scans to select all available channels.
Category Mode : Scans to select a channel within a category (Jazz, Rock, Classic,
etc.).Interface Dial
Continued
Page 163 of 343
162
Playing XM® Radio
Audio Menu
Audio
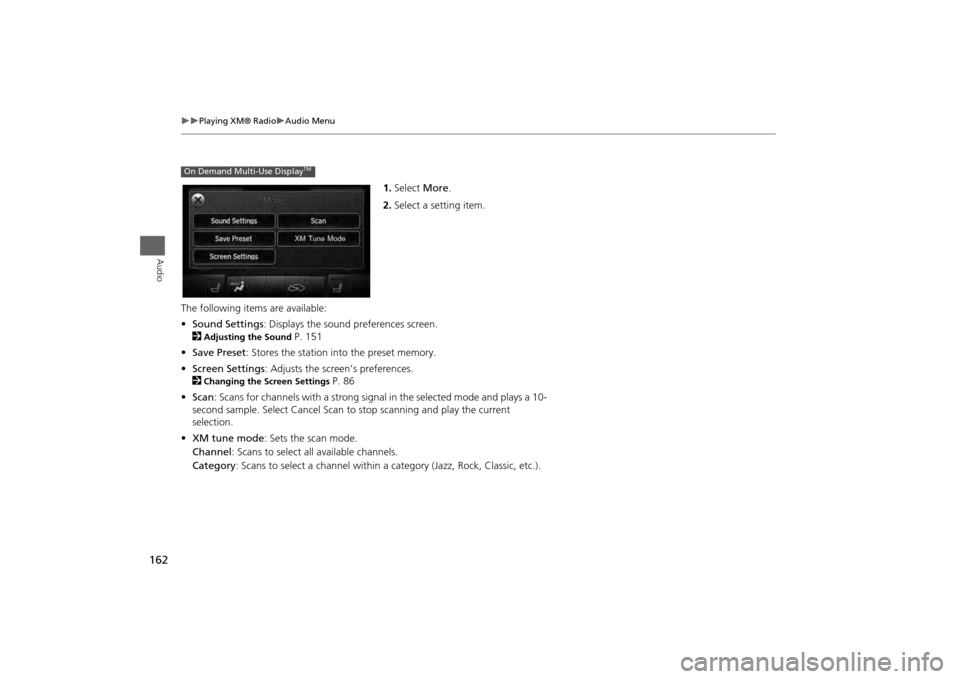
1.Select More.
2. Select a setting item.
The following item s are available:
• Sound Settings : Displays the sound preferences screen.
2
Adjusting the Sound
P. 151
• Save Preset : Stores the station into the preset memory.
• Screen Settings : Adjusts the screen’s preferences.
2
Changing the Screen Settings
P. 86
• Scan : Scans for channels with a strong signal in the selected mode and plays a 10-
second sample. Select Cancel Scan to stop scanning and play the current
selection.
• XM tune mode : Sets the scan mode.
Channel : Scans to select a ll available channels.
Category : Scans to select a channel within a category (Jazz, Rock, Classic, etc.).
On Demand Multi-Use Display
TM
Page 164 of 343
163
Playing XM® Radio
XM® Radio Service
Audio
XM® Radio Service1.You need your radio ID read y before registering for subscription. To see the ID in
the display: Operate the On Demand Multi-Use Display
TM until channel 0 appears.
2. Have your radio ID and credit card number ready, and either call or visit the XM®
website to subscribe.
Switch to the XM® mode by pressing the SOURCE button repeatedly or operating
the On Demand Multi-Use Display
TM, and stay in this mode for about 30 minutes
until the service is activated. Make sure your vehicle is in an open area with good
reception.
Loading:
XM® is loading the audio or program information.
Ch off air:
The channel is not currently broadcasting.
Ch unauthorized:
XM® radio is receiving informa tion update from the network.
No signal:
The signal is too weak in the current location.
Ch unavailable:
No such channel exists, the channel is not part of your subscription, or the artist or
title information is unavailable.
Check antenna:
There is a problem with the XM® antenna. Contact a dealer.
1 Subscribing to XM® Radio
Contact Information for XM® Radio:
XM® Radio at www.siriusxm.com or (800) 852-
9696
■ Subscribing to XM®
Radio
■Receiving XM® Radio■XM® Radio Display Messages
1 Receiving XM® Radio
The XM® satellites are in orbit over the equator;
therefore, objects south of the vehicle may cause
satellite reception interruptions. Satellite signals
are more likely to be bloc ked by tall buildings and
mountains the farther north you travel from the
equator.
You may experience re ception problems under
the following circumstances:
• In a location with an obstruction to the south
of your vehicle.
• In tunnels
• On the lower level of a multi-tiered road
• Large items carrie d on the roof rack
Page 165 of 343
164Audio
Playing a DiscYour audio system supports audio CDs, CD-Rs and CD-RWs in either MP3, WMA, or
AAC format. With the CD loaded, select the CD mode. Selecting Disc Mode1.Insert a disc into the disc slot.
The disc automatically being playing.
2. Press the MENU button. (in AUDIO mode)
3. Rotate i to select Change Source . Press u.
4. Rotate i to select CD. Press u.
2. Select Audio Source .
3. Select the CD icon.
1Playing a Disc
Do not use CDs with adhesive labels. The label
can cause the CD to jam in the unit.
WMA and ACC files protected by digital rights
management (DRM) cannot be played.
The audio system displays Unplayable File, then
skips to the next file.
Text data appears on the display under the
following circumstances:
• When you select a new folder, file, or track.
• When you change the audio mode to CD.
• When you insert a CD.
If you eject the CD but do not remove it from the
slot, the system reloads the CD automatically
after severa l seconds.
You can control a CD audio using voice
commands.
2 Voice Control Operation P. 5NOTICE
Interface DialOn Demand Multi-Use Display
TM
Page 166 of 343
165
Playing a Disc
Audio Screen Control
Audio
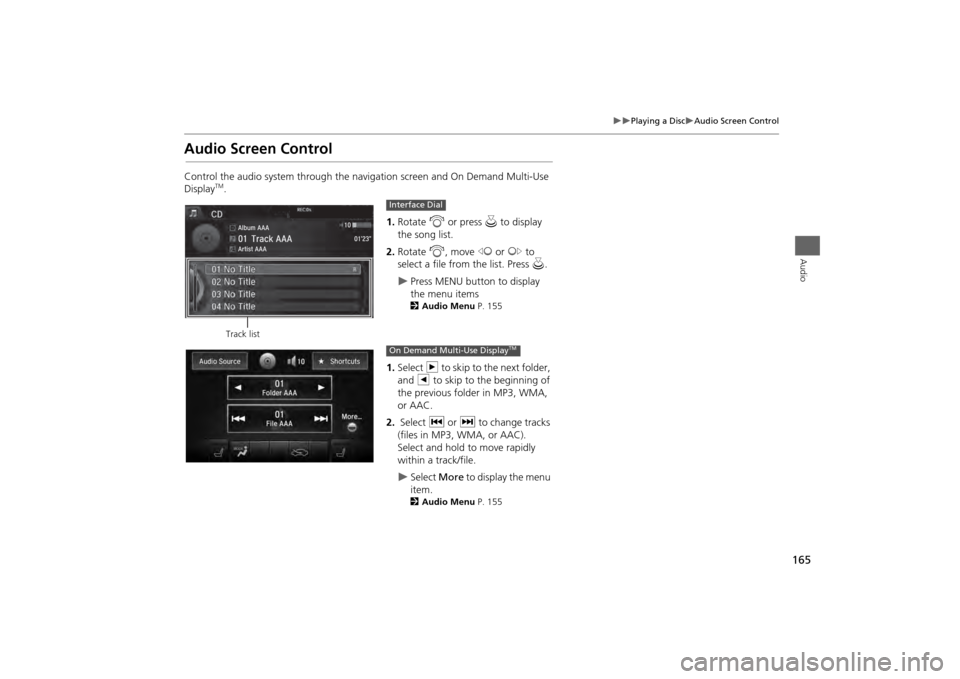
Audio Screen ControlControl the audio system through the navigation screen and On Demand Multi-Use
Display
TM.1.Rotate i or press u to display
the song list.
2. Rotate i, move w or y to
select a file from the list. Press u.
Press MENU button to display
the menu items2 Audio Menu P. 155
1.Select n to skip to the next folder,
and b to skip to the beginning of
the previous folder in MP3, WMA,
or AAC.
2. Select c or x to change tracks
(files in MP3, WMA, or AAC).
Select and hold to move rapidly
within a track/file.
Select More to display the menu
item.2 Audio Menu P. 155
Track list
Interface DialOn Demand Multi-Use Display
TM
Page 168 of 343
167
Playing a Disc
Audio Menu
Audio
•Change Source : Changes the audio source mode.
• Rec to HDD : Records a music CD onto the HDD for playback using HDD Audio.
2
Recording a Music CD to HDD
P. 172
• Music Search: Selects a file from the Music Search list.
2
How to Select a File from the Music Search List (MP3/WMA/AAC)
P. 168
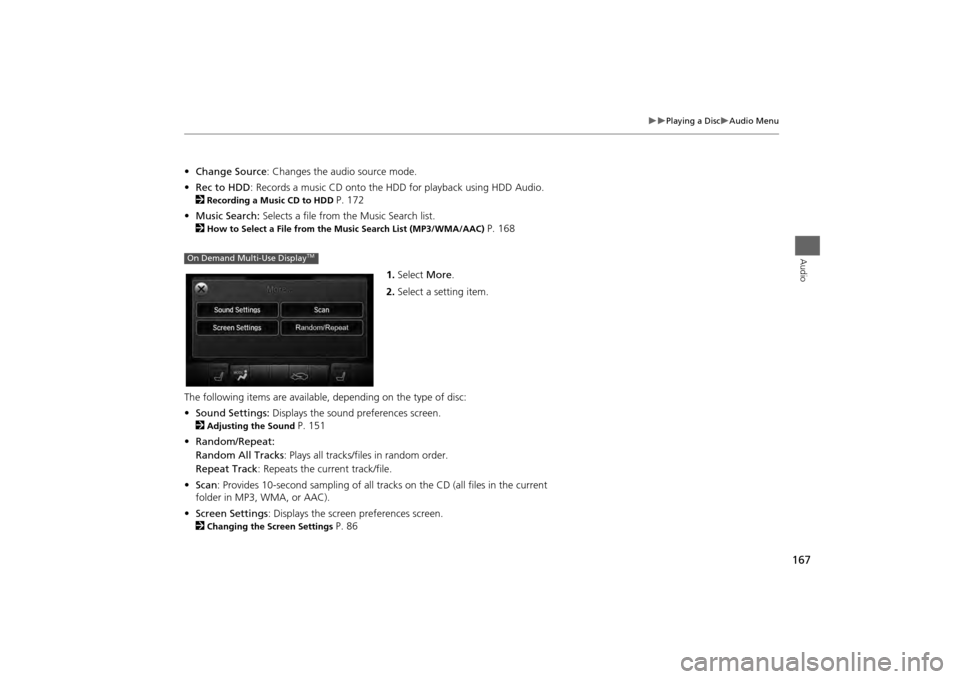
1. Select More.
2. Select a setting item.
The following items are available, depending on the type of disc:
• Sound Settings: Displays the sound preferences screen.
2
Adjusting the Sound
P. 151
• Random/Repeat:
Random All Tracks : Plays all tracks/files in random order.
Repeat Track : Repeats the current track/file.
• Scan : Provides 10-second sampling of all tracks on the CD (all files in the current
folder in MP3, WMA, or AAC).
• Screen Settings : Displays the screen preferences screen.
2
Changing the Screen Settings
P. 86
On Demand Multi-Use Display
TM