display Acura RDX 2015 Navigation Manual
[x] Cancel search | Manufacturer: ACURA, Model Year: 2015, Model line: RDX, Model: Acura RDX 2015Pages: 258, PDF Size: 11.1 MB
Page 32 of 258
31
Interface SettingsLanguage
System Setup
Language
HINFO button Set up Other Language
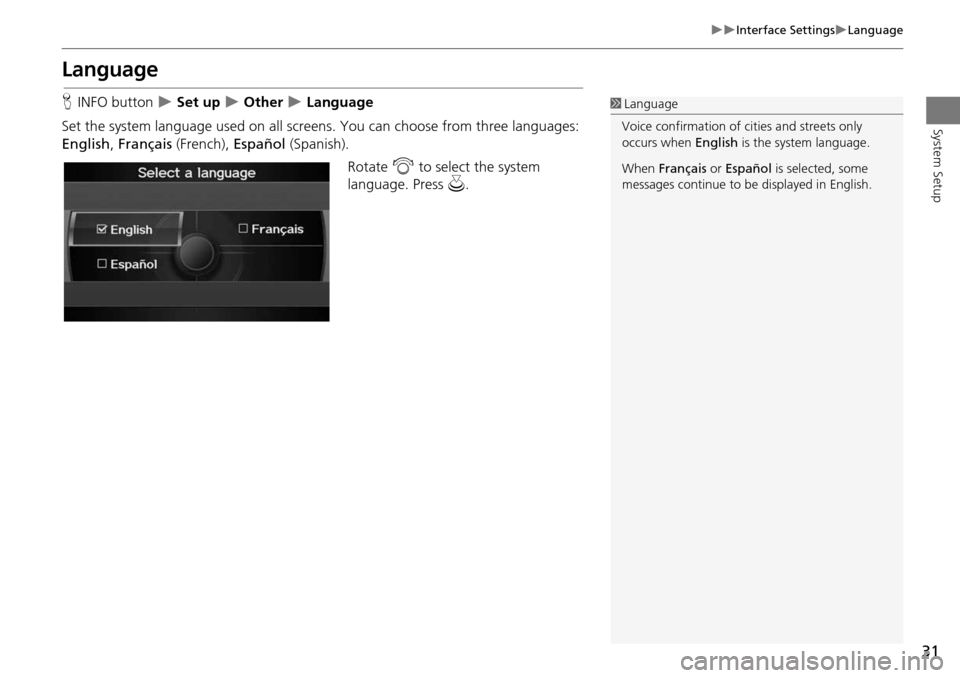
Set the system language used on all scr eens. You can choose from three languages:
English , Français (French), Español (Spanish).
Rotate i to select the system
language. Press u.1Language
Voice confirmation of ci ties and streets only
occurs when English is the system language.
When Français or Español is selected, some
messages continue to be displayed in English.
Page 33 of 258
32
Interface SettingsWallpapers Setting
System Setup
Wallpapers Setting
HINFO button Set up Other Wallpapers Setting
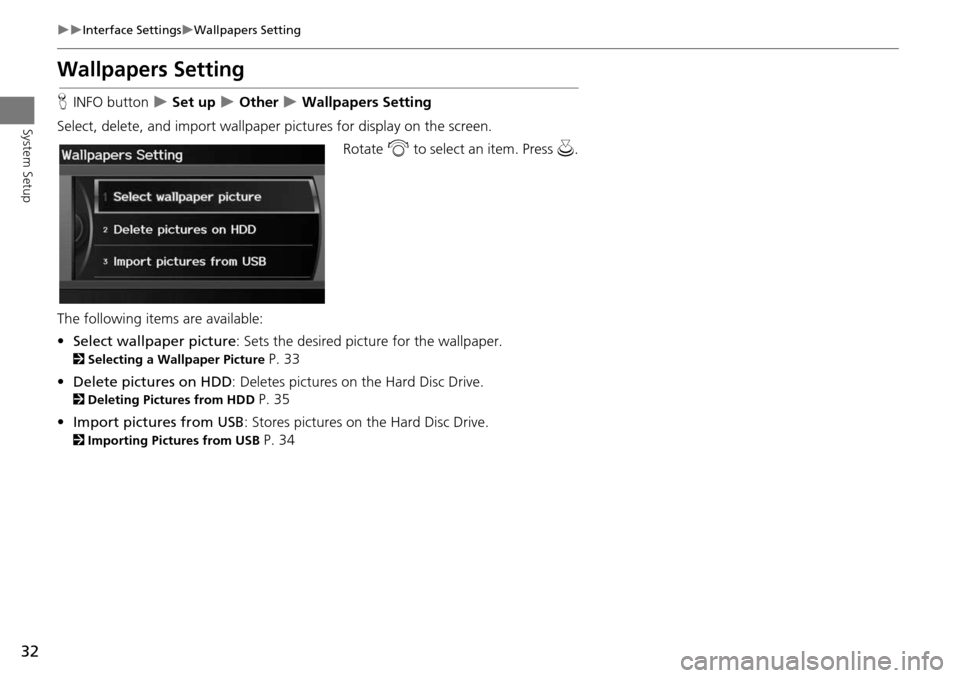
Select, delete, and import wallpaper pi ctures for display on the screen.
Rotate i to select an item. Press u .
The following item s are available:
• Select wallpaper picture : Sets the desired picture for the wallpaper.
2Selecting a Wallpaper Picture P. 33
• Delete pictures on HDD : Deletes pictures on the Hard Disc Drive.
2Deleting Pictures from HDD P. 35
• Import pictures from USB : Stores pictures on the Hard Disc Drive.
2Importing Pictures from USB P. 34
Page 34 of 258
33
Interface SettingsWallpapers Setting
System SetupHINFO button Set up Other Wallpapers Setting Select wallpaper
picture
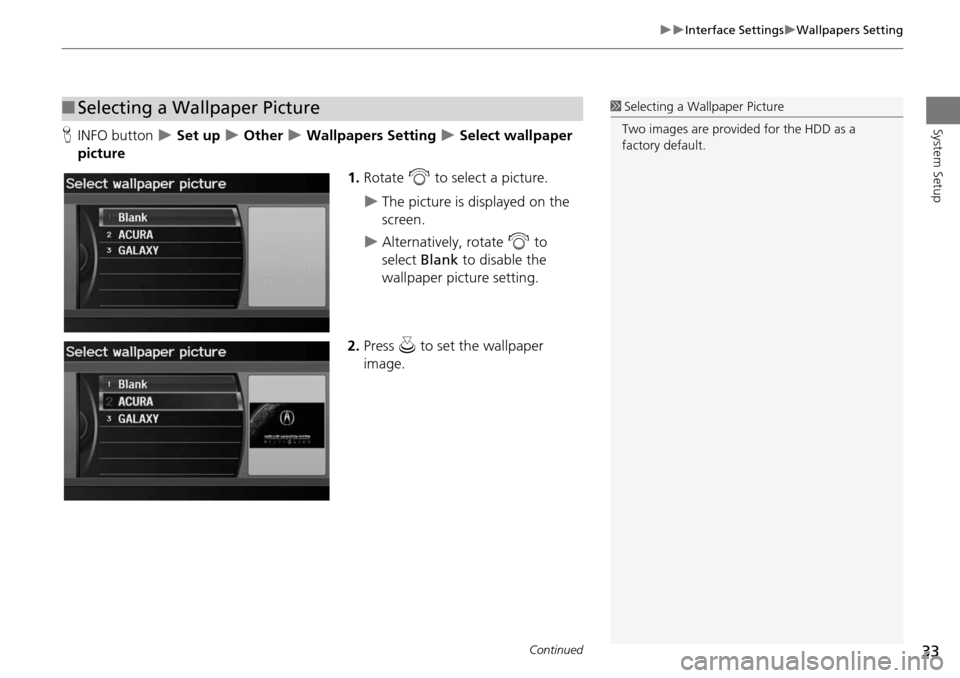
1.Rotate i to select a picture.
The picture is displayed on the
screen.
Alternatively, rotate i to
select Blank to disable the
wallpaper picture setting.
2. Press u to set the wallpaper
image.
■ Selecting a Wallpaper Picture1 Selecting a Wallpaper Picture
Two images are provided for the HDD as a
factory default.
Continued
Page 35 of 258
34
Interface SettingsWallpapers Setting
System SetupHINFO button Set up Other Wallpapers Setting Import pictures
from USB
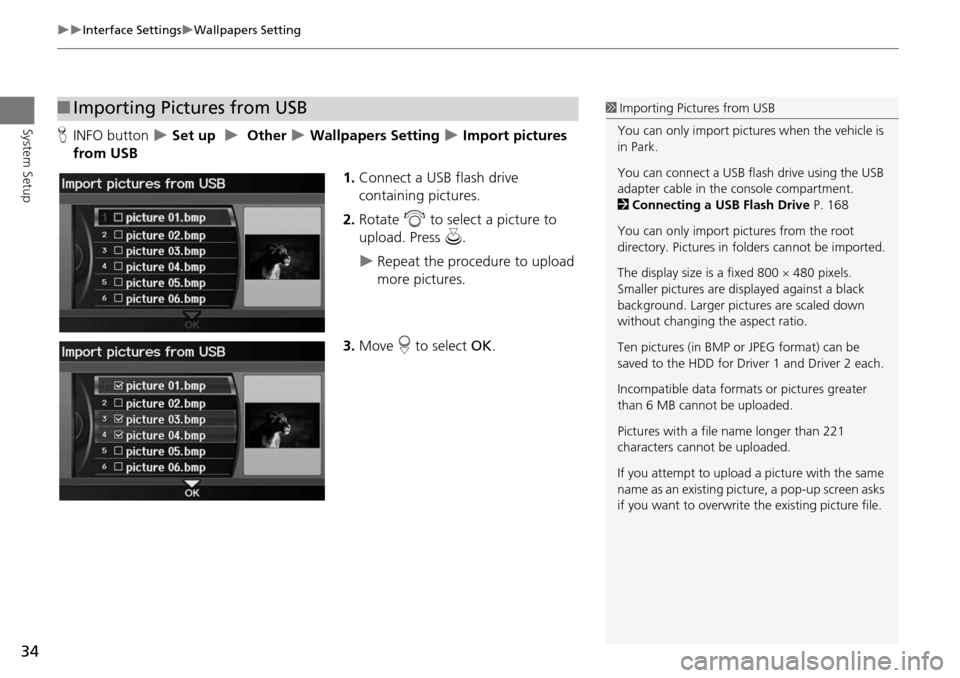
1.Connect a USB flash drive
containing pictures.
2. Rotate i to select a picture to
upload. Press u.
Repeat the procedure to upload
more pictures.
3. Move r to select OK.
■Importing Pictures from USB1 Importing Pictures from USB
You can only import pictures when the vehicle is
in Park.
You can connect a USB flash drive using the USB
adapter cable in the console compartment.
2 Connecting a USB Flash Drive P. 168
You can only import pict ures from the root
directory. Pictures in folders cannot be imported.
The display size is a fixed 800 480 pixels.
Smaller pictures are displayed against a black
background. Larger pictures are scaled down
without changing the aspect ratio.
Ten pictures (in BMP or JPEG format) can be
saved to the HDD for Driver 1 and Driver 2 each.
Incompatible data format s or pictures greater
than 6 MB cannot be uploaded.
Pictures with a file name longer than 221
characters cannot be uploaded.
If you attempt to upload a picture with the same
name as an existing picture, a pop-up screen asks
if you want to overwrite the existing picture file.
Page 36 of 258
35
Interface SettingsWallpapers Setting
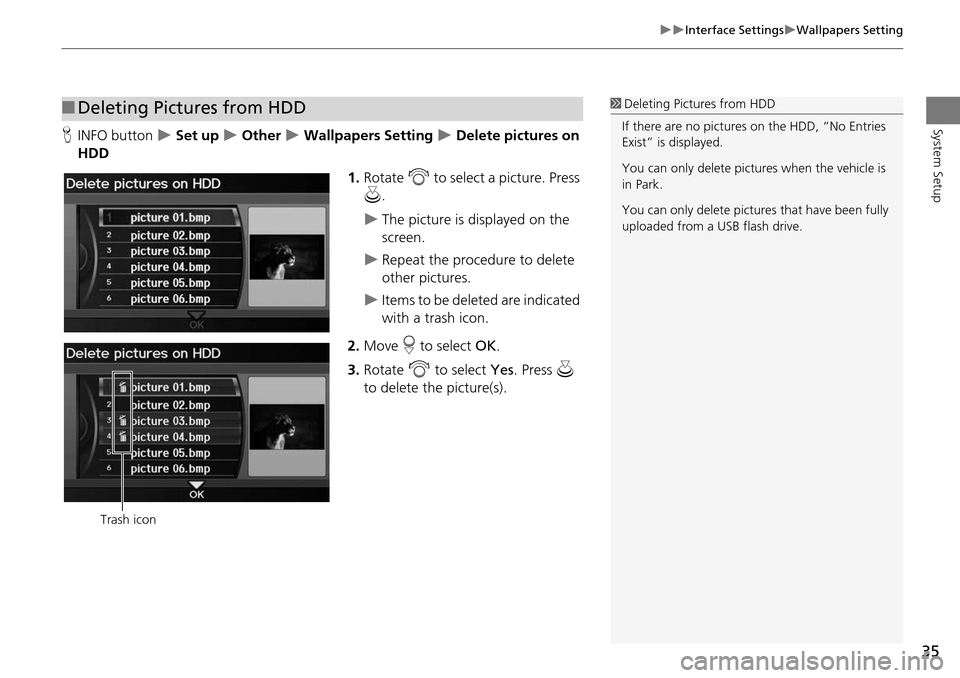
System SetupHINFO button Set up Other Wallpapers Setting Delete pictures on
HDD
1.Rotate i to select a picture. Press
u .
The picture is displayed on the
screen.
Repeat the procedure to delete
other pictures.
Items to be deleted are indicated
with a trash icon.
2. Move r to select OK.
3. Rotate i to select Yes. Press u
to delete the picture(s).
■ Deleting Pictures from HDD1 Deleting Pictures from HDD
If there are no pictures on the HDD, “No Entries
Exist” is displayed.
You can only delete pictures when the vehicle is
in Park.
You can only delete pictures that have been fully
uploaded from a USB flash drive.
Trash icon
Page 38 of 258
37
Personal InformationAddress Book
System Setup
Address Book
HINFO button Set up Personal Information Address Book
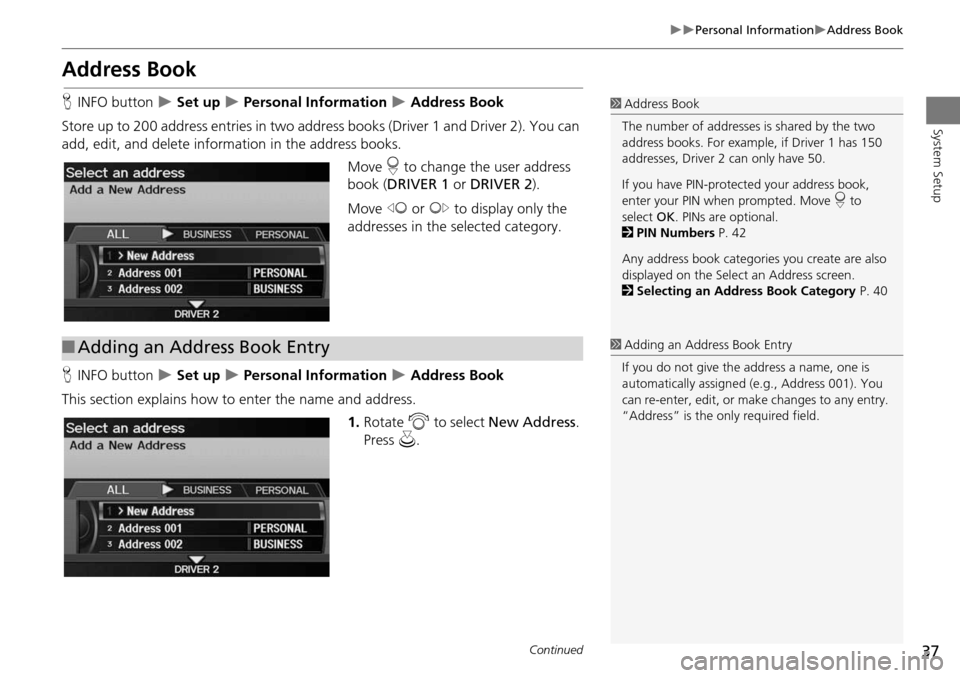
Store up to 200 address entries in two addr ess books (Driver 1 and Driver 2). You can
add, edit, and delete information in the address books.
Move r to change the user address
book ( DRIVER 1 or DRIVER 2 ).
Move w or y to display only the
addresses in the selected category.
H INFO button
Set up Personal Information Address Book
This section explains how to enter the name and address. 1.Rotate i to select New Address .
Press u.
1Address Book
The number of addresses is shared by the two
address books. For example, if Driver 1 has 150
addresses, Driver 2 can only have 50.
If you have PIN-protec ted your address book,
enter your PIN when prompted. Move r to
select OK. PINs are optional.
2 PIN Numbers P. 42
Any address book categories you create are also
displayed on the Select an Address screen.
2 Selecting an Address Book Category P. 40
■Adding an Address Book Entry1 Adding an Address Book Entry
If you do not give the address a name, one is
automatically assigned (e.g., Address 001). You
can re-enter, edit, or make changes to any entry.
“Address” is the only required field.
Continued
Page 40 of 258
39
Personal InformationAddress Book
System Setup
The following items are available:
•Current Position: Select your current location.
• Address: Enter an address on the character input screen when prompted.
2Address P. 70
• Previous Destinations: Select a previous destination.
2Previous Destinations P. 76
• Place Name: Enter the name of a place/landmark.
2Place Name P. 77
• Place Category: Select a category to search for a place/landmark (e.g., Banking,
Lodging).
2 Place Category P. 80
• Place Phone No.: Enter the phone number of a place/landmark.
2Place Phone Number P. 84
H INFO button
Set up Personal Information Address Book
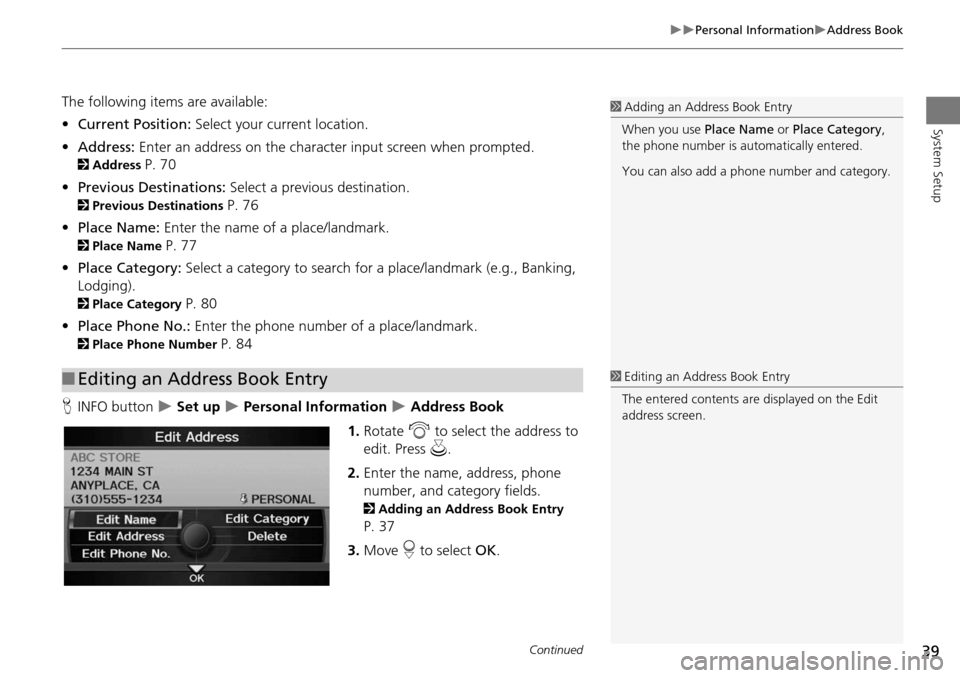
1. Rotate i to select the address to
edit. Press u.
2. Enter the name, address, phone
number, and category fields.
2 Adding an Address Book Entry
P. 37
3. Move r to select OK.
■Editing an Address Book Entry
1 Adding an Address Book Entry
When you use Place Name or Place Category ,
the phone number is automatically entered.
You can also add a phone number and category.
1Editing an Address Book Entry
The entered contents are displayed on the Edit
address screen.
Continued
Page 43 of 258
42
Personal InformationPIN Numbers
System Setup
PIN Numbers
HINFO button Set up Personal Information PIN Number
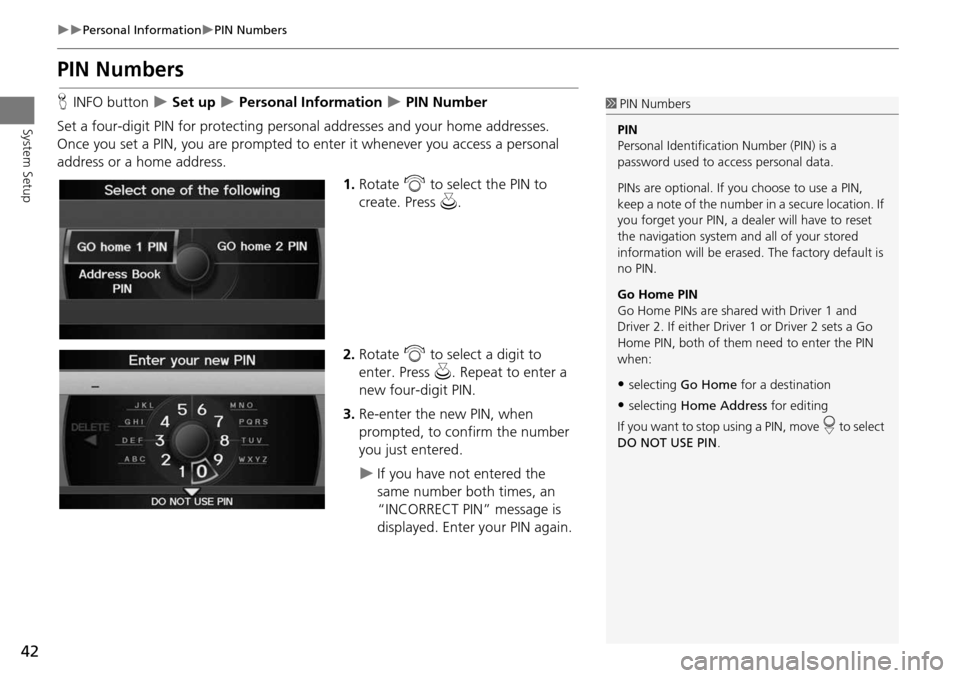
Set a four-digit PIN for protecting pers onal addresses and your home addresses.
Once you set a PIN, you are prompted to enter it whenever you access a personal
address or a home address.
1.Rotate i to select the PIN to
create. Press u.
2. Rotate i to select a digit to
enter. Press u. Repeat to enter a
new four-digit PIN.
3. Re-enter the new PIN, when
prompted, to confirm the number
you just entered.
If you have not entered the
same number both times, an
“INCORRECT PIN” message is
displayed. Enter your PIN again.
1PIN Numbers
PIN
Personal Identification Number (PIN) is a
password used to access personal data.
PINs are optional. If you choose to use a PIN,
keep a note of the number in a secure location. If
you forget your PIN, a dealer will have to reset
the navigation system a nd all of your stored
information will be erased . The factory default is
no PIN.
Go Home PIN
Go Home PINs are shared with Driver 1 and
Driver 2. If either Driver 1 or Driver 2 sets a Go
Home PIN, both of them need to enter the PIN
when:
•selecting Go Home for a destination
•selecting Home Address for editing
If you want to stop using a PIN, move
r to select
DO NOT USE PIN .
Page 45 of 258
44
System Setup
Music Search Setup
HAUDIO button (in iPod® mode) AUDIO MENU Music Search Setup
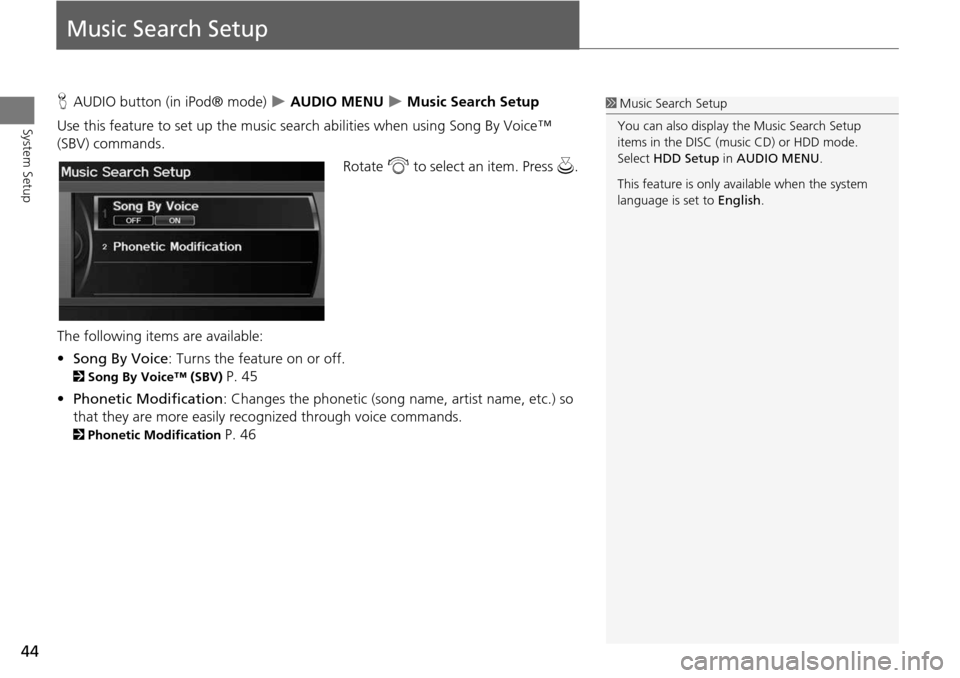
Use this feature to set up the music search abilities when using Song By Voice™
(SBV) commands.
Rotate i to select an item. Press u .
The following item s are available:
• Song By Voice : Turns the feature on or off.
2Song By Voice™ (SBV) P. 45
• Phonetic Modification : Changes the phonetic (song name, artist name, etc.) so
that they are more easily reco gnized through voice commands.
2Phonetic Modification P. 46
1Music Search Setup
You can also display the Music Search Setup
items in the DISC (music CD) or HDD mode.
Select HDD Setup in AUDIO MENU .
This feature is only available when the system
language is set to English.
Page 46 of 258
45
Music Search SetupSong By Voice™ (SBV)
System Setup
Song By Voice™ (SBV)
HAUDIO button (in iPod® mode) AUDIO MENU Music Search Setup
Song By Voice
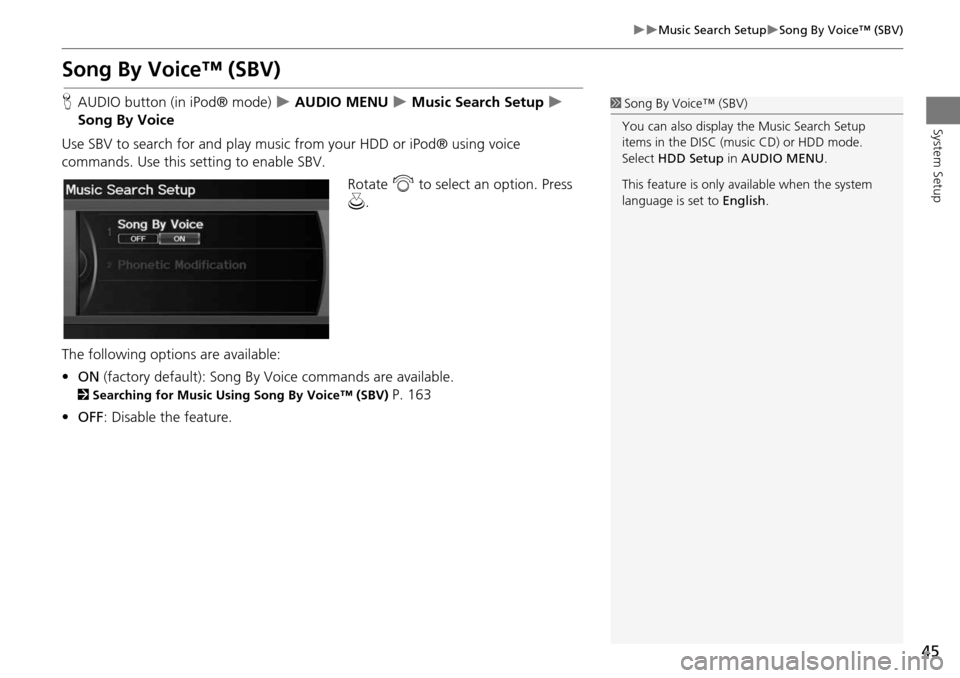
Use SBV to search for and play music from your HDD or iPod® using voice
commands. Use this setti ng to enable SBV.
Rotate i to select an option. Press
u .
The following options are available:
• ON (factory default): Song By Voice commands are available.
2Searching for Music Using Song By Voice™ (SBV) P. 163
• OFF : Disable the feature.
1Song By Voice™ (SBV)
You can also display the Music Search Setup
items in the DISC (music CD) or HDD mode.
Select HDD Setup in AUDIO MENU .
This feature is only available when the system
language is set to English.