headlamp Alfa Romeo Giulia 2016 Owner's Manual
[x] Cancel search | Manufacturer: ALFA ROMEO, Model Year: 2016, Model line: Giulia, Model: Alfa Romeo Giulia 2016Pages: 204, PDF Size: 4.95 MB
Page 28 of 204

PARKING LIGHTS
They are switched on if, within a few
seconds from stopping the engine, the
light switch is taken first to theO
position and then to position
. All side
lights switch on, if you want to leave only
those on one side (right/left) switched on,
you need to move the direction indicators
control on the position on the side you
wish to leave on.
The
warning light switches on in the
instrument panel.
HEADLIGHTS OFF TIMER
The "Follow Me" function delays the
switching off of the headlights after the
vehicle has been stopped.
The function can be activated from the
Connect system by selecting the
following functions in sequence on the
main menu: "Settings", "Lights" and
"Follow me"; the side lights and the
dipped beam headlights stay on for a
time that can be set between 30, 60 and
90 seconds.
Function activation
With the headlights on, take the ignition
device to the STOP position: the timer
starts when the light switch is rotated to
positionO.
IMPORTANT To activate this function the
headlights must be deactivated within
2 minutes after the ignition device has
been taken to STOP.
Function deactivation
This function is deactivated by switching
on the headlights, the side lights or
bringing the ignition device to ON.
AFS (Adaptive Frontlight System)
FUNCTION
(where provided)
This is a system combined with Bi-Xenon
Headlamps (35W) which directs the main
light beam, horizontally and vertically,
and continuously and automatically
adapts it to the driving conditions round
bends/when cornering.
The system directs the light beam to light
up the road in the best way, taking into
account the speed of the car, the
bend/corner angle and the speed of
steering.
MAIN BEAM HEADLIGHTS
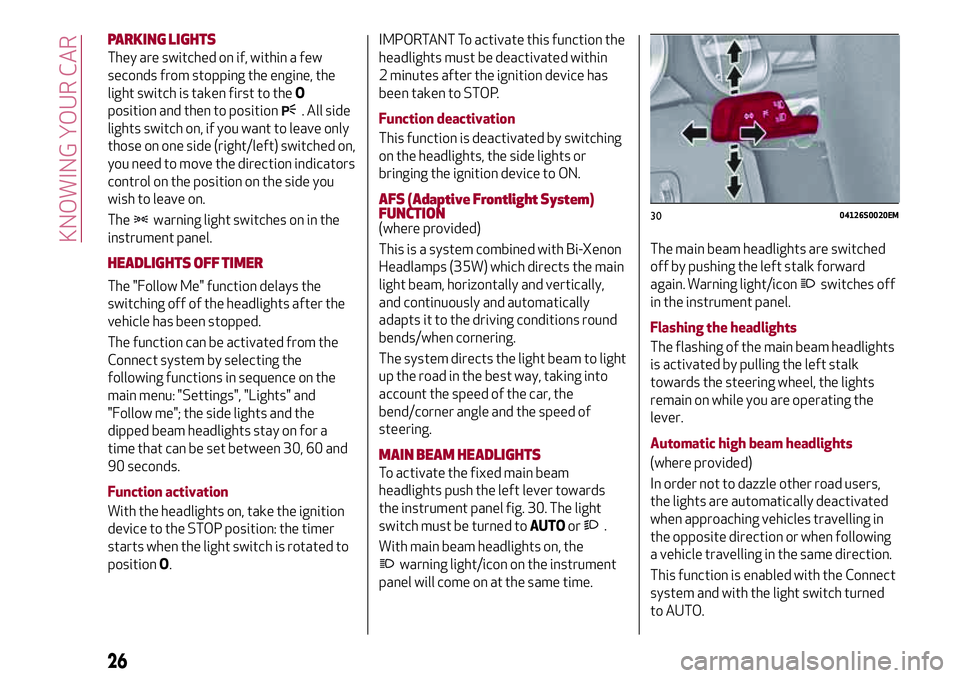
To activate the fixed main beam
headlights push the left lever towards
the instrument panel fig. 30. The light
switch must be turned toAUTOor
.
With main beam headlights on, the
warning light/icon on the instrument
panel will come on at the same time.The main beam headlights are switched
off by pushing the left stalk forward
again. Warning light/icon
switches off
in the instrument panel.
Flashing the headlights
The flashing of the main beam headlights
is activated by pulling the left stalk
towards the steering wheel, the lights
remain on while you are operating the
lever.
Automatic high beam headlights
(where provided)
In order not to dazzle other road users,
the lights are automatically deactivated
when approaching vehicles travelling in
the opposite direction or when following
a vehicle travelling in the same direction.
This function is enabled with the Connect
system and with the light switch turned
to AUTO.
3004126S0020EM
26
KNOWING YOUR CAR
Page 29 of 204

The first time the main beam headlights
are activated (pushing the left lever), the
function is activated (the warning light
or thesymbol comes on in the
instrument panel).
If the main beam headlights are actually
on, the blue icon/warning light
will
also come on in the instrument panel.
DIRECTION INDICATORS
Move the left lever fig. 30 as far as
possible (unstable position):
up: right direction signal activated, the
warning light
flashes on the
instrument panel;
down: left direction signal activated,
the warning light
flashes on the
instrument panel;
The direction indicators are switched off
automatically when the steering wheel is
straightened.
"Lane Change" function
When you want to signal the change of
the driving lane, move the lever until the
first impulse (about half stroke).
The direction indicator on the side
selected will flash five times and then
switch off automatically.
SBL FUNCTION (Static Bending Light)(where provided)
The SBL LEDs activate in order to better
illuminate the street and increase the
light angle while turning. This function isenabled by rotating the light switch to
position
orAUTO. The SBL LEDs
activate if the speed exceeds 12 mph
(20 km/h) and the steering radius is
below 1640 ft (500 m).
HEADLIGHT ALIGNMENT ADJUSTMENT
Headlight alignment corrector
(where provided)
This device is not available on vehicles
equipped with Xenon headlights
(Bi-Xenon 35 W headlamp version), as
they require an automatic alignment
correction system.
It only operates with the ignition device
at ON.
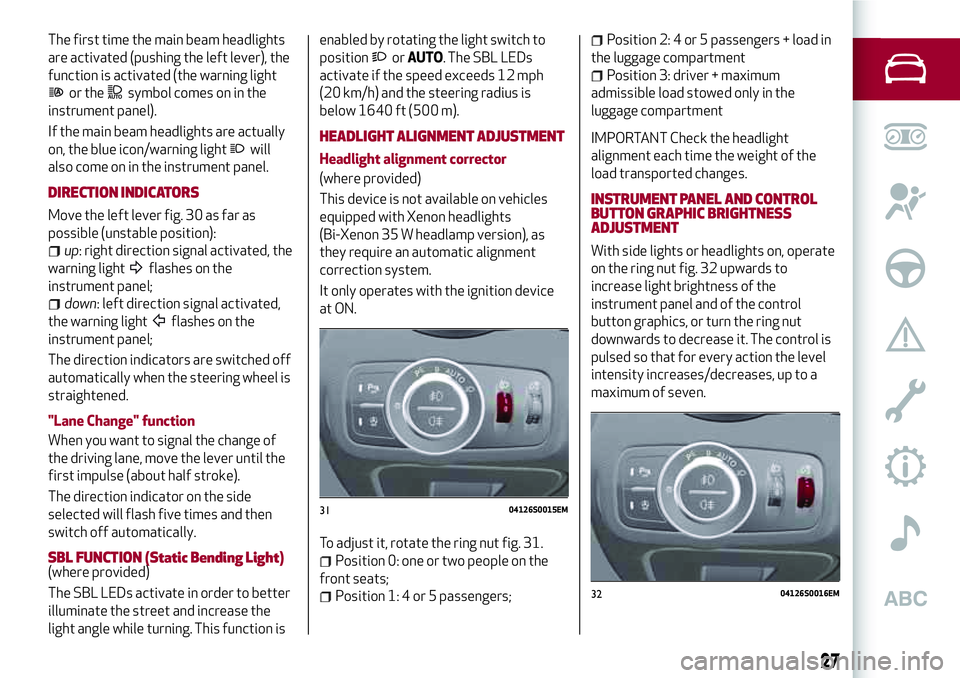
To adjust it, rotate the ring nut fig. 31.
Position 0: one or two people on the
front seats;
Position 1: 4 or 5 passengers;
Position 2: 4 or 5 passengers + load in
the luggage compartment
Position 3: driver + maximum
admissible load stowed only in the
luggage compartment
IMPORTANT Check the headlight
alignment each time the weight of the
load transported changes.
INSTRUMENT PANEL AND CONTROL
BUTTON GRAPHIC BRIGHTNESS
ADJUSTMENT
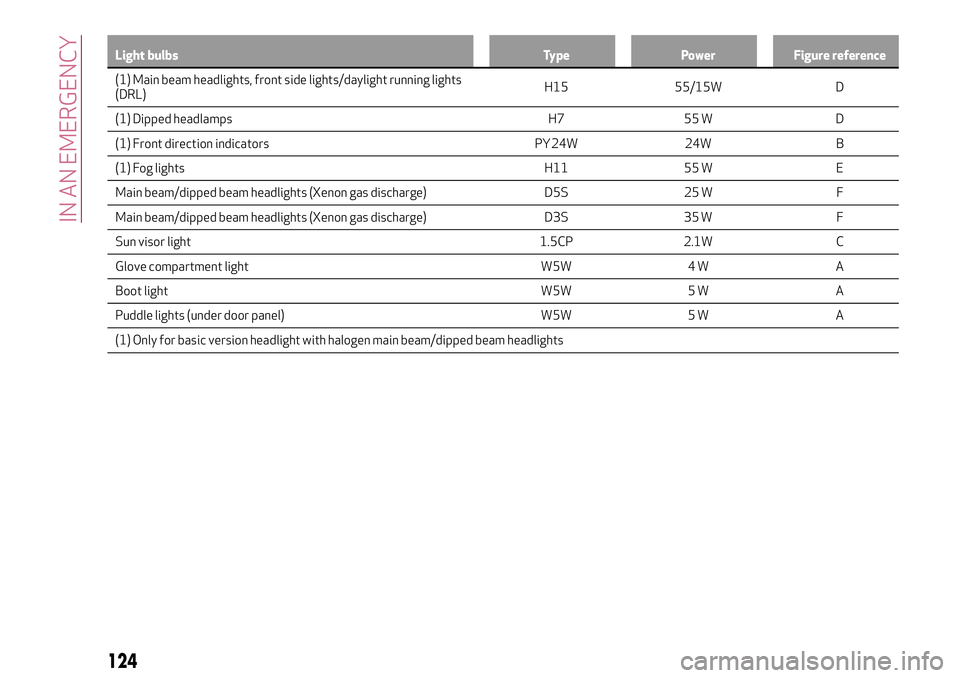
With side lights or headlights on, operate
on the ring nut fig. 32 upwards to
increase light brightness of the
instrument panel and of the control
button graphics, or turn the ring nut
downwards to decrease it. The control is
pulsed so that for every action the level
intensity increases/decreases, up to a
maximum of seven.
3104126S0015EM
3204126S0016EM
27
Page 126 of 204

Light bulbs Type Power Figure reference
(1) Main beam headlights, front side lights/daylight running lights
(DRL)H1555/15W D
(1) Dipped
headlamps H7 55 W D
(1) Front direction indicators PY24W 24W B
(1) Fog lights H11 55 W E
Main beam/dipped beam headlights (Xenon gas discharge) D5S 25 W F
Main beam/dipped beam headlights (Xenon gas discharge) D3S 35 W F
Sun visor light 1.5CP 2.1W C
Glove compartment light W5W 4 W A
Boot light W5W 5 W A
Puddle lights (under door panel) W5W 5 W A
(1) Only for basic version headlight with halogen main beam/dipped beam headlights
124
IN AN EMERGENCY