wheel bolts ASTON MARTIN DB7 1997 Workshop Manual
[x] Cancel search | Manufacturer: ASTON MARTIN, Model Year: 1997, Model line: DB7, Model: ASTON MARTIN DB7 1997Pages: 421, PDF Size: 9.31 MB
Page 192 of 421

Electrics
Airbag System ^^?
7.8.02.6
Renew
Passenger's Airbag Module
Read and adhere to all warnings and safety
procedures quoted at the start of this section when
working on airbag modules.
Disconnect the battery and wait for at least one
minute before proceeding with the airbag removal.
Note:
The
vehicle battery
must
be disconnected within
12
seconds
of switchingoff
the
ignition
to
avoid the alarm
siren sounding.
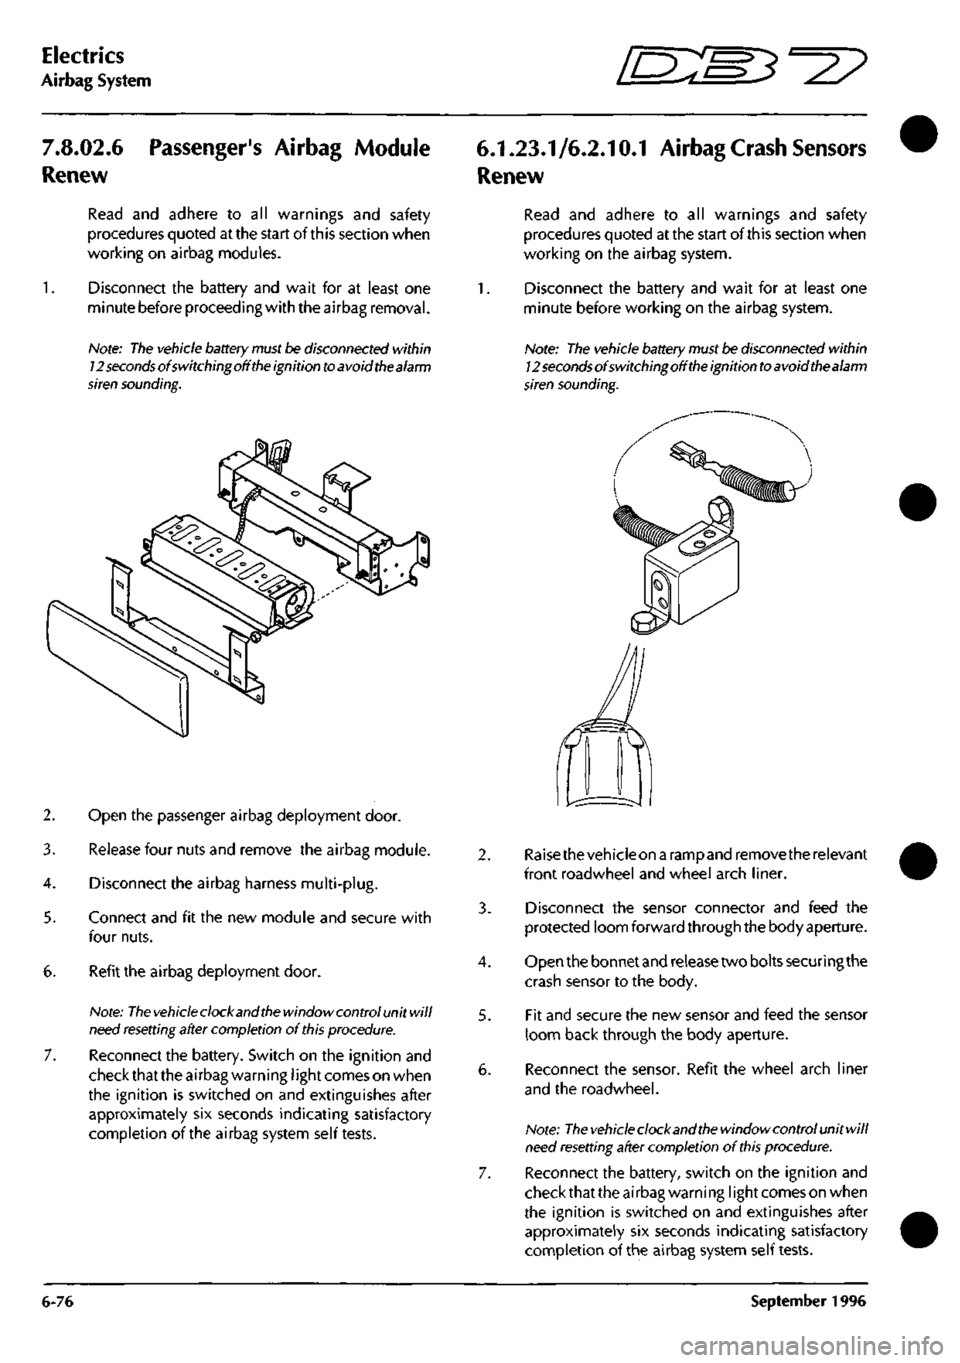
2. Open the passenger airbag deployment door.
3. Release four nuts and remove the airbag module.
4.
Disconnect the airbag harness multi-plug.
5. Connect and fit the new module and secure with
four nuts.
6. Refit the airbag deployment door.
Note:
The vehicle
clock and
the
window control unit will
need
resetting
after completion of
this
procedure.
7. Reconnect the battery. Switch on the ignition and
check that the airbag warning
I
ight comes on when
the ignition is switched on and extinguishes after
approximately six seconds indicating satisfactory
completion of the airbag system self tests.
6.1.23.1/6.2.10.1 Airbag
Crash
Sensors
Renew
Read and adhere to all warnings and safety
procedures quoted at the start of this section when
working on the airbag system.
1.
Disconnect the battery and wait for at least one
minute before working on the airbag system.
Note: The vehicle
battery
must be disconnected within
12
seconds
of switchingoff
the
ignition
to
avoid thealarm
siren sounding.
4.
5.
Raisethevehicleon a rampand remove the relevant
front roadwheel and wheel arch liner.
Disconnect the sensor connector and feed the
protected loom forward through the body aperture.
Open the bonnet and release two bolts securing the
crash sensor to the body.
Fit and secure the new sensor and feed the sensor
loom back through the body aperture.
Reconnect the sensor. Refit the wheel arch liner
and the roadwheel.
Note:
The vehicle
clock and
the
window control unit will
need
resetting
after completion of
this
procedure.
Reconnect the battery, switch on the ignition and
check that the airbag warning
I
ight comes on when
the ignition is switched on and extinguishes after
approximately six seconds indicating satisfactory
completion of the airbag system self tests.
6-76 September 1996
Page 336 of 421

'nzm^=2?
Air Conditioning Repair Procedures
Blower Motor Renewal
8.2.07.1 Ambient Temperature Sensor
Renew
?\gure
1.
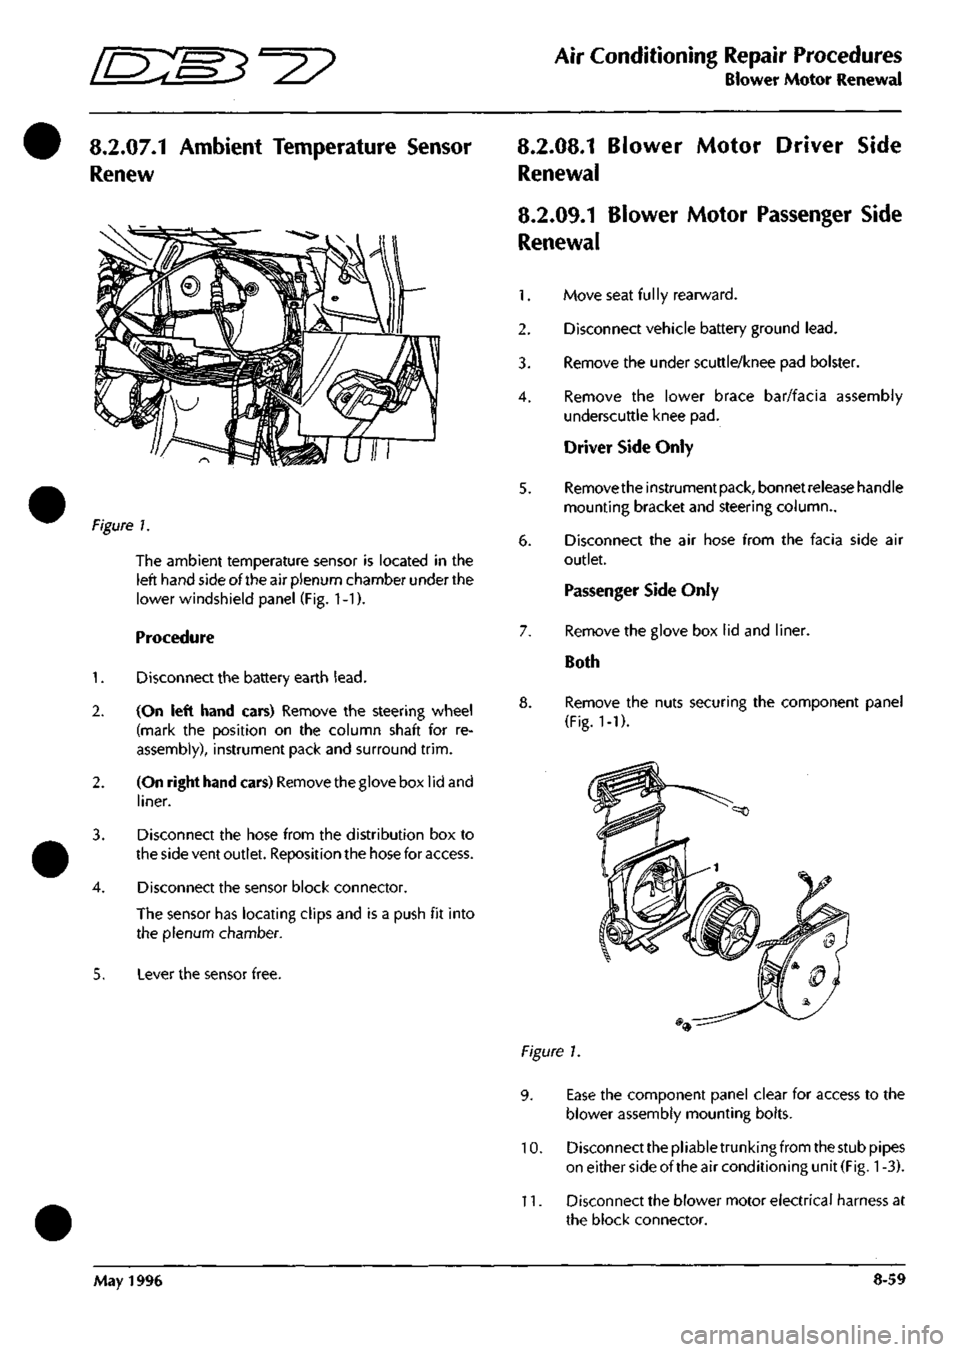
The ambient temperature sensor is located in the
left hand side of the air plenum chamber under the
lower windshield panel (Fig. 1-1).
Procedure
1.
Disconnect the battery earth
lead.
2.
(On left hand cars) Remove the steering wheel
(mark the position on the column shaft for re
assembly), instrument pack and surround
trim.
2.
(On right hand cars) Removethegloveboxlidand
liner.
3. Disconnect the hose from the distribution box to
the side vent outlet. Reposition the hose for access.
4.
Disconnect the sensor block connector.
The sensor has locating clips and is a push fit into
the plenum chamber.
5. Lever the sensor free.
8.2.08.1 Blower Motor Driver Side
Renewal
8.2.09.1 Blower Motor Passenger Side
Renewal
1.
Move seat
fu 1
ly rearward.
2.
Disconnect vehicle battery ground
lead.
3. Remove the under scuttle/knee pad bolster.
4.
Remove the lower brace bar/facia assembly
underscuttle knee pad.
Driver Side Only
5. Removetheinstrumentpack, bonnetreieasehandle
mounting bracket and steering column..
6. Disconnect the air hose from the facia side air
outlet.
Passenger Side Only
7. Remove the glove box lid and liner.
Both
8. Remove the nuts securing the component panel
(Fig.
1-1).
Figure 1.
9. Ease the component panel clear for access to the
blower assembly mounting bolts.
10.
Disconnect the pliable trunking from the stub pipes
on either side of the air conditioning unit
(Fig.
1
-3).
11.
Disconnect the blower motor electrical harness at
the block connector.
May 1996 8-59