AUDI A4 1999 B5 / 1.G 01V Transmission Oil Seal Flange Shaft Workshop Manual
Manufacturer: AUDI, Model Year: 1999,
Model line: A4,
Model: AUDI A4 1999 B5 / 1.G
Pages: 4, PDF Size: 0.14 MB
AUDI A4 1999 B5 / 1.G 01V Transmission Oil Seal Flange Shaft Workshop Manual
A4 1999 B5 / 1.G
AUDI
AUDI
https://www.carmanualsonline.info/img/6/1199/w960_1199-0.png
AUDI A4 1999 B5 / 1.G 01V Transmission Oil Seal Flange Shaft Workshop Manual
Trending: check oil, steering wheel, check engine, drain bolt, engine, wheel, steering
Page 1 of 4
39-113
Oil seals for flange shafts,
replacing
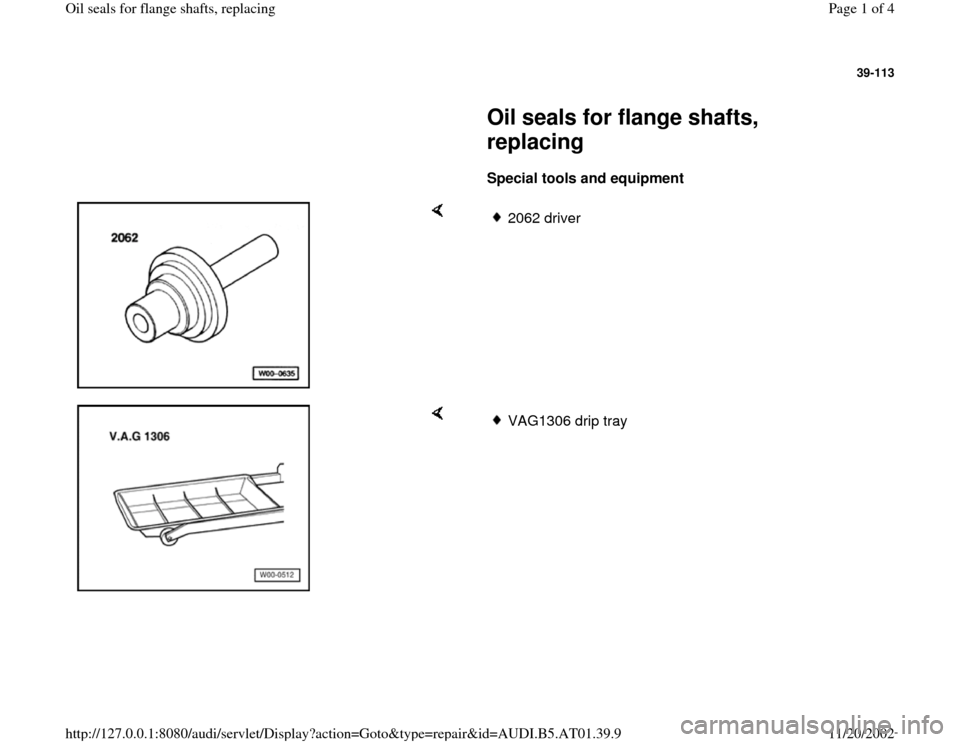
Special tools and equipment
2062 driver
VAG1306 drip tray
Pa
ge 1 of 4 Oil seals for flan
ge shafts, re
placin
g
11/20/2002 htt
p://127.0.0.1:8080/audi/servlet/Dis
play?action=Goto&t
yp
e=re
pair&id=AUDI.B5.AT01.39.9
Page 2 of 4
39-114
Removing
Note:
The exhaust system must only be removed if left seal is replaced.
Repair Manual, Engine Mechanical, Repair Group 26; removing and
installing exhaust system
Repair Manual, Suspension, Wheels, Steering, Repair Group 42; Component allocation of rear axle (All Wheel Drive (AWD) vehicles); Drive axle, removing and installing
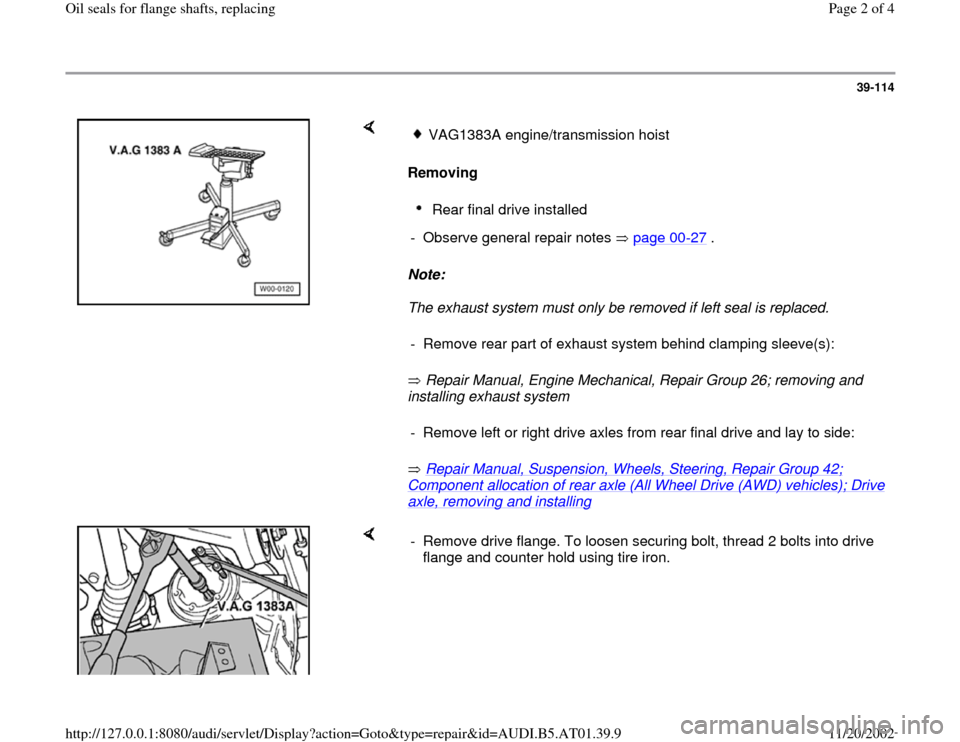
VAG1383A engine/transmission hoistRear final drive installed
- Observe general repair notes page 00
-27
.
- Remove rear part of exhaust system behind clamping sleeve(s):- Remove left or right drive axles from rear final drive and lay to side:
- Remove drive flange. To loosen securing bolt, thread 2 bolts into drive
flange and counter hold using tire iron.
Pa
ge 2 of 4 Oil seals for flan
ge shafts, re
placin
g
11/20/2002 htt
p://127.0.0.1:8080/audi/servlet/Dis
play?action=Goto&t
yp
e=re
pair&id=AUDI.B5.AT01.39.9
Page 3 of 4
39-115
- Place VAG1306 drip tray underneath and drain
gear oil.
- Remove drive flange at installed bolts.
Installing
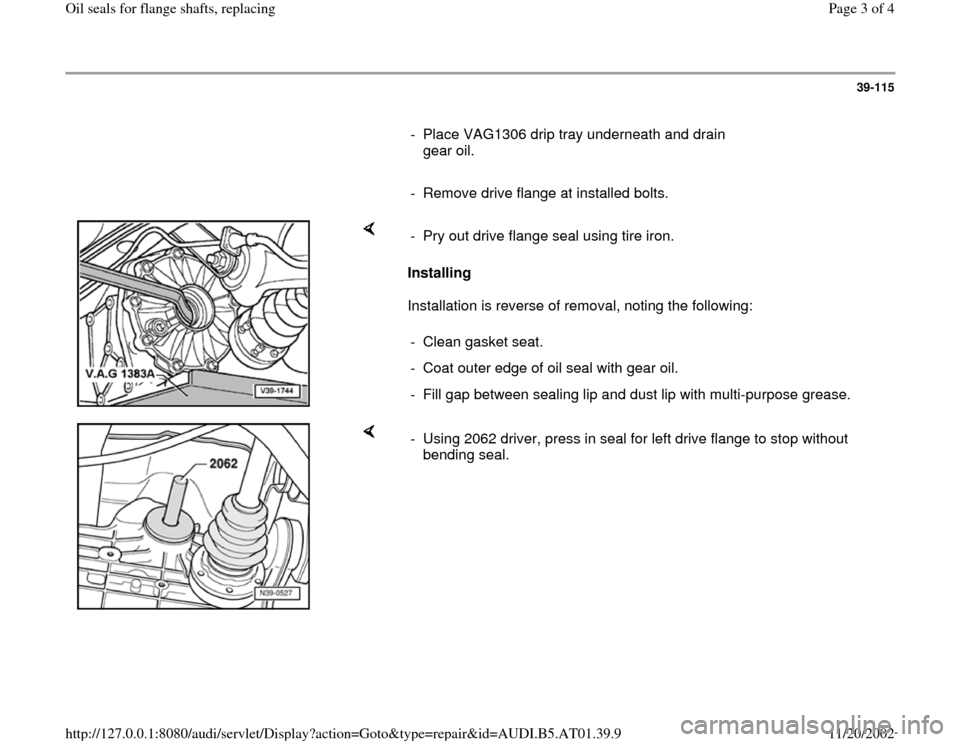
Installation is reverse of removal, noting the following: - Pry out drive flange seal using tire iron.
- Clean gasket seat.
- Coat outer edge of oil seal with gear oil.
- Fill gap between sealing lip and dust lip with multi-purpose grease.
- Using 2062 driver, press in seal for left drive flange to stop without
bending seal.
Pa
ge 3 of 4 Oil seals for flan
ge shafts, re
placin
g
11/20/2002 htt
p://127.0.0.1:8080/audi/servlet/Dis
play?action=Goto&t
yp
e=re
pair&id=AUDI.B5.AT01.39.9
Page 4 of 4
39-116
Repair Manual, Suspension, Wheels, Steering, Repair Group 42;
Component allocation of rear axle (All Wheel Drive (AWD) vehicles); Drive axle, removing and installing
Repair Manual, Engine Mechanical, Repair Group 26; removing and
installing exhaust system
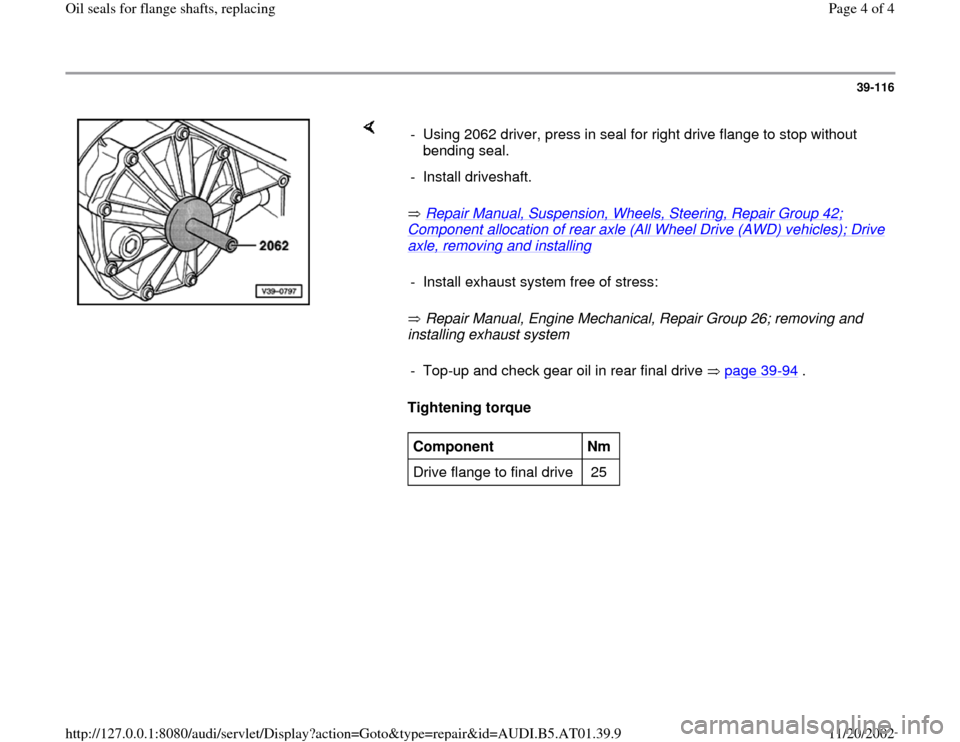
Tightening torque - Using 2062 driver, press in seal for right drive flange to stop without
bending seal.
- Install driveshaft.
- Install exhaust system free of stress:- Top-up and check gear oil in rear final drive page 39
-94
.
Component
Nm
Drive flange to final drive 25
Pa
ge 4 of 4 Oil seals for flan
ge shafts, re
placin
g
11/20/2002 htt
p://127.0.0.1:8080/audi/servlet/Dis
play?action=Goto&t
yp
e=re
pair&id=AUDI.B5.AT01.39.9
Trending: drain bolt, steering, check oil, torque, suspension, check engine, engine


