AUDI A4 1999 B5 / 1.G APB Engine Valve Gear Service Repair Manual
Manufacturer: AUDI, Model Year: 1999,
Model line: A4,
Model: AUDI A4 1999 B5 / 1.G
Pages: 99, PDF Size: 1.78 MB
AUDI A4 1999 B5 / 1.G APB Engine Valve Gear Service Repair Manual
A4 1999 B5 / 1.G
AUDI
AUDI
https://www.carmanualsonline.info/img/6/969/w960_969-0.png
AUDI A4 1999 B5 / 1.G APB Engine Valve Gear Service Repair Manual
Trending: airbag, mileage, ECU, wiring, light, check engine light, dimensions
Page 51 of 99
15-51
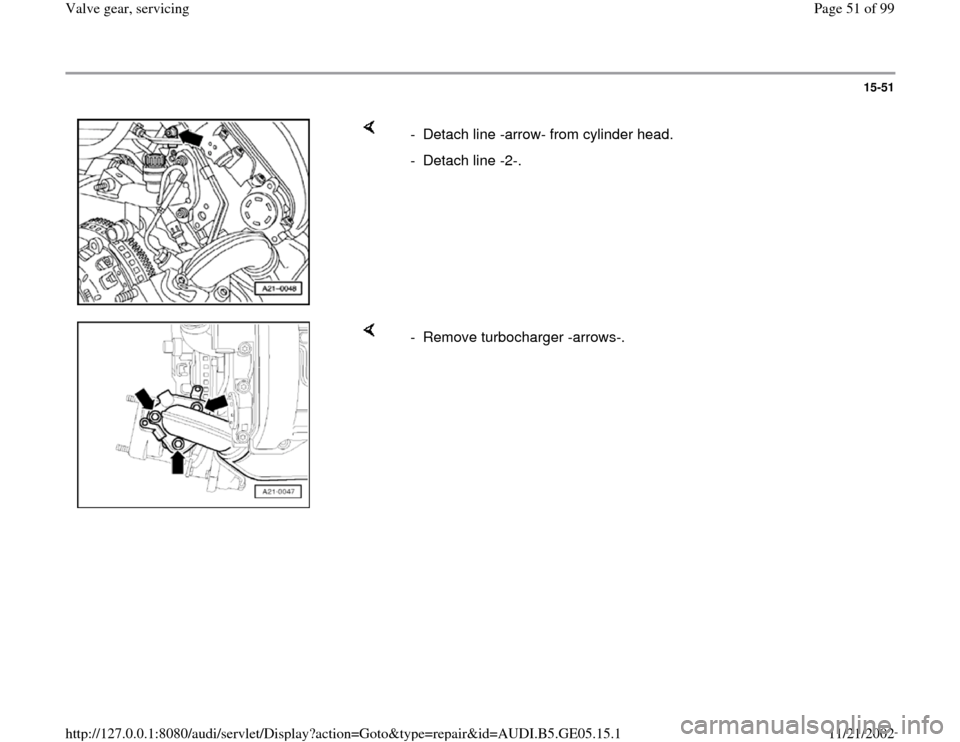
- Detach line -arrow- from cylinder head.
- Detach line -2-.
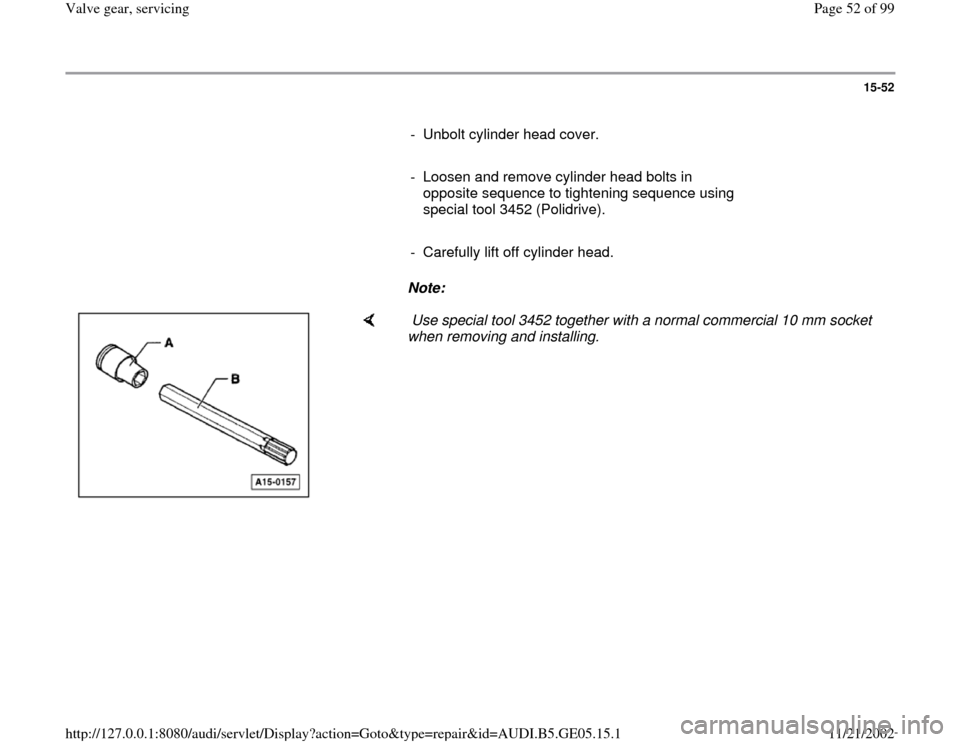
- Remove turbocharger -arrows-.
Pa
ge 51 of 99 Valve
gear, servicin
g
11/21/2002 htt
p://127.0.0.1:8080/audi/servlet/Dis
play?action=Goto&t
yp
e=re
pair&id=AUDI.B5.GE05.15.1
Page 52 of 99
15-52
- Unbolt cylinder head cover.
- Loosen and remove cylinder head bolts in
opposite sequence to tightening sequence using
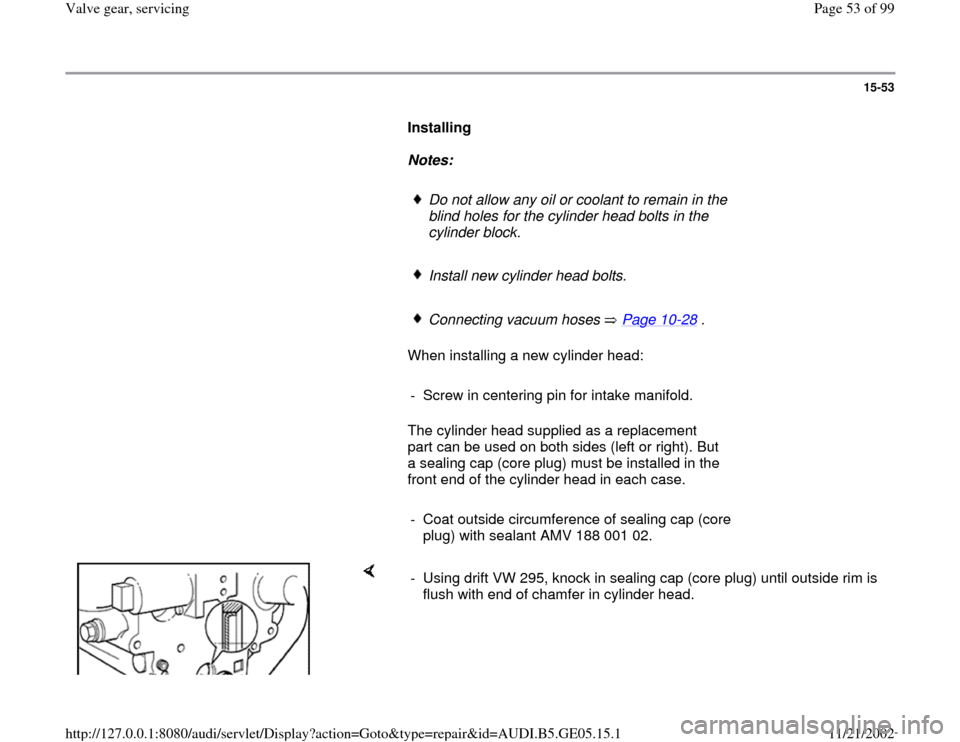
special tool 3452 (Polidrive).
- Carefully lift off cylinder head.
Note:
Use special tool 3452 together with a normal commercial 10 mm socket
when removing and installing.
Pa
ge 52 of 99 Valve
gear, servicin
g
11/21/2002 htt
p://127.0.0.1:8080/audi/servlet/Dis
play?action=Goto&t
yp
e=re
pair&id=AUDI.B5.GE05.15.1
Page 53 of 99
15-53
Installing
Notes:
Do not allow any oil or coolant to remain in the
blind holes for the cylinder head bolts in the
cylinder block.
Install new cylinder head bolts.
Connecting vacuum hoses Page 10
-28
.
When installing a new cylinder head:
- Screw in centering pin for intake manifold.
The cylinder head supplied as a replacement
part can be used on both sides (left or right). But
a sealing cap (core plug) must be installed in the
front end of the cylinder head in each case.
- Coat outside circumference of sealing cap (core
plug) with sealant AMV 188 001 02.
- Using drift VW 295, knock in sealing cap (core plug) until outside rim is
flush with end of chamfer in cylinder head.
Pa
ge 53 of 99 Valve
gear, servicin
g
11/21/2002 htt
p://127.0.0.1:8080/audi/servlet/Dis
play?action=Goto&t
yp
e=re
pair&id=AUDI.B5.GE05.15.1
Page 54 of 99
15-54
- Before installing cylinder head in position, turn
crankshaft and camshafts to TDC of No. 3
cylinder.
- Install cylinder head gasket on dowel sleeves.
Marking "oben" (top) or part number must face
towards cylinder head.
- Install cylinder head, insert cylinder head bolts
and tighten finger-tight.
It is not necessary to torque down cylinder head bolts again after repairs
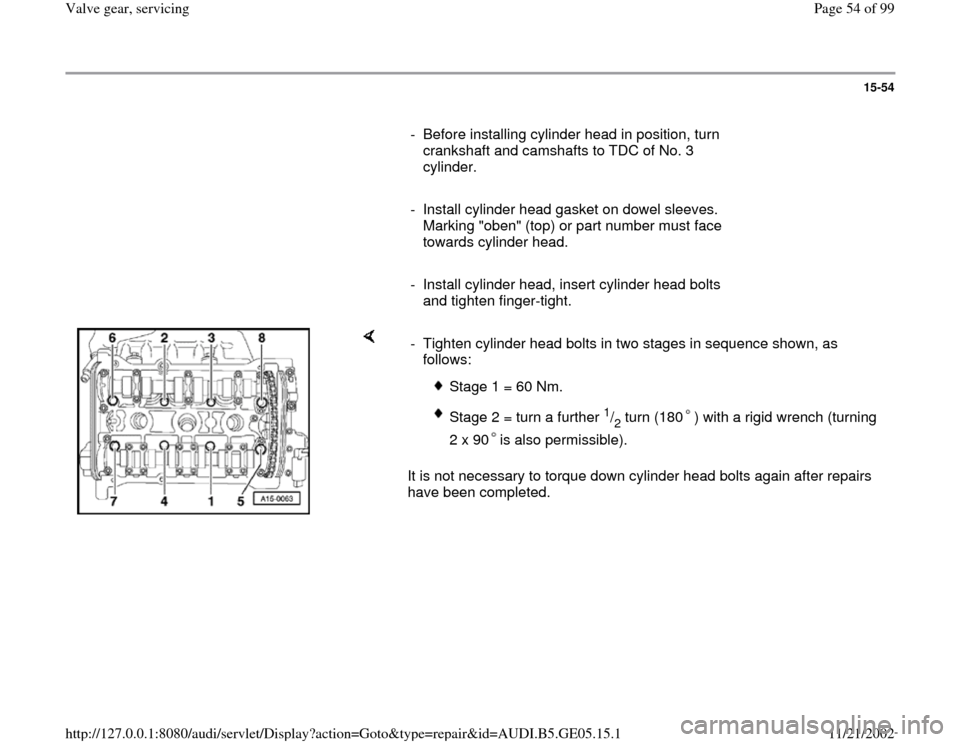
have been completed. - Tighten cylinder head bolts in two stages in sequence shown, as
follows:
Stage 1 = 60 Nm.
Stage 2 = turn a further
1/2 turn (180 ) with a rigid wrench (turning
2 x 90 is also permissible).
Pa
ge 54 of 99 Valve
gear, servicin
g
11/21/2002 htt
p://127.0.0.1:8080/audi/servlet/Dis
play?action=Goto&t
yp
e=re
pair&id=AUDI.B5.GE05.15.1
Page 55 of 99
15-55
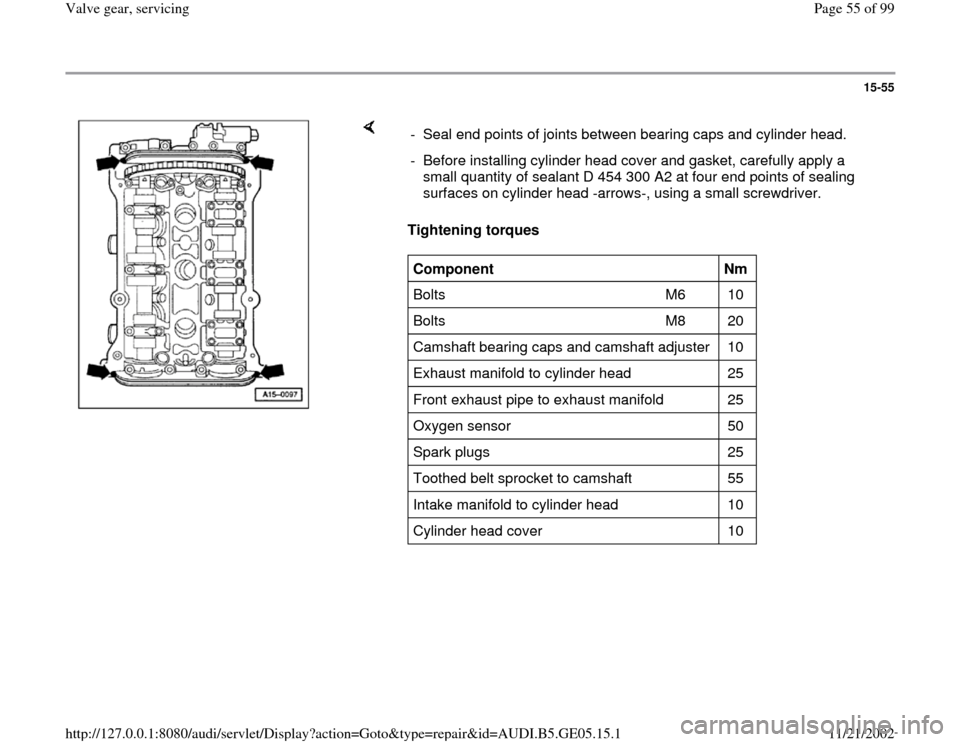
Tightening torques - Seal end points of joints between bearing caps and cylinder head.
- Before installing cylinder head cover and gasket, carefully apply a
small quantity of sealant D 454 300 A2 at four end points of sealing
surfaces on cylinder head -arrows-, using a small screwdriver. Component
Nm
Bolts M6 10
Bolts M8 20
Camshaft bearing caps and camshaft adjuster 10
Exhaust manifold to cylinder head 25
Front exhaust pipe to exhaust manifold 25
Oxygen sensor 50
Spark plugs 25
Toothed belt sprocket to camshaft 55
Intake manifold to cylinder head 10
Cylinder head cover 10
Pa
ge 55 of 99 Valve
gear, servicin
g
11/21/2002 htt
p://127.0.0.1:8080/audi/servlet/Dis
play?action=Goto&t
yp
e=re
pair&id=AUDI.B5.GE05.15.1
Page 56 of 99
15-56
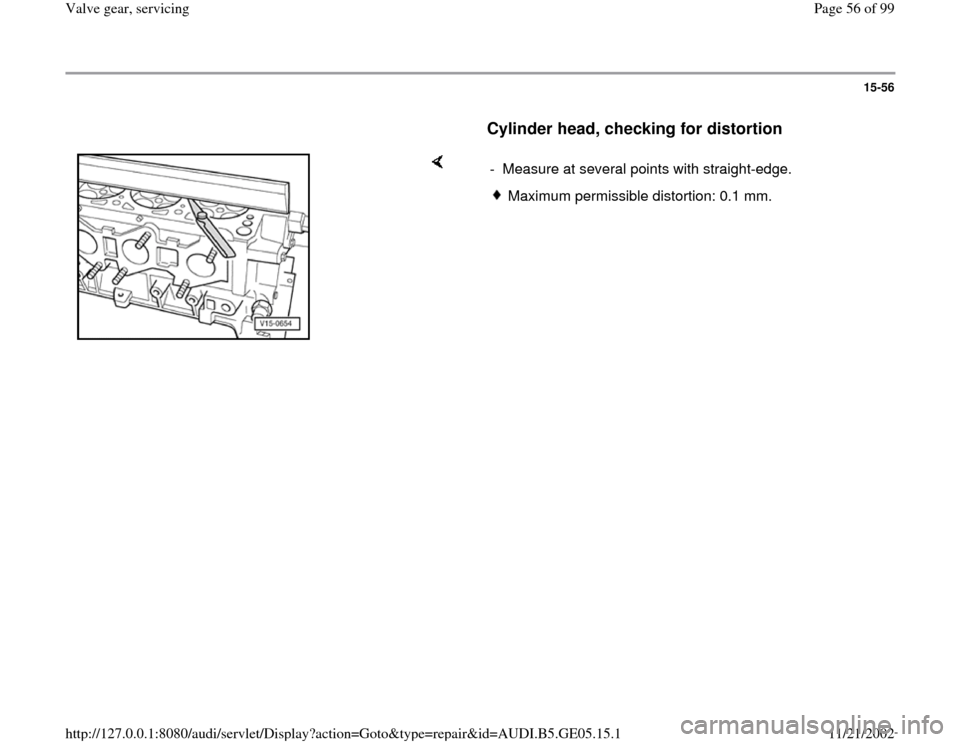
Cylinder head, checking for distortion
- Measure at several points with straight-edge.
Maximum permissible distortion: 0.1 mm.
Pa
ge 56 of 99 Valve
gear, servicin
g
11/21/2002 htt
p://127.0.0.1:8080/audi/servlet/Dis
play?action=Goto&t
yp
e=re
pair&id=AUDI.B5.GE05.15.1
Page 57 of 99
15-57
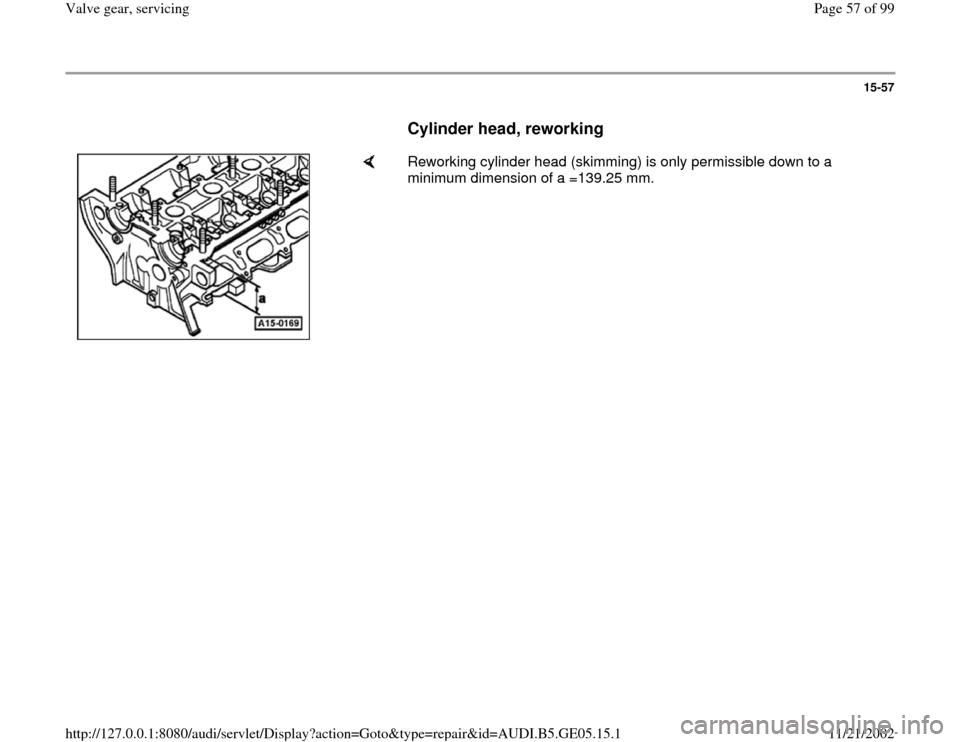
Cylinder head, reworking
Reworking cylinder head (skimming) is only permissible down to a
minimum dimension of a =139.25 mm.
Pa
ge 57 of 99 Valve
gear, servicin
g
11/21/2002 htt
p://127.0.0.1:8080/audi/servlet/Dis
play?action=Goto&t
yp
e=re
pair&id=AUDI.B5.GE05.15.1
Page 58 of 99
15-58
Compression, checking
Test requirements:
Engine oil temperature at least 30 C.
Battery fully charged.
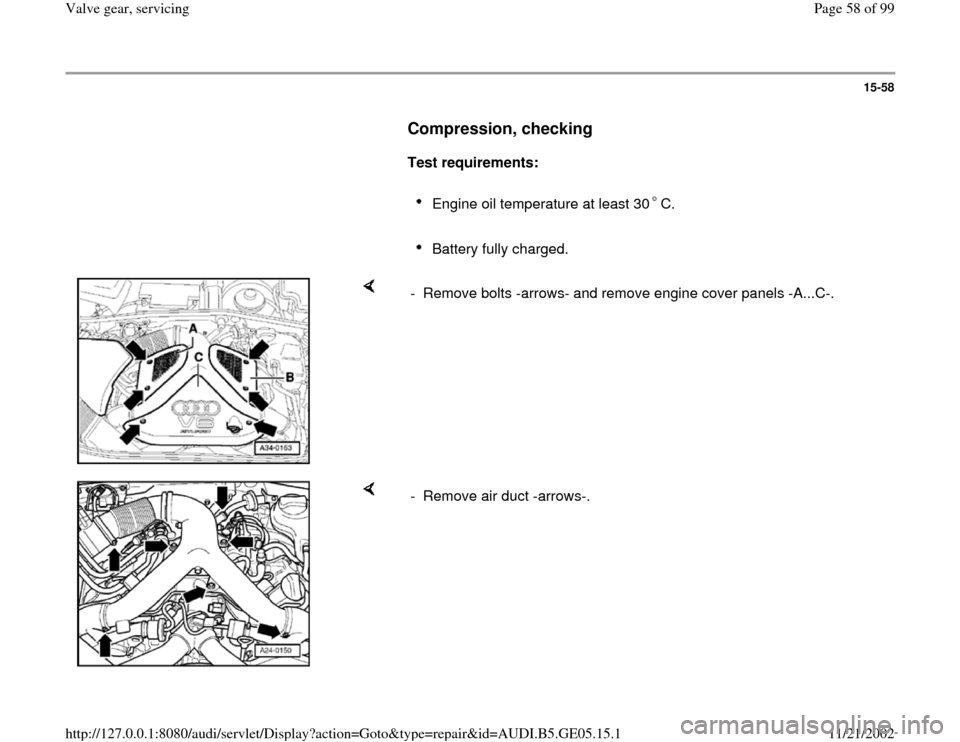
- Remove bolts -arrows- and remove engine cover panels -A...C-.
- Remove air duct -arrows-.
Pa
ge 58 of 99 Valve
gear, servicin
g
11/21/2002 htt
p://127.0.0.1:8080/audi/servlet/Dis
play?action=Goto&t
yp
e=re
pair&id=AUDI.B5.GE05.15.1
Page 59 of 99
15-59
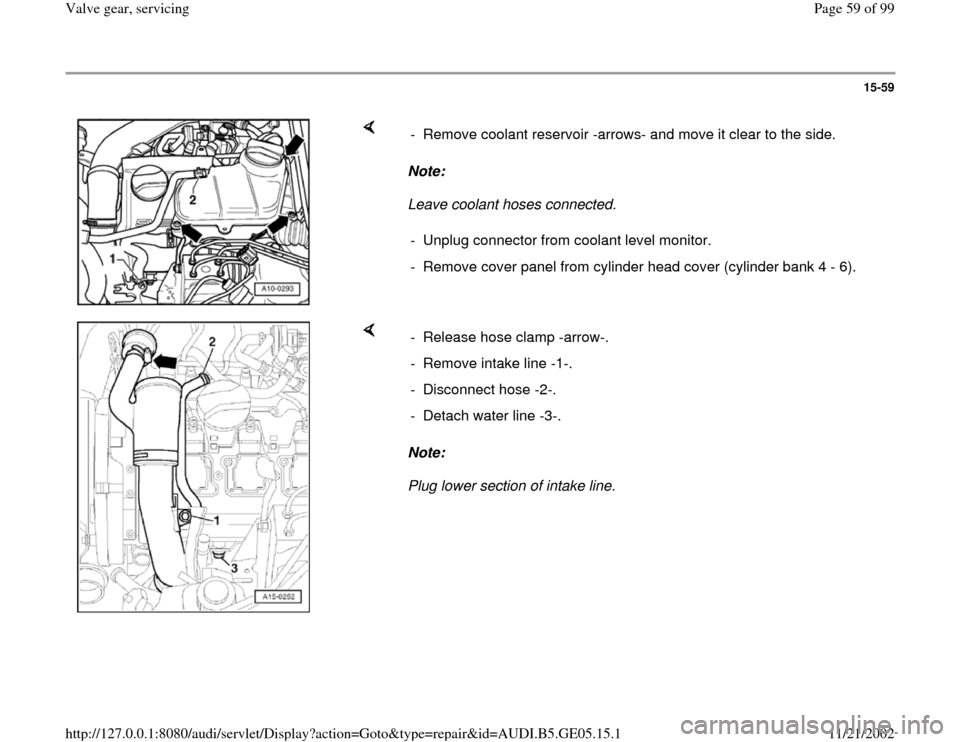
Note:
Leave coolant hoses connected. - Remove coolant reservoir -arrows- and move it clear to the side.
- Unplug connector from coolant level monitor.
- Remove cover panel from cylinder head cover (cylinder bank 4 - 6).
Note:
Plug lower section of intake line. - Release hose clamp -arrow-.
- Remove intake line -1-.
- Disconnect hose -2-.
- Detach water line -3-.
Pa
ge 59 of 99 Valve
gear, servicin
g
11/21/2002 htt
p://127.0.0.1:8080/audi/servlet/Dis
play?action=Goto&t
yp
e=re
pair&id=AUDI.B5.GE05.15.1
Page 60 of 99
15-60
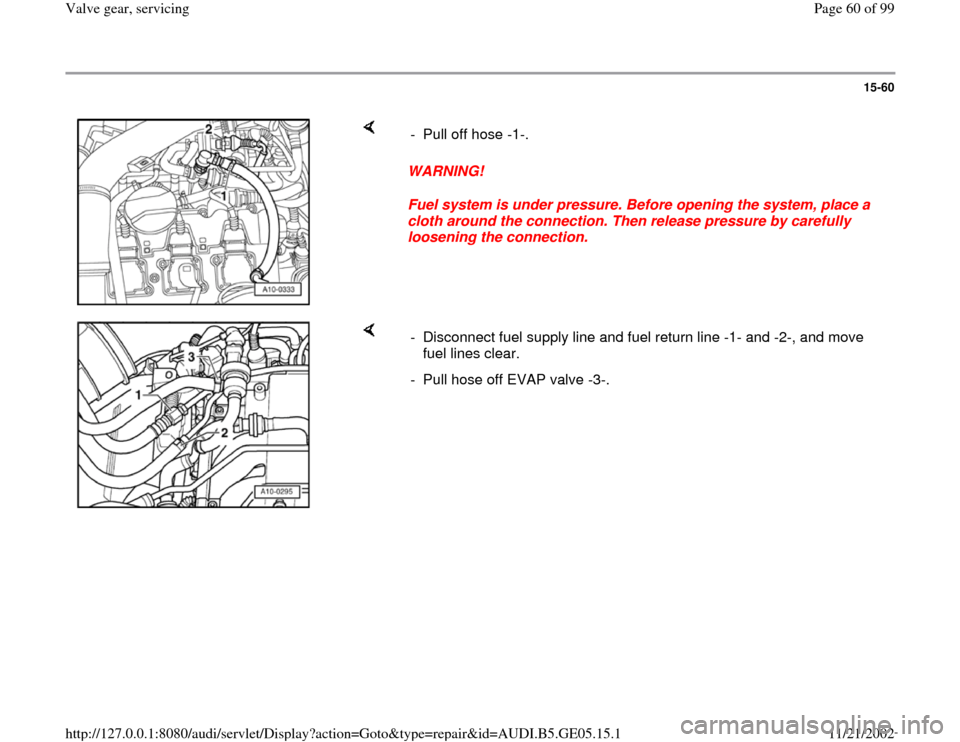
WARNING!
Fuel system is under pressure. Before opening the system, place a
cloth around the connection. Then release pressure by carefully
loosening the connection. - Pull off hose -1-.
- Disconnect fuel supply line and fuel return line -1- and -2-, and move
fuel lines clear.
- Pull hose off EVAP valve -3-.
Pa
ge 60 of 99 Valve
gear, servicin
g
11/21/2002 htt
p://127.0.0.1:8080/audi/servlet/Dis
play?action=Goto&t
yp
e=re
pair&id=AUDI.B5.GE05.15.1
Trending: airbag, tow, dimensions, light, torque, wiring diagram, check engine
