AUDI A4 2000 B5 / 1.G Suspension Lower Control Arm Remove And Install Workshop Manual
Manufacturer: AUDI, Model Year: 2000, Model line: A4, Model: AUDI A4 2000 B5 / 1.GPages: 9, PDF Size: 0.17 MB
Page 1 of 9
42-84
Lower control arm, removing
and installing
Removing
Vehicle must be standing on its wheels
above vehicle lift
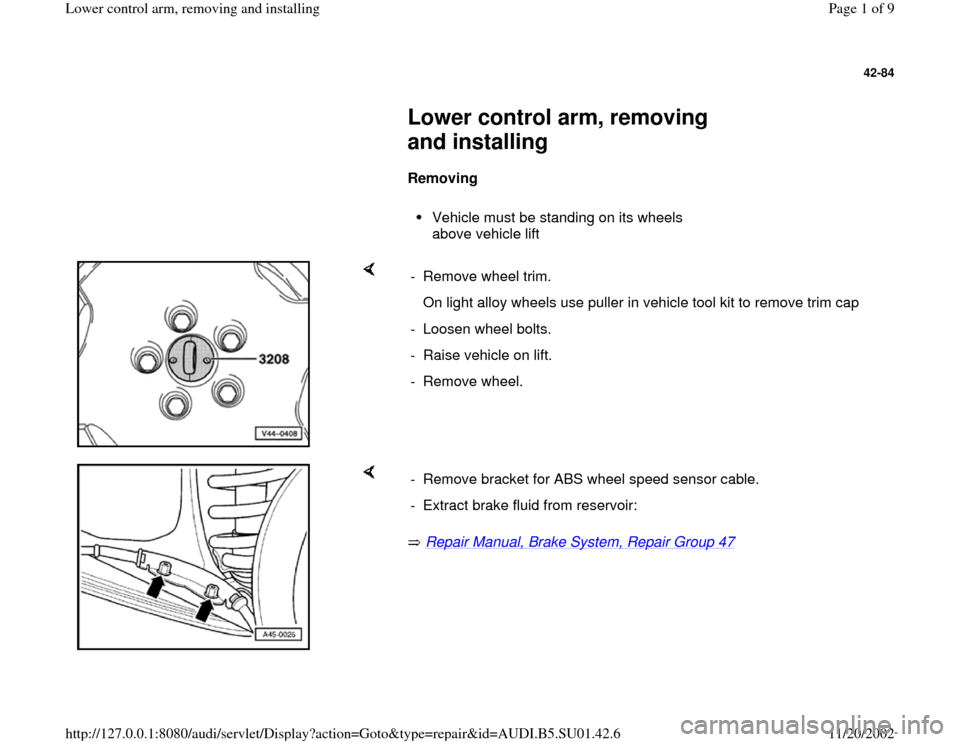
- Remove wheel trim.
On light alloy wheels use puller in vehicle tool kit to remove trim cap
- Loosen wheel bolts.
- Raise vehicle on lift.
- Remove wheel.
Repair Manual, Brake System, Repair Group 47
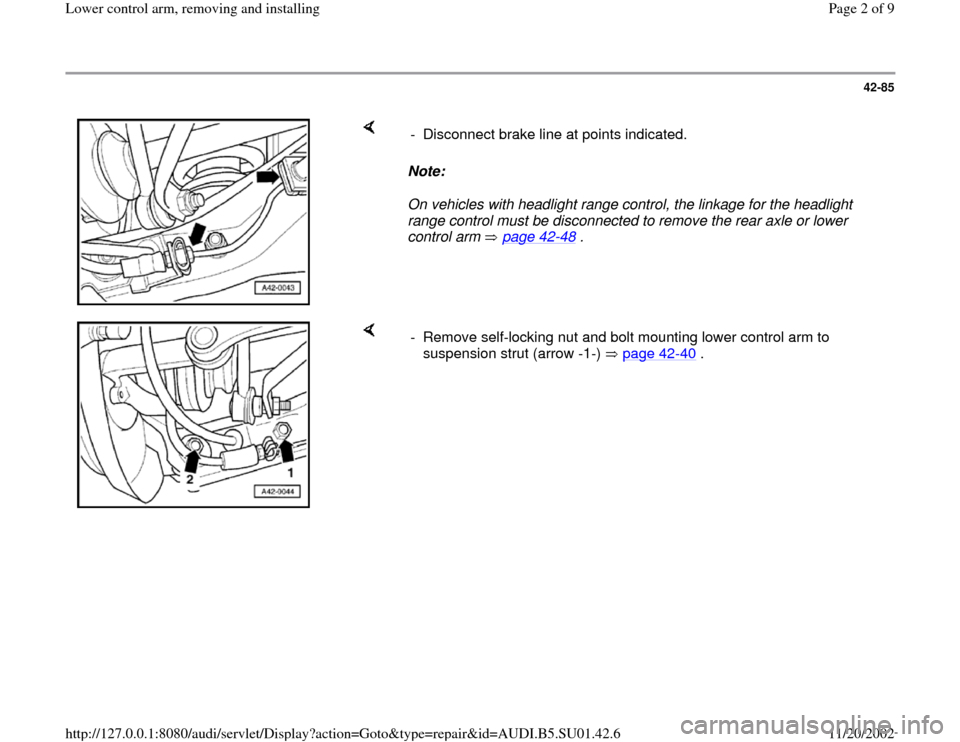
- Remove bracket for ABS wheel speed sensor cable.
- Extract brake fluid from reservoir:
Pa
ge 1 of 9 Lower control arm, removin
g and installin
g
11/20/2002 htt
p://127.0.0.1:8080/audi/servlet/Dis
play?action=Goto&t
yp
e=re
pair&id=AUDI.B5.SU01.42.6
Page 2 of 9
42-85
Note:
On vehicles with headlight range control, the linkage for the headlight
range control must be disconnected to remove the rear axle or lower
control arm page 42
-48
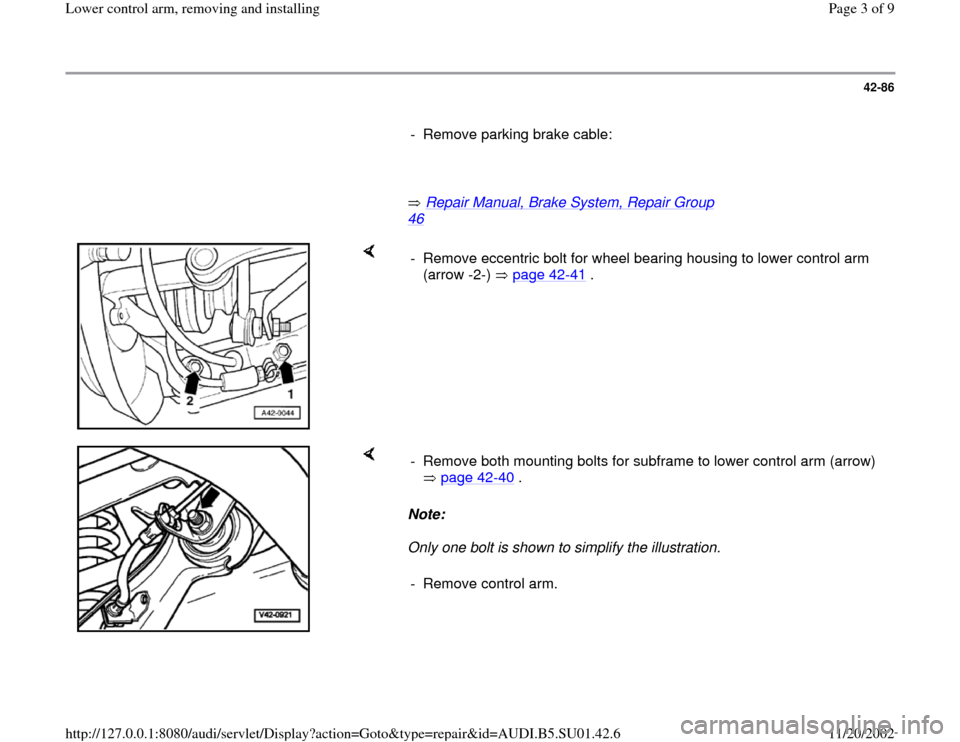
. - Disconnect brake line at points indicated.
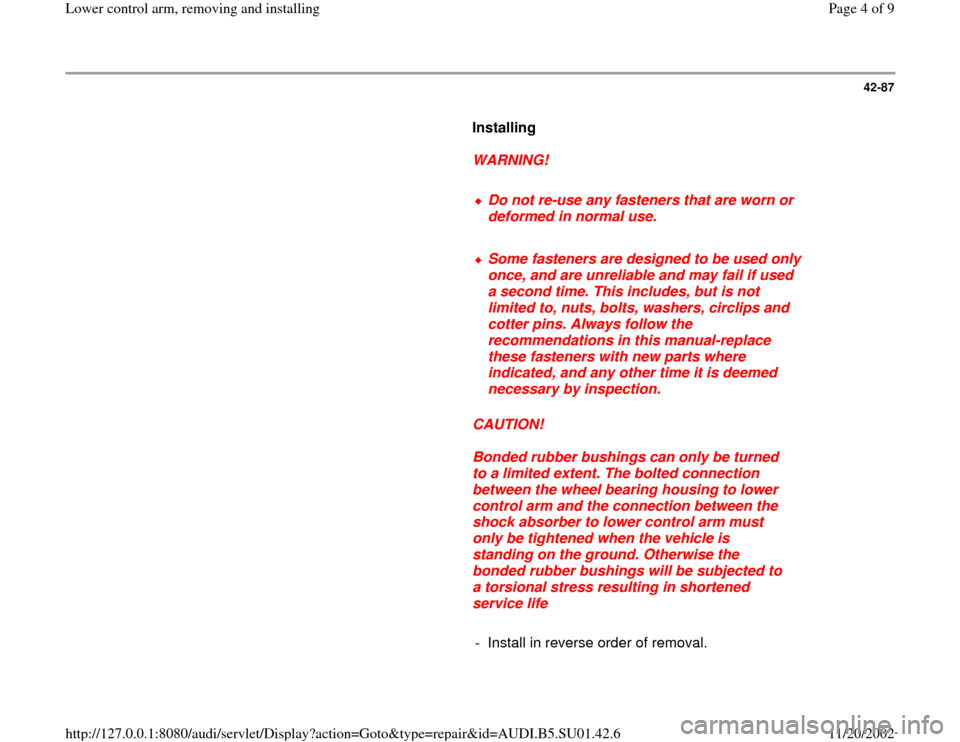
- Remove self-locking nut and bolt mounting lower control arm to
suspension strut (arrow -1-) page 42
-40
.
Pa
ge 2 of 9 Lower control arm, removin
g and installin
g
11/20/2002 htt
p://127.0.0.1:8080/audi/servlet/Dis
play?action=Goto&t
yp
e=re
pair&id=AUDI.B5.SU01.42.6
Page 3 of 9
42-86
- Remove parking brake cable:
Repair Manual, Brake System, Repair Group
46
- Remove eccentric bolt for wheel bearing housing to lower control arm
(arrow -2-) page 42
-41
.
Note:
Only one bolt is shown to simplify the illustration. - Remove both mounting bolts for subframe to lower control arm (arrow)
page 42
-40
.
- Remove control arm.
Pa
ge 3 of 9 Lower control arm, removin
g and installin
g
11/20/2002 htt
p://127.0.0.1:8080/audi/servlet/Dis
play?action=Goto&t
yp
e=re
pair&id=AUDI.B5.SU01.42.6
Page 4 of 9
42-87
Installing
WARNING!
Do not re-use any fasteners that are worn or
deformed in normal use.
Some fasteners are designed to be used only
once, and are unreliable and may fail if used
a second time. This includes, but is not
limited to, nuts, bolts, washers, circlips and
cotter pins. Always follow the
recommendations in this manual-replace
these fasteners with new parts where
indicated, and any other time it is deemed
necessary by inspection.
CAUTION!
Bonded rubber bushings can only be turned
to a limited extent. The bolted connection
between the wheel bearing housing to lower
control arm and the connection between the
shock absorber to lower control arm must
only be tightened when the vehicle is
standing on the ground. Otherwise the
bonded rubber bushings will be subjected to
a torsional stress resulting in shortened
service life
- Install in reverse order of removal.
Pa
ge 4 of 9 Lower control arm, removin
g and installin
g
11/20/2002 htt
p://127.0.0.1:8080/audi/servlet/Dis
play?action=Goto&t
yp
e=re
pair&id=AUDI.B5.SU01.42.6
Page 5 of 9
42-88
- Always replace bolts and nuts.
- Bleed brake system:
Repair Manual, Brake System, Repair Group
47
- Check wheel alignment and adjust if necessary
page 44
-6 .
Pa
ge 5 of 9 Lower control arm, removin
g and installin
g
11/20/2002 htt
p://127.0.0.1:8080/audi/servlet/Dis
play?action=Goto&t
yp
e=re
pair&id=AUDI.B5.SU01.42.6
Page 6 of 9
42-89
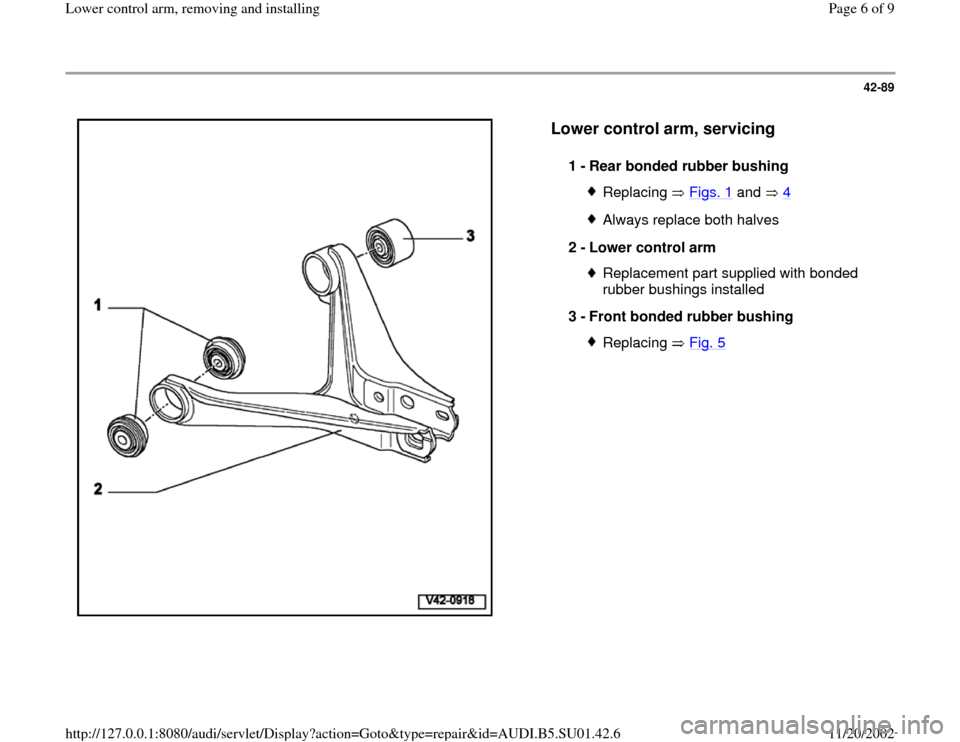
Lower control arm, servicing
1 -
Rear bonded rubber bushing
Replacing Figs. 1
and 4
Always replace both halves
2 -
Lower control arm Replacement part supplied with bonded
rubber bushings installed
3 -
Front bonded rubber bushing Replacing Fig. 5
Pa
ge 6 of 9 Lower control arm, removin
g and installin
g
11/20/2002 htt
p://127.0.0.1:8080/audi/servlet/Dis
play?action=Goto&t
yp
e=re
pair&id=AUDI.B5.SU01.42.6
Page 7 of 9
42-90
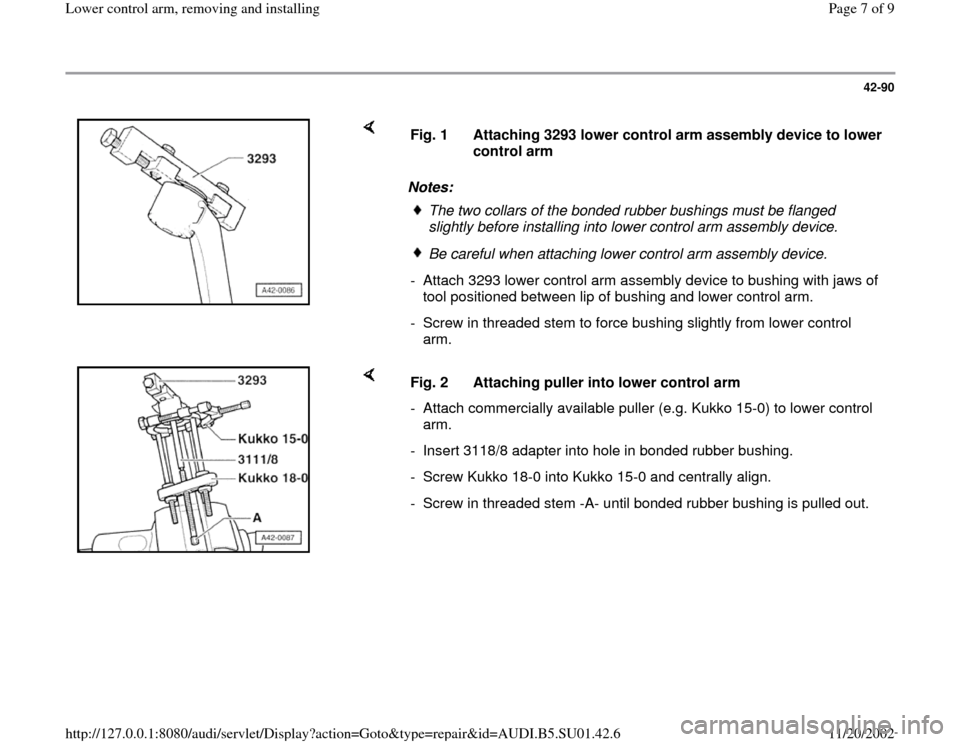
Notes: Fig. 1
Attaching 3293 lower control arm assembly device to lower
control arm
The two collars of the bonded rubber bushings must be flanged
slightly before installing into lower control arm assembly device. Be careful when attaching lower control arm assembly device.
- Attach 3293 lower control arm assembly device to bushing with jaws of
tool positioned between lip of bushing and lower control arm.
- Screw in threaded stem to force bushing slightly from lower control
arm.
Fig. 2 Attaching puller into lower control arm
- Attach commercially available puller (e.g. Kukko 15-0) to lower control
arm.
- Insert 3118/8 adapter into hole in bonded rubber bushing.
- Screw Kukko 18-0 into Kukko 15-0 and centrally align.
- Screw in threaded stem -A- until bonded rubber bushing is pulled out.
Pa
ge 7 of 9 Lower control arm, removin
g and installin
g
11/20/2002 htt
p://127.0.0.1:8080/audi/servlet/Dis
play?action=Goto&t
yp
e=re
pair&id=AUDI.B5.SU01.42.6
Page 8 of 9
42-91
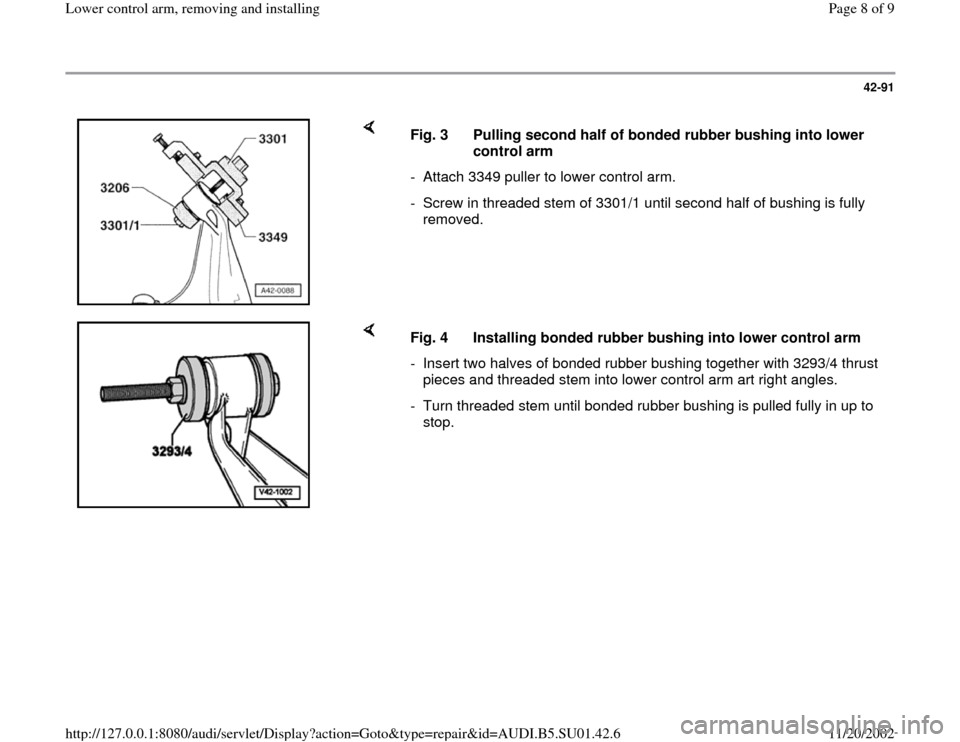
Fig. 3 Pulling second half of bonded rubber bushing into lower
control arm
- Attach 3349 puller to lower control arm.
- Screw in threaded stem of 3301/1 until second half of bushing is fully
removed.
Fig. 4 Installing bonded rubber bushing into lower control arm
- Insert two halves of bonded rubber bushing together with 3293/4 thrust
pieces and threaded stem into lower control arm art right angles.
- Turn threaded stem until bonded rubber bushing is pulled fully in up to
stop.
Pa
ge 8 of 9 Lower control arm, removin
g and installin
g
11/20/2002 htt
p://127.0.0.1:8080/audi/servlet/Dis
play?action=Goto&t
yp
e=re
pair&id=AUDI.B5.SU01.42.6
Page 9 of 9
42-92
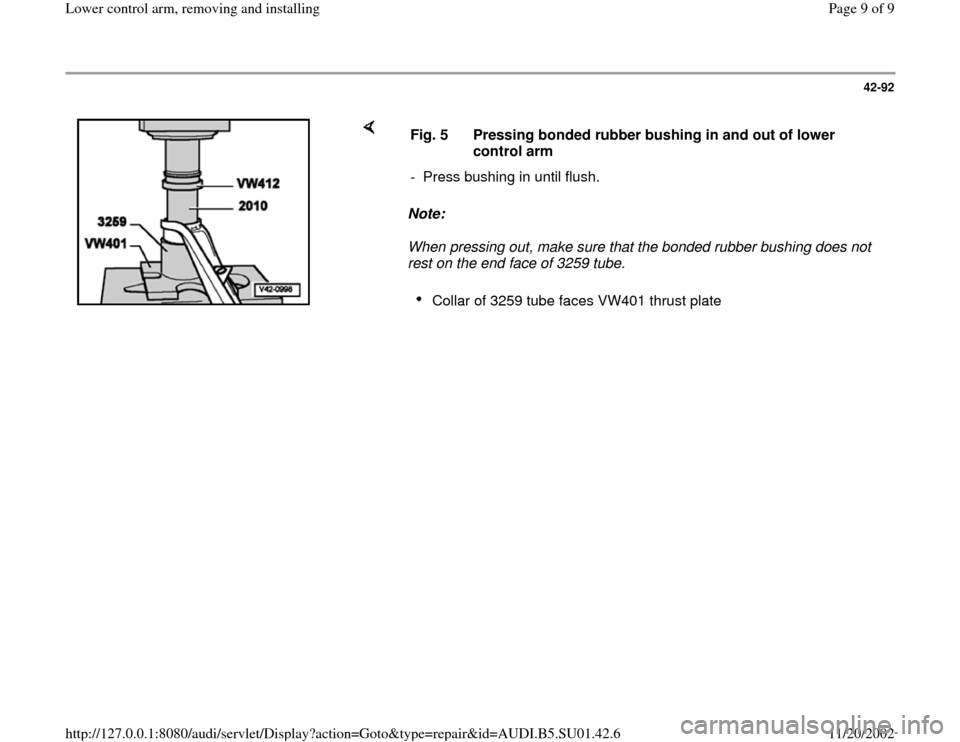
Note:
When pressing out, make sure that the bonded rubber bushing does not
rest on the end face of 3259 tube. Fig. 5 Pressing bonded rubber bushing in and out of lower
control arm
- Press bushing in until flush.
Collar of 3259 tube faces VW401 thrust plate
Pa
ge 9 of 9 Lower control arm, removin
g and installin
g
11/20/2002 htt
p://127.0.0.1:8080/audi/servlet/Dis
play?action=Goto&t
yp
e=re
pair&id=AUDI.B5.SU01.42.6