service AUDI A5 COUPE 2012 Owners Manual
[x] Cancel search | Manufacturer: AUDI, Model Year: 2012, Model line: A5 COUPE, Model: AUDI A5 COUPE 2012Pages: 316, PDF Size: 78.59 MB
Page 5 of 316
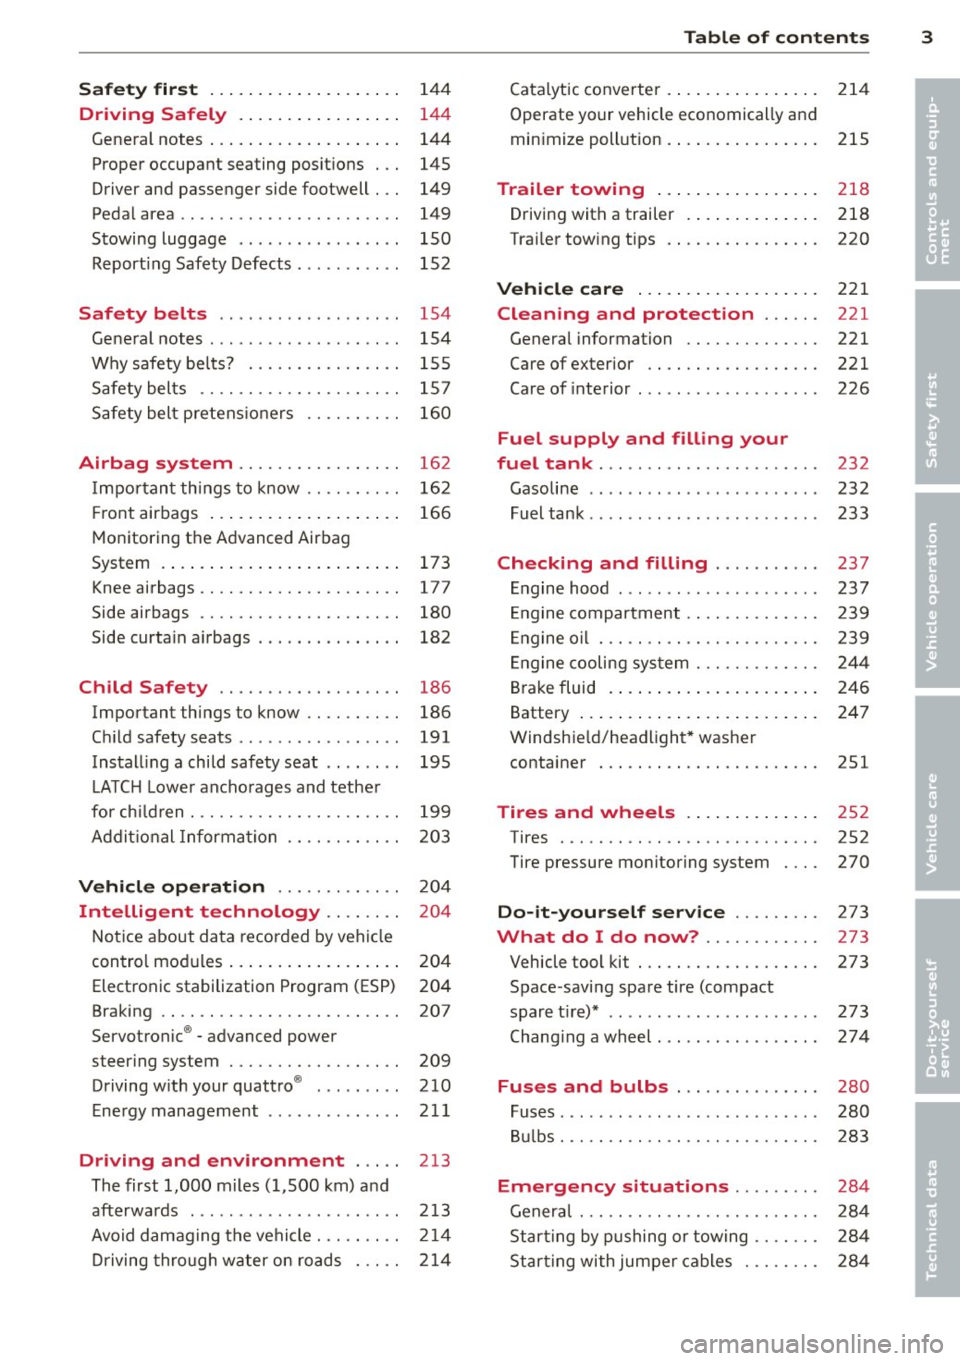
Safet y fir st ..... .... ... .. .. .. . .
Driving Safely .. .... ... .. .. .. . .
General notes ... ...... ... .. .. .. . .
Proper occupant seating posit ions . . .
Driver and passenger side footwell . . .
Pedal area .. .. .............. ... . .
Stowing luggage ... ...... .. .. .. . .
R eport ing Safety Defects . ......... . 1
4 4
144
144
145
149
149 150
152
Safety belts . . . . . . . . . . . . . . . . . . . 154
General notes . . . . . . . . . . . . . . . . . . . . 154
Why safety bel ts? . . . . . . . . . . . . . . . . 1 55
Safety belts . . . . . . . . . . . . . . . . . . . . . 157
Safety belt p re tens ioners . . . . . . . . . . 160
Airbag system . . . . . . . . . . . . . . . . . 16 2
I mpor tant th ings to know . . . . . . . . . . 16 2
Fr ont airbags . . . . . . . . . . . . . . . . . . . . 166
M onitoring the Advanced Airbag
System . . . . . . . . . . . . . . . . . . . . . . . . . 173
Knee airbags . . . . . . . . . . . . . . . . . . . . . 177
Side airbags . . . . . . . . . . . . . . . . . . . . . 180
Side curta in a irbags . . . . . . . . . . . . . . . 182
Ch ild Safety . . . . . . . . . . . . . . . . . . . 186
Important things to know . . . . . . . . . . 186
C hi ld safety seats . . . . . . . . . . . . . . . . . 191
Install ing a chi ld safety seat . . . . . . . . 195
L A TC H L ower ancho rages and tethe r
fo r ch ild ren . ............. .... .. .. 199
Addit io nal Informa tion 20 3
Vehicle operation . . . . . . . . . . . . . 204
Intelligent technology . . . . . . . . 204
N ot ice about da ta recorded by vehi cle
control mod ules . . . . . . . . . . . . . . . . . . 2 04
Electron ic stabilization Program (ESP) 204
Braking . . . . . . . . . . . . . . . . . . . . . . . . . 207
Servot ronic ® - advanced power
steering system . . . . . . . . . . . . . . . . . . 209
Driving w ith your quatt ro ® . . . . . . . . . 210
Ene rgy management . . . . . . . . . . . . . . 21 1
Driving and environment . . . . . 213
The first 1,000 m iles (1,500 km) a nd
afterwards . . . . . . . . . . . . . . . . . . . . . . 2 13
Avoid damaging the vehicle. .. .. .. .. 2 14
Dr iving thro ugh w ater o n roads . . . . . 2 14
Table of contents 3
Cata lyt ic converter . .. .. .. ..... ... .
Operate yo ur vehicle economically and
min imize poll ution . .. .. ... .... ... .
Trailer towing .... .. .. ..... ... .
Driving with a trailer . .. ..... ... .. .
Trai ler tow ing tips 214
215
218
218
220
Vehicle care
. . . . . . . . . . . . . . . . . . . 221
Cleaning and protection . . . . . . 221
General information . . . . . . . . . . . . . . 221
Care of exterior . . . . . . . . . . . . . . . . . . 221
Care of interior . . . . . . . . . . . . . . . . . . . 226
Fuel supply and filling your
fuel tank . . . . . . . . . . . . . . . . . . . . . . .
232
Gasoline . . . . . . . . . . . . . . . . . . . . . . . . 232
Fuel tank . . . . . . . . . . . . . . . . . . . . . . . . 233
Checking and filling . . . . . . . . . . . 237
En gine hood . . . . . . . . . . . . . . . . . . . . . 237
E ngine compartment . . . . . . . . . . . . . . 239
E ngine o il . . . . . . . . . . . . . . . . . . . . . . . 239
E ngine cooling sys tem . . . . . . . . . . . . . 244
Brake fluid . . . . . . . . . . . . . . . . . . . . . . 246
Battery . . . . . . . . . . . . . . . . . . . . . . . . . 247
Windsh ie ld/headligh t* was her
container . . . . . . . . . . . . . . . . . . . . . . . 251
Tires and wheels . . . . . . . . . . . . . . 252
Tires ..... .. .. .. ............... .
Tire pressure monitoring system 252
270
Do-it-yourself service
. . . . . . . . . 273
What do I do now? . . . . . . . . . . . . 273
Vehicle tool kit . . . . . . . . . . . . . . . . . . . 273
Space -saving spare tire (compact
spare t ire)* . . . . . . . . . . . . . . . . . . . . . . 273
Chang ing a wheel. .. . .. .. ..... ... . 274
Fuses and bulbs . . . . . . . . . . . . . . . 280
Fuses ... .. .. .. .. .. . .. .... .... .. . 280
B ulbs. . . . . . . . . . . . . . . . . . . . . . . . . . . 283
Emergency situations . . . . . . . . . 284
Genera l . . . . . . . . . . . . . . . . . . . . . . . . . 28 4
Star ting by p ushing or towing . . . . . . . 28 4
Star ting with jumper cables . . . . . . . . 284
•
•
Page 6 of 316
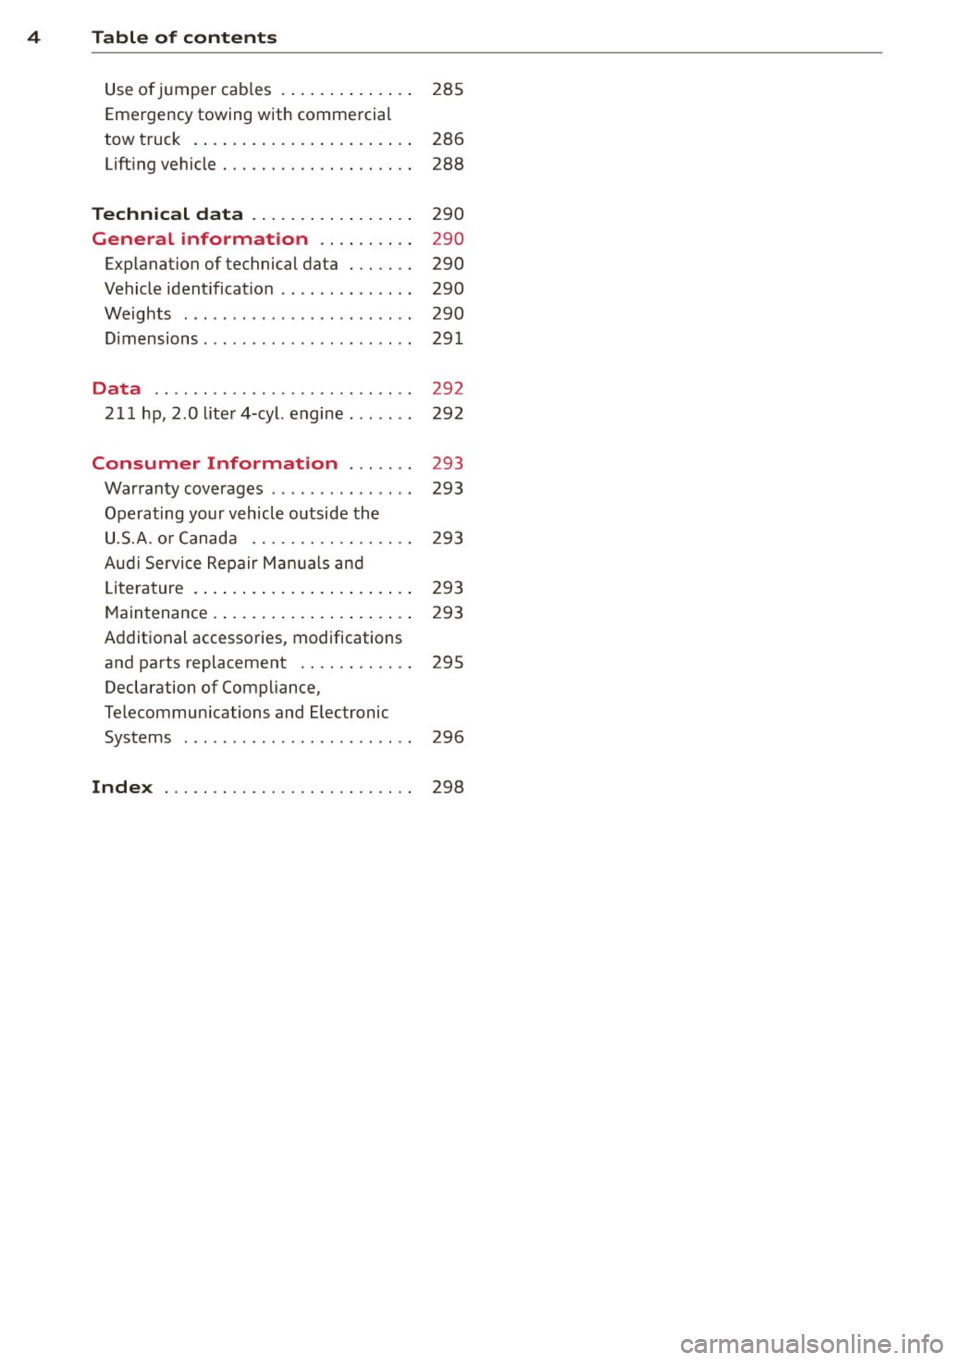
4 Table of contents
Use of jumper cables . . . . . . . . . . . . . . 285
Emergency towing with commercial
tow truck . . . . . . . . . . . . . . . . . . . . . . . 286
Lift ing vehicle . . . . . . . . . . . . . . . . . . . . 288
Techni cal data . . . . . . . . . . . . . . . . . 290
General information . . . . . . . . . . 290
Explanation of technical data . . . . . . . 290
Vehicle ident ificat ion . . . . . . . . . . . . . . 290
Weights . . . . . . . . . . . . . . . . . . . . . . . . 290
D imensions. .............. ... .. .. 291
Data . . . . . . . . . . . . . . . . . . . . . . . . . . . 292
2 11 hp, 2.0 l ite r4-cyl. engine ... .. .. 292
Consumer Information . . . . . . . 293
War ranty coverages . . . . . . . . . . . . . . . 293
Operating your v ehicle outside the
U.S.A . o r Canada . . . . . . . . . . . . . . . . . 293
Aud i Service Repair M anuals and
Li terature . . . . . . . . . . . . . . . . . . . . . . . 293
M aintenance . . . . . . . . . . . . . . . . . . . . . 2 93
Additional accessories, modifications
and parts replacement . . . . . . . . . . . . 295
Declaration of Compliance,
Te lecommunications and E lec tronic
Systems . . . . . . . . . . . . . . . . . . . . . . . . 296
Inde x ... ... ............ .. .. .. .. 298
Page 7 of 316
In addition to t his Owner's Ma nual, your A udi
comes w ith a Warranty
& Maintena nce book
l et.
Mor eover , d ep en ding on the mode l and t he
e quip ment, there may be additiona l ins truc
tion boo klets delivered w ith your vehicle (for
e x amp le, Ope rat ing Instr uctions fo r yo ur
Sound System, Navigation System etc .).
If yo u are m iss ing one of these publicat ions,
or if you believe that the inf ormation is not
comp lete, contact you r auth orized Audi dea le r
for assistance.
The Warranty & Maintenance booklet
explains how yo u can kee p your A udi in top
d riving conditi on by hav ing it serviced regular
l y and conta ins deta iled in fo rmat ion about
the wa rranties covering your Aud i. Always
h ave the book let with yo u when yo u take your
ve hicle to an auth orized Audi dealer for serv
i ce . Y our Aud i Service Adviser w ill reco rd each
sche duled service and can answer any ques
tions you may have r ega rding how to ma intain
your ve hicle.
In Canada,
the vehicle lite ratu re is also avai lab le in
Fr ench . T o obtai n a co py, c ontact your dea ler
or w rit e to :
Au Canada, on peut se procure r un e xempla ire
e n fran~ais de ce doc ument aupres du conces
sionna ire ou de :
Vo lkswagen Canada, Inc.
Client Assistance
Assistance a la Clientele
77 7 Bayly Street, West,
A jax, On tario LIS 7G 7
If you sell your Audi
all literatu re should be left in the veh icle to
make the Warranty terms as we ll as a ll oper
ating, safety and ma intenance information
ava ilab le to the ne xt owne r.
Vehicle literature 5
If you change your address or if you
bought this Audi used
b e s ure to send in a "Notice of A ddress
Change"
I " N otice of Used Car Purchase" post
ca rd. T his card can be fo und in the War ranty
&
M aint enance booklet or obtained from your
a utho rized Aud i dea le r.
It is in your own interest that we are able to
contact you should the need arise .
•
•
Page 21 of 316
Driver information
display
Introduction
General notes
The driver informa tion display inside the in
strument cluster provides you, the driver,
with much useful information.
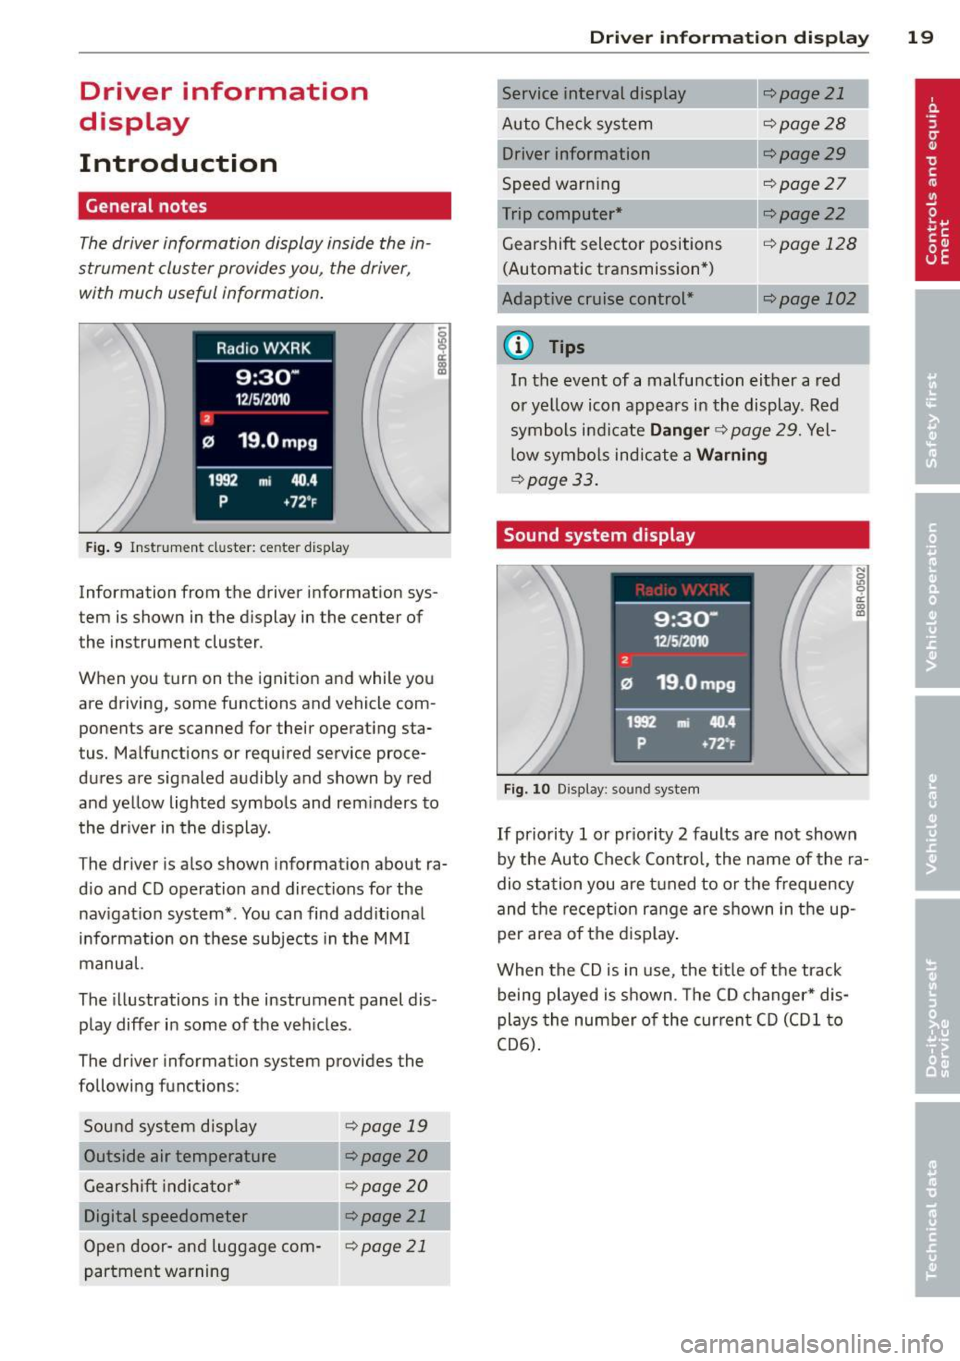
Fig. 9 Instr ument cluster: center d isplay
Information from the driver information sys
tem is shown in the display in the center of
the instrument cluster.
When you turn on the ignition and while you
are driving, some functions and vehicle com
ponents are scanned for their operating sta
tus. Malfunctions or required service proce
dures are signaled audibly and shown by red
and yellow lighted symbols and rem inders to
the dr iver in the display.
The driver is also shown information about ra
d io and CD operation and directions for the
nav igation system*. You can find add itional
i n formation on these subjects in the M MI
manual.
The illustrations in the instrument panel dis
play differ in some of the vehicles .
The driver information system provides the
following functions:
Sou nd system disp lay
¢page 19
Outside air temperature ¢ page 20
Gearshift indica tor * ¢ page 20
Digital speedometer ¢ page 21
Open door -and luggage com-¢page 21
partment warning
Driver inform ation di spl ay 19
Service interval display
Auto Chec k sys tem
Driver information
Speed warn ing
Trip computer*
Gearshift selector positions (Automatic transmission *)
Adaptive c ruise control*
a) Tips
¢page 21
¢page28
¢page29
¢page27
¢page22
cf) page 12 8
c::.page 102
In the event of a malfunction either a red
or yellow icon app ears in the display. Red
symbols indicate
Danger ¢ page 29. Yel
l ow symbo ls indicate a
Warning
¢page 33.
Sound system display
Fig. 10 Display: sound system
If priority 1 or pr iority 2 faults are not shown
by the Auto Check Contro l, the name of the ra
dio station you are t uned to o r the frequency
and the recept ion ran ge are shown in the up
per area of the d isplay .
When the CD is in use, the tit le of the track
being played is shown. The CD changer* dis
plays the number o f the cur rent C D (CDl to
CD6) .
Page 23 of 316
If there is no gearshift recommendation, then
just drive in the appropriate gear for conserv
ing fuel.
@ Tips
-This indicator can help you conserve fuel.
This indicator is not meant to show you
which gear you should a lways be in in all
driving situations. Sometimes, in s itua
tions such as passing, driving through mountains or when towing a trailer,
there won't be any gearsh ift recommen
dat ion.
- The display does not light up when the
clutch pedal is be ing depressed .
Digital speedometer
Fig. 13 Display : Dig ital speedo mete r
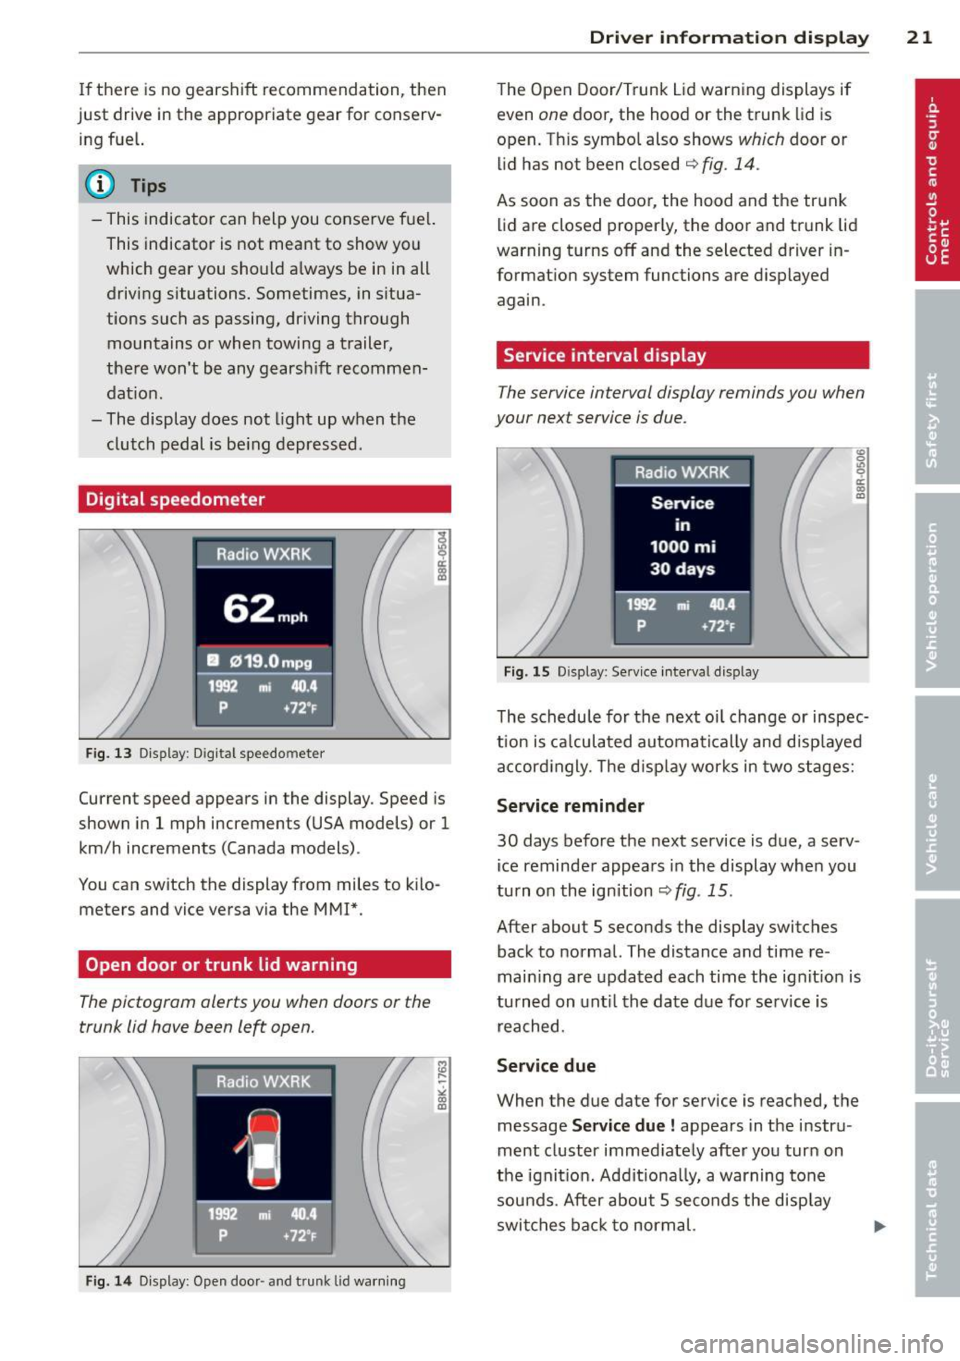
Current speed appears in the display . Speed is
shown in 1 mph increments (USA models) or 1
km/h increments (Canada models) .
You can switch the display from miles to kilo meters and vice versa via the MMI*.
Open door or trunk lid warning
The pictogram alerts you when doors or the
trunk lid have been le~ open.
Fig. 14 Display: Open doo r- and trunk lid warning
Driver information display 21
The Open Door/Trunk Lid warning displays if
even
one door, the hood or the trunk lid is
open. Th is symbol also shows
which door or
lid has not been closed
q fig. 14 .
As soon as the door, the hood and the trunk
lid are closed properly, the door and trunk lid
warning turns off and the selected driver in
formation system functions are displayed
again.
Service interval display
The service interval display reminds you when
your next service is due .
Fig. 15 Disp lay : Se rv ice interval d isplay
The schedule for the next oil change or inspec
t ion is calculated automatically and d isp layed
accord ingly. The d isp lay works in two stages:
Service reminder
30 days before the next service is due, a serv
i ce reminder appears in the display when you
turn on the ignition
qfig . 15 .
After about 5 seconds the display switches
back to normal. The distance and time re
main ing are updated each time the ignit ion is
turned on until the date due for serv ice is
reached.
Service due
When the due date for service is reached, the
message
Service due! appears in the instru
ment cluster immed iately after you turn on
the ignition. Addit ionally, a warning tone
sounds. After about 5 seconds the disp lay
switches back to normal.
Page 24 of 316
22 Driver information display
Calling up the service schedules
If or when an oil change or inspection is due,
can be shown in the radio or MMI* display by
selecting the service interval display in the car menu. Select
ICARI > Service interval display.
Resetting the service interval display
Your authorized Audi dealer w ill reset the cor
responding service schedule after performing
the appropriate service on your vehicle. You
a lso have the possibility to reset the oil
change schedule after having performed an
oil change according to Audi specifications.
Select
I CAR I > Service interval dis play > Reset
oil change interval.
(D Note
If you disconnect the battery terminals, no
calculations can be made for the service
interval display during this t ime and no
service rem inder w ill appear . Remember
that observ ing the proper serv ice intervals
is vital ly important to extend ing the life of
your veh icle, part icular ly the engine, and
maintaining its va lue. Even if the mileage
driven is low, the maximum period of one
year from one service to the next must not be exceeded.
@ Tips
- Do not reset the display between oil
changes, otherw ise the display will be in
correct.
- The information in the Service Reminder
remains stored even when the vehicle
battery is disconnected.
Trip computer
Introduction
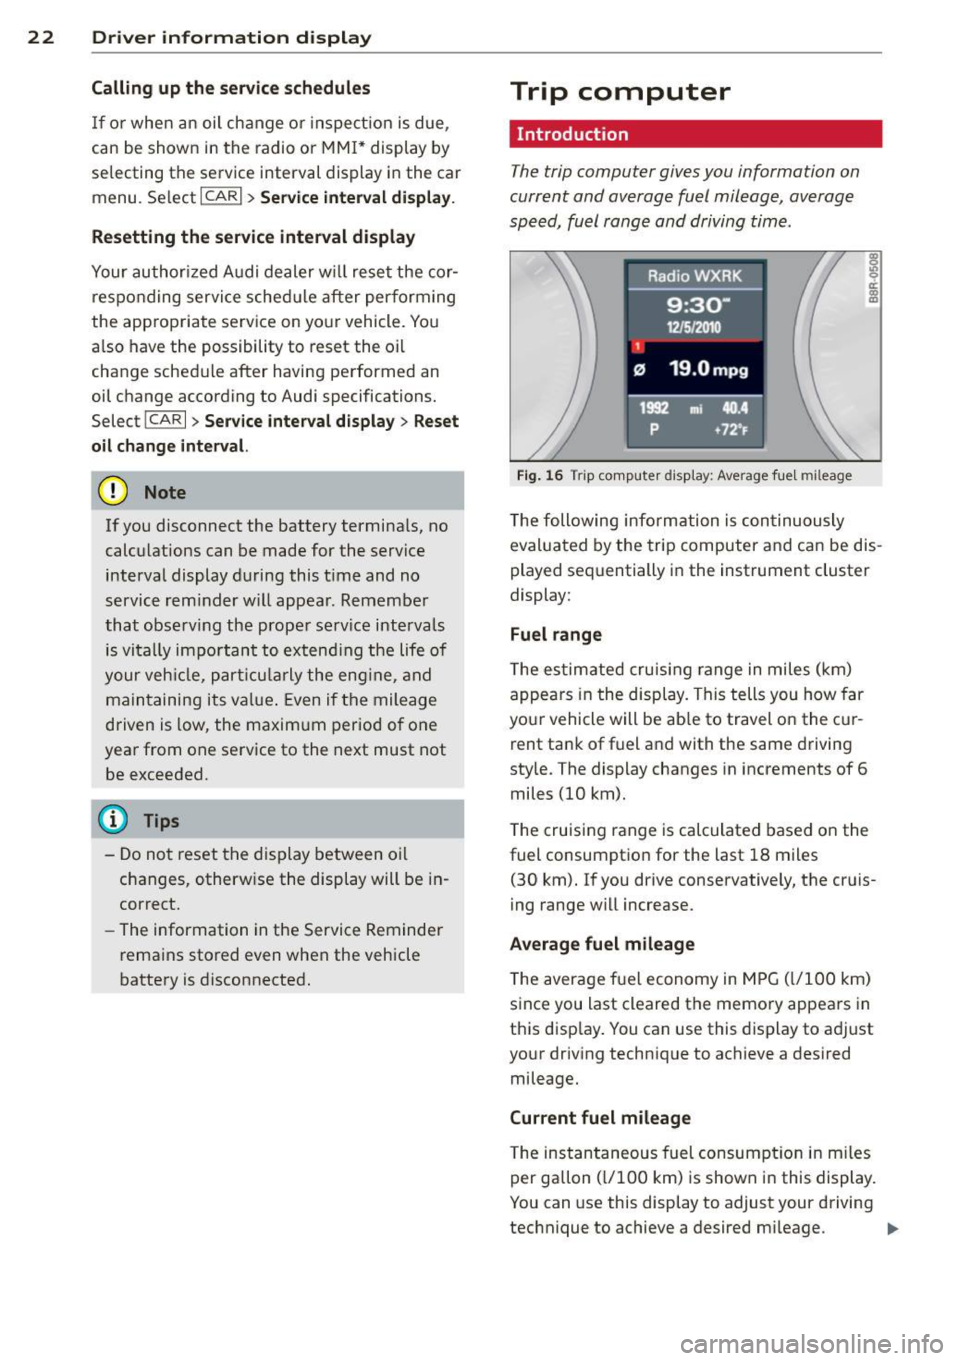
The trip computer gives you information on
current and average fuel mileage, average
speed, fuel range and driving time.
Fig. 16 Trip computer display: Average fue l mi leage
T he following information is con tinuously
evaluated by the trip computer and can be dis
played sequentially in the instrument cluster
display:
Fuel range
The estimated cruising range in miles (km)
appea rs in the display. This tells you how far
your vehicle will be ab le to travel on the cur
rent tank of fuel and with the same driving
style. The display changes in increments of 6
miles (10 km).
T he cruising range is calculated based on the
fuel consumption for the last 18 miles
(30 km). If you drive conservatively, the cruis
ing range will increase.
Average fuel mileage
T he average fuel economy in MPG (l/100 km)
since you last cleared the memory appears in
this display. You can use this display to adjust
your driving technique to achieve a desired
mileage.
Current fuel mileage
T he instantaneous fuel consumption in m iles
per gallon ( l/100 km) is shown in this display.
You can use this display to adjust your driving
technique to achieve a desired m ileage .
Ill-
Page 33 of 316

-Driving wi th low brake fluid is a safe ty
haza rd. S to p the car and get professional
assistance.
- USA models: If the - warning light
and
the m warning light come on to
gether, the rear wheels could lock up
first under hard braking. Rear wheel lock
up can cause loss of vehicle control and
an acc ident. Have your vehicle repaired
immediately by your authorized Audi
dealer or a qualified workshop. Dr ive
slowly and avoid sudden, ha rd b rake ap
plications.
- Canada models: If the brake warn ing
ligh t. and the ABS warning light
[i]
come on together, the rear wheels could
lock up first under hard brak ing. Rear
wheel lock- up can cause loss of veh icle
control and an accident. Have your vehi
cle repaired immediately by your author
ized Aud i dealer or a qualified workshop .
Drive slowly and avo id sudden, hard
brake applicat io ns.
-L Engine cooling system malfunction
A malfunction in the engine cooling system
must be repaired as soon as possible .
If the . symbol flashes in the display , e ither
the eng ine coolant
temperature is too h igh or
the eng ine coolant
level is too low. A dr iver
message appears as we ll to explain the mal
f u nction in more detail. The drive r warning
goes o ut after abo ut S seconds, but it c an be
b rought up at any time by press ing the
!SE Tl
button again.
Sw itch off engin e and check coolant lev el
.,. Pu ll off the road .
... Stop the veh icle .
.,. Turn off the engine .
.,. Check coolant level¢
page 244.
.,. Add coolan t if necessa ry ¢ page 245 .
.,. Contin ue driving only after the eng ine cool
ant war ning/indicato r light goes o ut.
... Contact your a uthorized Audi dea ler for as
s istance if necessary .
Driver information di spla y 31
If the engine coo lant level is correct, then the
radiator fan may be the ca use of the malfunc
t ion .
_& WARNING
-If your vehicle should brea k down for
mechanical or other reasons, park at a
safe distance from moving traffic, turn
off the eng ine and tu rn on the haza rd
warn ing lights
~ page 52, Em ergency
flashers.
-
- Never ope n the hood if you se e or hear
steam or coo la nt escaping from the en
gine com partmen t -yo u ris k being scald
e d . Wai t until yo u ca n no longer see o r
hea r steam o r coolan t escap ing.
- Th e engine compa rtme nt o f any vehicle
is a dangerous area. Be fore you perform
any wo rk in the engine compartmen t,
tur n of the engine and allow it to coo l.
Follow the warn ing stickers ¢
page 230,
Engine compartment .
(D Note
Do not continue driv ing if the . symbo l
ill uminates . There is a malfunction in the
engine cooling system -you could damage
your engine.
"t::7: Engine oil pressure malfunction
The red engine oil pressure warning symbol
requires immediate service or repair. Driving
with a low oil pressure indication is likely to
cause severe engine damage.
If the . symbo l on the d isplay flashes, the
engine oil pressure is too low. A driver mes
sage appears as well to exp la in the malfunc
tion in more detail. The driver warning goes
o ut after about 5 seconds, b ut i t can be
brought up at any t ime by pressing the
~ IS- ET~ I
bu tton aga in .
Switch off eng ine ! Oil pr essure too low
... Stop the vehicle .
.,. Turn the engine off.
.,. Check the engine oi l level ¢
page 242.
Page 34 of 316

32 Driver information display
• Co ntac t you r authorized Audi dea ler if nec -
essa ry .
Engine oil level too low
If th e e ngine o il leve l is too l ow, ad d eng ine
oil
<> page 242.
Engine oil level correct
If th e . symbo l flash es even t houg h the en
g ine o il lev el is co rrec t, p lease seek prof essio
na l assis tan ce. Do not cont inu e dr iv in g. Do
no t leave the eng ine run nin g
idle, either .
{O) Tips
- The engine oil pressure symbol. is
not an indicator for a low engine oil lev
el. Do not rely on it. Instead, che ck the
oil level in your engine at regular inter
vals, preferably each time you refuel,
and always before going on a long trip.
- The yellow oil level warning indication
II requires oil refill or workshop serv
ice without delay . Do not wait until the
red oil pressure warning. starts to
flash before you respond to the low oil level warning
II. By then, your engine
may already have suffered serious dam
age .
~ . Fill engine oil now
WARNING: Please add oil immediately
If t he . symbo l lights up, t hen the oil has to
be rep lenished r ight now
c:> page 242 .
Q31-e Steering malfunction
If there is a malfunction in the electronic
steering column lock, th e steering cannot b e
unlocked .
If th e . symbol in the disp lay blinks, there
is a malfunction in the elect ronic steer ing col
u m n lock. A dr iver message app ears as well to
explain the malfunc tion in mo re de ta il. The
dr iver war ning goes out after about 5 sec
on ds, but it can be broug ht up a t any time by
p res sing t he
ISE TI bu tton again .
Stop the vehicle and turn off the engine.
Steering defective
• Obtain profess ional a ssista nc e.
• Do
not tow your ve hicle.
A WARNING
-
Your veh icle must not be towe d in t he
event of a malfunction in the electronic
steering co lumn lock beca use it cannot be
steered due to the locked steering. I f it is
t o we d wit h the steeri ng locked, there is
t h e risk o f an accident.
I
{i) Tips
The symbol's ap pearance might be differ
ent in some mode ls.
© -e Ignition lock malfunction
A malfunction in the ignition lock must be re
paired immediately.
If the . symbol in the display blinks , there
is a ma lf u nction in the e lectronic ignition lock .
A driver message appears as we ll to explain
t h e malfunction in mo re deta il. The dr iver
warning goes out after about 5 seconds, but it can be b rought up a t any time by press ing the
ISE TI bu tton again
Defective ignition switch Get it serviced!
• Do not turn the e ngine off .
• Drive imme diate ly to a n author ized service
facility to have the malfunct io n corrected.
If there is a mal funct ion i n the elect ron ic ign i
tion loc k, the ignition cannot be t urne d off .
D rive immed iate ly to an autho rized serv ice fa
c ili ty to have the cause of the malfunct ion c or
rected.
On vehicles with conve nience key*, the engi ne
sho uld not be switched off us ing the start/
stop button because the engine cannot be
started again afte r the ignit io n h as been
switched off .
Page 39 of 316
Opening and closing Keys
Key set
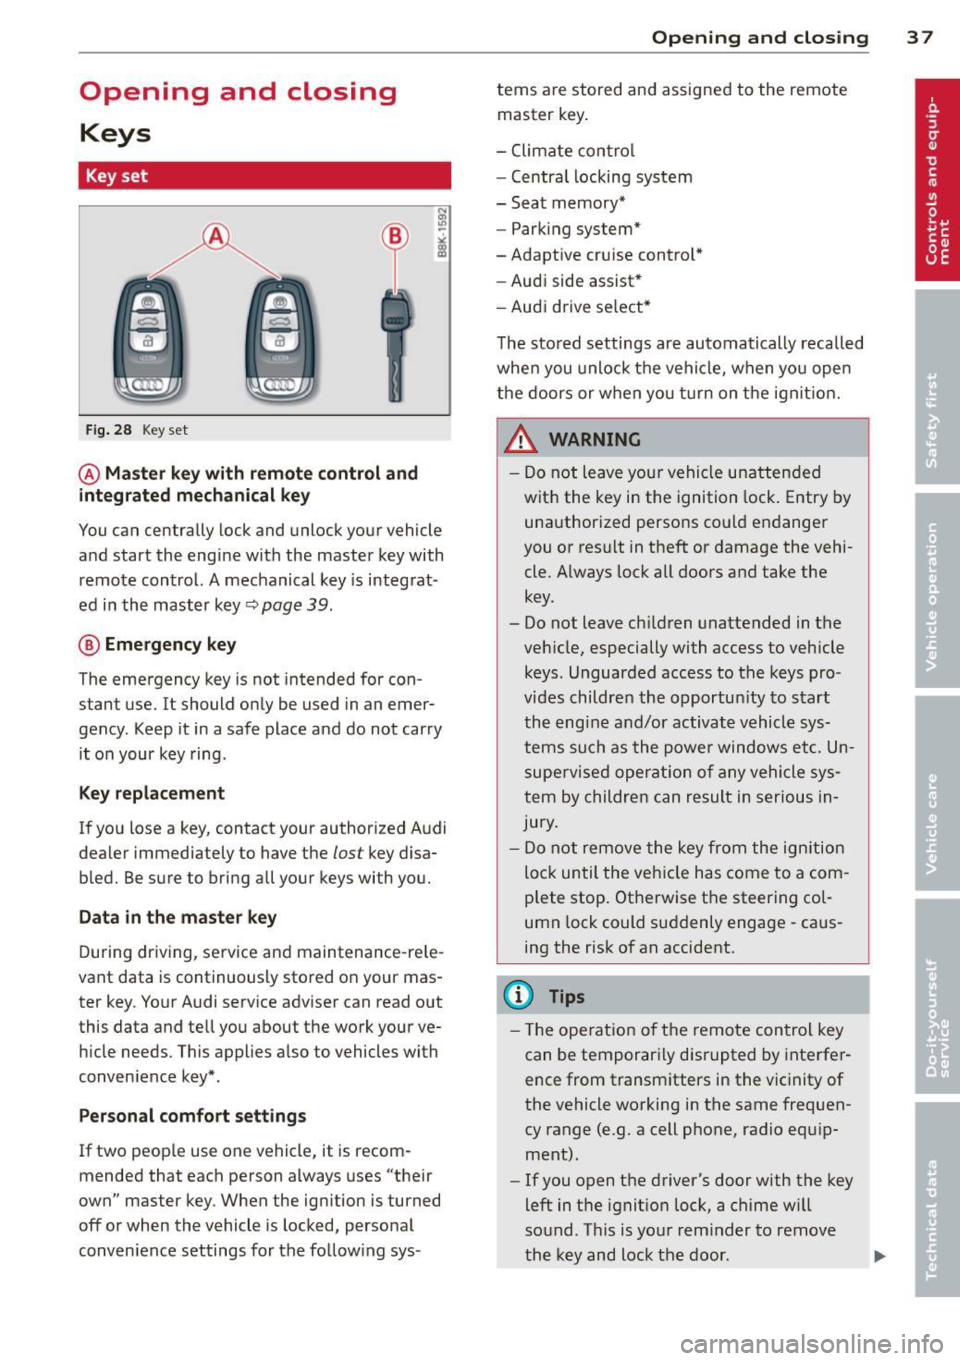
Fig. 28 Key set
@ Master key with remote control and
integrated mechanical key
You can centrally lock and unlock your vehicle
and start the engine with the master key with
remote control. A mechanical key is integrat
ed in the master key~
page 39.
® Emergency key
The emergency key is not intended for con
stant use.
It should only be used in an emer
gency . Keep it in a safe place and do not carry
it on your key ring .
Key replacement
If you lose a key, contact your authorized Audi
dealer immediately to have the
lost key disa
bled. Be sure to bring all your keys with you.
Data in the master key
During driving, service and maintenance-rele
vant data is continuously stored on your mas
ter key. Your Audi service adviser can read out
this data and tell you about the work your ve hicle needs. This applies a lso to vehicles with
conven ience key*.
Per sonal comfort settings
If two people use one vehicle, it is recom
mended that each person always uses "their
own" master key . When the ign ition is turned
off or when the vehicle is locked, personal
conven ience settings for the follow ing sys-
Opening and closing 3 7
terns are stored and assigned to the remote
master key.
- Climate contro l
- Centra l locking system
- Seat memory*
- Parking system*
-Adaptive cruise control*
- Audi side assist*
- Audi drive se lect*
The stored settings are automatically recalled
when you unlock the vehicle, when you open
the doors or when you turn on the ignit ion.
A WARNING
-
- Do not leave your vehicle unattended
with the key in the ignition lock. Entry by
unauthorized persons could endanger
you or result in theft or damage the vehi
cle . Always lock all doors and take the
key .
- Do not leave ch ildren unattended in the
veh icle, especially with access to vehicle
keys . Unguarded access to the keys pro
vides children the opportun ity to start
the engine and/or activate vehicle sys
tems such as the power windows etc. Un
supervised operation of any vehicle sys
tem by children can result in serious In
jury.
- Do not remove the key from the ignition
lock until the vehicle has come to a com
plete stop. Otherwise the steering col
umn lock could suddenly engage -caus
ing the risk of an accident.
@ Tips
- Th e operation of th e remote control key
can be temporarily disrupted by interfer
ence from transmitters in the vicinity of
the vehicle working in the same frequen
cy range (e .g. a cell phone, radio equ ip
ment).
- If you open the driver's door with the key
left in the ignit ion lock, a chime w ill
sound. Th is is your reminder to remove
the key and lock the door.
Page 49 of 316
.. Turn the key to position ¢ fig. 45 @until a ll
the windows have reached the desired posi
t ion and the panoramic tilt ing sunroof is t ilt
ed .
Convenience closing feature
.. Use the emergency key or pull the mechani
ca l key out of the master key ¢
page 39 .
.. Turn the key in the lock of the driver's door
to the lock position ® until the windows
and the panoramic tilting sunroof are closed
¢ ,& .
When the panoramic ti lting sunroof is tilted/
closed, the electric sun shade* is also opened/
closed.
A WARNING
- Never close the windows and thepanor
amic tilting sunroof inattentively and
without checking -there is risk of injury .
- You must always watch when the win dows are being raised so that no one can
be trapped. If you release the key, the
closing action is immediate ly canceled .
- Always read and heed WARNING ¢
IJ::,. in
General description on page 40.
Correcting window regulator
malfunction
After disconnecting the vehicle battery, the
one-touch up and down feature must be acti
vated again.
.. Pull and hold the power w indow switch un
til the window is completely closed.
.. Re lease the switch.
.. Pu ll the switch again for one second. The
automatic clos ing/opening is now reactivat
ed .
Opening and closing 47
Valet parking
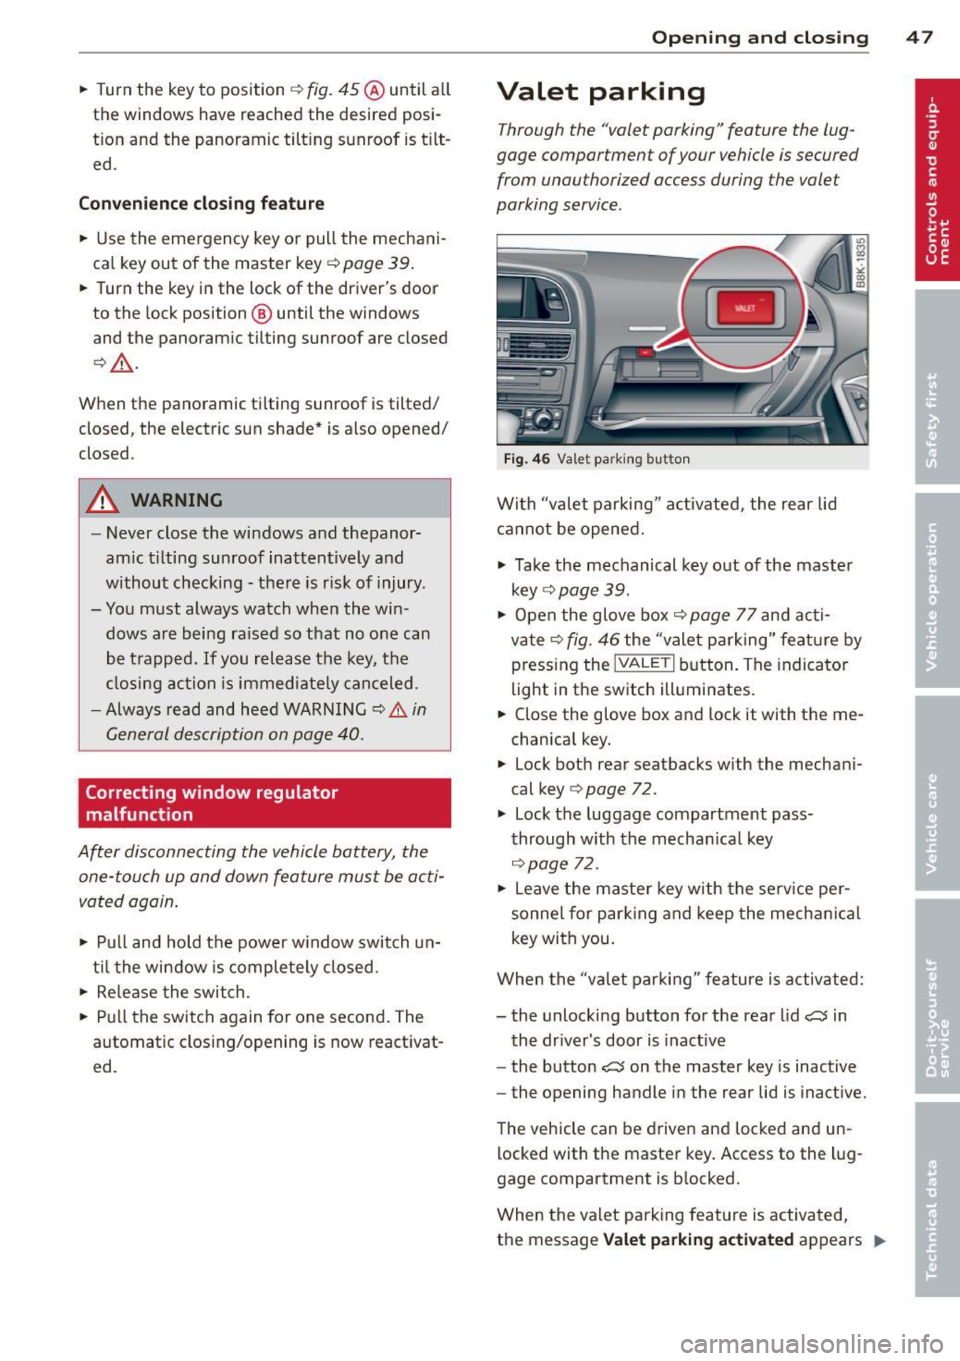
Through the "valet parking" feature the lug
gage compartment of your vehicle is secured
from unauthorized access during the valet
parking service .
Fig . 46 Vale t parking button
With "valet parking " activated, the rear lid
cannot be opened.
.,. Take the mechanical key out of the master
key
r::!;> page 39.
.. Open the glove box¢ page 77 and acti
vate¢
fig. 46 the "valet parking" feature by
pressing the
! VALET I button. The indicator
light in the switch illuminates.
.. Close the glove box and lock it with the me
chanica l key .
.. Lock both rear seatbacks with the mechani
cal key ¢
page 72.
.,. Lock the luggage compartment pass
through with the mechan ica l key
¢ page 72.
.. Leave the master key with the service per
sonne l for parking and keep the mechanica l
key with you .
When the "va let parking" feature is activated:
- the unlocking button for the rear lid
~ in
the driver's door is inact ive
- the button~ on the master key is inactive
- the opening handle in the rear lid is inactive.
The vehicle can be driven and locked and un
locked with the master key. Access to the lug
gage compartment is b locked.
When the valet parking feature is activated,
the message
Valet parking activated appears II>