AUDI ALLROAD 2000 Owners Manual
Manufacturer: AUDI, Model Year: 2000, Model line: ALLROAD, Model: AUDI ALLROAD 2000Pages: 306, PDF Size: 9.95 MB
Page 151 of 306

CONTROLS AND
EQUIPMENT--------------------
1 and 4-Electrically heated ... 8
seats• utJ
The heating elements in both seats can be
turned on and regulated separately with the
two thumb wheel switches.
With the ignition on, the seat cushion and
backrest of the front seats can be heated
electrically.
15 0 1
- Use this thumb wheel switch to activate
and regulate the heating elements in the
driver's seat.
4- Use this thumbwheel switch to activate
and regulate the heating elements in the
front passenger's seat.
From position 0, roll thumbwheel upward to
activate the heating elements.
Select the desired temperature setting be
tween positions 1-6. When the heating ele
ments are activated, the numbers on the
thumb wheel will light up.
The steering wheel heating* is
swit ched on automatically when the seat
heating is switched on. The temperature.
however, remains at a constant preset level
and cannot be regulated with the thumb
wheel (1).
Note
To prevent possible damage to the heating
elements, do not kneel on the seats or in
any other way apply a heavy load to relative
ly small areas of the seat. The
heating elements* for the left and right
seating positions of the rear seat bench are
switched on and off and regulated by the
thumbwheel in the center console:
a - left
b- right
The rear seat heating* only operates when
a sensor registers the weight of the occu
pant on the seat.
Select the desired temperature setting be
tween positions 1-6. When the heating ele
ments are activated, the numb ers on the
thumbwheel will light up.
Page 152 of 306
---------------------CONTROLS
AND EQUIPMENT
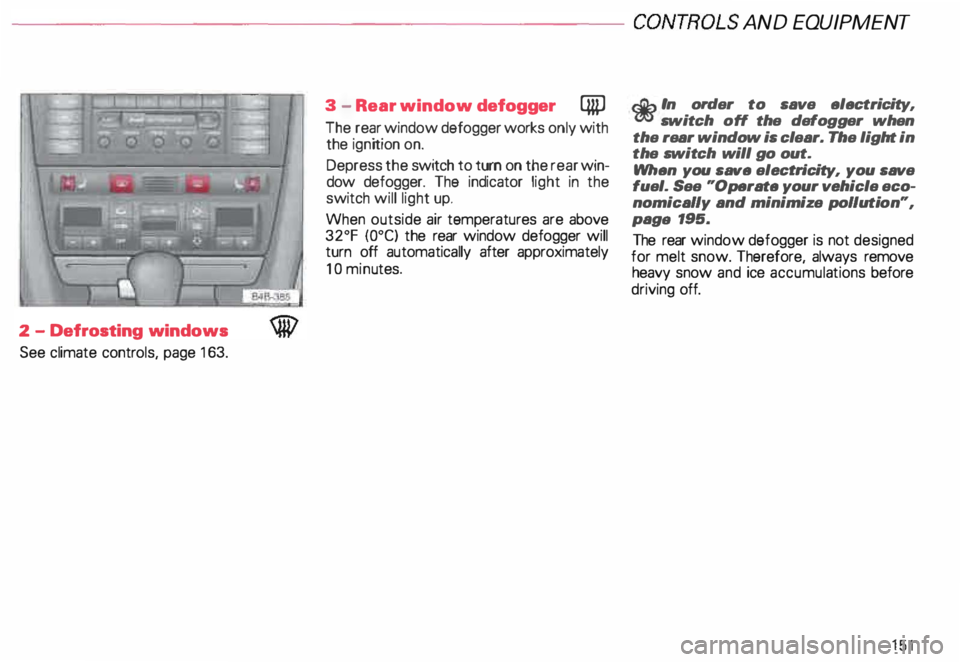
2 -Defrosting windows
See climate controls, page 163. 3
-Rear window defogger QiP
The rear window defogger works only with
the ignition on.
Depress the switch to turn on the rear win
dow defogger. The indicator light in the
switch will light up.
When outside air temperatures are above
32°F {0°C) the rear window defogger will
turn off automatically after approximately
10 minu tes.
r.Gb In order to save electricity, m switch off the defogger when
the rear window is clear. The light in
the switch will go out.
When you save electri city, you save
fuel. See "Operate your vehicle eco
nomically and minimize pollution",
paga 195.
The rear window defogger is not designed
for melt snow. Therefore, always remove
heavy snow and ice accumula tions before
driving off.
151
Page 153 of 306
CONTROLS AND EQUIPMENT---------------------
1
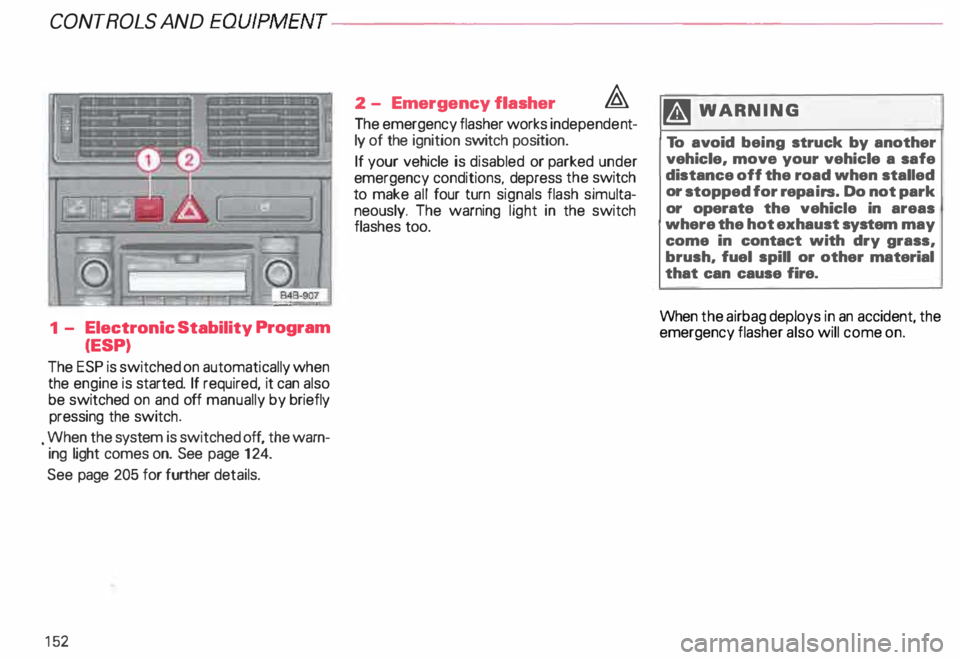
- Electronic Stability Program
(ESP)
The ESP is switched on automatically when
the engine is started. If required, it can also
be switched on and off manually by briefly
pressing the switch .
. When the system is switched off, the warn
ing light comes on. See page 124.
See page 205 for further details.
15 2 2
- Emergency flasher �
The emergency flasher works independe nt
ly of the ignition switch position.
If your vehicle is disabled or parked under
emergency conditions, depress the switch
to make all four turn signals flash simulta
neously. The warning light in the switch
flashes too. ftl
WARN ING
To avoid being struck by another
vehicle, move your vehicle a safe
distance off the road when stalled
or stopped for repairs. Do not park
or operate the vehicle in areas
where the hot exhaust system may
come in contact with dry grass,
brush, fuel spill or other material
that can cause fire.
When the airbag deploys in an accident, the
emergency flasher also will come on.
Page 154 of 306
Ride height adjustment (4 Level Air Suspension)
......., _____ ___ �--
-�
�. 842· 8!18 ..J
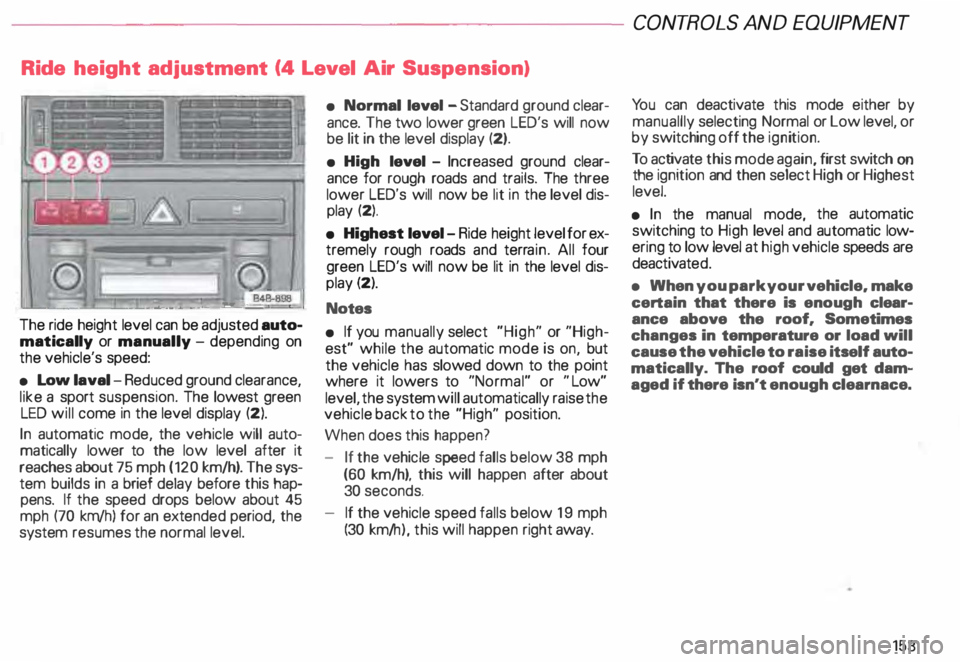
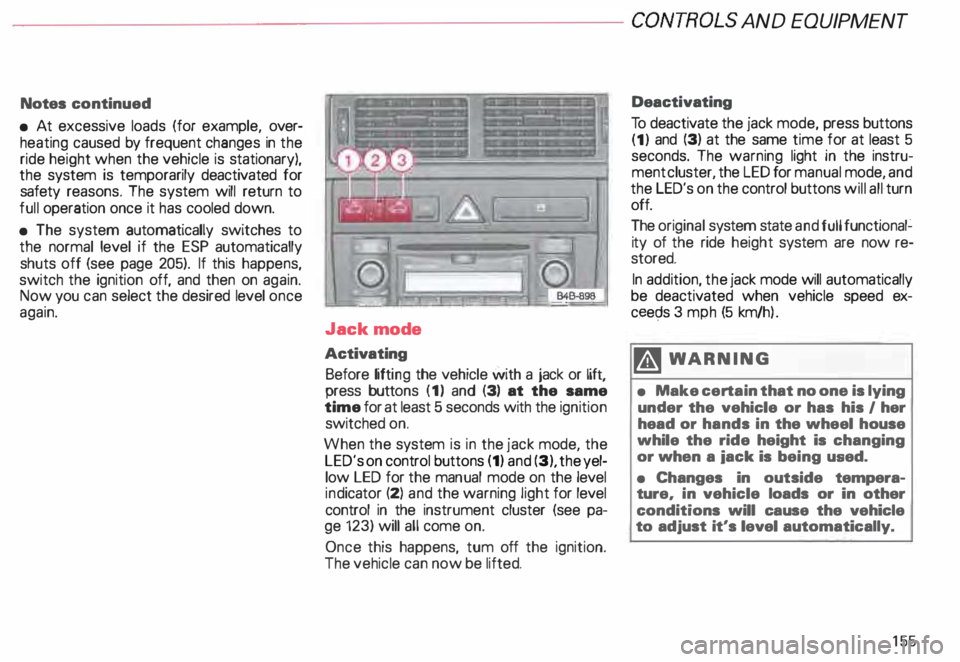
The ride height level can be adjusted auto
matically or manually -depending on
the vehicle's speed:
• Low laval -Reduced ground clearance,
like a sport suspension. The lowest green
LED will come in the level display (2).
In automatic mode, the vehicle will auto
matically lower to the low level after it
reaches about 75 mph (120 km/h). The sys
tem builds in a brief delay before this hap
pens. If the speed drops below about 45
mph (70 km/h) for an extended period, the
system resumes the normal level. •
Normal level -Standard ground clear
ance. The two lower green LED's will now
be lit in the level display (2).
• High level -Increased ground clear
ance for rough roads and trails. The three
lower LED's will now be lit in the level dis
play (2).
• Highest level-Ride height level for ex
tremely rough roads and terrain. All four
green LED's will now be lit in the level dis
play (2).
Notes
• If you manually select "High" or "High
est" while the automatic mode is on, but
the vehicle has slowed down to the point
where it lowers to "Normal" or "Low"
level, the system will automatically raise the
vehicle back to the "High" position.
When does this happen?
- If the vehicle speed falls below 38 mph
(60 km/h), this will happen after about
30 seconds.
- If the vehicle speed falls below 19 mph
(30 km/ h), this will happen right away. CONT
ROLS AND EQUIPMEN T
Yo u can deactivate this mode either by
manuallly selecting Normal or Low level, or
by switching off the ignition.
To activate this mode again, first switch on
the ignition and then select High or Highest
level.
• In the manual mode, the automatic
switching to High level and automatic low
ering to low level at high vehicle speeds are
deactivat ed.
• When you park your vehicle. make
certain that there is enough clear
ance above the roof. Sometimes
changes in temperature or load will
cause the vehicle to raise itself auto
matically. The roof could get dam
aged if there isn't enough clearnace.
153
Page 155 of 306
CONT
ROLS AND
EQUIPMENT---------------------
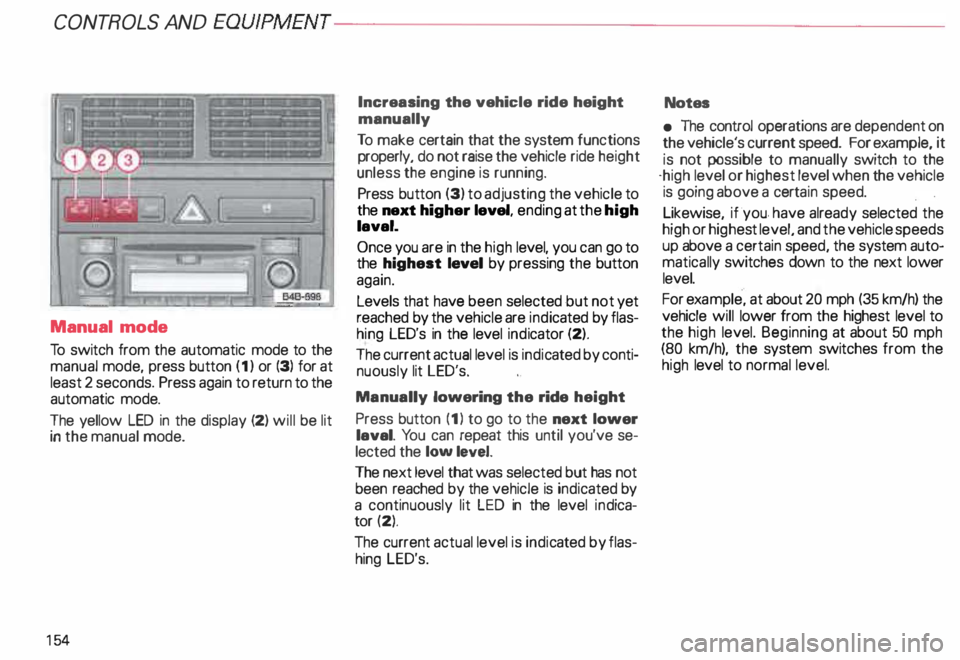
Manual mode
To switch from the automatic mode to the
manual mode, press button (1) or (3) for at
least 2 seconds. Press again to return to the
automatic mode.
The yellow LED in the display (2) will be lit
in the manual mode.
15 4 Increasing
the vehicle ride height
manually
To make certain that the system functions
properly, do not raise the vehicle ride height
unless the engine is running.
Press button (3) to adjusting the vehicle to
the next higher level, ending at the high
laval.
Once you are in the high level, you can go to
the highest laval by pressing the button
again.
Levels that have been selected but not yet
reached by the vehicle are indicated by flas
hing LED's in the level indicator (2).
The current actual level is indic ated by conti
nuously lit LED's.
Manually lowering the ride height
Press button (1) to go to the next lower
laval. You can repeat this until you've se
lected the low level.
The next level that was selected but has not
been reached by the vehicle is indicated by
a continuously lit LED in the level indica
tor (2).
The current actual level is indic ated by flas
hing LED's. Notes
• The control operations are dependent on
the vehicle's current speed. For example, it
is not possible to manually switch to the
·high level or highest level when the vehicle
is going above a cert ain speed.
Likewise, if ·you. have already selected the
high or highe st level, and the vehicle speeds
up above a certain speed, the system auto
matically switches down to the next lower
level.
For example, at about 20 mph (35 km/h) the
vehicle will lower from the highest level to
the high level. Beginning at about 50 mph
(80 km/h), the system switches from the
high level to normal level.
Page 156 of 306
---------------------CONTROLS AND EQUIPMEN T
Notes continued
• At excessive loads (for example, over
heating caused by frequent changes in the
ride height when the vehicle is stationary),
the system is temporarily deactivated for
safety reasons. The system will return to
full operation once it has cooled down.
• The system automatically switches to
the normal level if the ESP automatically
shuts off (see page 205). If this happens,
switch the ignition off, and then on again.
Now you can select the desired level once
again.
Jack mode
Activating Before lifting the vehicle with a jack or lift,
press buttons (1) and (3) at the same
time for at least 5 seconds with the ignition
switched on.
When the system is in the jack mode, the
LED's on control buttons (1) and (3), the yel
low LED for the manual mode on the level
ind icator (2) and the warning light for level
control in the instrument cluster (see pa
ge 123) will all come on.
Once this happens, tum off the ignition.
The vehicle can now be lifted. Deactivating
To deactivate the jack mode, press buttons
(1) and (3) at the same time for at least 5
seconds. The warning light in the instru
ment cluster, the LED for manual mode, and
the LED's on the control buttons will all turn
off.
The original system state and full functional�
ity of the ride height system are now re
stored.
In addition, the jack mode will automatically
be deactivated when vehicle speed ex
ceec;ls 3 mph (5 km/h ).
�W ARNING
• Make certain that no one is lying
under the vehicle or has his I her
head or hands in the wheel house
while the ride height is changing
or when a iack is being used.
• Changes in outside tempera
ture, in vehicle loads or in other
conditions will cause the vehicle
to adjust it's level automatically.
155
Page 157 of 306
CONTROLS
AND EQUIPMENT---------------------
Turn signals, headlight dimmer switch lever
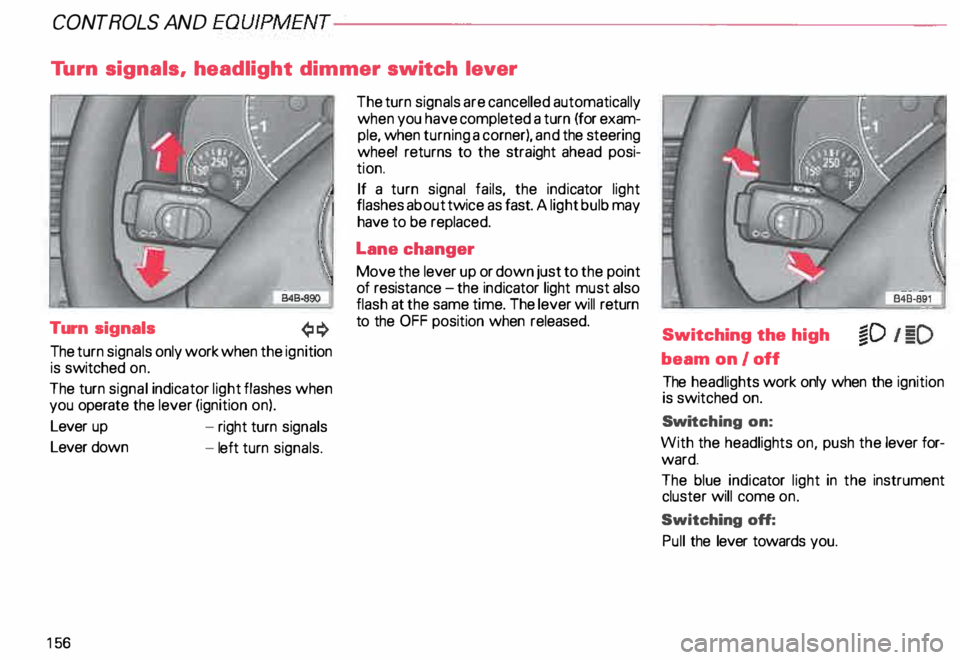
Turn signals
The turn signals only work when the ignition
is switched on.
The turn signal indicator light flashes when
you operate the lever (ignition on).
Lever up
Lever down
15 6 -
right turn signals
- left turn signals. The
turn signals are cancelled automatically
when you have completed a turn (for exam
ple, when turning a corner), and the steering
wheel returns to the straight ahead posi
tion.
If a turn signal fails, the indicator light
flashes about twice as fast. A light bulb may
have to be replaced.
Lane changer
Move the lever up or down just to the point
of resista nce-the ind icator light must also
flash at the same time. The lever will return
to the OFF position when released.
Switching the high
beam on/off
The headlights work only when the ignition
is switched on.
Swi tching on:
With the headlights on, push the lever for
ward.
The blue indicator light in the instrument
cluster will come on.
Switching off:
Pull the lever towards you.
Page 158 of 306
Headlight flasher
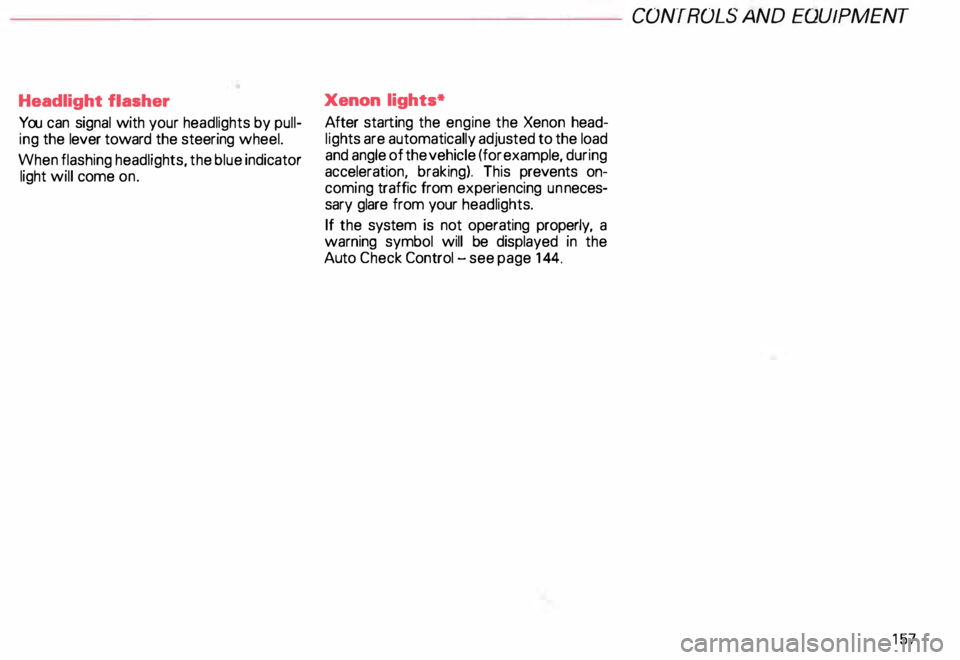
You can signal with your headlights by pull
ing the lever toward the steering wheel.
When flashing headlights, the blue indicator
light will come on. Xenon
lights*
After starting the engine the Xenon head
ligh ts are automatically adjusted to the load
and angle of the vehicle (for example, during
acceleration, braking). This prevents on
coming traffic from experiencing unneces
sary glare from your headlights.
If the system is not operating properly, a
warning symbol will be displayed in the
Auto Check Control -see page 144. CONTROLS
AND EQUIPMENT
157
Page 159 of 306
CONTROLS AND EQUIPMENT---------------------
Cruise
control
For your driving comfort the cruise control
system can be used to keep the vehicle
speed constant, as long as the engine pow
er and braking are not affected, beginning at
about 25 mph (40 km/h).
15 8 �W
ARNING
• To help keep the vehicle under
control, do not use the cruise con
trol when driving on winding or
slippery roads, or in heavy or vary
ing traffic.
• Only usa cruise control when
traffic and weather conditions al
low you to drive at a steady speed.
• To prevent unintended opera
tion of cruise control, turn it off
when it is not being used.
• It is dangerous to use the Re
sume feature when the previously
set speed is too fast for existing
traffic conditions.
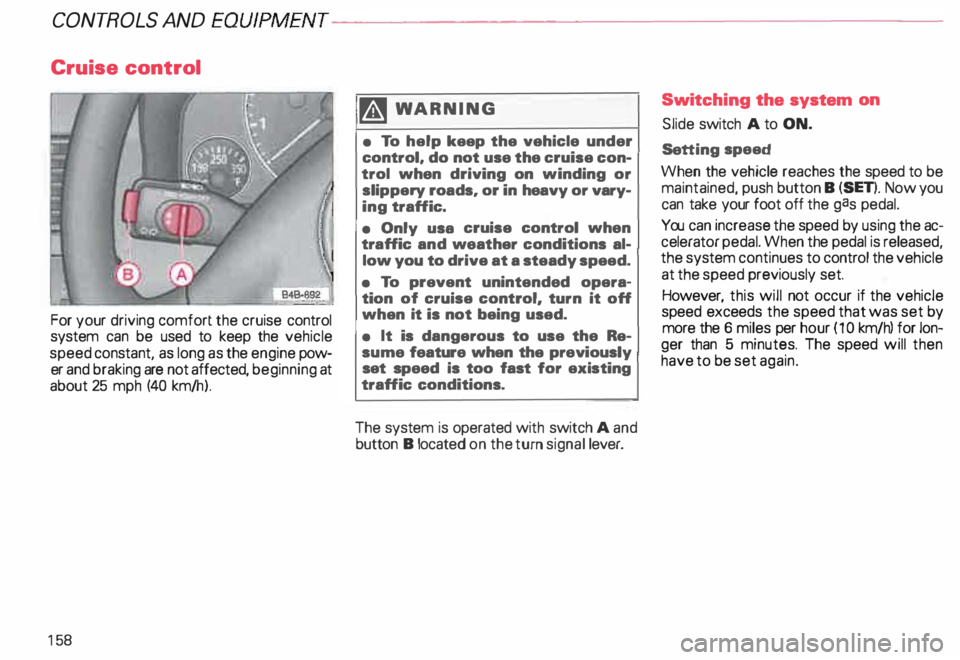
The system is operated with switch A and
button B located on the tum signal lever. Switc
hing the system on
Slide switch A to ON.
Se tting speed
When the vehicle reaches the speed to be
maintained, push button B (SET). Now you
can take your foot off the gas pedal.
You can increase the speed by using the ac
celerator pedal. When the pedal is released,
the system continues to control the vehicle
at the speed previously set.
However, this will not occur if the vehicle
speed exceeds the speed that was set by
more the 6 miles per hour (10 km/hl for lon
ger than 5 minutes. The speed will then
have to be set again.
Page 160 of 306
---------------------CONTROLS
AND EQUIPMENT
Changing the speed
Decelerate I Set
Press button B to reduce the speed.
By briefly pressing button B, you reduce the
speed in stages. If you hold the button
down, the speed decreases automatically.
The speed the car is then going when you
release the button will be the new speed
that is stored.
If the button is released below approxi
mately 25 mph (40 km/h), the memory is
erased. The speed must then be reset using
button B after the vehicle accelerates
above 25 mph (40 km/hl.
Accelerate I Set
You can increase speed by sliding the
switch A to RES without having to press
the gas pedal.
By sliding the switch briefly toward RES,
you can increase the speed in stages. If you
slide the switch and hold it in place, the
speed increases steadily. The speed that
the vehicle is going when you release the
switch is the new speed that is store d. Switching
off the system
temporarily
The system is temporarily switched off by
stepping on the brake pedal, or by sliding
switch A towards OFF.
The speed that is stored at this time is main
tained.
The speed you Dre going Dt the time you
temporarily switched off the system is
stored and can be retrieved.
To retrieve and resume the speed that was
previously stored, slide the switch A to
RES after taking your foot off the brake ped
al.
,4 WARNING
It is dangerous to use the Resume
feature when the previously set
speed is too fast for existing traf
fic conditions. Setting
the speed
You can set the speed if no speed was set
when the system was temporarily
switched off, or if the speed was erased:
• Slide switch to the RES and hold it until
the desired speed is reached. Release the
switch and speed is store d.
or
• Depress the gas pedal until you reach the
desired speed, and press button B briefly.
The speed is stor ed.
Switching the system off
completely
�W ARNING
To prevent unintended operation
of cruise control, turn it off when
it is not being used.
• sliding switch A to the right stop (OFF)
• by swit ching off the ignition when the ve
hicle is stopped.
159