ESP AUDI R8 SPYDER 2011 User Guide
[x] Cancel search | Manufacturer: AUDI, Model Year: 2011, Model line: R8 SPYDER, Model: AUDI R8 SPYDER 2011Pages: 244, PDF Size: 59.74 MB
Page 46 of 244
44 Opening and clo sing
- ignition
When the sys tem is activated, the alarm w ill
be tr iggered if one of the doors , the eng ine
compartmen t lid or the front lid are opened.
The anti-theft a larm system will also go
off
when the ba tte ry is d isconne cted.
You can a lso trigger the alarm by pressing the
PANIC button on your remote-control key .
This will a lert other people in case of emer
gency. Press the PANIC button again to turn
off th e al ar m .
How is the anti-theft alarm switched off
when triggered?
To switch t he a larm off, press the button @l on
the master key o r swi tch t he ign ition on. The
ala rm w ill also sw itch i tse lf
off when i t comes
to the end of its cycle .
Emergency flasher
The emergency flasher w ill blink briefly when
the doo rs, e ngine compartment lid and front
lid are prope rly closed .
If the emergency flashe rs do not b link, check
the doors, engine compartment lid and front
lid to ma ke sure t hey a re p roperly closed. If
you close a doo r, the engine comp artment lid
or the front lid wit h the anti-theft alarm
switched on, t he emergency f lashers will blink
only after you have closed the door or lid .
Power windows
Controls
The driver can operate all windows.
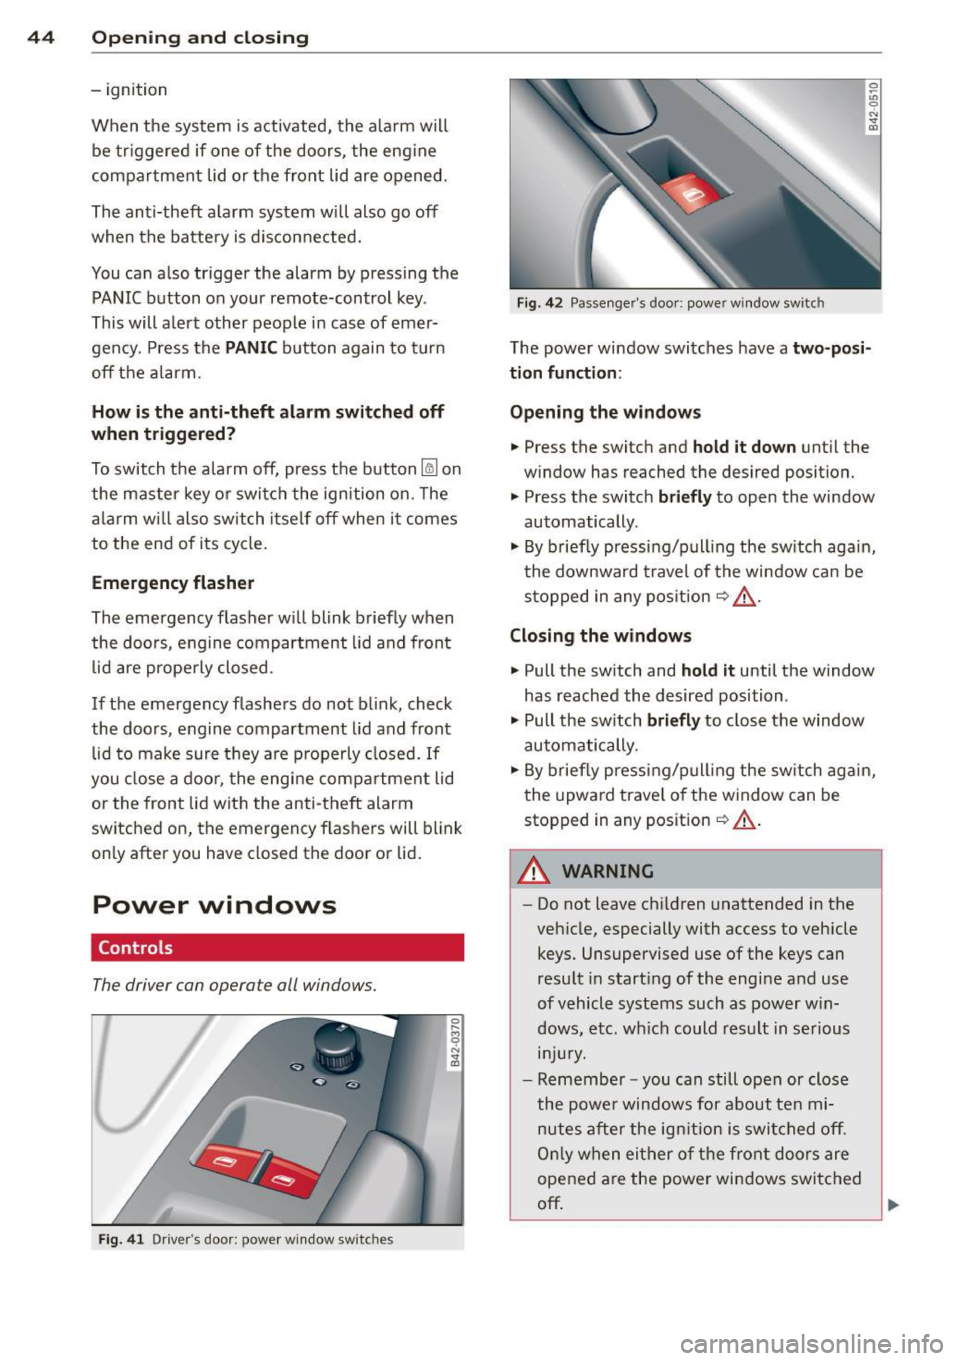
Fig. 41 D rive r's doo r: p owe r w in dow sw it c h es
Fig. 42 Passen ger 's doo r: powe r wi ndow swit ch
0 ~
"' 0
"' "' OJ
The powe r wi ndow swi tches have a two-posi
tion function :
Opening the windows
• Press the switch and hold it down unt il the
w ind ow has reached the desired position.
"' Press the switc h
briefly to open the window
automatically .
"' By briefly pressi ng/p ull ing the sw itch again,
t he downward travel of the window ca n be
s toppe d in any pos it ion
~ .&, .
Closing the windows
"' Pull the sw itch and hold it until the window
has reached the desired position .
"' Pull the sw itch
briefly to close the window
automatically .
"' By briefly pressing/p ull ing the sw itch agai n,
t he upward trave l of the window can be
stopped in any position
~ .&, .
.&_ WARNING
-
-Do not leave ch ildren unattended in the
veh icle, especially with access to vehicle
keys. Unsupervised use of the keys can
resu lt in start ing of the engi ne and use
o f vehicle syst ems such as power w in
d ows, e tc. w hich could res ult in s erious
lnJUr y.
-Remember -you can still ope n or close
the powe r windows for about ten mi
nutes after the ig nition i s swi tched off.
On ly w hen ei ther o f th e fr ont d oors are
opened a re the power windows switched
off ~
Page 47 of 244
-Be careful when closing the windows.
Check to see that no one is in the way, or
serious injury could result!
- Always remove the ignition key whenever
you leave your vehicle .
-If you lock your vehicle from the outside ,
no one, especially children, should re
main in the vehicle .
- Do not stick anything on the windows or
the windshield that may interfere with
the driver's field of vision.
@ Tips
- When the doors are opened, the win
dows are automatically lowered 0.4 in
(10 mm) .
Reactivating the system after battery
disconnection
If the vehicle battery is disconnected and then
reconnected, the automatic closing and open
ing function will not work until it is reactivat
ed. To reactivate this feature, perform the fol
lowing steps:
- Pull and hold the power window switch until
the window is completely closed.
- Release the switch . Pull the switch again for
one second. The automatic closing/opening is now reactivated.
Opening and closing 45
Page 48 of 244
46 Convertible top
Convertible top
Convertible top
General information
The fabric convertible top opens and closes
automatically. When it is open, it is stored in
the convertible top storage bay. The converti
ble top may be opened or closed at speeds up
to 31 mph (SO km/h) .
The convertible top is wind- and waterproof
under normal conditions . Some moisture may
collect in the vehicle interior , but only under
extremely adverse weather conditions such as
torrential rain. That is normal and no cause
for concern.
Follow the cleaning and maintenance instruc
tions
~ page 163 to ensure the convertible
top remains wind- and waterproof. Also note
the following points:
- Only stow the convertible top when it is
clean and dry . Grains of sand or coarse dirt
particles can cause abrasions on the conver
tible top when stowed that can lead to dam
age to the fabric over time. Stowing the con
vertible top when it is damp can cause
marks or permanent mildew spots to form .
- Do not leave the convertible top open for
several weeks or the creases in it may be
come discolored . This is especially true if the
top was stowed when damp .
- Remove ice and snow before opening the
convertible top . Do not use any sharp edged
objects to remove ice and snow or the con
vertible top could be scratched or damaged.
The rear window may be cleared with a
standard ice scraper.
- The fabric in the convertible top loses elas
ticity in sub-zero temperatures. We recom
mend not opening or closing the convertible
top when the temperature is below 32 °F (0 QC). The convertible top will not open
when the temperature is 5 °F (-15 QC) or be
low.
Opening and closing the convertible top
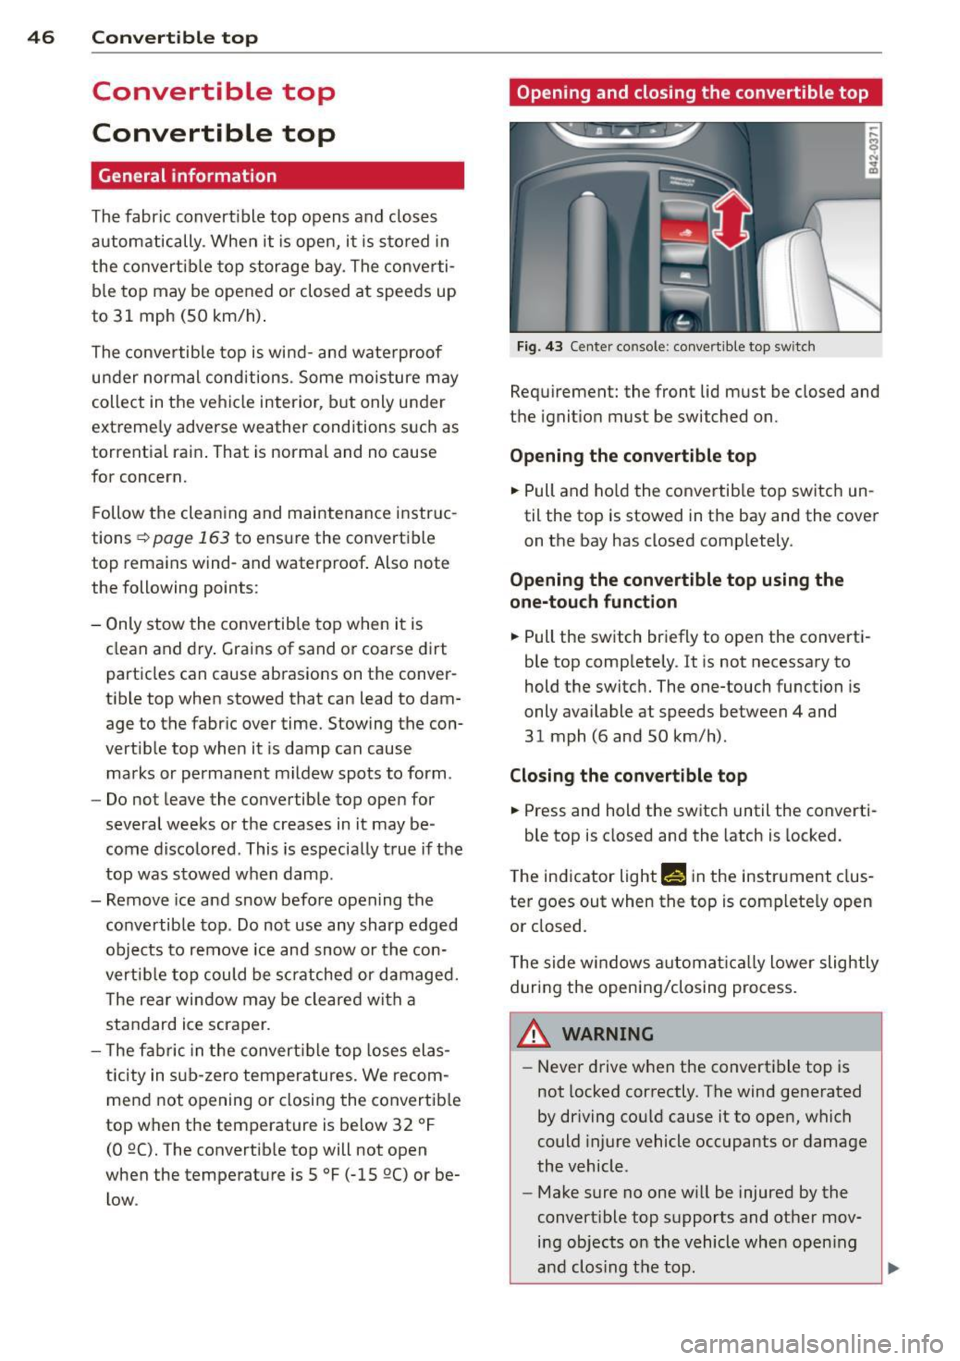
Fig. 43 Center co nsole : convertible top sw itc h
Requirement: the front lid must be closed and
the ignition must be switched on.
Opening the convertible top
.. Pull and hold the convertib le top switch un
til the top is stowed in the bay and the cover
on the bay has closed completely.
Opening the convertible top using the
one-touch function
.. Pull the switch briefly to open the converti
ble top completely . It is not necessary to
hold the switch. The one-touch function is
only available at speeds between 4 and
31 mph (6 and SO km/h) .
Closing the convertible top
.. Press and hold the switch until the converti-
ble top is closed and the latch is locked.
The indicator light
Min the instrument clus
ter goes out when the top is completely open
or closed.
The side windows automatical ly lower slightly
during the opening/closing process.
A WARNING ~
- Never drive when the convertible top is
not locked correctly. The wind generated
by driving could cause itto open, which
could injure vehicle occupants or damage
the vehicle.
- Make sure no one will be injured by the
convertible top supports and other mov ing objects on the vehicle when opening
and clos ing the top .
liJI,
Page 58 of 244
56 Clear vision
shown as active in the driver information
system.
The
coming home function illuminates the
area around the vehicle when the ignition is
switched off and the driver's door is opened.
The length of time the lights remain on can be
set in the menu display
(Lights> Exterior
lights> coming home) .
The leaving home function illuminates the
area around the vehicle when unlocking it.
.&_ WARNING
- Never use daytime running lights to see
where you are going. They are not bright enough and will not let you see far
enough ahead for safety, especially at dusk or when it is dark. Be aware of
changes in outside light conditions when
you are driving and respond by switching
on your low beams.
- Automatic head- and taillight control is
only intended to assist the driver. This
feature does not relieve the driver of his
responsibility to check the headlights
and to turn them on manually according
to the current light and visibility condi
tions. For example, fog and rain cannot be detected by the light sensors. Conse
quently, always switch the headlights on
under these weather conditions and
when driving in the dark.
- Crashes can happen when you cannot see
the road ahead and when you cannot be
seen by other motorists.
-Always turn on the headlights so that you can see ahead and so that others can see your car from the back.
(D Tips
- Always observe the specific local regula
tions for your area when to use your
lights .
- Turn on low beams as evening ap
proaches or in conditions of poor visibili
ty.
- Do not attach stickers to the windshield
in front of the sensors as this can disable the automatic head- and
taillight control
and the automatic glare-dimming of the
rearview mirror(s)*.
- If you
remove the ignition from the igni
tion lock while the headlights are still
on, a buzzer will sound as long as the
driver's door is open to remind you to
turn off the lights.
- In the AUTO mode, the low beams are
turned off when the ignition is turned
off. The remaining lights are turned off
when the key is taken out of the ignition .
- In cool or damp weather conditions the
headlights may fog
over temporarily on
the inside.
- The critical factor is the temperature
difference between the interior and the
exterior of the headlight lens.
- With the main beams switched on, the
light-emitting area will be free of con
densation after a short time, however
the edges of the glass may still be fog
ged.
- This physical phenomenon has no ef
fect on the life of your vehicle's light
ing system.
Instrument panel illumination
The illumination of the instruments, displays
and the center console can be adjusted.
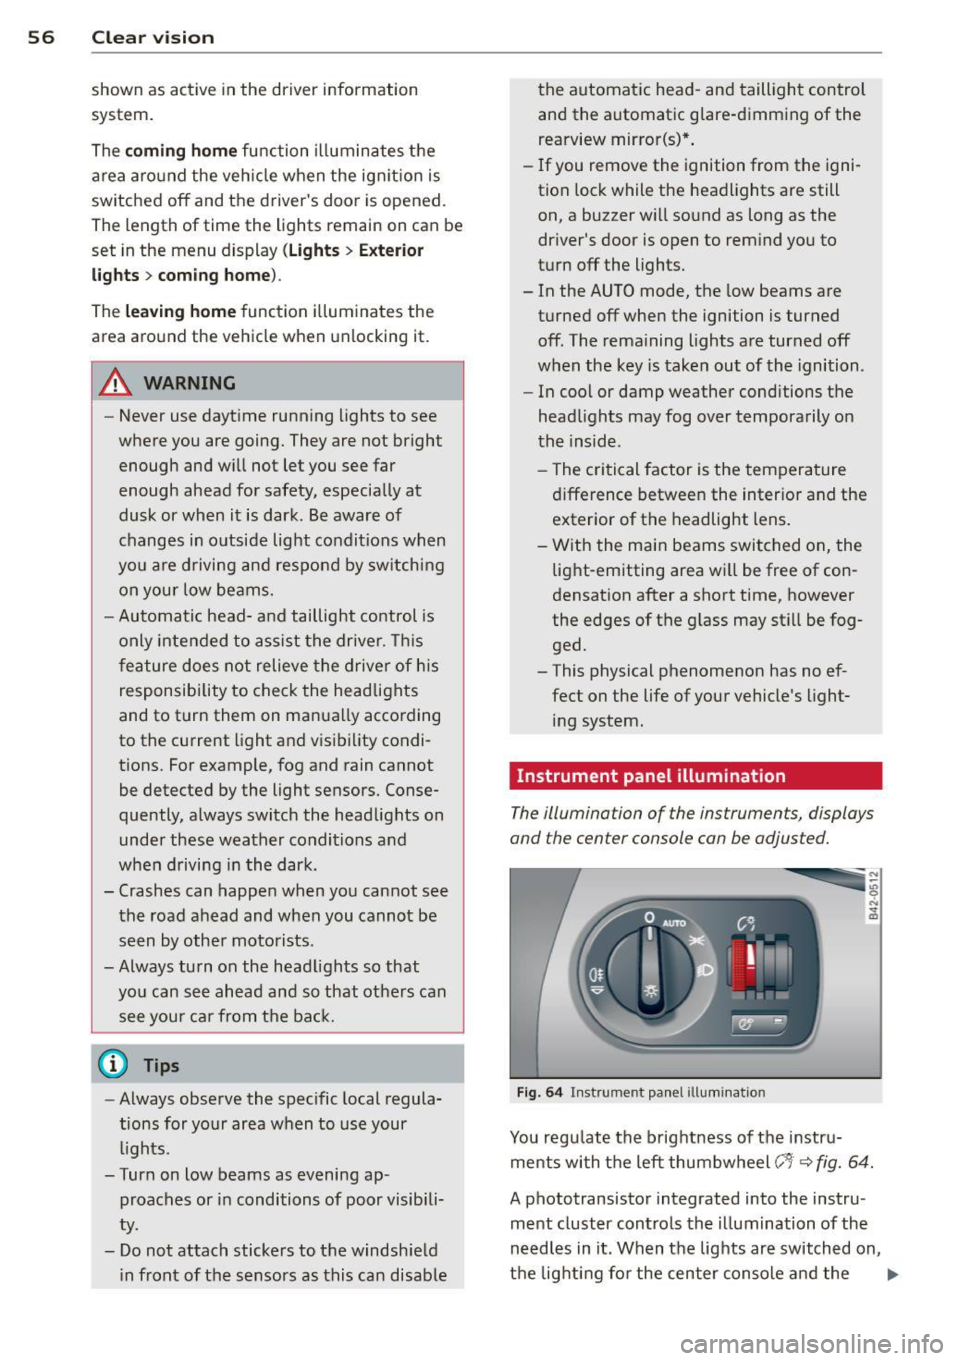
Fig. 64 Instrument panel illumination
You regulate the brightness of the instru
ments with the left thumbwheel
(-'1· ~ fig. 64.
A phototransistor integrated into the instru
ment cluster controls the illumination of the
needles in it. When the lights are switched on,
the lighting for the center console and the
llll>
Page 59 of 244
instruments (needles and dials) is automati
cally adjusted to ambient conditions. The driv
er can a lso ad just the brightness of the light
ing.
Ignition ON , light switch at @
With the ignition swi tched O N, the glow of in
strument needles
can be adjusted to appear
brighter or dimmer.
Ignition ON , light switch at coo; or gD .
With the l igh ts sw itched on, the bright ness of
in str ument cluster (i.e. needles, g auges and
disp lays) and center console i llumination can
be adjusted .
(D Note
The inst rument cl uster and cente r console
illum ination (ga uges and needles) comes
on when you switch on the ignition and the
vehicle headlights are off. Be aware of t he
following difference between mode ls built
to US or Canadian specifications:
- USA models: illumination of the inst ru
ment cluster (ga uges and needles), das h
and center console around the gearsh ift
l ever is controlled by a light senso r locat
ed in the instrument panel. The instru
m ent pane l illumination will a utomat i
call y become dimmer as t he day ligh t
fades away and eventually will go o ut
com plete ly when o utside light is ve ry
l ow. This is to rem ind you, the driver, to
switch on the headlights before it gets
too dark .
- Canada mode ls: instrument panel i llum i
nat ion will stay bright regard less of the
i ntensity of amb ient light. Always be
aware of c hanges in outside light cond i
t ions wh ile you are driving. Respond in
time to fadi ng daylight by tu rning the
l ight sw itch to posit ion
io (or "AUTO" if
you r ca r is equ ipped with th is featu re) to
turn on your hea dligh ts. Clear vi
sion 5 7
Emergency flasher
The emergency flasher makes other motorists
aware that you or your vehicle are in an emer
gency situation .
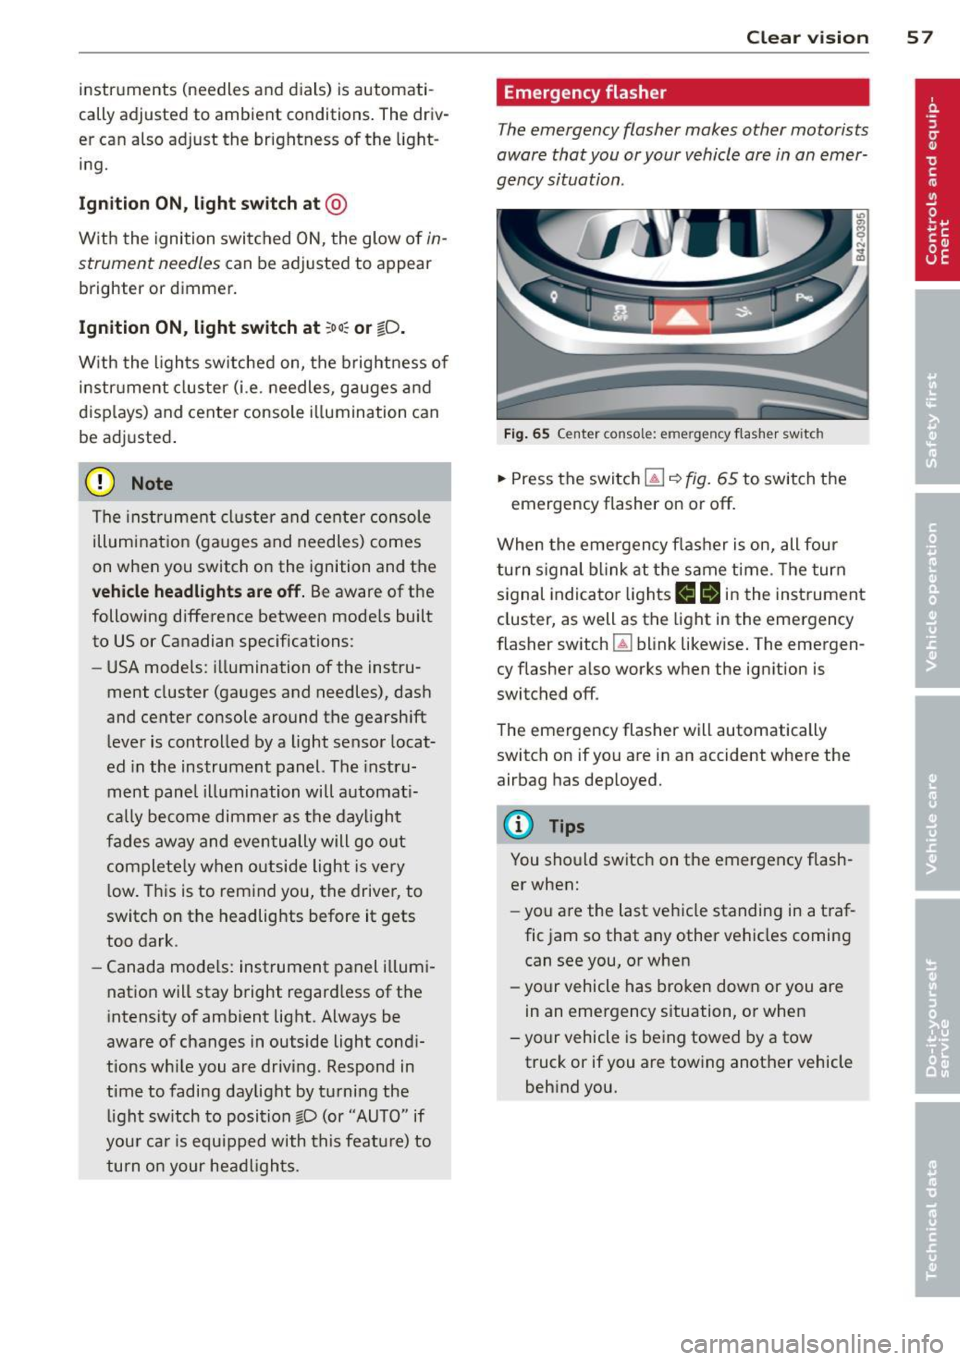
Fig. 65 Cent er consol e: eme rge ncy flas he r sw itc h
.,. Press the switc h l!J ~ fig. 65 to switch t he
emergency flasher on or off.
When the eme rgency f las her is on, all four
turn s ignal b link at t he same time . Th e turn
signal indicato r lights
1111 in t he instrument
cluster, as well as the light in the eme rgency
flasher switch ~ blink likew ise . The emergen
cy flasher also works when the ignition is
switched off .
The eme rgency flasher will automatically
switch on if you are in an accident where the
airbag has deployed.
@ Tips
You sho uld switch on the emergency flash
er when:
- you a re the last ve hicle standing in a t ra f
fic jam so that any other vehicles coming
can see you, or when
- yo ur vehicle has bro ken dow n or you are
in an eme rgency s ituation, or when
- yo ur vehicle is be ing towed by a tow
truck or if you are towing another vehicle
behind you.
Page 62 of 244
60 Clear v is ion
Moving w iper blades to the service
posit ion
.. Do not lift the wiper arms away from the
glass when they are in their parked position;
this would damage the paint on the front
lid .
.. When there is a risk of frost, make sure that
the wiper b lades are not frozen to the wind
shield .
.. Move wipe r blades to the se rvice posit ion
¢page 61.
The windshield wipers and washer on ly work
when the ignition is turned on.
To reduce the sensit iv ity of the sensor, move
switch @down . To increase the sens itiv ity,
move the switch up. The higher you adjust the
sens itivity, the faste r th e sensor will react
when it senses moisture on the w indshield.
The pauses between w iper turns depend not
on ly on the sensitivity setting, but on the ve
hicle speed as well.
Du ring a temporary stop, e.g . at a t raff ic sig
na l, the set wipe r speed is automatically re
duced by one stage.
When the igni tion is tu rned on, the washer
jets are heated.
_& WARNING
- Wipe r blades a re cruc ial for safe driving!
Only when they are in good cond ition are
they able to clear the windows properly
to provide uncompromising visibility.
Worn or damaged wiper blades are a safety hazard ¢
page 61, Replacing
front wiper blades!
- The light/ra in sensor is only des igned to
assist and support the dr iver .
It remains
entirely the d river 's responsibility to
mon itor outs ide weather conditions and
to manually activate the w ipers as soon
as rain o r dri zzle red uces visibi lity
thro ugh t he windshie ld.
- T he windshie ld must not be treated with
water-repe llent materials. They can in
crease glare under poor visib ility condi
tions such as wetness, darkness, or when the s
un is low on the horizon . In addi
tion, they can cause the w indshield w ip
ers to chatter .
(D Note
In freezing or near freezing conditions:
- Always check that the w iper b lades are
not frozen to the g lass before you turn
the wipers on . Loosen a wiper blade
wh ich is frozen in place before operating
the wipers to prevent damage to the
w iper blade or the wiper motor.
- Do not use the w ipers to clear a frosted
window. Us ing the wipers as a conven
ient ice scraper will destroy the wiper
blades .
- Before you take your veh icle to an auto
matic car wash, make sure you have the
w indshield w iper system switched off
(lever in position 0), otherwise the w ind
shield w iper system could get damaged
in the car wash if it should suddenly
come on .
(D Tips
-The windshie ld w ipers are switched off
w hen the ignit ion is turned off. Act ivate
t he winds hield wipers after the igni tion
is switched back on by moving the wind
shield wiper lever to any position.
- Worn or d irty windshield wipe r blades
cause smearing, which can affect the op
eration of the light/rain sensor . Check
the cond ition of your windsh ield wiper
blades regularly.
- When the wipers are switched on man
ually and in ra in cond itions, the auto
matic headlights turn on
¢ page 55 or
off during the day when the wipers are
no longer operating . The automat ic
head lights fu nction is avai lab le in this
case on ly w hen the light switch is in the
"A UTO" posit ion ¢
page 55, fig. 63.
-Make su re the washer fluid reservoir is
t opped off before goi ng on a long tr ip.
Look up ¢
page 188 for checking and
filling the washe r containe r.
Page 64 of 244
62 Clear vis ion
Install ing th e wiper blade
.,. Pla ce the rounded end of the wiper onto the
end of the w iper arm in the
op pos ite direc
tion to the arrow @
r=;, fig. 71.
.,. Squeeze the corrugation on the w iper until
you hear it click in the wiper arm .
.,. Fold the wiper arm back onto the wind
shield .
.,. Switch the ign ition on and move the wiper
lever down briefly
r=;, page 59, fig . 69 . The
wipe r will move back to the park position.
_& WARNING
- Clean yo ur wiper blades regularly w it h a
windshield washer solution to prevent streaking. If the wipe r blades are very
dirty, for examp le with insects, carefu lly
clean the w iper blades with a sponge or a
soft brush.
- For your safety, you should replace the
wiper blades once or twice a year. See
your authorized Aud i dealer for replace
ment blades.
(D Note
- The w iper blades may only be changed
r=;, page 61 in the service position! Other
wise, you r isk damaging the paint on the
front lid o r the windsh ield wiper motor .
- To prevent damage to the wiper system:
-Always loose n blades which a re fro zen
t o the windshield before operating
w ipers.
- Do not use gasoline, kerosene, paint
t hinne r, or o ther solven ts on o r near
t he wipe r blades .
- Do not attemp t to move the wipers by
hand.
{D) Tips
The front wiper b lades are different
lengths; the blade o n the dr ive r's side is
longer .
Mirrors
Automatically dimming inside mirror
The automatic dimming function can be
turned on and off if required .
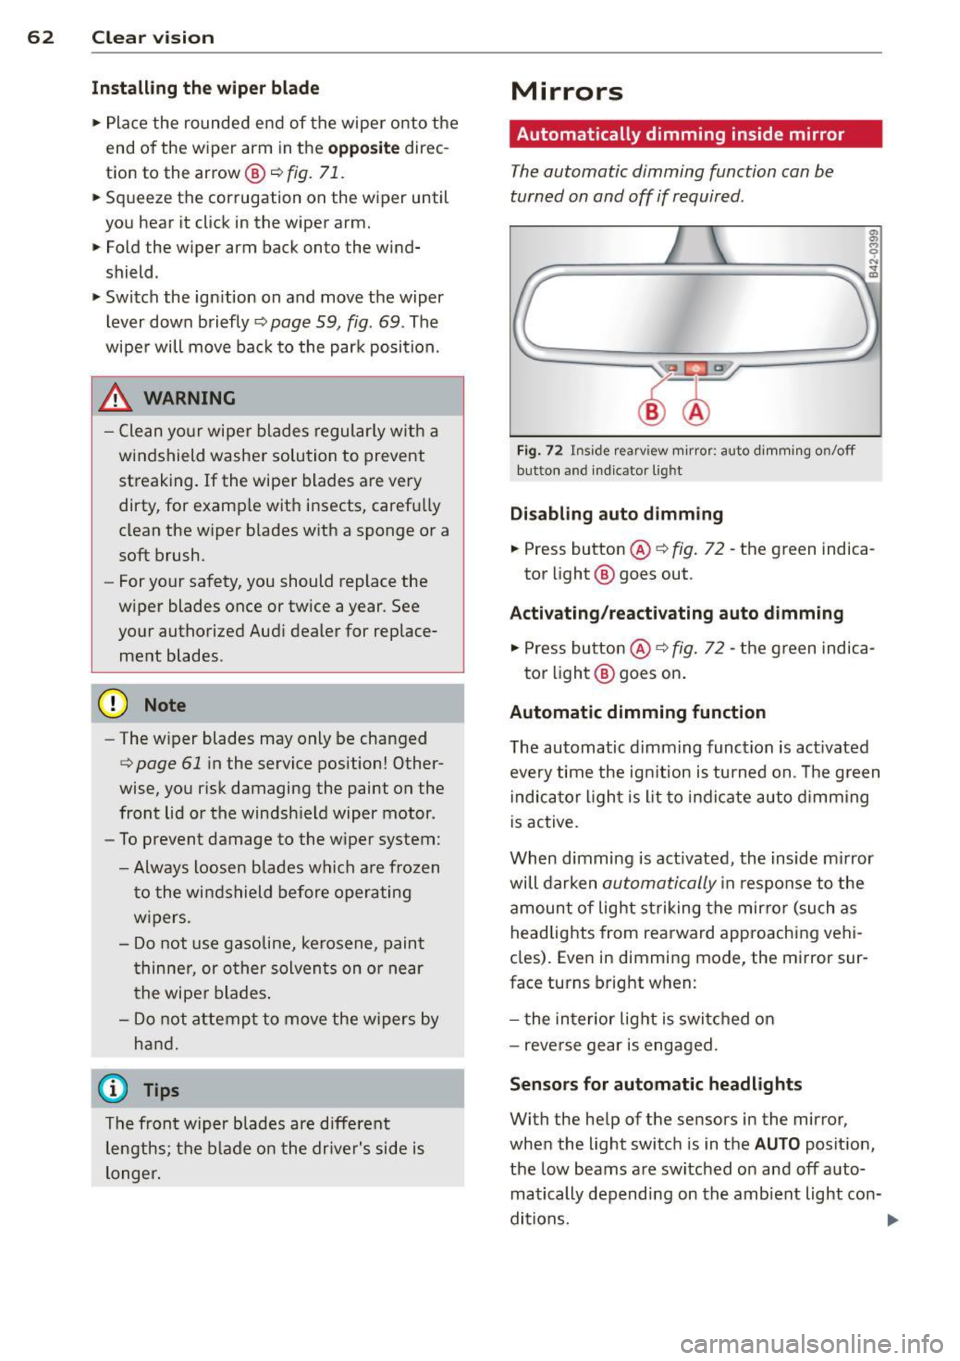
Fig . 72 Inside rearv iew mirror: auto d imming on/off
button and ind icator lig ht
Disabling auto d imming
.,. Press button ® r=;, fig. 72 -the green indica
tor light @ goes out .
Activating /reactivating auto dimming
.,. Press button @¢ fig. 72 -the green indica-
tor light @ goes on .
Automatic dimming function
The automatic dimming function is act ivated
every time the ign it ion is turned on . T he g reen
indica tor light is lit to indicate auto d imming
is active.
When dimming is act ivated, the inside m irror
will darken
automatically i n response to the
amount of light st riking the mirro r (such as
headlig hts from rearward approaching vehi
cles). Even in dimming mode, the mirror sur
face turns bright when:
- t he in terior lig ht is swi tched on
- reverse gear is engaged.
Senso rs for automatic headlight s
With the help of the sensors in the mirror,
when the light switc h is in the
AUTO posit ion,
the low beams are switched on and off auto matically depending on the amb ient light con-
ditions. ..,.
Page 65 of 244
_& WARNING
Broken glass of automatic dimming mirror
can cause electrolyte fluid leakage. Elec
trolyte fluid can irritate sk in, eyes, and res
piratory system .
- Repeated or prolonged exposure to elec trolyte can cause ir ritation to the resp ira
tory system, espec ially among people
with asthma or other respiratory condi
ti ons. Get fres h ai r i mmedia tely by leav
ing the vehicle or, if that is not possible,
open windows and doors all the way.
- If electrolyte gets into the eyes, flush
them thoro ughly with large amounts of
clean water for at least 15 min utes;
med ica l attent ion is recommended.
- If e lectrolyte contacts sk in, f lush affect
ed area with clean water for at least 15
minutes and then wash affected area
with soap and water; medical attention
is recommended . T horoughly wash af
fected clothing and shoes before reuse .
- If swallowed and person is conscious,
rinse mouth w ith water for at least 15
min utes . Do not i nd uce vom it in g unless
inst ructed to do so by medical professio
nal. Get medical atten tion immediately.
CD Note
liquid electro lyte leaked from a b roken
m irror glass will damage any p lastic surfa
ces it comes in contact with. Clean up spil
led electro lyte immediately wi th clear wa
t er and a sponge.
(D Tips
- If yo u switch off the automatic dim·
ming function on th e in sid e mirror , au
t o mati c dimming of the out sid e mirror s
w ill likewi se be di sabled .
-Check to make sure there are no objects
preventing light from reaching the inside
mirro r.
- Do no t attach any sticke rs to the wind
sh ield in front of t he two light sensors,
as this would interfere with both the au
tomatic operation of the headlights and
Clear vi sion 63
the a utomatic dimming of the inside
mirror(s) .
Outside mirrors
The outsid e mirrors ar e electrically adjusted .
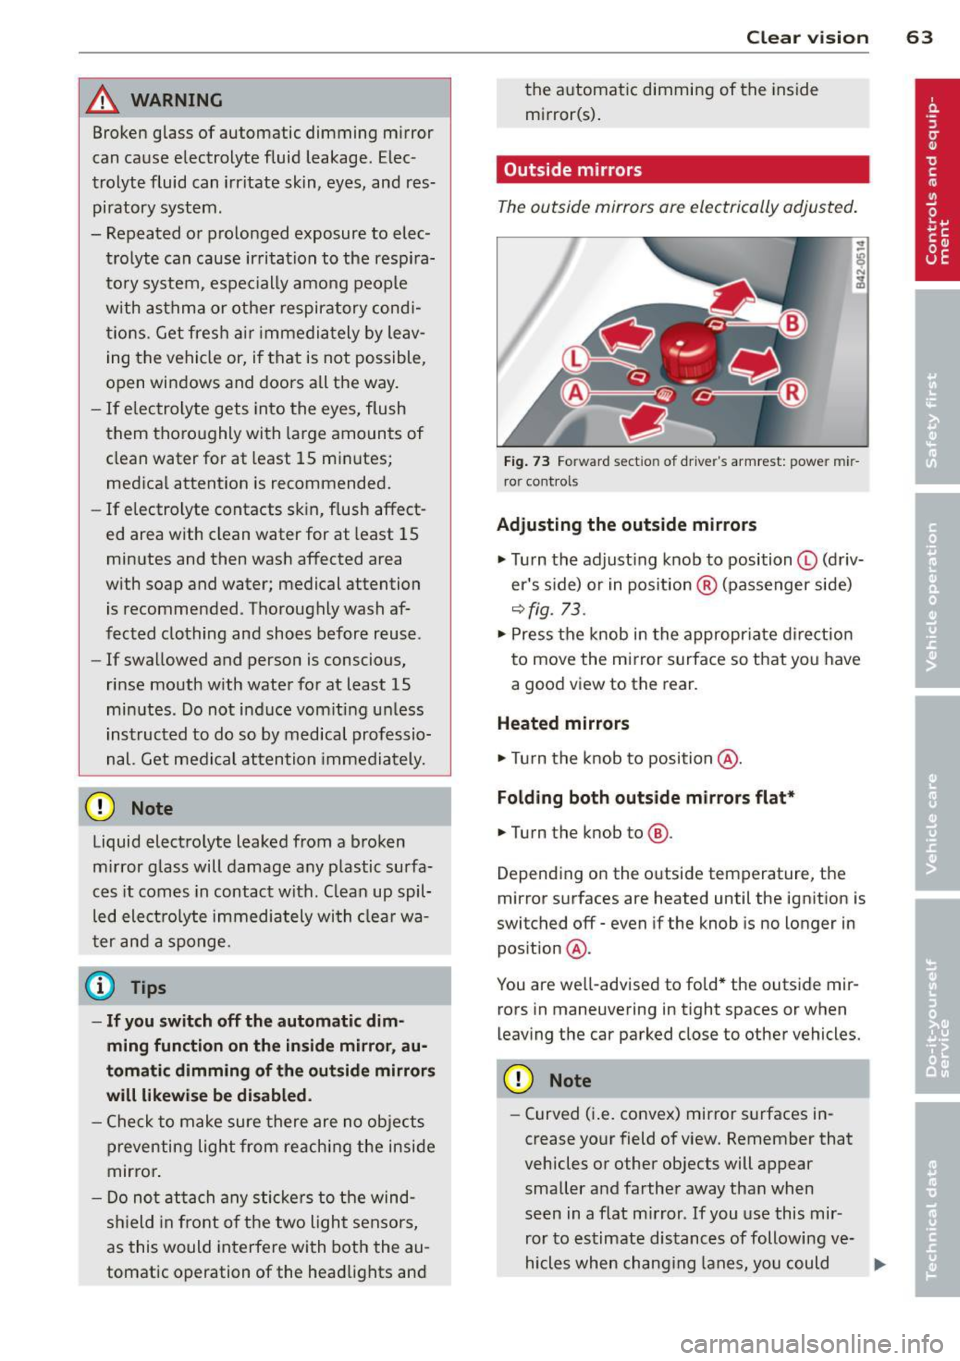
Fig. 73 Forward sect io n of dr iv er's armrest: powe r mir
ro r control s
Adjusting the outside mirrors
.,. Turn the adjust ing knob to position © (driv
er 's s ide) or in pos ition ® (passenger side)
r::!) fig. 73.
... Press the knob in the appropriate dire ction
to move the mi rror surface so that yo u have
a good view to the rear .
Heated mirrors
... Tu rn the knob to position @.
Folding both out side mirro rs flat*
.,. Turn the knob to @.
Depend ing on the outside temperature, the
mirror surfaces are heated until the ignition is
switched off - even if the knob is no longer in
pos ition @.
You are we ll-advised to fold* the outside mir
rors in maneuvering in tight spaces or when
leaving the car parked close to other vehicles.
CD Note
- Curved (i .e. convex) mirror surfaces in
crease yo ur field of view. Remember that
vehicles or other objects will appear smaller and farther away than when
seen in a flat m irror . If you use this mir
ror to estimate distances of following ve-
hicles when chang ing lanes, you could ..,.
Page 66 of 244
64 Clear vis ion
estimate incorrect ly and cause an acci
dent .
- If the mirror ho using is moved un inten
tiona lly (for example, while parking your
vehicle), then you must first fo ld the mir
ror electrically. Do not readjust the mir
ror hous ing manually. You could damage
the motor which controls the mirror.
If there shou ld be a malfunction in the
electrical system, you can still adjust the
outs ide mirrors by press ing the edge of
the mirror .
Automatic dimming for outside mirrors
Applies to vehicles: with automatic dimming for outside
mirrors
The outside m irrors are dimmed together with
the automatic d imm ing of the inside m irror.
When the ign it ion is switched on, the m irrors
darken automat ically depending on the light
str iki ng them (e.g. headlights from the rea r).
When the interior lighting is switched on and
when reverse gear is engaged, the mirrors are
sw itched back to their or iginal br ightness (not
d immed).
_& WARNING
Broken g lass of automa tic dimming m irror
c an ca use e lectrolyte fluid leakage. Elec
trolyte fluid can irritate skin, eyes, and res
piratory system .
- Repeated o r prolonged exposure to elec
t ro lyte can cause irritation to the respira
tory system, especially among people
with asthma or other respiratory cond i
t ions. Get fresh air immediately by leav
ing the vehicle or, if that is not possible,
open wi ndows and doors all the way.
- If electrolyte gets into the eyes, flush
them thoroughly with la rge amounts of
clean water for at least 15 m in utes ;
med ica l attent ion is recommended.
- If electrolyte contacts sk in, f lush affect
ed area with clean water for at least 15
minutes and then wash affected ar ea with soap and water; medical attention
is recommended. Thoroughly wash af
fected clothing and shoes before reuse.
- If swallowed and person is conscious,
rinse mouth with water for at least 15
minutes. Do not induce vomiting unless
instructed to do so by medical professio
na l. Get medical attention immediately.
([) Note
Electrolyte leaking from a broken mirror
glass attacks the vehicle pa int and p lastic
surfaces. C lean up spilled elect ro lyte im
med iately with clear water and a sponge.
@ Tips
- If automatic dimming for the inside m ir
ror is switched off, the outside mirrors
are also not dimmed automat ically.
- Automatic d imm ing for the mirror on ly
operates properly if the l igh t striking the
inside m irror is not hi ndered by othe r ob
jects.
Digital compass
Activating or deactivating the compass
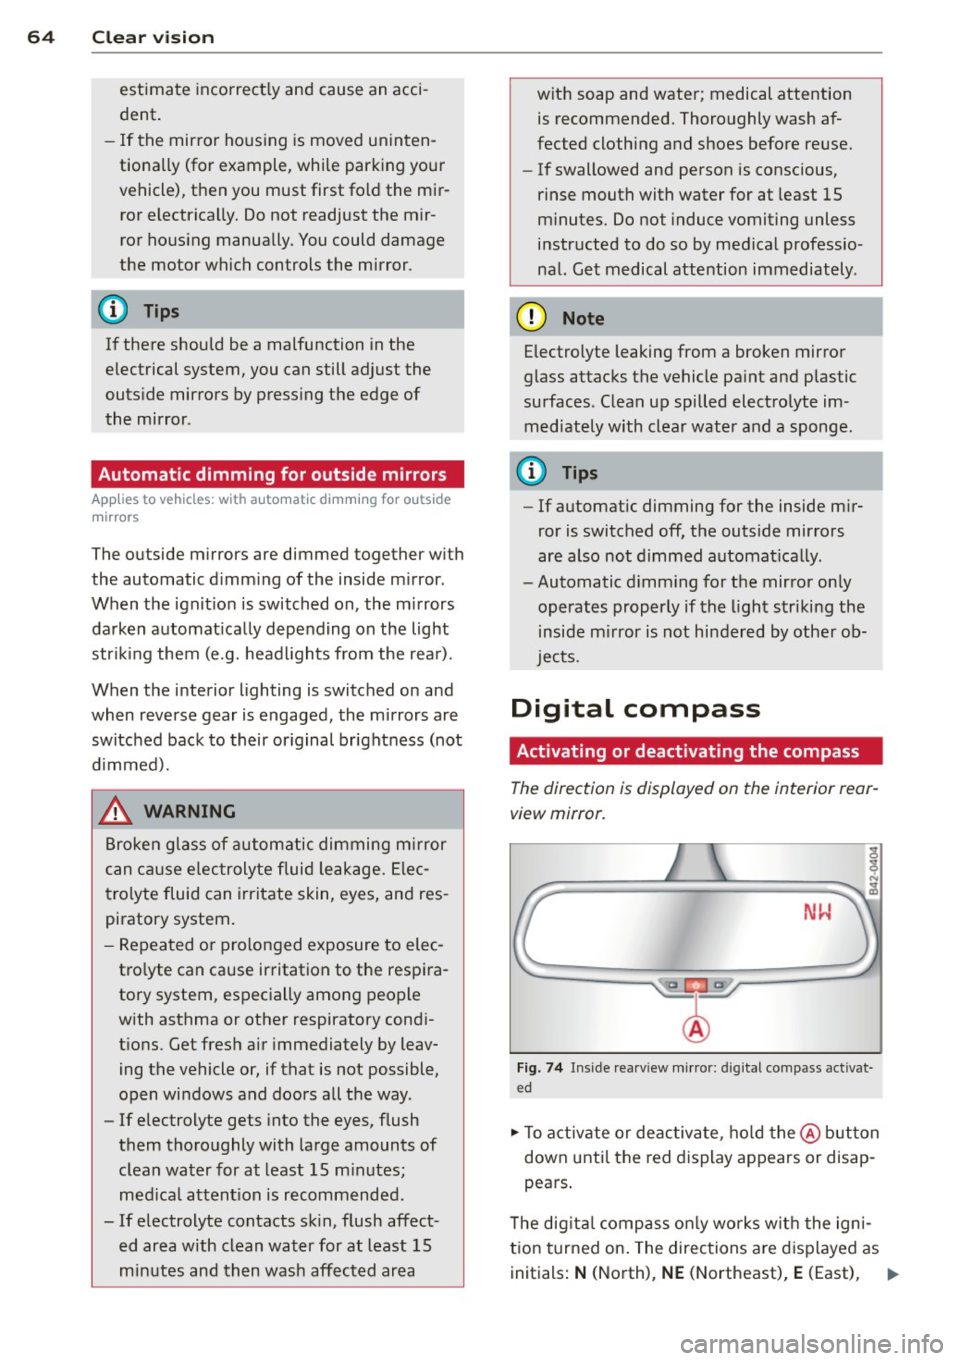
The direction is displayed on the interior rear
view mirror.
NW
Fi g. 74 Inside rea rv iew mirr or: digi tal co mpass activa t
ed
.. To activate or deac tiva te, ho ld the @ button
down unti l the red display appears or disap
pea rs .
T he dig ita l compass o nly works w it h the igni
t ion turned on . The directions are d isp layed as
initials :
N (North), NE (Northeast), E (East), 1111>
Page 68 of 244
66 Seat s a nd s tor ag e
Seats and storage
General recommen
dations
Why is your seat adjustment so
important?
The safety belts and the airbag system can
only provide maximum protection if the front
seats are correctly adjusted.
There are various ways of adjust ing the front
seats to provide safe and comfortable support
for the driver and the front passenger . Adjust
your seat properly so that :
- you can easily and quick ly reach all the
switches and controls in the instrument
panel
-your body is prope rly supported thus reduc
ing physical stress and fatigue
- the safety be lts and airbag system can offe r
maximum protection ¢
page 117.
In the following sec tions, you will see exactly
how you can best adjust you r seats .
There are special regulations and instructions
for insta lling a child safety seat on the front
passenger's seat. Always heed the informa
tion rega rd ing child safety provided in
¢ page 138, Child Safety .
A WARNING
Incorrect seating position of the driver and
all other passengers can result in serious
personal injury.
- Always keep your feet on the floor when
the vehicle is in motion -never p ut your
feet on top of the instrument panel, out
of the w indow or on top of the seat cush
ion! This applies espec ially to the passen
gers .
If your seating position is incorrect
you increase the r isk of injury in the case
of sudden braking or an acc ident.
If the
airbag infla tes and the seating position
is incorrect this could result in personal
injury or even death.
- It is important for bo th the driver and
front passenger to keep a distance of at least 10 inches (25 cm) between them
selves and the steering wheel and/or in
strument panel. If you're s itting any
closer than th is, the a irbag system can
not protect you properly . In addition to
this, the front seats and head restra ints
must be adjusted to your body height so
that they can give you max imum protec
tion.
- Always try to keep as much distance as
possible between yourself and the s teer
ing wheel or instrument pane l.
- Do not adjust the driver's o r fron t pa s
senger's seat whi le the vehicle is moving.
Your seat may move unexpected ly, caus
ing sudden loss of vehicle contro l and
personal inj ury . If you ad just yo ur seat
while the veh icle is moving, you are out
of posit io n.
Driver's seat
The correct seat position is important for safe
and relaxed driving.
We recommend that you adjust the driver's
seat in the fo llowing manner:
.,. Adjust the seat in fo re and aft direction so
t ha t you can easily p ush the peda ls to the
floor wh ile keeping your knee slightly bent
i::> A in Why is your seat adjustment so im
portant? on page 66 .
.,. Adjust the seatback so that when you sit
w ith your back against the seatback, you can
still grasp the top of the steering wheel.
.,. Posit io n the head restraint according to the
occupant 's height
<=:>page 68 . For maxi
mum protection, t he top of the head re
s t raint shou ld be a t least at eye level, pref
erab ly higher and idea lly level with the top
of the head
¢ page 102, fig. 107 .
A WARNING "--
Never place any objects in the dr iver's foot-
well. An object could get into the pedal
area and interfere with pedal function. In
case of sudden braking or an acc ident, you
wo uld not be able to brake or accelerate!