instrument cluster AUDI R8 SPYDER 2012 Owner's Manual
[x] Cancel search | Manufacturer: AUDI, Model Year: 2012, Model line: R8 SPYDER, Model: AUDI R8 SPYDER 2012Pages: 236, PDF Size: 59.24 MB
Page 192 of 236
190 Tire s and wheel s
wheels you have to adjust t he tire pressures
on all w heels .
A WARNING
Incorrec t tire pressures and/or underinfla
t ion can lea d sudden tire failure, loss of
contro l, collision, ser ious personal injury
or even death.
- When the warning symbo l
RI] appears in
the instrument cluster, stop and inspect
the tires .
- Incorrect tire pressure and/or underinfla
t io n can cause increased t ire wear and
can affect the handling of the ve hicle and
stopp ing ability .
- Incorrect tire pressures and/or underin fla tion can also lead to sudden tire fa il
ure, incl uding a blowo ut and sudden de
fla tion, causing loss of vehicle control.
- T he d river is responsible for the cor rect
t ire pressures fo r all tires on the vehicle .
T he ap plic a b le p ress ure v alues are locat
ed on a st ic ker on the drive r's side 8-pil
lar.
- O nly when all t ires on the vehi cle ar e fi l
led to the correct pressure, the tire pres
sure monitoring system can wor k co r
rect ly .
- Th e use of incorrect tire pressure values
can lead to accidents or other damage.
Therefore it is essential that the driver
observe the specif ied tire pressure va lues
for the tires and the correct pressures for
the funct ion of the tire pressure mo nitor
ing system .
- Always inflate tires to the recommended
and correct tire pressure befo re drivi ng
off .
- Driv ing with under inflated tires bend
more, lett ing them get too ho t res ulting
in t read separation, sudden t ire fail ure
and loss of control.
- Excess ive speed and/ove rloading can
cause heat bui ld-up, sudden t ire fa ilu re
and loss of control.
- If the t ire pressur e is too low or too high,
the ti res w ill wea r pre matu rely a nd the
vehicle will not h and le we ll. -
If the tire is not flat and you do not have
to change a wheel immediately, drive at
red uced speed to the nearest service sta
tion to check the t ire pressure and add
air as req uired.
(D Note
Driving without valve stem caps can ca use
damage to the tire valves. To prevent this,
a lways make sure that factory installed
valve stem caps o n all whee ls are sec urely
mounted o n the valve.
@ For the sake of the environment
Underinflated tires w ill also increase the
fuel consum ptio n.
Tires and vehicle load limits
T he re a re lim its to the amount of load o r
weight tha t any veh icle a nd any tire can ca rry .
A vehi cle that is overloaded will no t handle
well and is mo re d iff icu lt to stop . Ove rloading
can not only lead to loss of vehicle control,
but can also damage important parts of the
vehicle and can lead to sudden tire fa ilure, in
clud ing a b lowout and sudden deflation that
can cause the vehicle to cras h.
Your safety and that of your passengers also depends on making sure that load limits are
not exceeded. Vehicle load includes everybody
and everything in and on the veh icle . These
load lim its are technically referred to as the
vehicle 's
Gro ss Vehicle Weight Rating
("GVWR").
The "GVWR" includes the weight of the basic
vehicle, all facto ry installed accessor ies, a full
tank of fuel, o il, coolant and other fluids plus
max imum load . T he max imum load includes
t h e nu mbe r of p assenge rs t hat the vehicle is
i n tended to c arry ("seat ing c apac ity") wi th an
ass umed we ight of 150 lbs . (68 kg) for each
passenger at a designated seating position
and the total weight of any luggage in the ve -
hicle. ..,_
Page 203 of 236
soon as possible, and inflate them to the
proper pressure . Driving on a significant ly un
der-inflated tire causes the tire to overheat
and can lead to tire failure. Under-inflation a l
so reduces fuel efficiency and tire tread l ife,
and may affect the veh icle 's handling and
stopping ab ility.
Please note that the TPMS is not a substitute
for proper t ire maintenance, and it is the dr iv
er's responsib ility to ma inta in correct t ire
p ress ure , even if under- inflation has not
reached the leve l to t rigger illumination of the
TPMS low tire pressure telltale .
Your veh icle has also been equ ipped with a
TPMS malfunction indicato r to indicate when
the system is not ope rating properly. The
TPMS malfunc tion indica to r i s combined wi th
the low t ire pr essu re tellta le. When the sys
tem detec ts a ma lf u nct ion, the te lltale will
flash for approximately one minute and then remain continuo usly ill uminated . This se
q uence will continue upon subsequent vehicle
start-ups as long as the malfunction ex ists.
When the malfunction indicator is ill uminat
ed, the system may not be able to detect or
signa l low t ire pressure as intended . TPMS
malfunct ions may occ ur for a variety of rea
sons, including the ins talla tio n of replace
ment or a lternate tires o r whee ls on the veh i
cle that prevent the TPMS from funct io ni ng
p roperly . Always check the TPMS malfunct ion
t ellta le afte r replacing one o r more t ires or
wheels o n your veh icle to ensure tha t the re
p lacemen t or a lternate tires and wheels allow
the TPMS to continue to function properly .
Introduction
The tire pressure monitoring system monitors
air pressure in all four road wheels while the
vehicle is moving .
As soon as the tire pressu re mo nitor ing sys
tem senses a s ignificant loss of a ir pressure in
one or severa l ti res, text messages and yellow
symbo ls appear in the instr ument cluster dis
p lay to alert the driver. The
[ti warning light
Tire s an d wheel s 201
in the instrument cluster comes on when the
ti re is significant ly underinflated .
T he wa rni ng lig ht
[ti also illu minates i n the
case of a system mal funct io n.
Be aware that t ire pressure is a lso dependent
o n the tempe ratu re of the t ire. For eve ry 18 ° F
(10 °C) incre ase in tir e te mper ature, tire pres
s u re inc reases by about 1.5 psi (0 .1 bar). The
ti re warms up while the ve hicle is moving and
tire p ress ure rises . So you sho uld ad just tire
pressure only when they a re
cold, when the
temperature of the tires is ro ughly the same
as the ambient a ir temperature.
In order to keep the tire press ure monito ring
system p roperly ca librated, t ire press ure on
all four tires sho uld be checked at regu lar in
terva ls.
The tire pressure is shown on the label located
on the dr iver's side B-pillar (v is ib le when the
door is open) .
A WARNING
When the tire pressure mo nitoring system
war ning light is lit , one o r m ore of your
tires is s ignificantly under-infla ted . You
shou ld stop and check your tires as soon as
pos sib le, and in flate t hem to the proper
p ress ure a s in dic ate d on the ve hicle's ti re
p ress ure lab el
¢page 187. Driving on a
significantly under -inflated ti re causes t he
tire to over heat and can lead to tire failure .
Under-inflat ion also is like ly to impair the
vehicle's handling and stopping ab ility.
@ For the sake of the environment
D riving wit h un der -inflated tires red uces
fuel efficiency an d tire t read life.
(D Tips
- E ach tire should be chec ked monthly
w hen the tem perature of the tires is
about the same as amb ient a ir tempera
t u re and set to the recommended infla
tion press ure as specified on the tire
pressure label¢
page 187.
•
•
Page 204 of 236
202 Tire s and whee ls
- The tire pressure monitoring system
helps the driver to keep an eye on tire
pressures. But the driver st ill has the re
spons ibility for maintaining the correct
tire pressure.
- Tire pressure must only be adjusted
when the temperature of the tires is
about the same as ambient air tempera
ture.
- When t ires are replaced, the sensors and
valves should not be exchanged . The
valve core, nut, valve sealing and seal
washer (rep lacement kit) needs to be re
placed. If necessary, the valve and the
whee l electronics have to be rep laced.
- The tire pressure monitoring system on
your Audi was calibrated us ing tires w ith
"RO" identification. We recommend us
ing these tires.
- If you should put different whee ls and
ti res on yo ur vehicle (e.g. w inter wheels
and tires), yo u m ust be certain that the
whee ls and tires are compatible with the
tire pressure monitoring system . Other
wise the system w ill reg ister a ma lfunc
tion and a fault message will be d is
played . For more information, contact
your authorized Audi dealer .
- For Declaration of Compliance to United
States FCC and Industry Canada regula
tions
~ page 222 .
Programming a new set of tires
App lies to vehicles: with tire pressure monitoring system
When driving with a new set of ti res, you can
program them to the t ire pressure monitoring
system using the menu disp lay.
"' Turn the ign ition on.
"' Se lect the menu :
Set> Tir e pr essu re >
Wh eel cha ng e.
"' Co nfirm that you wou ld like to begin the
programming process. The message
Wh eel
s en sors a re being in it ia lised. Thi s ma y ta ke
a fe w minute s .. .
appears in the instrument
cluster disp lay. You can switch between programmed tire sets
at any time without reinitializing the system .
(D Tips
If the programming process was not com
pleted successfully, the message
Wheel
s en sors could not be initi alis ed
appears in
the disp lay and the
IIQIS, indicator light
turns on. If this happens, repeat the pro
cedure.
Page 207 of 236
.. Remove the "max. 50 mph" (80 km/h)
sticker from the sealant bottle and affix it to
the instrument cluster in the dr iver's view.
A WARNING
- Turn the hazard flashers on if you have a
flat tire in moving traffic. In this way you
protect yourself and other road users .
- Make sure that all passengers are in a
safe place, out of the dange r zone (fo r
example, behind a guard ra il).
(D Note
Part icular care is necessary if you are mak
ing a t ire repair on a steep incline.
@ Tips
Obey all laws.
Making a tire repair
Tire repair consists of the following sections.
F ig. 154 Parts of the Tir e Mob ility System
Fig . 1 55 Con nector for the Ti re Mob ility System
l) The e lectr ic a ir pump s houl d never r un for long er than
8 m inute s.
What do I do now ? 205
Assembling Ti re Mobility System
.. Open the lid@ of the e lectr ic air p ump
<:!) fig. 154 .
.. Pull the plug @and the pressure hose ®
w ith the gauge out of the housing .
.. Screw the pressure hose ® of the electric
air pump onto the flange @ of the sealant
bott le @ .
.,. Push the sea lant bottle w ith the flange
down into the recess ® on the lid of the
electric a ir pump.
.. Remove the d ust cap from the va lve of the
defe ctive tire .
.. Screw the hose(§ onto the va lve
0
c::> fig. 155.
.. Insert the plug@¢ fig. 154 into the socket
for the c igarette lighte r.
Inf lating tire
.. Move the switch @ ¢ fig. 155 on the elec
tric air pump
l} to position I. After 5 mi
nutes, tire pressure m ust have reached at
least 1.8 bar .
.. Switch the e lectric air pump off -sw itch in
position
0 . If the required tire pressure of at
least 1.8 bar has not been reached, follow
th e instruct ions in the section
Re-inflating
tire .
Re-inflating tire
.. Remove the hose from the valve and pull
the plug out of the socket.
.. Dr ive the veh icle slowly 10 meters back
ward o r fo rward . This helps to d istribute the
sealant bette r .
.. Remove the empty infla tion bot tle and
s crew the hose ®® ¢
fig. 154 from the
electric pump directly onto the va lve .
.. Insert the plug @ into the socket for the
cigarette lighter .
.. Move the switch @
c::> fig. 155 on the elec
tr ic air pump
l} to position I. After 5 mi
nutes, tire pressure must have reached at
least 1.8 bar.
Page 216 of 236

214 Fuses and bulbs
Fuse panel @
Consumer
Automatically dimming in-
side mirror, garage door
8 opener (Homel
ink), washer
pump relay, power outlets
relay
10
[ru button
11 Pressure sensor, climate
controls
12 Airbag
Fuse panel @
No . II Consumer
II
1 Radiator fan (1)
Radia
tor fan (2)
Exterior lighting
4 Exterior lighting
6 Blower regulator
Fuse panel@
No . II Consumer
II
1 Rear view camera
2
Tire pressure monitoring
system
4 Cell phone package, te
le-
phone antenna amplifier
5 Instrument cluster
6 Networking gateway
7 Steering column lever
8
Diagnostic interface, brake
pedal switch, selector lever
9 Rain/light sensor
10 Light switch
11 Special functions control
module
15 Sound amplifier
Radio
Fuse panel E
No. Consumer
3 Auxiliary water pump
5 Supply terminal 15, starter
Amps
10
10 5
5
Amps
40 40
40
40
40
Amps
5
10
7.5 5
5
5
10 5
5
5
30
20
Amps
10
30
Fuse panel @
No. Consumer
6 Pump for brake booster
7 Horn
8 Wiper motor
9 Wiper motor
10 Headlight washer system
12 Power outlets and cigarette
lighter
Fuse panel
®
No. !!Consumer
1 Electronic Stabi lity Control
2 Electronic Stability Control
4
5
6 Rear
window defogger
Power locking system
Interior lights, washer noz
zles
Anti-theft alarm system
Climate controls
Heated seats
10 Lumbar support
11 Control module for doors
12 Control module for doors
Bulbs
Note
Amps
15
20
30
30
30
20
ll Amps ,
10
25
30
20
20
5
10
25
10
30
10
Your vehicle is equipped with maintenance
free headlights and rear lights. However, if a
bulb has to be changed, please consult your
authorized Audi dealer or other qualified
workshop.
Page 229 of 236
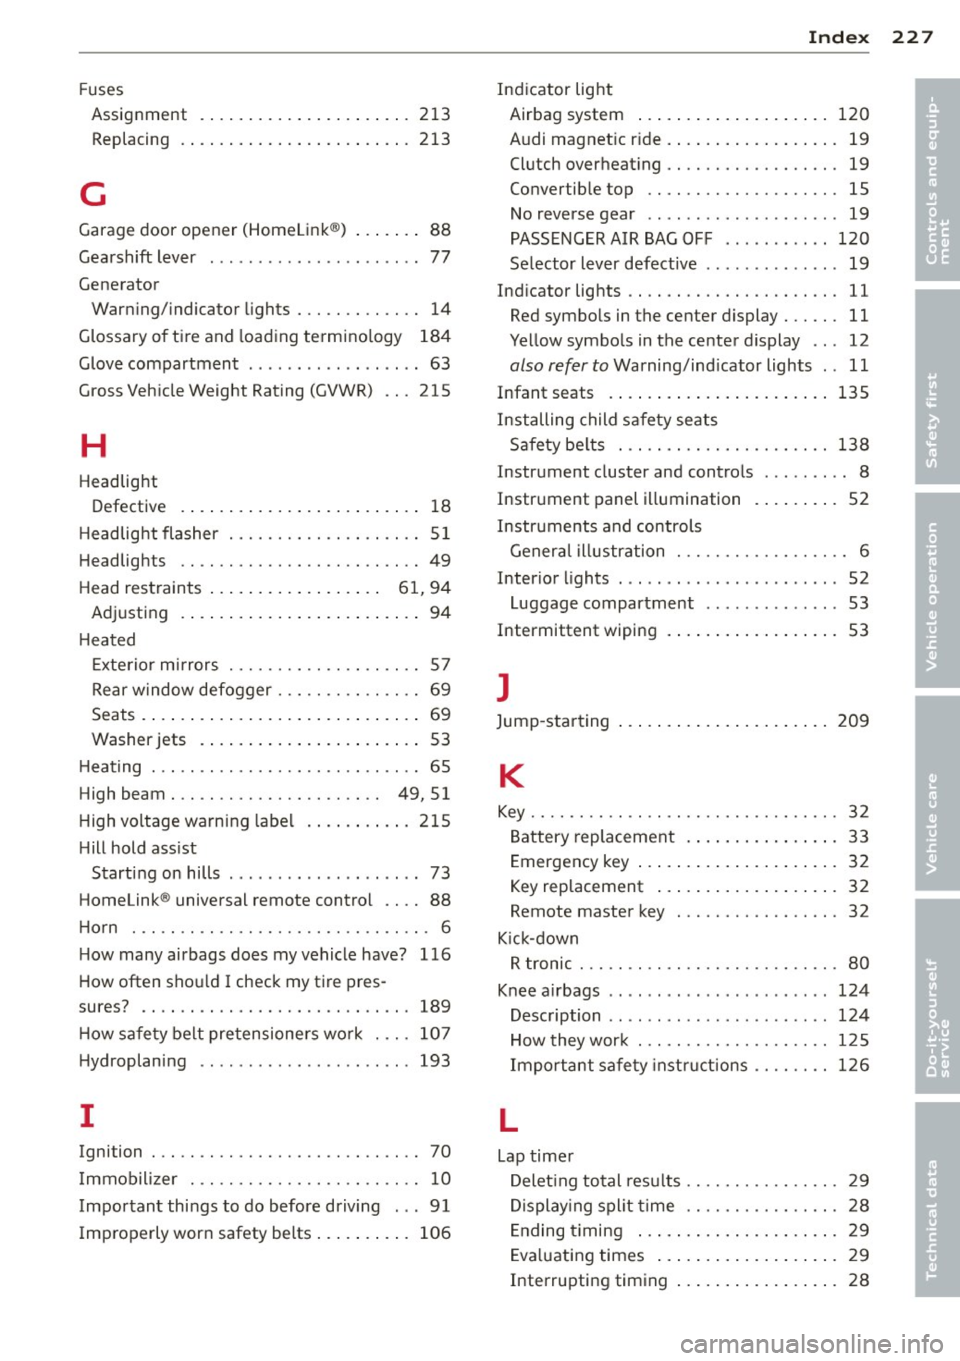
Fuses
Assignment . ......... ......... ... 213
Replacing .. ..... ........ .. .. .. .. . 213
G
Garage door opener (HomeLink ®) ... .. .. 88
Gearshift lever . . . . . . . . . . . . . . . . . . . . . . 77
Generator Warning/indicator lights ..... .. .. .. .. 14
Glossary of tire and loading termino logy 184
Glove compartment . . . . . . . . . . . . . . . . . . 63
Gross Veh icle Weight Rating (GVWR) .. . 215
H
Headlight
Defective .. .. .............. ... .... 18
H eadlig ht flasher .......... .. .. .. .. .. 51
Headlights .. .. ........... .. .. .. .... 49
Head restraints . . . . . . . . . . . . . . . . . . 61, 94
Ad justing .. .. ............ ... .. .... 94
H eated
Exterior mirrors ............ .. .. .. .. 57
Rear window defogger ..... .. .. .. .. .. 69
Seats . ..... .. .............. ... .... 69
Washer jets . . . . . . . . . . . . . . . . . . . . . . . 53
H eating ... .. .. .. ......... .. .. .. .... 65
High beam. .. ............. .... .. 49, 51
H igh voltage warning label ........... 215
H ill hold ass ist
Starting on hills ............. .... ... 73
Homelink ® universal remote control . . . . 88
Horn ... .. .. .. ............... .. .. .. . 6
H ow many airbags does my vehicle have? 116
How often shou ld I check my tire pres-
sures? .... .. .. .. ......... .. .. .. ... 189
H ow safe ty belt pretensioners work ... . 107
Hydroplaning . . . . . . . . . . . . . . . . . . . . . . 193
I
Ignition . . . . . . . . . . . . . . . . . . . . . . . . . . . . 70
I mmobilizer . .... ......... .... .. .. .. 10
Important things to do before driving . .. 91
Improperly worn safety belts . . . . . . . . . . 106
Index 227
Indicator light
Airbag system ... .. ............... 120
Audi magnet ic r ide . .. ............... 19
Clutch overheating ................. . 19
Convertible top .. .... ............. . 15
No reverse gear . . . . . . . . . . . . . . . . . . . . 19
PASSENGER AIR BAG OFF ... .... .... 120
Se lector lever defective .............. 19
Indicator lights .. .. .... ........... .. . 11
Red symbols in the center display ... .. . 11
Yellow symbols in the center display .. . 12
also refer to Warning/indicator lights .. 11
Infant seats . . . . . . . . . . . . . . . . . . . . . . . 135
Installing child safety seats
Safety belts ... .. ................. 138
Instrument cluster and controls ......... 8
Instrument panel illumination ........ . S2
Instruments and controls
General illustration . . . . . . . . . . . . . . . . . . 6
Interior lights . . . . . . . . . . . . . . . . . . . . . . . 52
Luggage compartment . . . . . . . . . . . . . . 53
Intermittent wiping . . . . . . . . . . . . . . . . . . 53
]
Jump -starting ... .... ............... 209
K
Key ...... .. .. .. .. .. ............... . 32
Battery replacement . . . . . . . . . . . . . . . . 33
Emergency key ..... ................ 32
Key replacement ... .............. .. 32
Remote master key . . . . . . . . . . . . . . . . . 32
Kick-down R tronic ..... .. .. ............... .. . 80
Knee a irbags ...... .. ............... 124
Description .. .. .. .. . .. .... ........ 124
How they work ....... ........... .. 125
Important safety instructions .... .. .. 126
L
Lap timer
Deleting total results ........... .. .. . 29
Displaying split time ........... .... . 28
Ending timing ... .. .............. .. 29
Evaluating times . . . . . . . . . . . . . . . . . . . 29
Interrupting timing ...... ...... ..... 28
•
•