change language BMW 128I 2012 E88 Owner's Manual
[x] Cancel search | Manufacturer: BMW, Model Year: 2012, Model line: 128I, Model: BMW 128I 2012 E88Pages: 272, PDF Size: 8.49 MB
Page 26 of 272
Voice activation system
24
Help dialog for voice activation system
Accessing help:
Other commands
* for the help dialog:
>{Help with examples}: information about
the current control options and the most
important commands relating to them are
read aloud.
>{Help with voice activation}: information
about the principle operation of the voice
activation system is read aloud.
Example: playing back a CD
1.If necessary, switch on entertainment audio
output.
2.Press the button on the steering wheel.
4.Press the button on the steering wheel.
Setting the voice dialog
You can set whether the system uses the stan-
dard dialog or a short version.
In the short version of the voice dialog, the
responses from the system are given in abbre-
viated form.
On the Control Display:
1."Settings"
2."Language/Units"
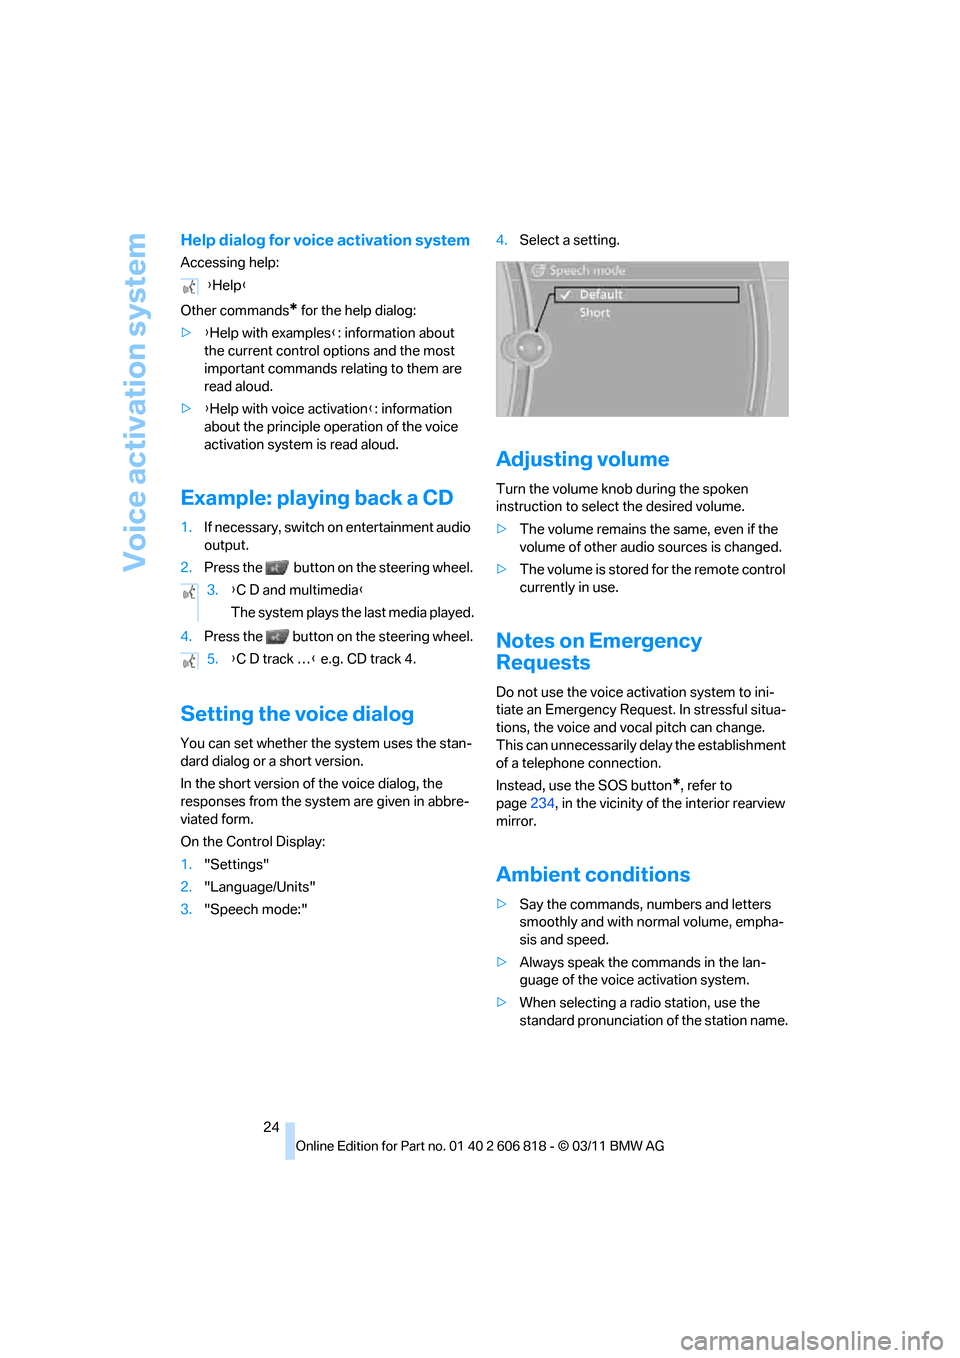
3."Speech mode:"4.Select a setting.
Adjusting volume
Turn the volume knob during the spoken
instruction to select the desired volume.
>The volume remains the same, even if the
volume of other audio sources is changed.
>The volume is stored for the remote control
currently in use.
Notes on Emergency
Requests
Do not use the voice activation system to ini-
tiate an Emergency Request. In stressful situa-
tions, the voice and vocal pitch can change.
This can unnecessarily delay the establishment
of a telephone connection.
Instead, use the SOS button
*, refer to
page234, in the vicinity of the interior rearview
mirror.
Ambient conditions
>Say the commands, numbers and letters
smoothly and with normal volume, empha-
sis and speed.
>Always speak the commands in the lan-
guage of the voice activation system.
>When selecting a radio station, use the
standard pronunciation of the station name. {Help}
3.{C D and multimedia}
The system plays the last media played.
5.{C D track …} e.g. CD track 4.
Page 76 of 272
Controls overview
74
Units of measure
You can change the units for fuel consumption,
route/distance, temperature and pressure.
1."Settings"
2."Language/Units"
3.Select the desired menu item.
4.Select the desired unit.
The settings are stored for the remote control
currently in use.
Service requirements
The remaining driving distance and the date of
the next scheduled service are displayed briefly
immediately after you start the engine or switch
on the ignition.
The extent of service work required can
be read out from the remote control by
your BMW Service Advisor.<
For certain maintenance operations, you can
view the respective distance remaining or due
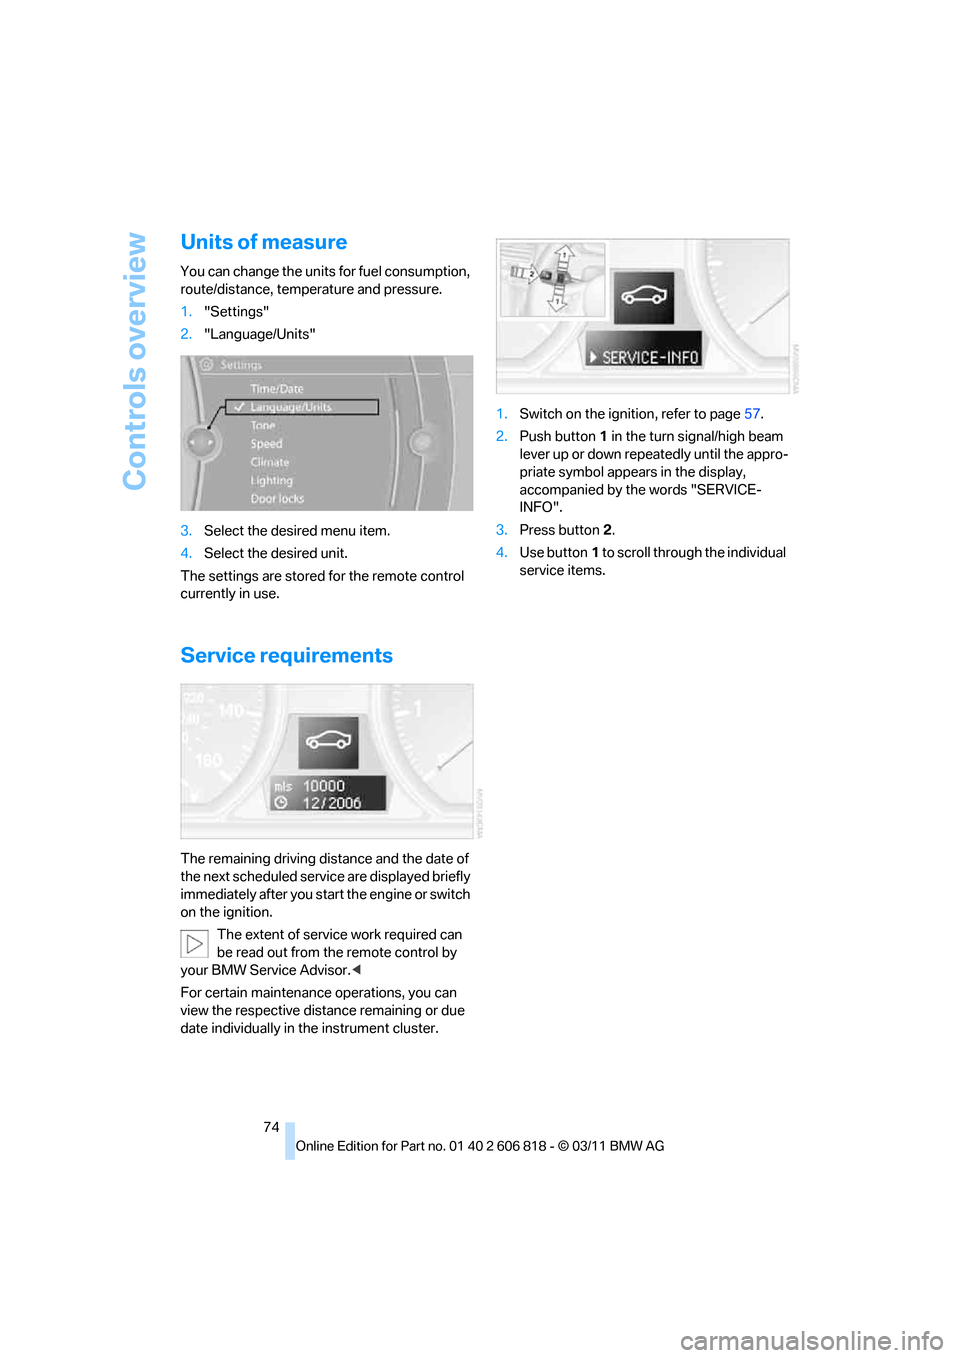
date individually in the instrument cluster.1.Switch on the ignition, refer to page57.
2.Push button1 in the turn signal/high beam
lever up or down repeatedly until the appro-
priate symbol appears in the display,
accompanied by the words "SERVICE-
INFO".
3.Press button2.
4.Use button1 to scroll through the individual
service items.
Page 83 of 272
Controls
81Reference
At a glance
Driving tips
Communications
Navigation
Entertainment
Mobility
4.Press the controller.
Settings on the Control
Display
Language on the Control Display
Setting the language
1."Settings"
2."Language/Units"
3."Language:"
4.Select the desired language.
The setting is stored for the remote control cur-
rently in use.
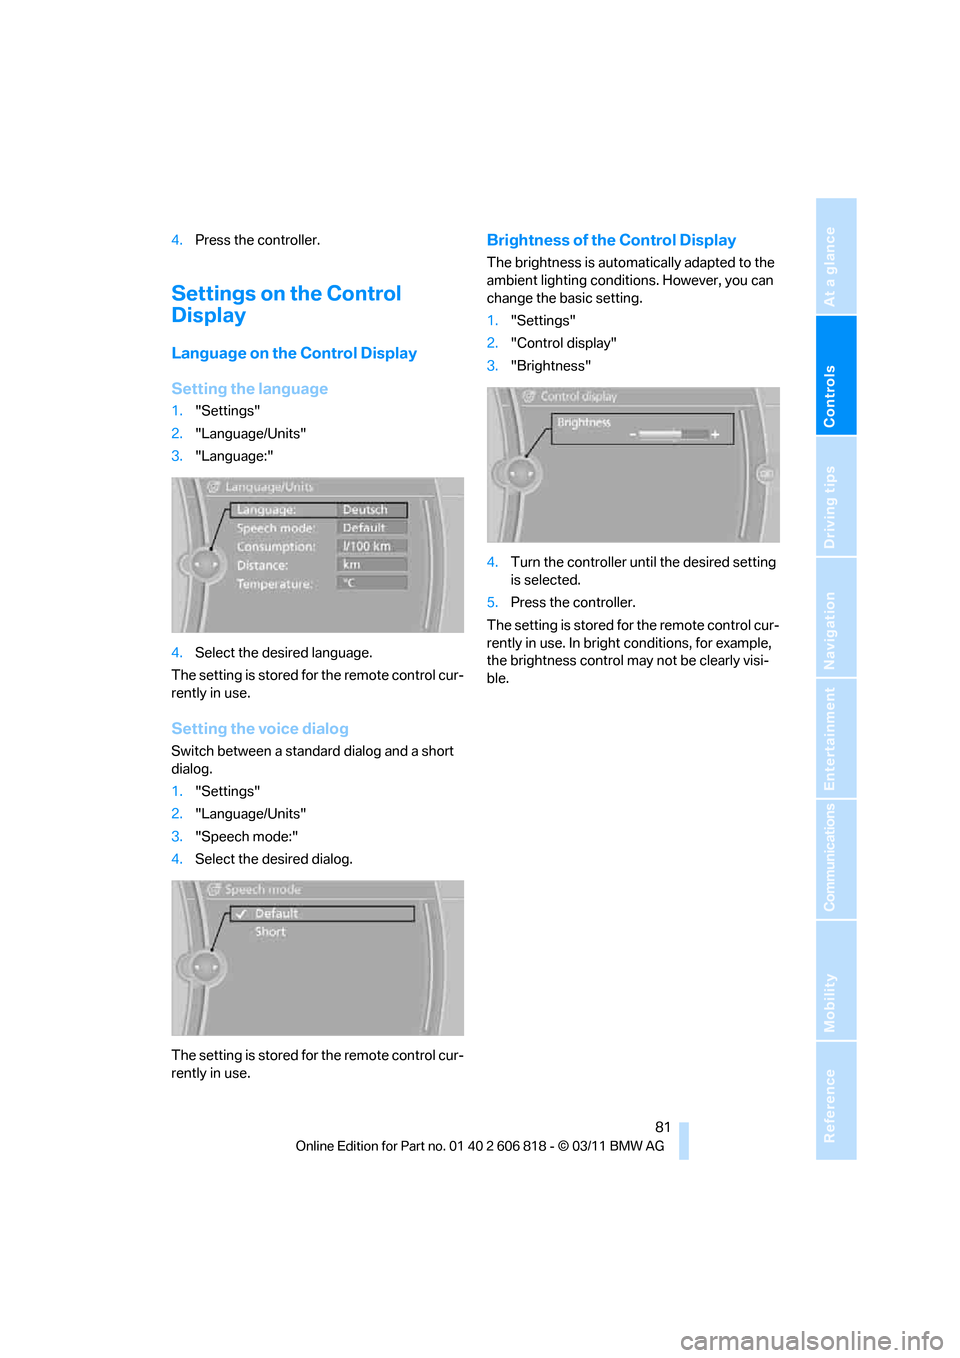
Setting the voice dialog
Switch between a standard dialog and a short
dialog.
1."Settings"
2."Language/Units"
3."Speech mode:"
4.Select the desired dialog.
The setting is stored for the remote control cur-
rently in use.
Brightness of the Control Display
The brightness is automatically adapted to the
ambient lighting conditions. However, you can
change the basic setting.
1."Settings"
2."Control display"
3."Brightness"
4.Turn the controller until the desired setting
is selected.
5.Press the controller.
The setting is stored for the remote control cur-
rently in use. In bright conditions, for example,
the brightness control may not be clearly visi-
ble.
Page 108 of 272
Practical interior accessories
106
Digital compass*
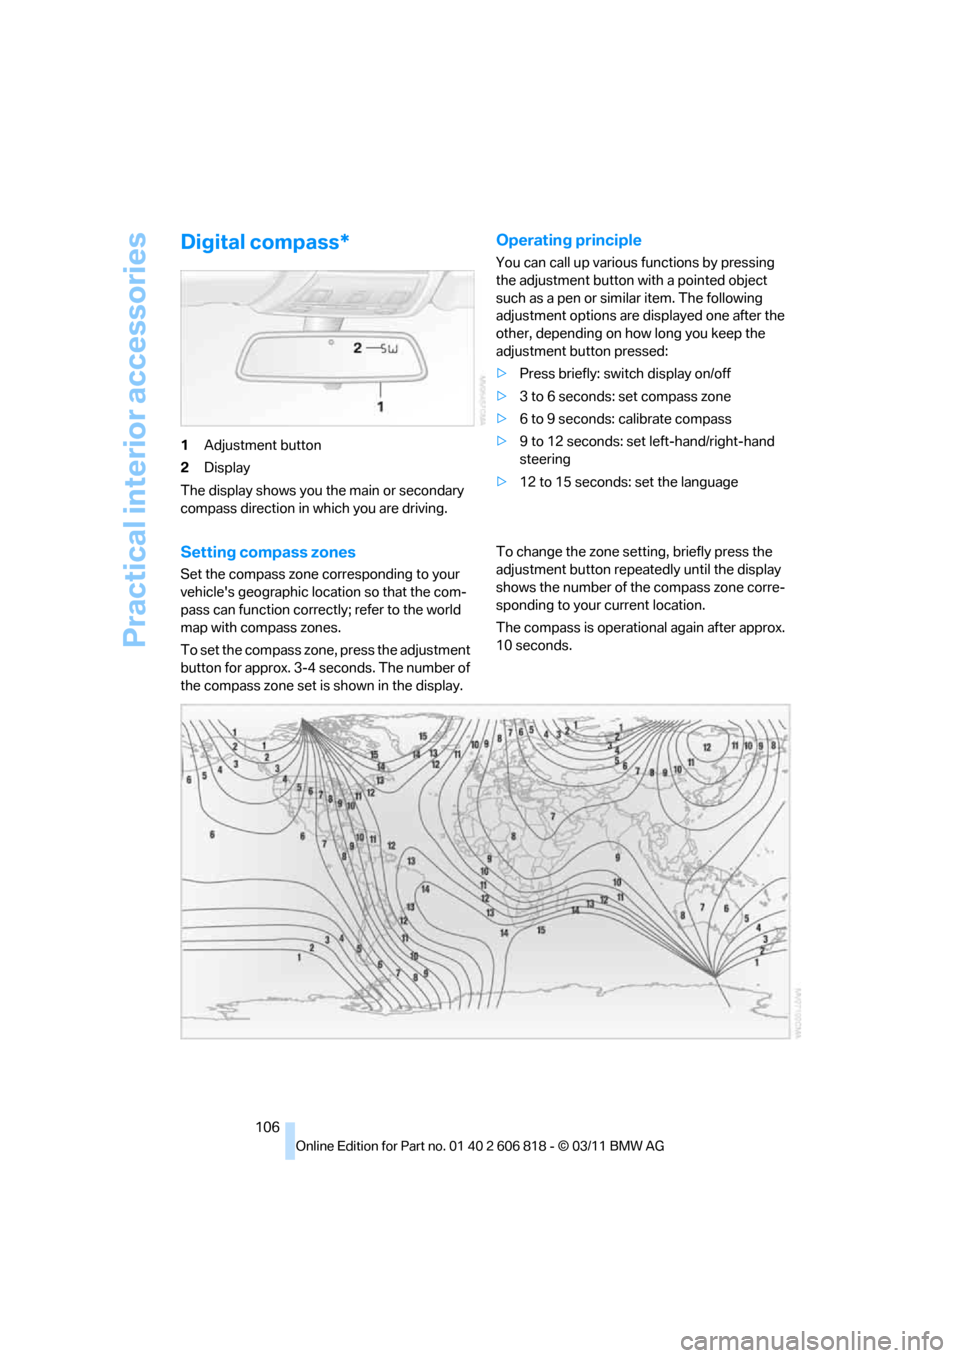
1Adjustment button
2Display
The display shows you the main or secondary
compass direction in which you are driving.
Operating principle
You can call up various functions by pressing
the adjustment button with a pointed object
such as a pen or similar item. The following
adjustment options are displayed one after the
other, depending on how long you keep the
adjustment button pressed:
>Press briefly: switch display on/off
>3 to 6 seconds: set compass zone
>6 to 9 seconds: calibrate compass
>9 to 12 seconds: set left-hand/right-hand
steering
>12 to 15 seconds: set the language
Setting compass zones
Set the compass zone corresponding to your
vehicle's geographic location so that the com-
pass can function correctly; refer to the world
map with compass zones.
To set the compass zone, press the adjustment
button for approx. 3-4 seconds. The number of
the compass zone set is shown in the display.To change the zone setting, briefly press the
adjustment button repeatedly until the display
shows the number of the compass zone corre-
sponding to your current location.
The compass is operational again after approx.
10 seconds.
Page 109 of 272
Controls
107Reference
At a glance
Driving tips
Communications
Navigation
Entertainment
Mobility
Calibrating the digital compass
The digital compass must be calibrated in the
following situations:
>An incorrect compass direction is shown.
>The compass direction shown does not
change although the direction of travel
does.
>Not all compass directions are shown.
Procedure
1.Make sure that no large metal objects or
overhead power lines are in the vicinity of
your vehicle and that you have enough
space to drive in a circle.
2.Set the currently valid compass zone.
3.Convertible: ensure that the convertible top
is fully closed.
4.Press the adjustment button for approx.
6-7 seconds to call up C. Then drive in at
least one full circle at a speed of no more
than 4 mph/7 km/h.
If calibration is successful, the display
changes from C to a compass direction.
5.Convertible: open the convertible top fully
and repeat step 4.
Setting right-hand/left-hand steering
Your digital compass is factory-set to right-
hand or left-hand steering, in accordance with
your vehicle.
Set the language
You can set the language of the display:
Press the adjustment button for approx.
12-13 seconds. Briefly press the adjustment
button again to switch between English, "E",
and German, "O".
The setting is automatically saved after approx.
10 seconds.
Glove compartment
Opening
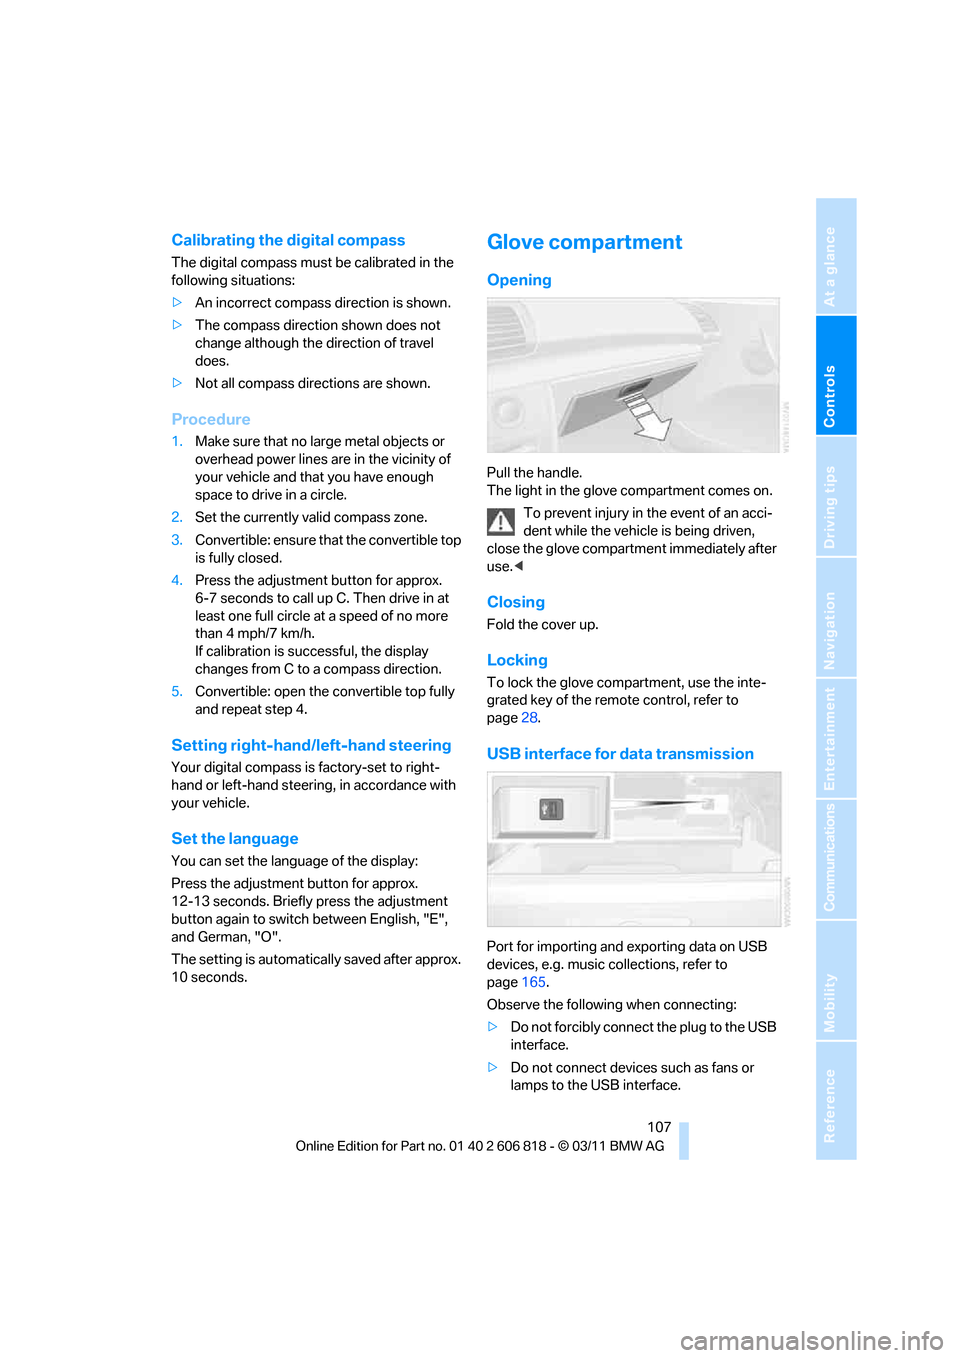
Pull the handle.
The light in the glove compartment comes on.
To prevent injury in the event of an acci-
dent while the vehicle is being driven,
close the glove compartment immediately after
use.<
Closing
Fold the cover up.
Locking
To lock the glove compartment, use the inte-
grated key of the remote control, refer to
page28.
USB interface for data transmission
Port for importing and exporting data on USB
devices, e.g. music collections, refer to
page165.
Observe the following when connecting:
>Do not forcibly connect the plug to the USB
interface.
>Do not connect devices such as fans or
lamps to the USB interface.
Page 160 of 272
CD/DVD player and CD changer
158
DVD menu
1.If necessary, turn the controller to open the
Video menu.
2."DVD menu"
The DVD menu is displayed. The display
depends on the contents of the DVD.
>To select menu items: move and press the
controller.
>To change to the Video menu: turn the con-
troller and select "Back".
DVD/VCD settings
For some DVDs, settings can only be made via
the DVD menu; also refer to the information on
your DVD.
Language*
1.Turn the controller during playback.
2.Open "Options".
3."Audio/language"
4.Select the desired language.
The languages that are available depend on the
DVD.
Subtitles*
Subtitles can be selected if they are contained
on the DVD.
1.Turn the controller during playback.
2.Open "Options".
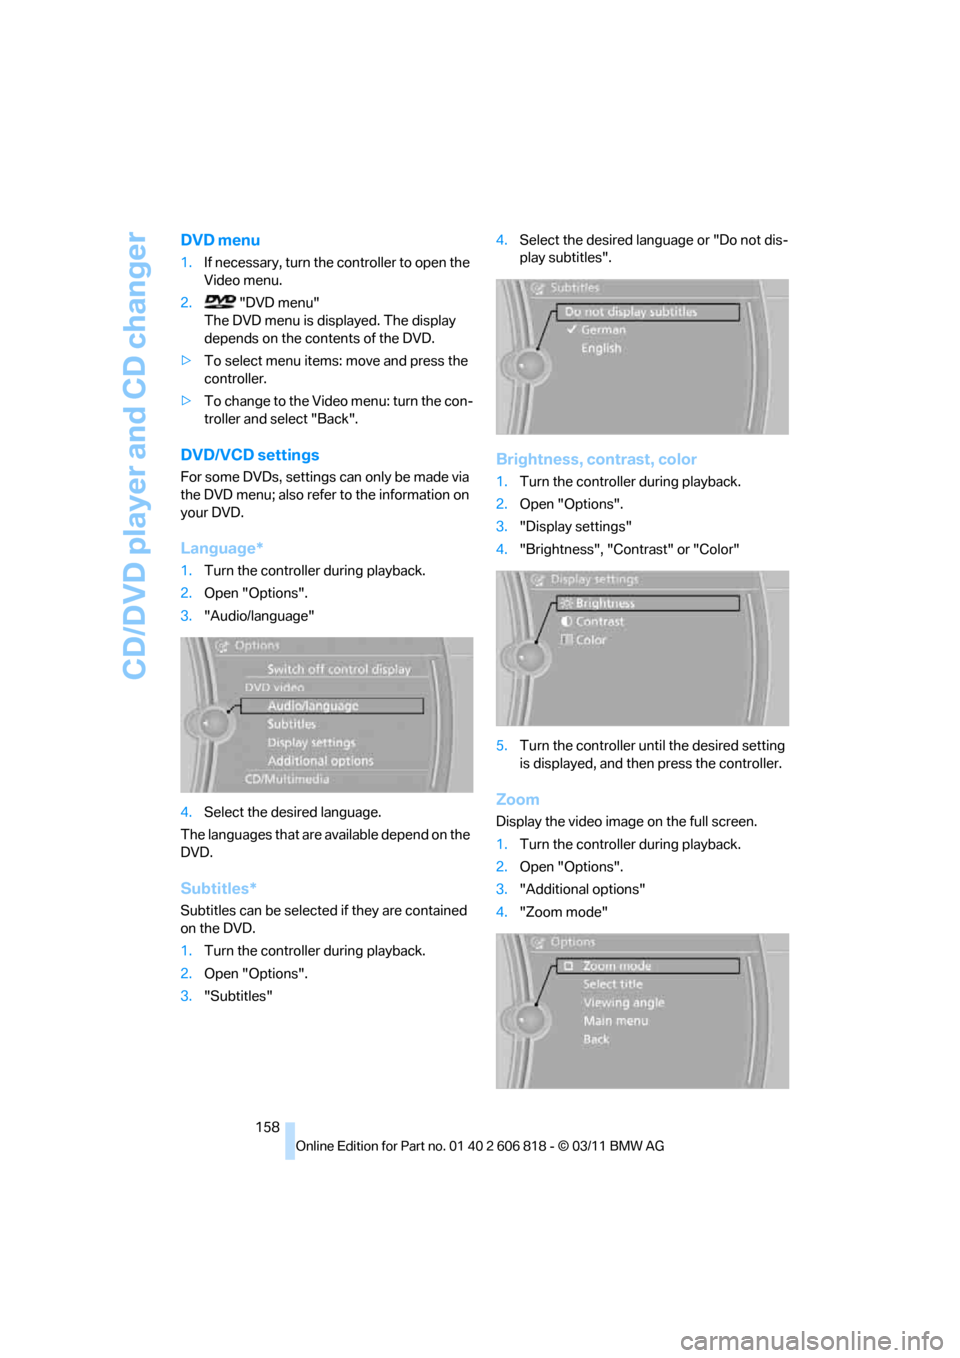
3."Subtitles"4.Select the desired language or "Do not dis-
play subtitles".
Brightness, contrast, color
1.Turn the controller during playback.
2.Open "Options".
3."Display settings"
4."Brightness", "Contrast" or "Color"
5.Turn the controller until the desired setting
is displayed, and then press the controller.
Zoom
Display the video image on the full screen.
1.Turn the controller during playback.
2.Open "Options".
3."Additional options"
4."Zoom mode"
Page 188 of 272
Telephone
186
Storing the entry
Deleting the entry
Deleting all entries
Listening to and selecting entries
Selecting an entry
Adjusting volume
Turn knob during announcement.
>The volume remains the same, even if the
volume of other audio sources is changed.
>The volume is stored for the remote control
currently in use.
Notes
Notes on Emergency Requests
Do not use the voice activation system to ini-
tiate an Emergency Request. In stressful situa-
tions, the voice and vocal pitch can change.
This can unnecessarily delay the establishment
of a telephone connection.
Instead, use the SOS button
*, refer to
page234, in the vicinity of the interior rearview
mirror.
Ambient conditions
>Say the commands, numbers and letters
smoothly and with normal volume, empha-
sis and speed.
>Always say commands in the language of
the system. The language of the voice acti-
vation of the mobile phone is preset and
cannot be changed via the Control Display.
>Keep the doors, windows, glass sunroof
*,
and convertible top
* closed to prevent
interference from ambient noise.
>Avoid ambient noise in the vehicle while
speaking.
Snap-in adapter*
Installation location
In the center armrest.
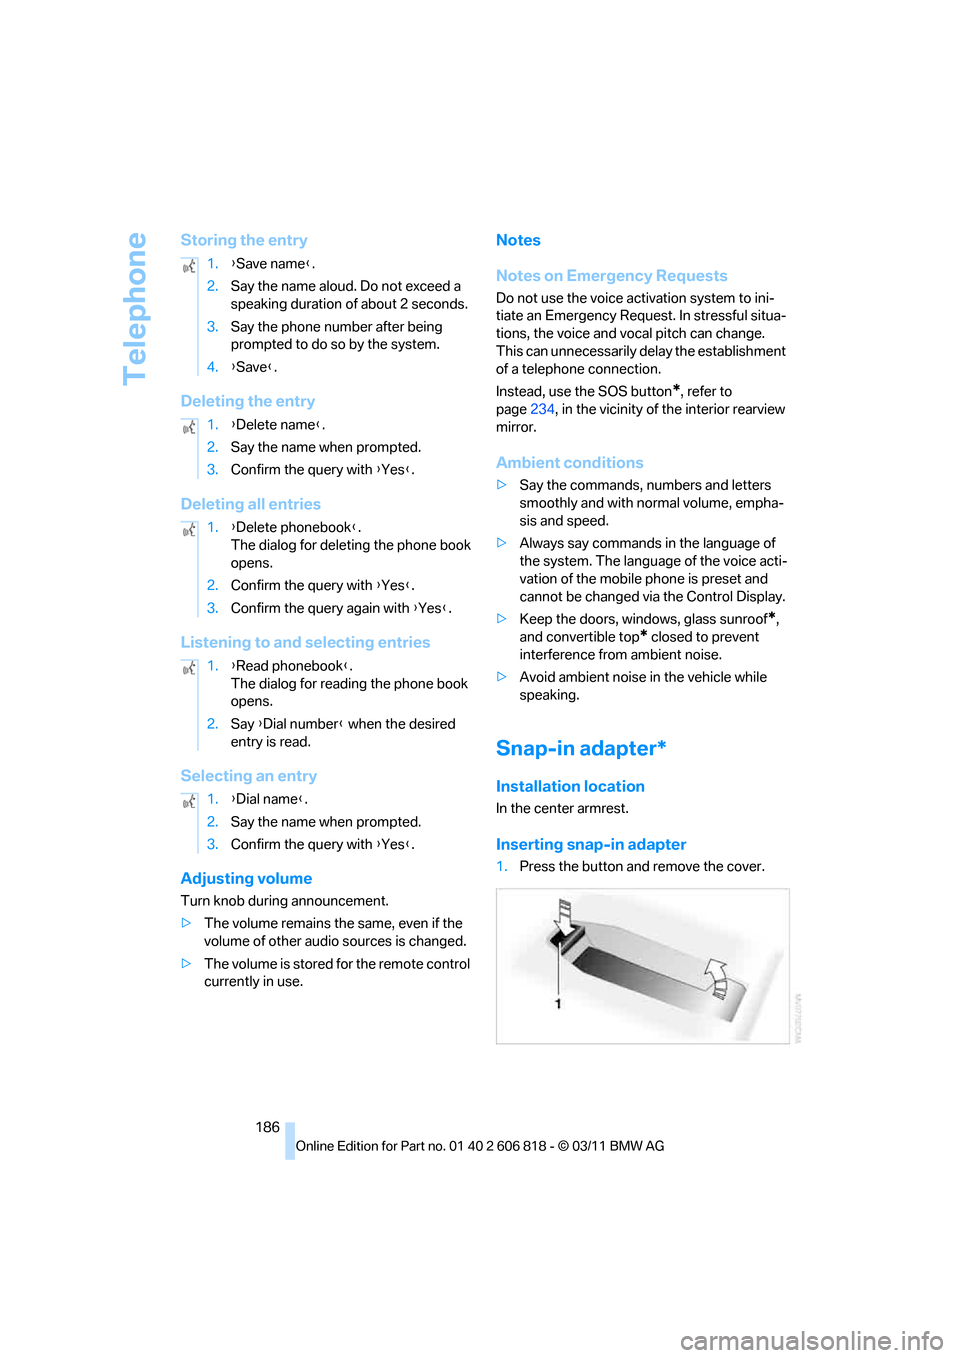
Inserting snap-in adapter
1.Press the button and remove the cover. 1.{Save name}.
2.Say the name aloud. Do not exceed a
speaking duration of about 2 seconds.
3.Say the phone number after being
prompted to do so by the system.
4.{Save}.
1.{Delete name}.
2.Say the name when prompted.
3.Confirm the query with {Yes}.
1.{Delete phonebook}.
The dialog for deleting the phone book
opens.
2.Confirm the query with {Yes}.
3.Confirm the query again with {Yes}.
1.{Read phonebook}.
The dialog for reading the phone book
opens.
2.Say {Dial number} when the desired
entry is read.
1.{Dial name}.
2.Say the name when prompted.
3.Confirm the query with {Yes}.
Page 258 of 272
Everything from A to Z
256 Cargo area lid, refer to Trunk
lid33
Cargo area net, refer to
Securing cargo120
Cargo loading119
– securing cargo120
– stowing cargo120
– vehicle119
Car jack
– jacking points232
Car key, refer to Integrated
key/remote control28
Car phone
– installation location, refer to
Center armrest108
– refer to separate Owner's
Manual
Car phone, refer to
Telephone176
Car radio, refer to Radio147
Car shampoo224
Car wash223
Catalytic converter, refer to
Hot exhaust system117
CD, audio playback155
CD changer155,159
– controls144
– fast forward/reverse157
– filling or emptying the
magazine159
– random play sequence156
– selecting a track155
– switching on/off144
– tone control144
– volume144
CD player155
– controls144
– fast forward/reverse157
– random order156
– selecting a track155
– switching on/off144
– tone control144
– volume144
Center armrest108
Center brake lamp, replacing
bulb231
Center console, refer to
Around the center
console14Central key, refer to Integrated
key/remote control28
Central locking
– from inside32
– from outside29
Central locking system29
– Comfort Access35
Changes, technical, refer to
For your own safety5
Changing bulbs227
Changing gears64
Changing the language on the
Control Display81
Changing wheels231
Chassis number, refer to
Engine compartment217
Check Control78
Child restraint fixing system
LATCH55
Child restraint systems54
Child seats54
Chrome parts225
Chrome polish225
Cigarette lighter109
Cleaning headlamps67
– washer fluid68
Cleaning your BMW, refer to
Care223
Climate control
– automatic air
distribution100
Clock70
– 12h/24h mode77
– setting the time and date77
– setting time76
Closing
– from inside32
– from outside29
Clothes hooks108
Cold start, refer to Starting the
engine58
Comfort Access35
– replacing the battery37
Comfort access, refer to
Comfort Access35
Comfort area, refer to Around
the center console14Compartment for remote
control, refer to Ignition
lock57
Compass106
Computer71
– displays on Control
Display72
Computer, refer to iDrive16
Concierge service199
Condensation, refer to When
the vehicle is parked119
Condition Based Service
CBS221
Configuring settings, refer to
Personal Profile28
Confirmation signals for
locking/unlocking the
vehicle30
ConnectedDrive198
Connecting vacuum cleaner,
refer to Connecting
electrical appliances109
Consumption, refer to
Average fuel
consumption72
Contacts188
– deleting190,197
– exporting/importing197
– new contact189
Control Center, refer to
iDrive16
Control Display16,17
Control Display, refer to iDrive
– switching on/off17
Controller, refer to iDrive16
Controls and displays10
Convenient opening and
closing
– windows30
– windows with Comfort
Access36
– with Comfort Access36
Convenient start, refer to
Starting the engine58
Convertible
– rollover protection
system92
– top40
– wind deflector43
Page 266 of 272
Everything from A to Z
264
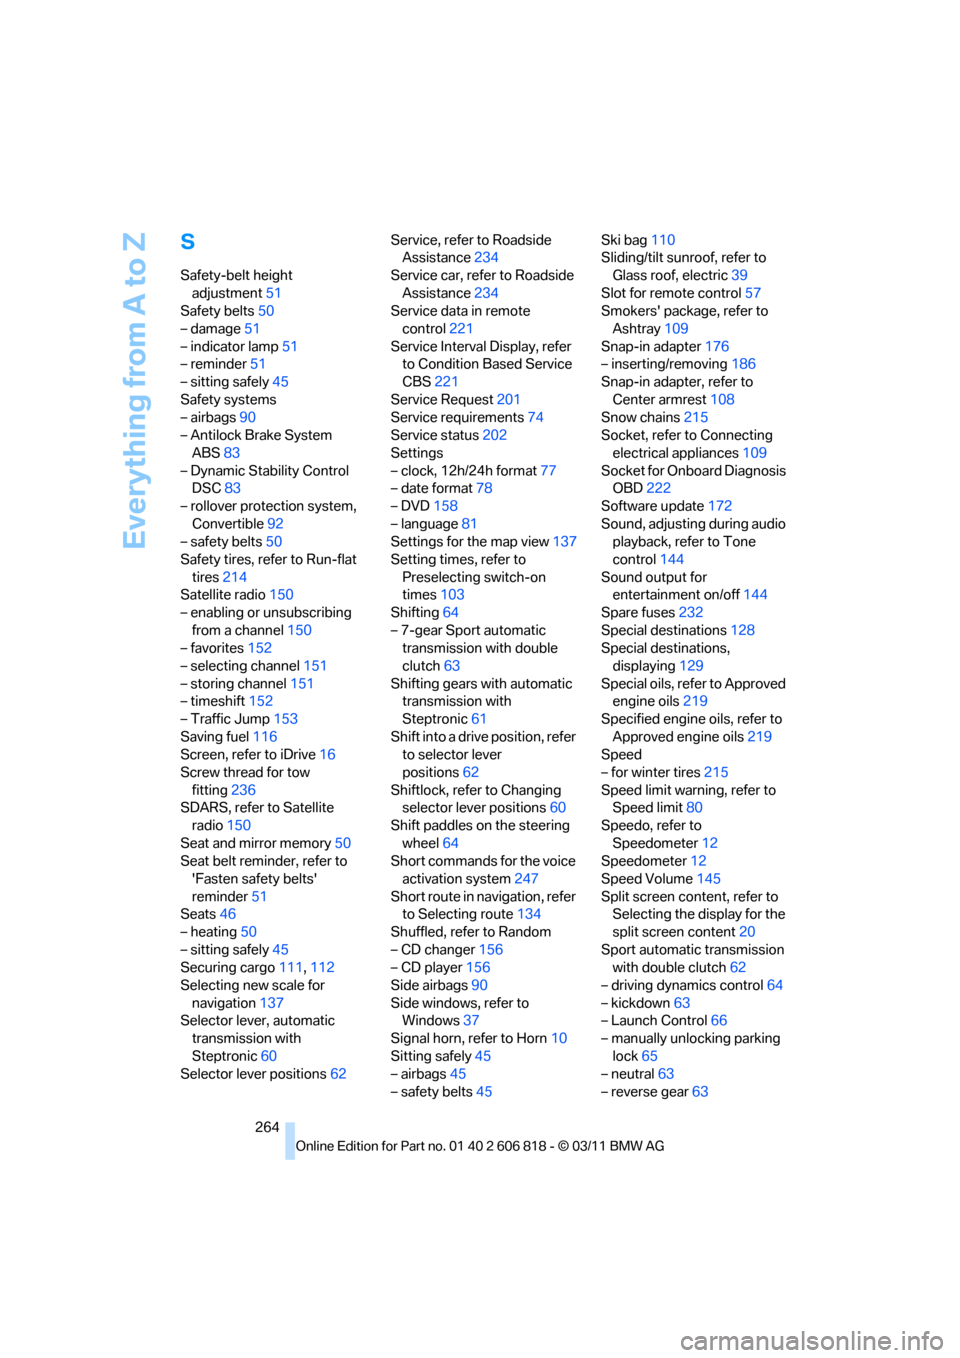
S
Safety-belt height
adjustment51
Safety belts50
– damage51
– indicator lamp51
– reminder51
– sitting safely45
Safety systems
– airbags90
– Antilock Brake System
ABS83
– Dynamic Stability Control
DSC83
– rollover protection system,
Convertible92
– safety belts50
Safety tires, refer to Run-flat
tires214
Satellite radio150
– enabling or unsubscribing
from a channel150
– favorites152
– selecting channel151
– storing channel151
– timeshift152
– Traffic Jump153
Saving fuel116
Screen, refer to iDrive16
Screw thread for tow
fitting236
SDARS, refer to Satellite
radio150
Seat and mirror memory50
Seat belt reminder, refer to
'Fasten safety belts'
reminder51
Seats46
– heating50
– sitting safely45
Securing cargo111,112
Selecting new scale for
navigation137
Selector lever, automatic
transmission with
Steptronic60
Selector lever positions62Service, refer to Roadside
Assistance234
Service car, refer to Roadside
Assistance234
Service data in remote
control221
Service Interval Display, refer
to Condition Based Service
CBS221
Service Request201
Service requirements74
Service status202
Settings
– clock, 12h/24h format77
– date format78
– DVD158
– language81
Settings for the map view137
Setting times, refer to
Preselecting switch-on
times103
Shifting64
– 7-gear Sport automatic
transmission with double
clutch63
Shifting gears with automatic
transmission with
Steptronic61
Shift into a drive position, refer
to selector lever
positions62
Shiftlock, refer to Changing
selector lever positions60
Shift paddles on the steering
wheel64
Short commands for the voice
activation system247
Short route in navigation, refer
to Selecting route134
Shuffled, refer to Random
– CD changer156
– CD player156
Side airbags90
Side windows, refer to
Windows37
Signal horn, refer to Horn10
Sitting safely45
– airbags45
– safety belts45Ski bag110
Sliding/tilt sunroof, refer to
Glass roof, electric39
Slot for remote control57
Smokers' package, refer to
Ashtray109
Snap-in adapter176
– inserting/removing186
Snap-in adapter, refer to
Center armrest108
Snow chains215
Socket, refer to Connecting
electrical appliances109
Socket for Onboard Diagnosis
OBD222
Software update172
Sound, adjusting during audio
playback, refer to Tone
control144
Sound output for
entertainment on/off144
Spare fuses232
Special destinations128
Special destinations,
displaying129
Special oils, refer to Approved
engine oils219
Specified engine oils, refer to
Approved engine oils219
Speed
– for winter tires215
Speed limit warning, refer to
Speed limit80
Speedo, refer to
Speedometer12
Speedometer12
Speed Volume145
Split screen content, refer to
Selecting the display for the
split screen content20
Sport automatic transmission
with double clutch62
– driving dynamics control64
– kickdown63
– Launch Control66
– manually unlocking parking
lock65
– neutral63
– reverse gear63