engine BMW 640I GRAN COUPE 2013 Owners Manual
[x] Cancel search | Manufacturer: BMW, Model Year: 2013, Model line: 640I GRAN COUPE, Model: BMW 640I GRAN COUPE 2013Pages: 305, PDF Size: 11.87 MB
Page 5 of 305
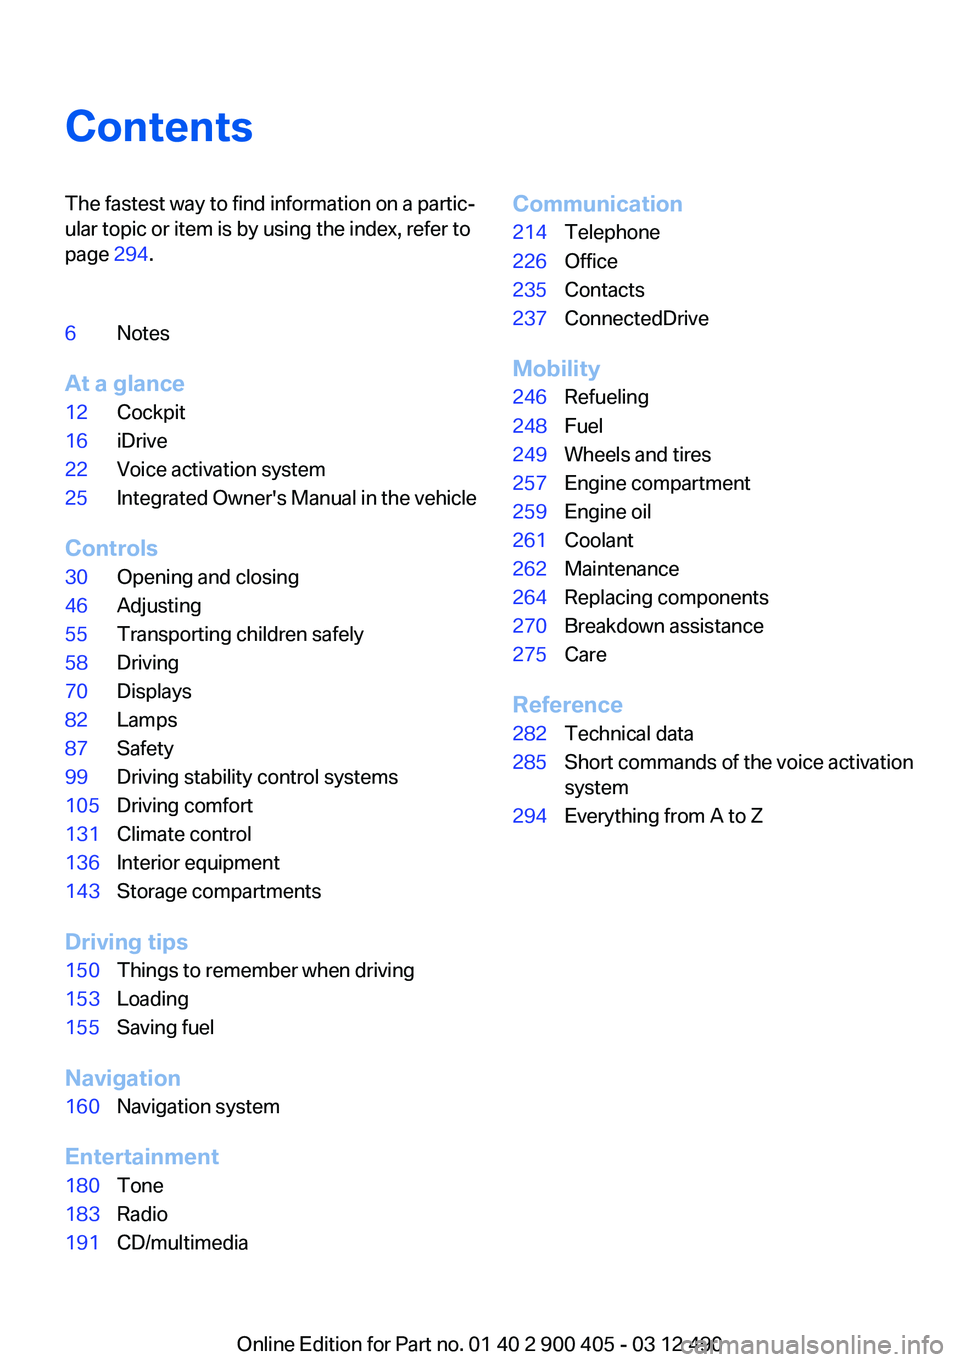
ContentsThe fastest way to find information on a partic‐
ular topic or item is by using the index, refer to
page 294.6Notes
At a glance
12Cockpit16iDrive22Voice activation system25Integrated Owner's Manual in the vehicle
Controls
30Opening and closing46Adjusting55Transporting children safely58Driving70Displays82Lamps87Safety99Driving stability control systems105Driving comfort131Climate control136Interior equipment143Storage compartments
Driving tips
150Things to remember when driving153Loading155Saving fuel
Navigation
160Navigation system
Entertainment
180Tone183Radio191CD/multimediaCommunication214Telephone226Office235Contacts237ConnectedDrive
Mobility
246Refueling248Fuel249Wheels and tires257Engine compartment259Engine oil261Coolant262Maintenance264Replacing components270Breakdown assistance275Care
Reference
282Technical data285Short commands of the voice activation
system294Everything from A to Z
Online Edition for Part no. 01 40 2 900 405 - 03 12 490
Page 7 of 305
quires suitable maintenance and repair meth‐
ods.
Therefore, have this work performed only by a
BMW center or a workshop that works accord‐
ing to BMW repair procedures with appropri‐
ately trained personnel.
If this work is not carried out properly, there is
the danger of subsequent damage and related
safety hazards.
Parts and Accessories
For your own safety, use genuine parts and ac‐
cessories approved by BMW. When you pur‐
chase accessories tested and approved by
BMW and Genuine BMW Parts, you simultane‐
ously acquire the assurance that they have been
thoroughly tested by BMW to ensure optimum
performance when installed on your vehicle.
BMW warrants these parts to be free from de‐
fects in material and workmanship. BMW will not
accept any liability for damage resulting from in‐
stallation of parts and accessories not approved
by BMW. BMW cannot test every product made
by other manufacturers to verify if it can be used
on a BMW safely and without risk to either the
vehicle, its operation, or its occupants. Genuine
BMW Parts, BMW Accessories and other prod‐
ucts approved by BMW, together with profes‐
sional advice on using these items, are available
from all BMW centers. Installation and operation
of non-BMW approved accessories such as
alarms, radios, amplifiers, radar detectors,
wheels, suspension components, brake dust
shields, telephones, including operation of any
mobile phone from within the vehicle without
using an externally mounted antenna, or trans‐
ceiver equipment, for instance, CBs, walkie-
talkies, ham radios or similar accessories, may
cause extensive damage to the vehicle, com‐
promise its safety, interfere with the vehicle's
electrical system or affect the validity of the
BMW Limited Warranty. See your BMW center
for additional information. Maintenance, re‐
placement, or repair of the emission control de‐
vices and systems may be performed by any au‐tomotive repair establishment or individual
using any certified automotive part.
California Proposition 65 Warning
California laws require us to state the following
warning:
Engine exhaust and a wide variety of automobile
components and parts, including components
found in the interior furnishings in a vehicle, con‐
tain or emit chemicals known to the State of Cal‐
ifornia to cause cancer and birth defects and re‐
productive harm. In addition, certain fluids
contained in vehicles and certain products of
component wear contain or emit chemicals
known to the State of California to cause cancer
and birth defects or other reproductive harm.
Battery posts, terminals and related accessories
contain lead and lead compounds. Wash your
hands after handling. Used engine oil contains
chemicals that have caused cancer in laboratory
animals. Always protect your skin by washing
thoroughly with soap and water.
Service and warranty
We recommend that you read this publication
thoroughly. Your vehicle is covered by the fol‐
lowing warranties:▷New Vehicle Limited Warranty.▷Rust Perforation Limited Warranty.▷Federal Emissions System Defect Warranty.▷Federal Emissions Performance Warranty.▷California Emission Control System Limited
Warranty.
Detailed information about these warranties is
listed in the Service and Warranty Information
Booklet for US models or in the Warranty and
Service Guide Booklet for Canadian models.
Your vehicle has been specifically adapted and
designed to meet the particular operating con‐
ditions and homologation requirements in your
country and continental region in order to deliver
the full driving pleasure while the vehicle is op‐
erated under those conditions. If you wish to op‐
erate your vehicle in another country or region,
Seite 7Notes7
Online Edition for Part no. 01 40 2 900 405 - 03 12 490
Page 13 of 305
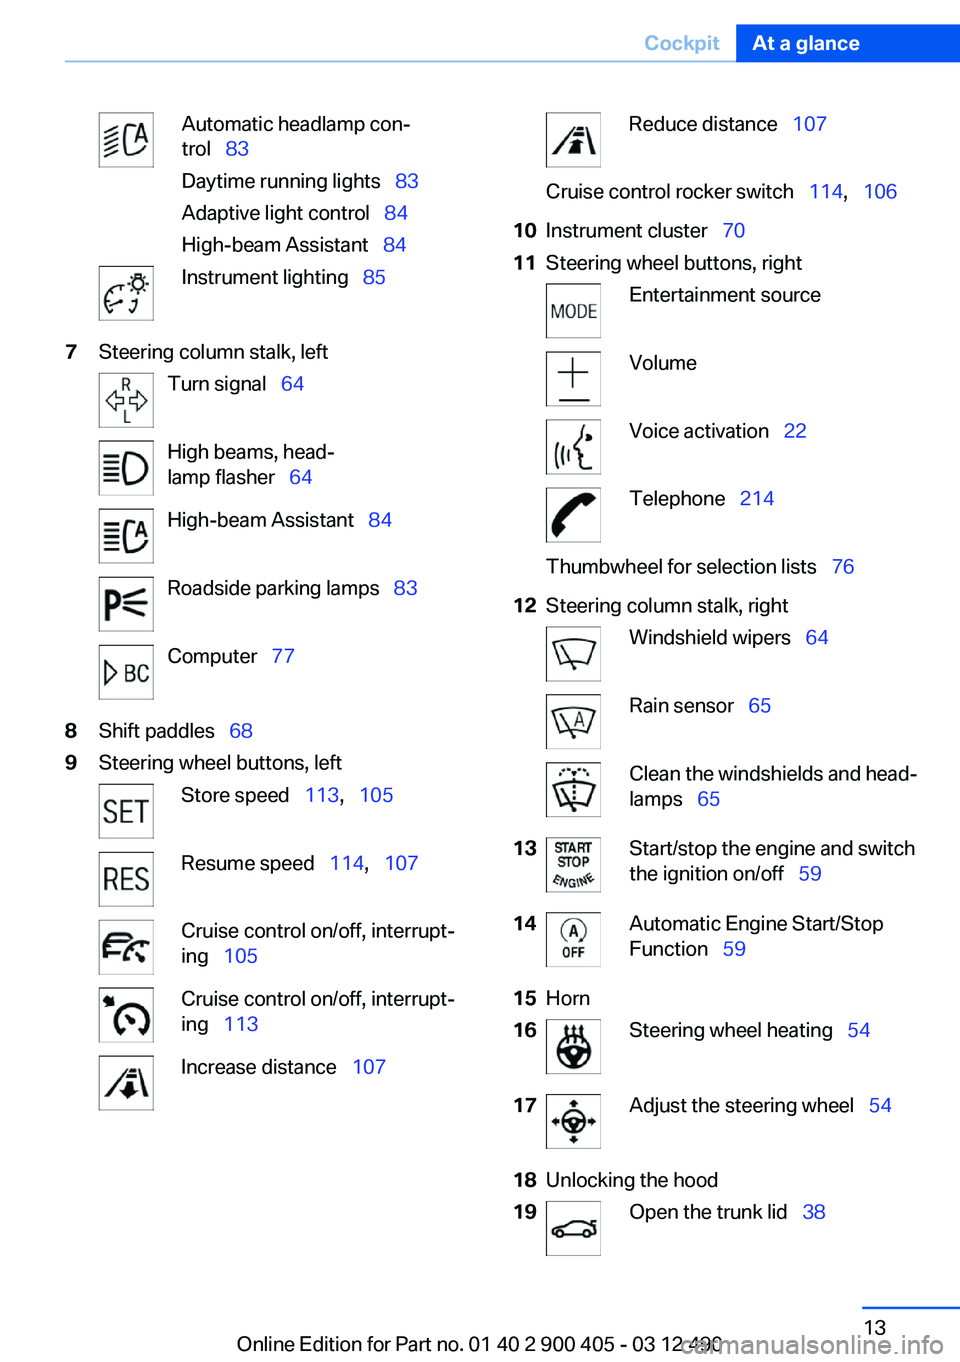
Automatic headlamp con‐
trol 83
Daytime running lights 83
Adaptive light control 84
High-beam Assistant 84Instrument lighting 857Steering column stalk, leftTurn signal 64High beams, head‐
lamp flasher 64High-beam Assistant 84Roadside parking lamps 83Computer 778Shift paddles 689Steering wheel buttons, leftStore speed 113, 105Resume speed 114, 107Cruise control on/off, interrupt‐
ing 105Cruise control on/off, interrupt‐
ing 113Increase distance 107Reduce distance 107Cruise control rocker switch 114, 10610Instrument cluster 7011Steering wheel buttons, rightEntertainment sourceVolumeVoice activation 22Telephone 214Thumbwheel for selection lists 7612Steering column stalk, rightWindshield wipers 64Rain sensor 65Clean the windshields and head‐
lamps 6513Start/stop the engine and switch
the ignition on/off 5914Automatic Engine Start/Stop
Function 5915Horn16Steering wheel heating 5417Adjust the steering wheel 5418Unlocking the hood19Open the trunk lid 38Seite 13CockpitAt a glance13
Online Edition for Part no. 01 40 2 900 405 - 03 12 490
Page 31 of 305
4.Insert a battery of the same type with the
positive side facing upwards.5.Press the cover closed.
Take the used battery to a recycling cen‐
ter or to your service center.
New remote controls
You can obtain new remote controls from your
service center.
Loss of the remote controls
Lost remote controls can be blocked by your
service center.
Emergency detection of remote control
It is possible to switch on the ignition or start the
engine in situations such as the following:
▷Interference of radio transmission to remote
control by external sources.▷Discharged battery in the remote control.▷Interference of radio transmission by mobile
devices in close proximity to the remote
control.▷Interference of radio transmission by
charger while charging items such as mobile
devices in the vehicle.
A Check Control message is displayed if an at‐
tempt is made to switch on the ignition or start
the engine.
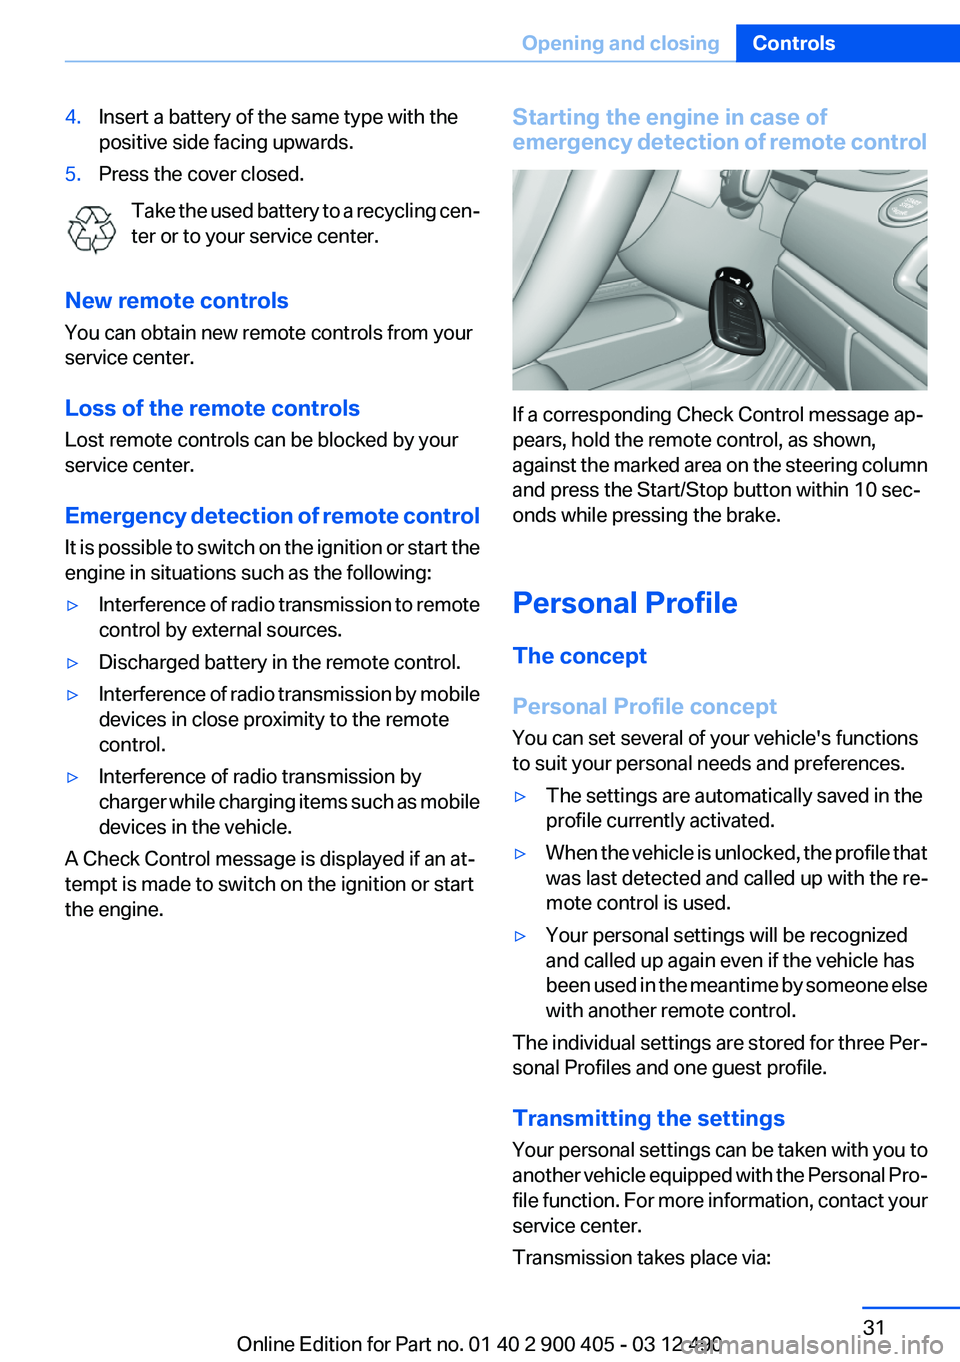
Starting the engine in case of
emergency detection of remote control
If a corresponding Check Control message ap‐
pears, hold the remote control, as shown,
against the marked area on the steering column
and press the Start/Stop button within 10 sec‐
onds while pressing the brake.
Personal Profile
The concept
Personal Profile concept
You can set several of your vehicle's functions
to suit your personal needs and preferences.
▷The settings are automatically saved in the
profile currently activated.▷When the vehicle is unlocked, the profile that
was last detected and called up with the re‐
mote control is used.▷Your personal settings will be recognized
and called up again even if the vehicle has
been used in the meantime by someone else
with another remote control.
The individual settings are stored for three Per‐
sonal Profiles and one guest profile.
Transmitting the settings
Your personal settings can be taken with you to
another vehicle equipped with the Personal Pro‐
file function. For more information, contact your
service center.
Transmission takes place via:
Seite 31Opening and closingControls31
Online Edition for Part no. 01 40 2 900 405 - 03 12 490
Page 39 of 305
Locking the vehicle
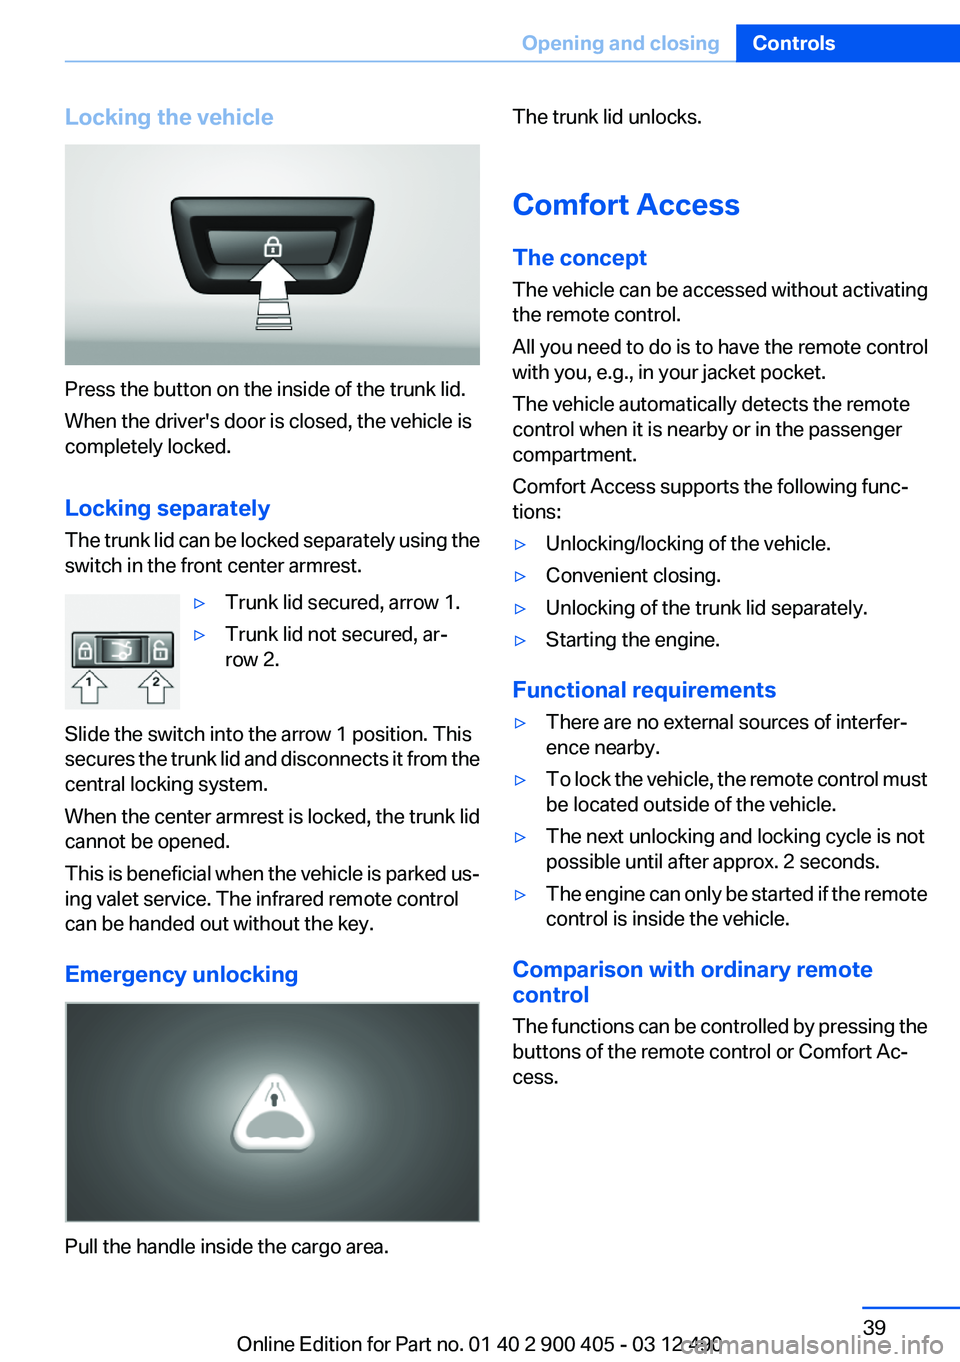
Press the button on the inside of the trunk lid.
When the driver's door is closed, the vehicle is
completely locked.
Locking separately
The trunk lid can be locked separately using the
switch in the front center armrest.
▷Trunk lid secured, arrow 1.▷Trunk lid not secured, ar‐
row 2.
Slide the switch into the arrow 1 position. This
secures the trunk lid and disconnects it from the
central locking system.
When the center armrest is locked, the trunk lid
cannot be opened.
This is beneficial when the vehicle is parked us‐
ing valet service. The infrared remote control
can be handed out without the key.
Emergency unlocking
Pull the handle inside the cargo area.
The trunk lid unlocks.
Comfort Access
The concept
The vehicle can be accessed without activating
the remote control.
All you need to do is to have the remote control
with you, e.g., in your jacket pocket.
The vehicle automatically detects the remote
control when it is nearby or in the passenger
compartment.
Comfort Access supports the following func‐
tions:▷Unlocking/locking of the vehicle.▷Convenient closing.▷Unlocking of the trunk lid separately.▷Starting the engine.
Functional requirements
▷There are no external sources of interfer‐
ence nearby.▷To lock the vehicle, the remote control must
be located outside of the vehicle.▷The next unlocking and locking cycle is not
possible until after approx. 2 seconds.▷The engine can only be started if the remote
control is inside the vehicle.
Comparison with ordinary remote
control
The functions can be controlled by pressing the
buttons of the remote control or Comfort Ac‐
cess.
Seite 39Opening and closingControls39
Online Edition for Part no. 01 40 2 900 405 - 03 12 490
Page 41 of 305
Arming and disarming the alarm
system
General information
When you lock or unlock the vehicle, either with
the remote control, Comfort Access or at the
door lock the alarm system is armed or disarmed
at the same time.
Door lock and armed alarm system
Unlocking via the door lock will trigger the alarm
on some country-specific versions.
In order to terminate this alarm, unlock vehicle
with the remote control or switch on the ignition,
if necessary, by emergency detection of the re‐
mote control.
Trunk lid and armed alarm system
The trunk lid can be opened using the remote
control, even if the alarm system is armed.
Press the button on the remote control
for approx. 1 second.
After the trunk lid is closed, it is locked and
monitored again by the alarm system. The haz‐
ard warning system flashes once.
In some vehicle equipment variants, the trunk lid
can only be opened using the remote control if
the vehicle was unlocked first.
Panic mode Press the button on the remote control
for at least 3 seconds.
Switching off the alarm▷Unlock the vehicle using the remote control.▷With Comfort Access: if you are carrying the
remote control with you, pull on the door
handle.Indicator lamp on the interior rearview
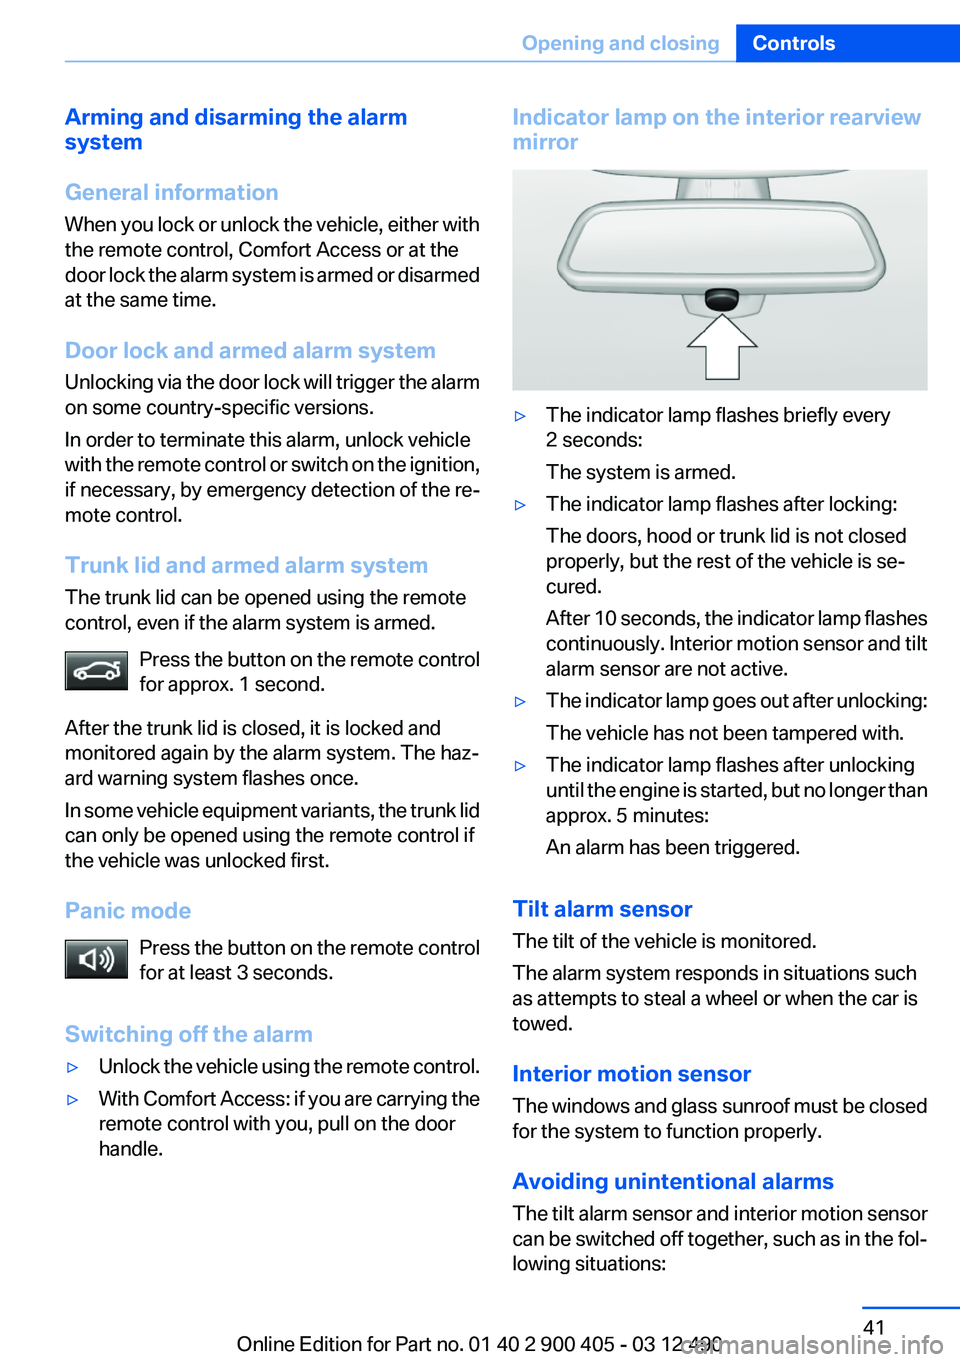
mirror▷The indicator lamp flashes briefly every
2 seconds:
The system is armed.▷The indicator lamp flashes after locking:
The doors, hood or trunk lid is not closed
properly, but the rest of the vehicle is se‐
cured.
After 10 seconds, the indicator lamp flashes
continuously. Interior motion sensor and tilt
alarm sensor are not active.▷The indicator lamp goes out after unlocking:
The vehicle has not been tampered with.▷The indicator lamp flashes after unlocking
until the engine is started, but no longer than
approx. 5 minutes:
An alarm has been triggered.
Tilt alarm sensor
The tilt of the vehicle is monitored.
The alarm system responds in situations such
as attempts to steal a wheel or when the car is
towed.
Interior motion sensor
The windows and glass sunroof must be closed
for the system to function properly.
Avoiding unintentional alarms
The tilt alarm sensor and interior motion sensor
can be switched off together, such as in the fol‐
lowing situations:
Seite 41Opening and closingControls41
Online Edition for Part no. 01 40 2 900 405 - 03 12 490
Page 45 of 305
extreme situations, such as when thin objects
are present.◀
Closing without the pinch protection
system
If there is an external danger or if, e. g., icing of
the glass sunroof prevents automatic closing,
push the switch forward past the resistance
point and hold it.
The roof closes without pinch protection.
Initializing after a power failure
After a power failure during the opening or clos‐
ing process, the roof can only be operated to a
limited extent.
Initializing the system
The system can be initialized when the vehicle
is stationary and the engine is running.
During the initialization, the roof closes without
pinch protection.
Danger of pinching
Monitor the closing process and make
sure that the closing path of the glass sunroof is
clear; otherwise, injuries may result.◀
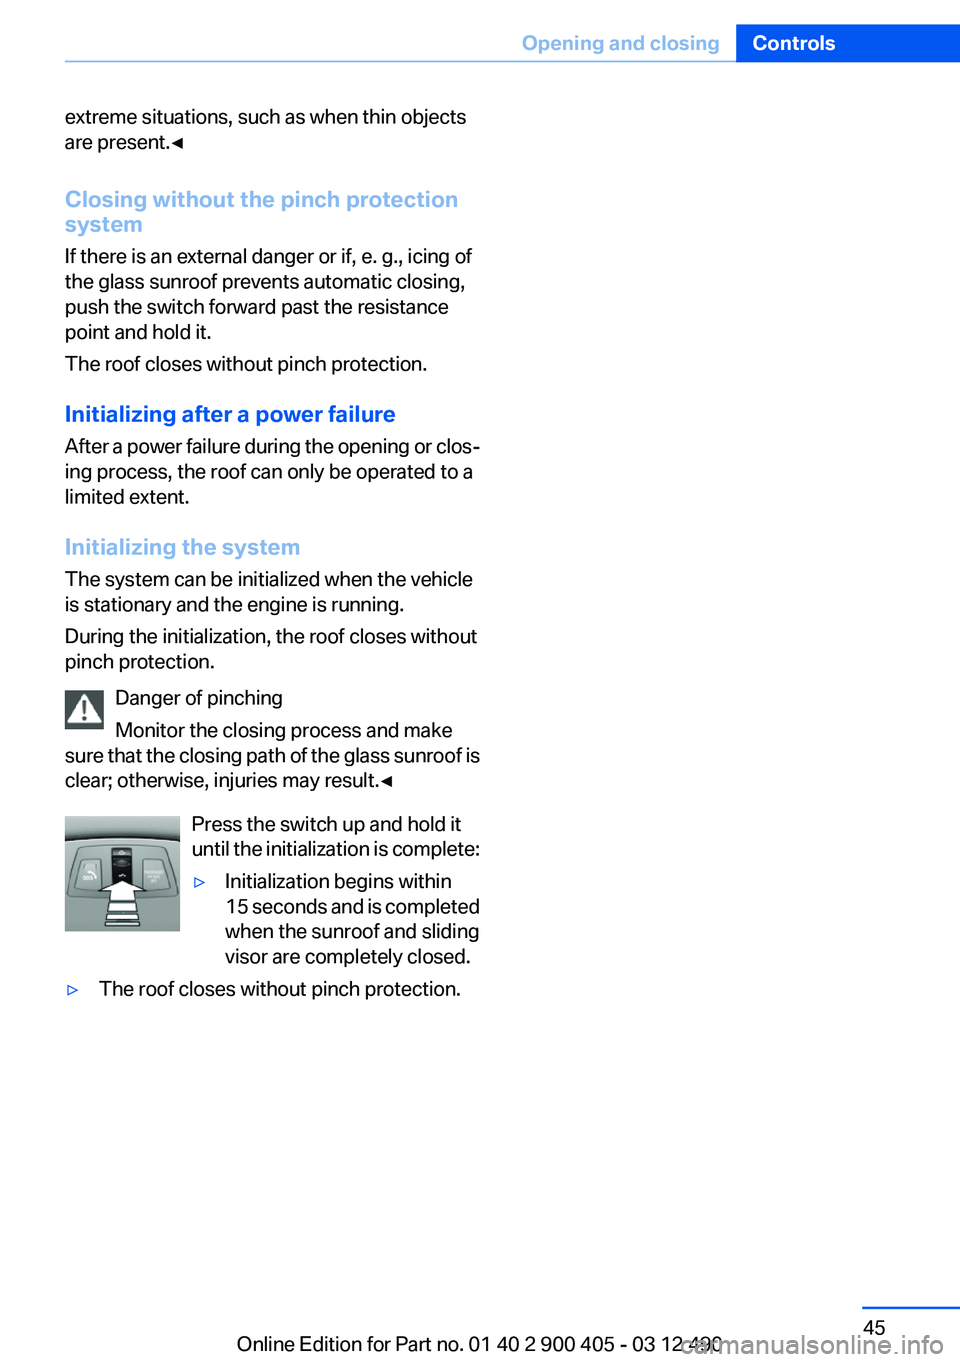
Press the switch up and hold it
until the initialization is complete:▷Initialization begins within
15 seconds and is completed
when the sunroof and sliding
visor are completely closed.▷The roof closes without pinch protection.Seite 45Opening and closingControls45
Online Edition for Part no. 01 40 2 900 405 - 03 12 490
Page 53 of 305
Estimating distances correctly
Objects reflected in the mirror are closer
than they appear. Do not estimate the distance
to the traffic behind you based on what you see
in the mirror, as this will increase your risk of an
accident.◀
Depending on how the vehicle is equipped, the
mirror setting is stored for the remote control in
use. When the vehicle is unlocked via the remote
control, the position is automatically retrieved if
the setting for this function is active.
Selecting a mirror To change over to the other mirror:
Slide the mirror changeover switch.
Adjusting electrically The setting corresponds to the direction
in which the button is pressed.
Storing positions
Seat, mirror, and steering wheel memory, refer
to page 52.
Adjusting manually
If an electrical malfunction occurs, for example,
press the edges of the mirror glass.
Automatic Curb Monitor
When the reverse gear is engaged, the mirror
glass tilts downward slightly on the front pas‐
senger side. This improves your view of the curb
and other low-lying obstacles when parking, for
example.
Activating1. Slide the mirror changeover switch
to the driver's side mirror position.2.Engage transmission position R.Deactivating
Slide the mirror changeover switch to the pas‐
senger's side mirror position.
Fold in and out Press the button.
Possible up to approx. 15 mph/20 km/h.
For example, this is advantageous▷In car washes.▷In narrow streets.▷For folding back mirrors that were folded
away manually.
Mirrors that were folded in are folded out auto‐
matically at a speed of approx. 25 mph/40 km/h.
Fold in the mirror in a car wash
Before entering an automatic car wash,
fold in the exterior mirrors by hand or with the
button; otherwise, they could be damaged, de‐
pending on the width of the vehicle.◀
Automatic heating
Both exterior mirrors are automatically heated
whenever the engine is running.
Automatic dimming feature
Both exterior mirrors are automatically dimmed.
Photocells are used for control in the Interior rear
view mirror, refer to page 54.
Seite 53AdjustingControls53
Online Edition for Part no. 01 40 2 900 405 - 03 12 490
Page 58 of 305
DrivingVehicle equipment
All standard, country-specific and optional
equipment that is offered in the model series is
described in this chapter. Therefore, equipment
is also described that is not available in a vehicle,
e. g., because of the selected optional equip‐
ment or country variant. This also applies for
safety-related functions and systems.
Start/Stop button
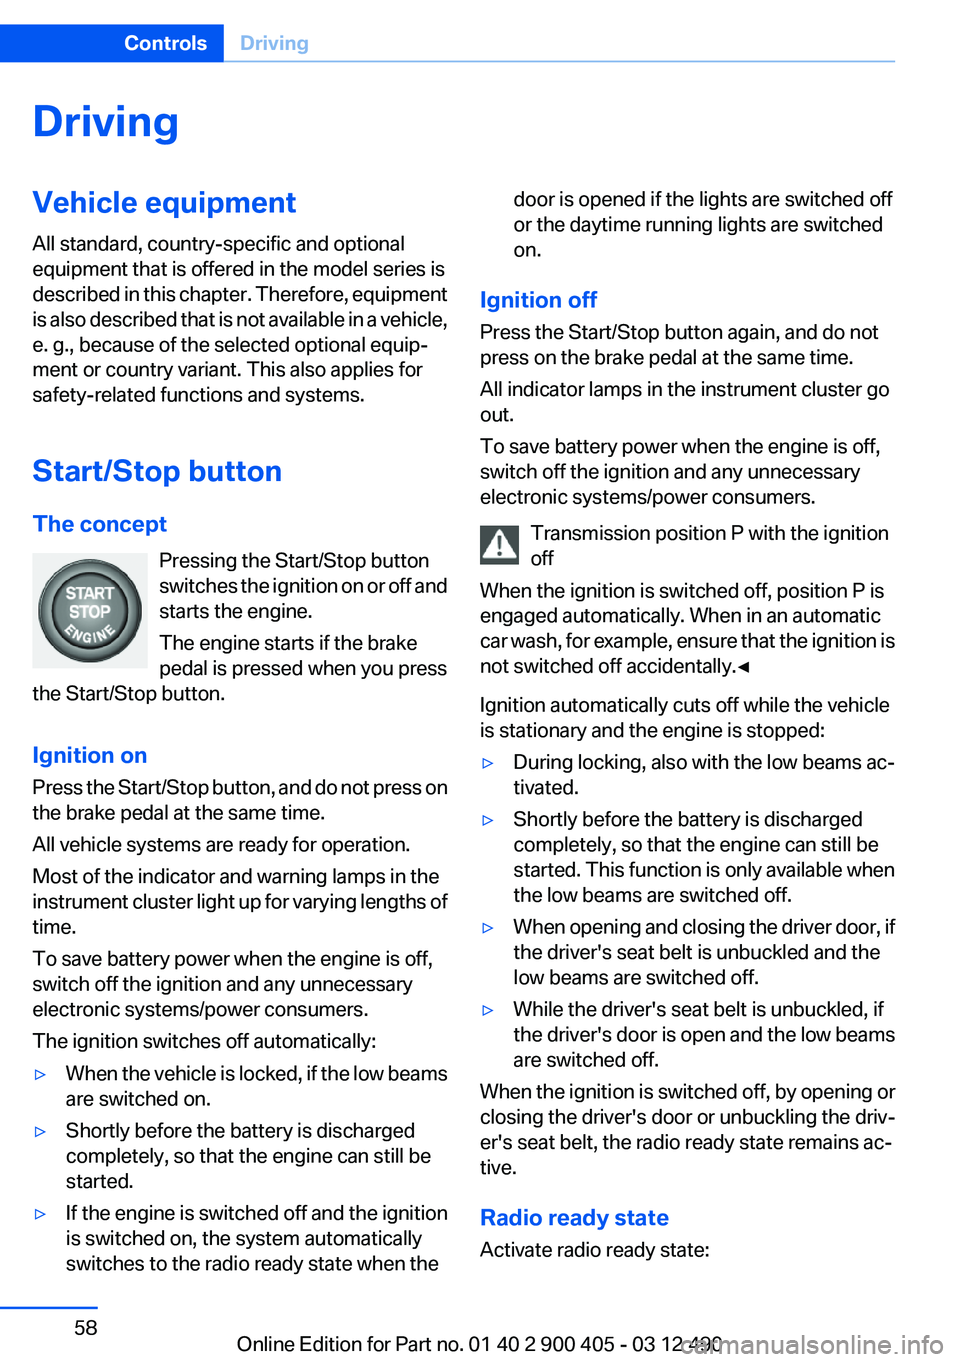
The concept Pressing the Start/Stop button
switches the ignition on or off and
starts the engine.
The engine starts if the brake
pedal is pressed when you press
the Start/Stop button.
Ignition on
Press the Start/Stop button, and do not press on
the brake pedal at the same time.
All vehicle systems are ready for operation.
Most of the indicator and warning lamps in the
instrument cluster light up for varying lengths of
time.
To save battery power when the engine is off,
switch off the ignition and any unnecessary
electronic systems/power consumers.
The ignition switches off automatically:▷When the vehicle is locked, if the low beams
are switched on.▷Shortly before the battery is discharged
completely, so that the engine can still be
started.▷If the engine is switched off and the ignition
is switched on, the system automatically
switches to the radio ready state when thedoor is opened if the lights are switched off
or the daytime running lights are switched
on.
Ignition off
Press the Start/Stop button again, and do not
press on the brake pedal at the same time.
All indicator lamps in the instrument cluster go
out.
To save battery power when the engine is off,
switch off the ignition and any unnecessary
electronic systems/power consumers.
Transmission position P with the ignition
off
When the ignition is switched off, position P is
engaged automatically. When in an automatic
car wash, for example, ensure that the ignition is
not switched off accidentally.◀
Ignition automatically cuts off while the vehicle
is stationary and the engine is stopped:
▷During locking, also with the low beams ac‐
tivated.▷Shortly before the battery is discharged
completely, so that the engine can still be
started. This function is only available when
the low beams are switched off.▷When opening and closing the driver door, if
the driver's seat belt is unbuckled and the
low beams are switched off.▷While the driver's seat belt is unbuckled, if
the driver's door is open and the low beams
are switched off.
When the ignition is switched off, by opening or
closing the driver's door or unbuckling the driv‐
er's seat belt, the radio ready state remains ac‐
tive.
Radio ready state
Activate radio ready state:
Seite 58ControlsDriving58
Online Edition for Part no. 01 40 2 900 405 - 03 12 490
Page 59 of 305
▷When the ignition is switched off: press ON/
OFF button on the radio.▷When the engine is running: press the Start/
Stop button.
Some electronic systems/power consumers re‐
main ready for operation.
Radio ready state switches off automatically:
▷After approx. 8 minutes.▷When the vehicle is locked using the central
locking system.▷Shortly before the battery is discharged
completely, so that the engine can still be
started.
Starting the engine
Automatic transmission
Starting the engine
1.Depress the brake pedal.2.Press the Start/Stop button.
The ignition is activated automatically for a cer‐
tain time and is stopped as soon as the engine
starts.
Engine stop
General information Take the remote control with you
Take the remote control with you when
leaving the vehicle so that children, for example,
cannot start the engine.◀
Set the parking brake and further secure
the vehicle as required
Set the parking brake firmly when parking; oth‐
erwise, the vehicle could roll. On steep upward
and downward inclines, further secure the vehi‐
cle, for example, by turning the steering wheel in
the direction of the curb. ◀
Before driving into a car wash
In order for the vehicle to be able to roll into a car
wash, heed the information regarding Washing
in automatic car washes, refer to page 275.
Automatic transmission
Switching off the engine1.Engage transmission position P with the ve‐
hicle stopped.2.Press the Start/Stop button.
The engine is switched off.
The radio ready state is switched on.3.Set the parking brake.
Auto Start/Stop function
The concept
The Auto Start/Stop function helps save fuel.
The system switches off the engine during a
stop, e.g., in a traffic congestion or at traffic
lights. The ignition remains switched on. The
engine starts again automatically for driving off.
Certain vehicle components may experience
additional wear as a result of this system.
Automatic mode
The Auto Start/Stop function is operational after
each engine start.
The function is activated above a certain speed.
▷Automatic transmission: from 5 mph, ap‐
prox. 9 km/h.
Engine stop
The engine is switched off automatically during
a stop under the following conditions:
Automatic transmission:
▷The selector lever is in transmission position
D.Seite 59DrivingControls59
Online Edition for Part no. 01 40 2 900 405 - 03 12 490