navigation BMW 745Li 2004 E66 Repair Manual
[x] Cancel search | Manufacturer: BMW, Model Year: 2004, Model line: 745Li, Model: BMW 745Li 2004 E66Pages: 232, PDF Size: 5.27 MB
Page 115 of 232
Controls
113Reference
At a glance
Driving tips
Communications
Navigation
Entertainment
Mobility
3Rear window blind
4Switching to the other side
The side window blind cannot be
extended unless the side window is
closed. If the window is open, the blind will
rise slightly prior to immediately retracting
to its original position.<
Briefly press the safety switch in the
driver's door, refer to page 42. The
indicator lamp must light up. This precau-
tion prevents children from operating the
sun blinds using the rear switches, etc.
Before using always ensure that the sun
blind's travel path is clear and unob-
structed.
When leaving the vehicle, always remove
the remote control from the ignition lock
and close the doors; this precaution pre-
vents children from using the sun blinds
and injuring themselves, etc.<
Automatically extending and
retracting the sun blinds
You can extend and retract the sun blinds
together by pressing and holding button 3
or the button in the driver's door.
Rear cooler*
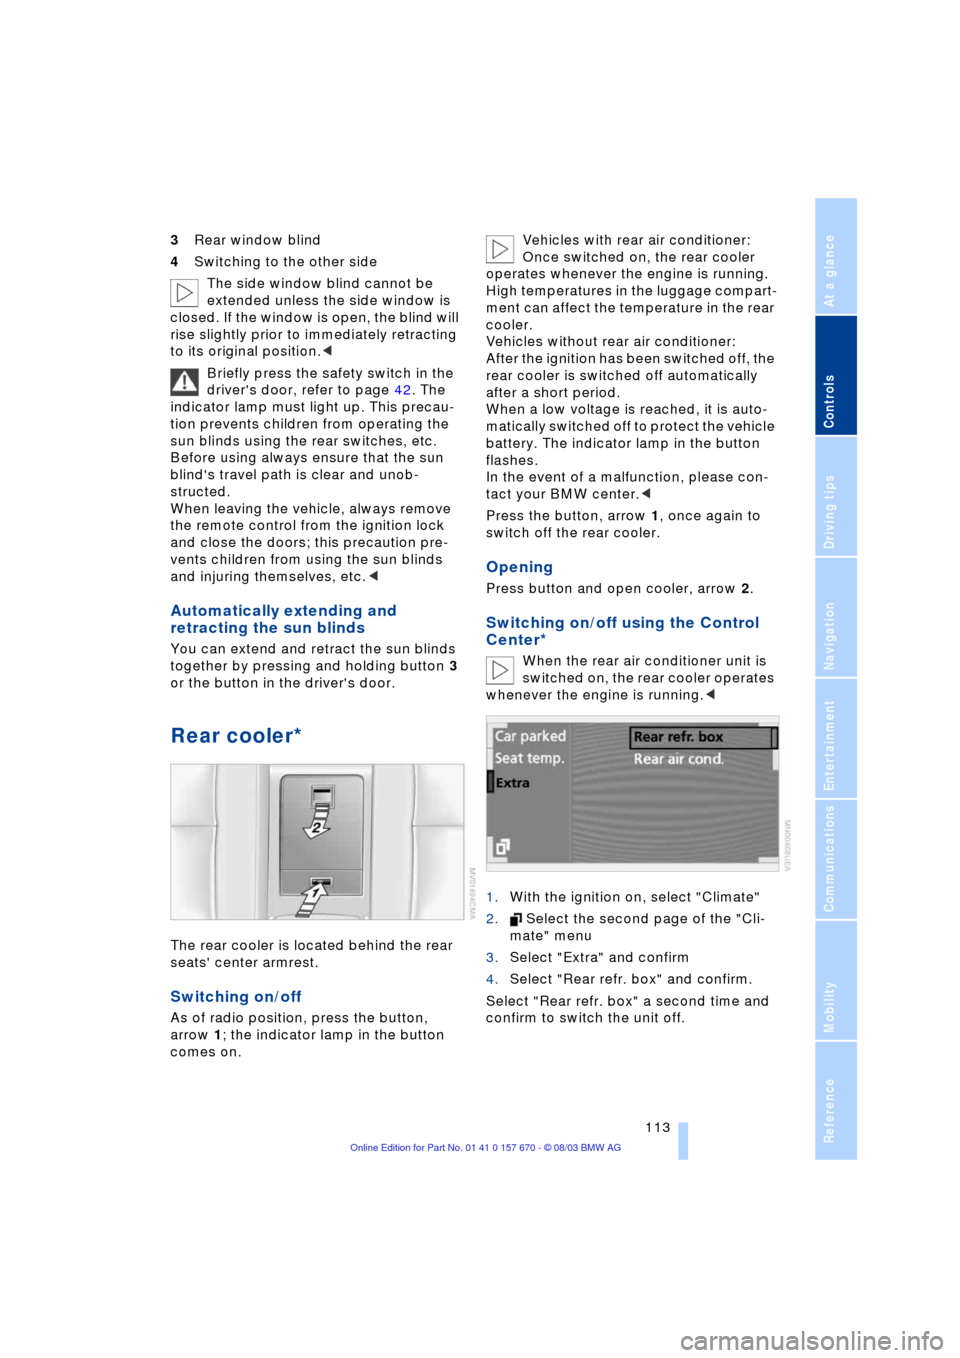
The rear cooler is located behind the rear
seats' center armrest.
Switching on/off
As of radio position, press the button,
arrow 1; the indicator lamp in the button
comes on. Vehicles with rear air conditioner:
Once switched on, the rear cooler
operates whenever the engine is running.
High temperatures in the luggage compart-
ment can affect the temperature in the rear
cooler.
Vehicles without rear air conditioner:
After the ignition has been switched off, the
rear cooler is switched off automatically
after a short period.
When a low voltage is reached, it is auto-
matically switched off to protect the vehicle
battery. The indicator lamp in the button
flashes.
In the event of a malfunction, please con-
tact your BMW center.<
Press the button, arrow 1, once again to
switch off the rear cooler.
Opening
Press button and open cooler, arrow 2.
Switching on/off using the Control
Center*
When the rear air conditioner unit is
switched on, the rear cooler operates
whenever the engine is running.<
1.With the ignition on, select "Climate"
2. Select the second page of the "Cli-
mate" menu
3.Select "Extra" and confirm
4.Select "Rear refr. box" and confirm.
Select "Rear refr. box" a second time and
confirm to switch the unit off.
Page 117 of 232
Controls
115Reference
At a glance
Driving tips
Communications
Navigation
Entertainment
Mobility
within the storage compartment may be
higher than in the rest of the interior.
Close the vent as required.<
Storage compartments
Glasses compartment
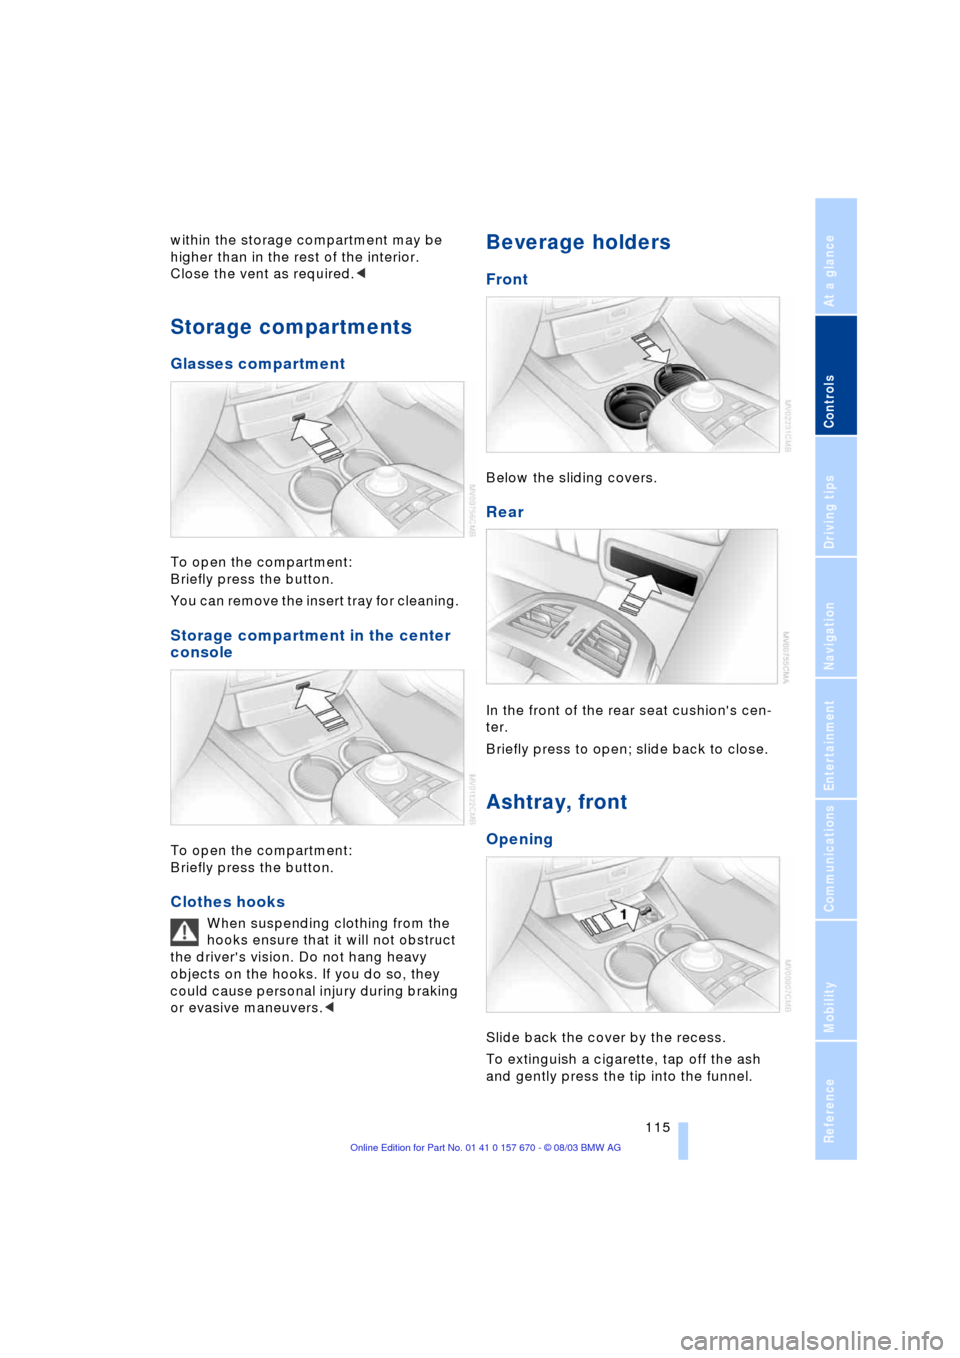
To open the compartment:
Briefly press the button.
You can remove the insert tray for cleaning.
Storage compartment in the center
console
To open the compartment:
Briefly press the button.
Clothes hooks
When suspending clothing from the
hooks ensure that it will not obstruct
the driver's vision. Do not hang heavy
objects on the hooks. If you do so, they
could cause personal injury during braking
or evasive maneuvers.<
Beverage holders
Front
Below the sliding covers.
Rear
In the front of the rear seat cushion's cen-
ter.
Briefly press to open; slide back to close.
Ashtray, front
Opening
Slide back the cover by the recess.
To extinguish a cigarette, tap off the ash
and gently press the tip into the funnel.
Page 119 of 232
Controls
117Reference
At a glance
Driving tips
Communications
Navigation
Entertainment
Mobility
Rear center armrest
Before folding down the armrest,
adjust the head restraint to its lowest
position, refer to page 48.<
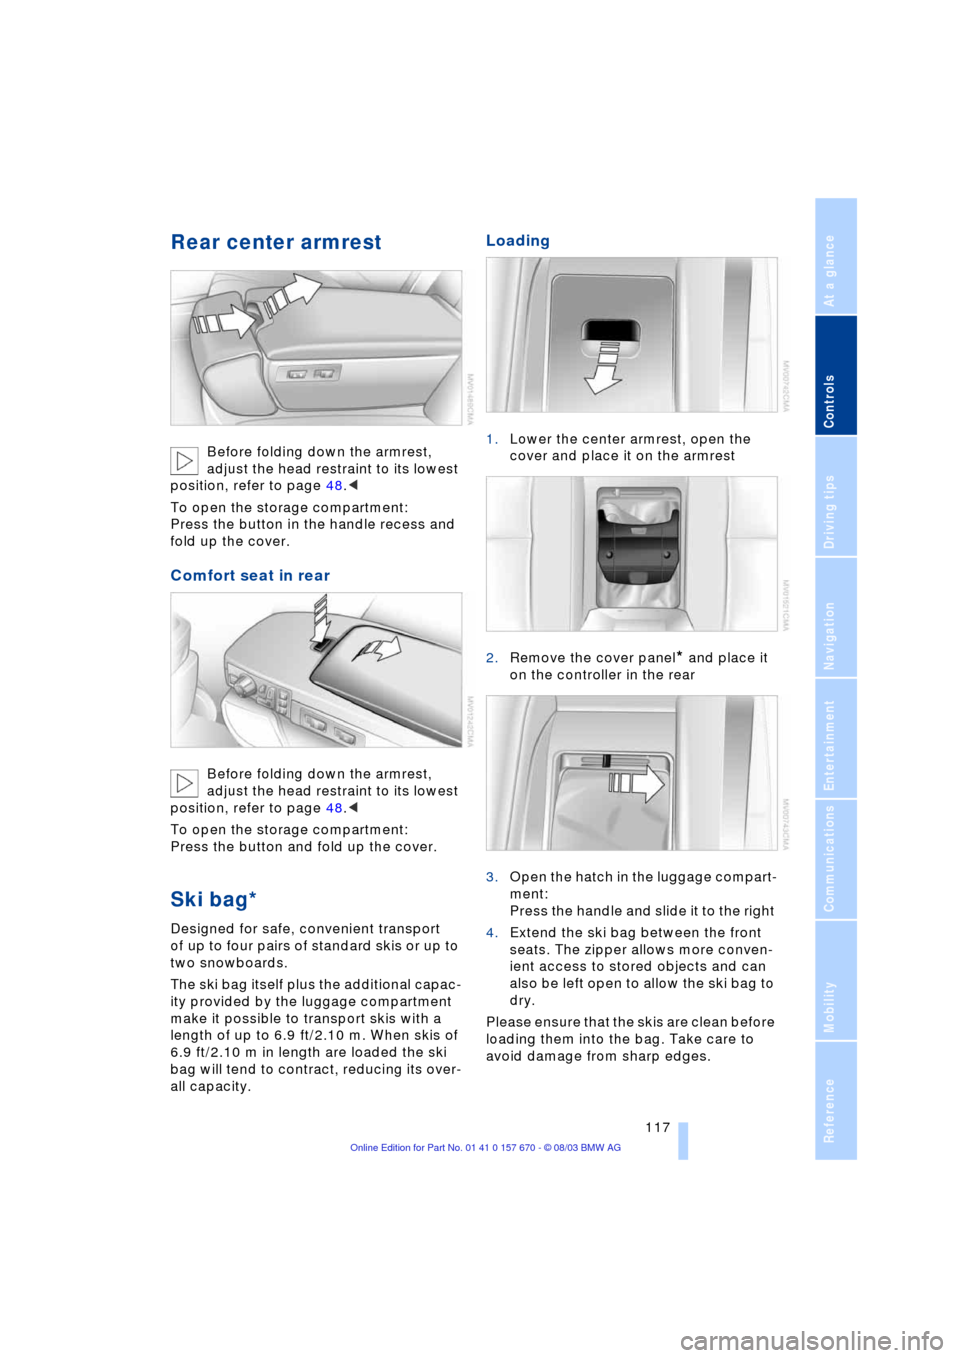
To open the storage compartment:
Press the button in the handle recess and
fold up the cover.
Comfort seat in rear
Before folding down the armrest,
adjust the head restraint to its lowest
position, refer to page 48.<
To open the storage compartment:
Press the button and fold up the cover.
Ski bag*
Designed for safe, convenient transport
of up to four pairs of standard skis or up to
two snowboards.
The ski bag itself plus the additional capac-
ity provided by the luggage compartment
make it possible to transport skis with a
length of up to 6.9 ft/2.10 m. When skis of
6.9 ft/2.10 m in length are loaded the ski
bag will tend to contract, reducing its over-
all capacity.
Loading
1.Lower the center armrest, open the
cover and place it on the armrest
2.Remove the cover panel
* and place it
on the controller in the rear
3.Open the hatch in the luggage compart-
ment:
Press the handle and slide it to the right
4.Extend the ski bag between the front
seats. The zipper allows more conven-
ient access to stored objects and can
also be left open to allow the ski bag to
dry.
Please ensure that the skis are clean before
loading them into the bag. Take care to
avoid damage from sharp edges.
Page 121 of 232

Controls
119Reference
At a glance
Driving tips
Communications
Navigation
Entertainment
Mobility
Page 125 of 232
Driving tips
123Reference
At a glance
Controls
Communications
Navigation
Entertainment
Mobility
to as hydroplaning, and is characterized
by a partial or complete loss of contact
between tires and road surface, ultimately
undermining your ability to steer and brake
the vehicle.<
Driving through water
Do not drive through water on the
road if it is deeper than 1 ft/30 cm,
and then only at walking speed at the most.
Otherwise, the vehicle's engine, the electri-
cal systems and the transmission may be
damaged.<
Brake system
Braking with ABS
The best way to achieve the best response
from the ABS is to apply maximum pres-
sure to the brake pedal Ð panic stop. Since
the vehicle maintains steering responsive-
ness, you can nevertheless avoid possible
obstacles with a minimum of steering
effort.
Pulsation at the brake pedal combines with
sounds from the hydraulic circuits to indi-
cate to the driver that ABS is in its active
mode.
Do not drive with your foot resting on
the brake pedal. Otherwise, even light
but consistent pedal pressure can lead to
high temperatures, brake wear and possi-
bly even brake failure.<
Disc brakes
Driving in wet conditions
While driving in wet conditions and in
heavy rain, it is a good idea to apply light
pressure to the brake pedal every few
miles. Monitor traffic conditions to ensure
that this maneuver does not endanger
other road users. The heat generated in this
process helps dry the pads and rotors to
ensure that full braking efficiency will then
be available when you need it.
Hills
You can retain full and unimpaired braking
efficiency by downshifting to a gear in
which only minimal brake applications are
needed when descending long or steep
downhill stretches.
You can further enhance the engine's
braking effect by selecting a lower gear
in the automatic transmission's manual
mode, downshifting as far as first gear
on extremely steep stretches, refer to
page 67. This strategy helps you avoid
placing excessive loads on the brake sys-
tem.
Never allow the vehicle to coast with
the transmission in Neutral Ð or with
the engine switched off Ð as there is no
engine braking when the transmission is in
Neutral, and no power-assist for brakes
and steering when the engine is not run-
ning.
Never allow floor mats, carpets or any other
objects to protrude into the area around the
accelerator and brake pedals and obstruct
their movement.<
Corrosion
When the vehicle is driven only occasion-
ally, during extended periods when the
vehicle is not used at all, and in operating
conditions where brake applications are
less frequent, there is an increased ten-
dency for corrosion to form on rotors, while
contaminants accumulate on the brake
pads. This occurs because the minimal
pressure which must be exerted by the
pads during brake applications to clean the
rotors is not reached.
Should corrosion form on the brake rotors,
the brakes will tend to respond with a pul-
sating effect that even extended applica-
tion will fail to cure.
Brake pads
If the brake pad wear warning lamp
appears in the Check Control,
accompanied by a text. Please take
careful note of the additional information on
the Control Display.
Page 127 of 232
Driving tips
125Reference
At a glance
Controls
Communications
Navigation
Entertainment
Mobility
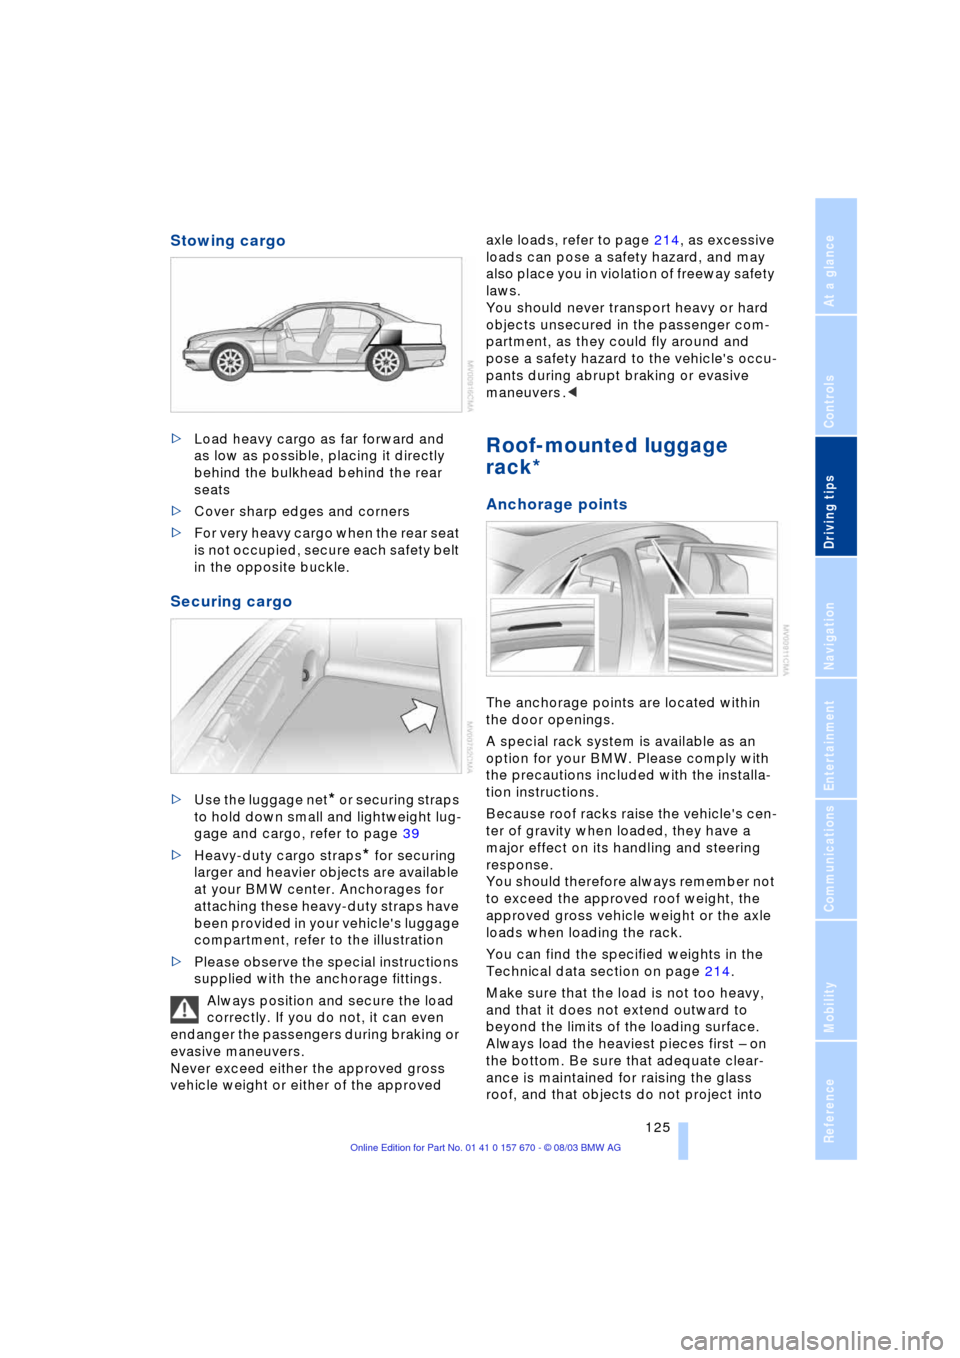
Stowing cargo
>Load heavy cargo as far forward and
as low as possible, placing it directly
behind the bulkhead behind the rear
seats
>Cover sharp edges and corners
>For very heavy cargo when the rear seat
is not occupied, secure each safety belt
in the opposite buckle.
Securing cargo
>Use the luggage net* or securing straps
to hold down small and lightweight lug-
gage and cargo, refer to page 39
>Heavy-duty cargo straps
* for securing
larger and heavier objects are available
at your BMW center. Anchorages for
attaching these heavy-duty straps have
been provided in your vehicle's luggage
compartment, refer to the illustration
>Please observe the special instructions
supplied with the anchorage fittings.
Always position and secure the load
correctly. If you do not, it can even
endanger the passengers during braking or
evasive maneuvers.
Never exceed either the approved gross
vehicle weight or either of the approved axle loads, refer to page 214, as excessive
loads can pose a safety hazard, and may
also place you in violation of freeway safety
laws.
You should never transport heavy or hard
objects unsecured in the passenger com-
partment, as they could fly around and
pose a safety hazard to the vehicle's occu-
pants during abrupt braking or evasive
maneuvers .<
Roof-mounted luggage
rack*
Anchorage points
The anchorage points are located within
the door openings.
A special rack system is available as an
option for your BMW. Please comply with
the precautions included with the installa-
tion instructions.
Because roof racks raise the vehicle's cen-
ter of gravity when loaded, they have a
major effect on its handling and steering
response.
You should therefore always remember not
to exceed the approved roof weight, the
approved gross vehicle weight or the axle
loads when loading the rack.
You can find the specified weights in the
Technical data section on page 214.
Make sure that the load is not too heavy,
and that it does not extend outward to
beyond the limits of the loading surface.
Always load the heaviest pieces first Ð on
the bottom. Be sure that adequate clear-
ance is maintained for raising the glass
roof, and that objects do not project into
Page 129 of 232

Driving tips
127Reference
At a glance
Controls
Communications
Navigation
Entertainment
Mobility
Page 131 of 232
Navigation
This section contains various examples
that illustrate how the navigation system
provides you with reliable guidance
to your destination.
Page 132 of 232
Starting the navigation system
130
Starting the navigation system
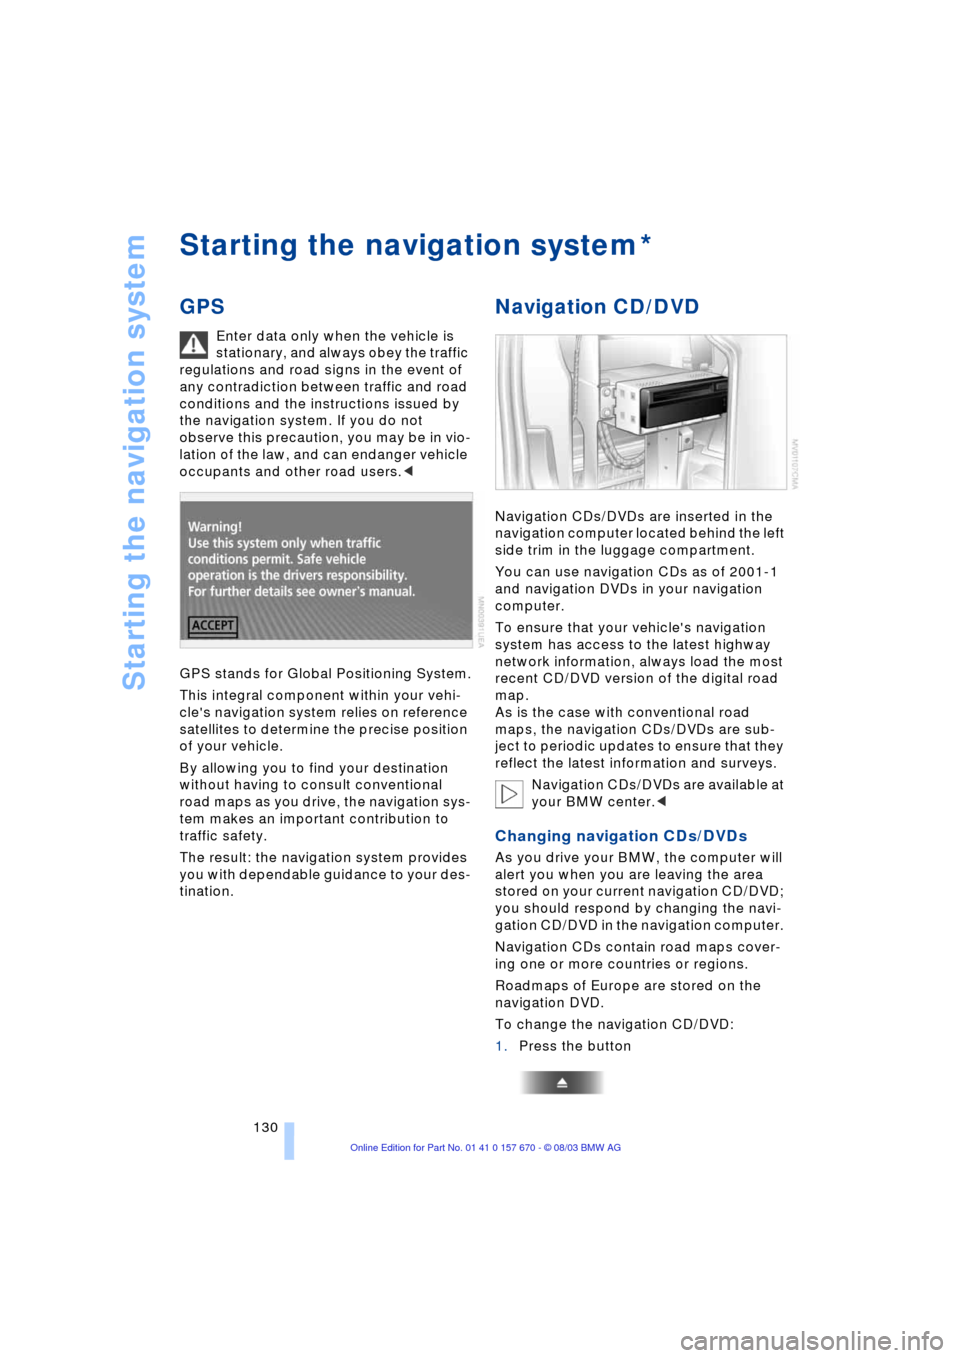
GPS
Enter data only when the vehicle is
stationary, and always obey the traffic
regulations and road signs in the event of
any contradiction between traffic and road
conditions and the instructions issued by
the navigation system. If you do not
observe this precaution, you may be in vio-
lation of the law, and can endanger vehicle
occupants and other road users.<
GPS stands for Global Positioning System.
This integral component within your vehi-
cle's navigation system relies on reference
satellites to determine the precise position
of your vehicle.
By allowing you to find your destination
without having to consult conventional
road maps as you drive, the navigation sys-
tem makes an important contribution to
traffic safety.
The result: the navigation system provides
you with dependable guidance to your des-
tination.
Navigation CD/DVD
Navigation CDs/DVDs are inserted in the
navigation computer located behind the left
side trim in the luggage compartment.
You can use navigation CDs as of 2001-1
and navigation DVDs in your navigation
computer.
To ensure that your vehicle's navigation
system has access to the latest highway
network information, always load the most
recent CD/DVD version of the digital road
map.
As is the case with conventional road
maps, the navigation CDs/DVDs are sub-
ject to periodic updates to ensure that they
reflect the latest information and surveys.
Navigation CDs/DVDs are available at
your BMW center.<
Changing navigation CDs/DVDs
As you drive your BMW, the computer will
alert you when you are leaving the area
stored on your current navigation CD/DVD;
you should respond by changing the navi-
gation CD/DVD in the navigation computer.
Navigation CDs contain road maps cover-
ing one or more countries or regions.
Roadmaps of Europe are stored on the
navigation DVD.
To change the navigation CD/DVD:
1.Press the button
*
Page 133 of 232
Navigation
Driving tips
131Reference
At a glance
Controls
Communications
Entertainment
Mobility
The CD/DVD is ejected from the naviga-
tion computer
2.Remove the CD/DVD
3.Insert the new CD/DVD with the labeled
side up.
Allow approx. eight seconds for the
system to scan the data from the new
CD/DVD.
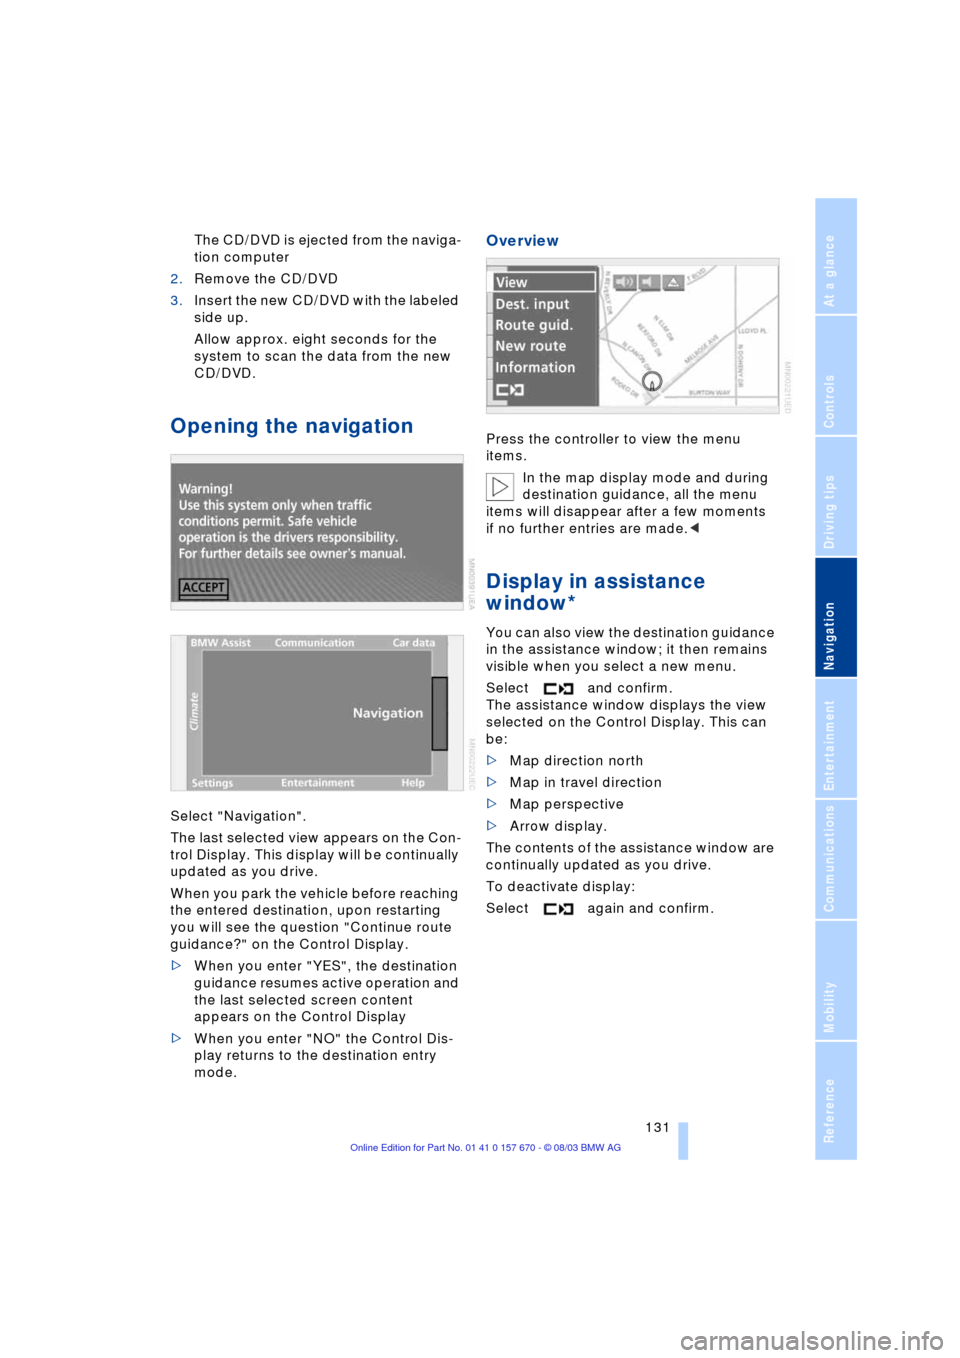
Opening the navigation
Select "Navigation".
The last selected view appears on the Con-
trol Display. This display will be continually
updated as you drive.
When you park the vehicle before reaching
the entered destination, upon restarting
you will see the question "Continue route
guidance?" on the Control Display.
>When you enter "YES", the destination
guidance resumes active operation and
the last selected screen content
appears on the Control Display
>When you enter "NO" the Control Dis-
play returns to the destination entry
mode.
Overview
Press the controller to view the menu
items.
In the map display mode and during
destination guidance, all the menu
items will disappear after a few moments
if no further entries are made.<
Display in assistance
window*
You can also view the destination guidance
in the assistance window; it then remains
visible when you select a new menu.
Select and confirm.
The assistance window displays the view
selected on the Control Display. This can
be:
>Map direction north
>Map in travel direction
>Map perspective
>Arrow display.
The contents of the assistance window are
continually updated as you drive.
To deactivate display:
Select again and confirm.