navigation system BMW 760Li 2004 E66 Manual PDF
[x] Cancel search | Manufacturer: BMW, Model Year: 2004, Model line: 760Li, Model: BMW 760Li 2004 E66Pages: 232, PDF Size: 5.27 MB
Page 169 of 232
Navigation
Entertainment
Driving tips
167Reference
At a glance
Controls
Communications
Mobility
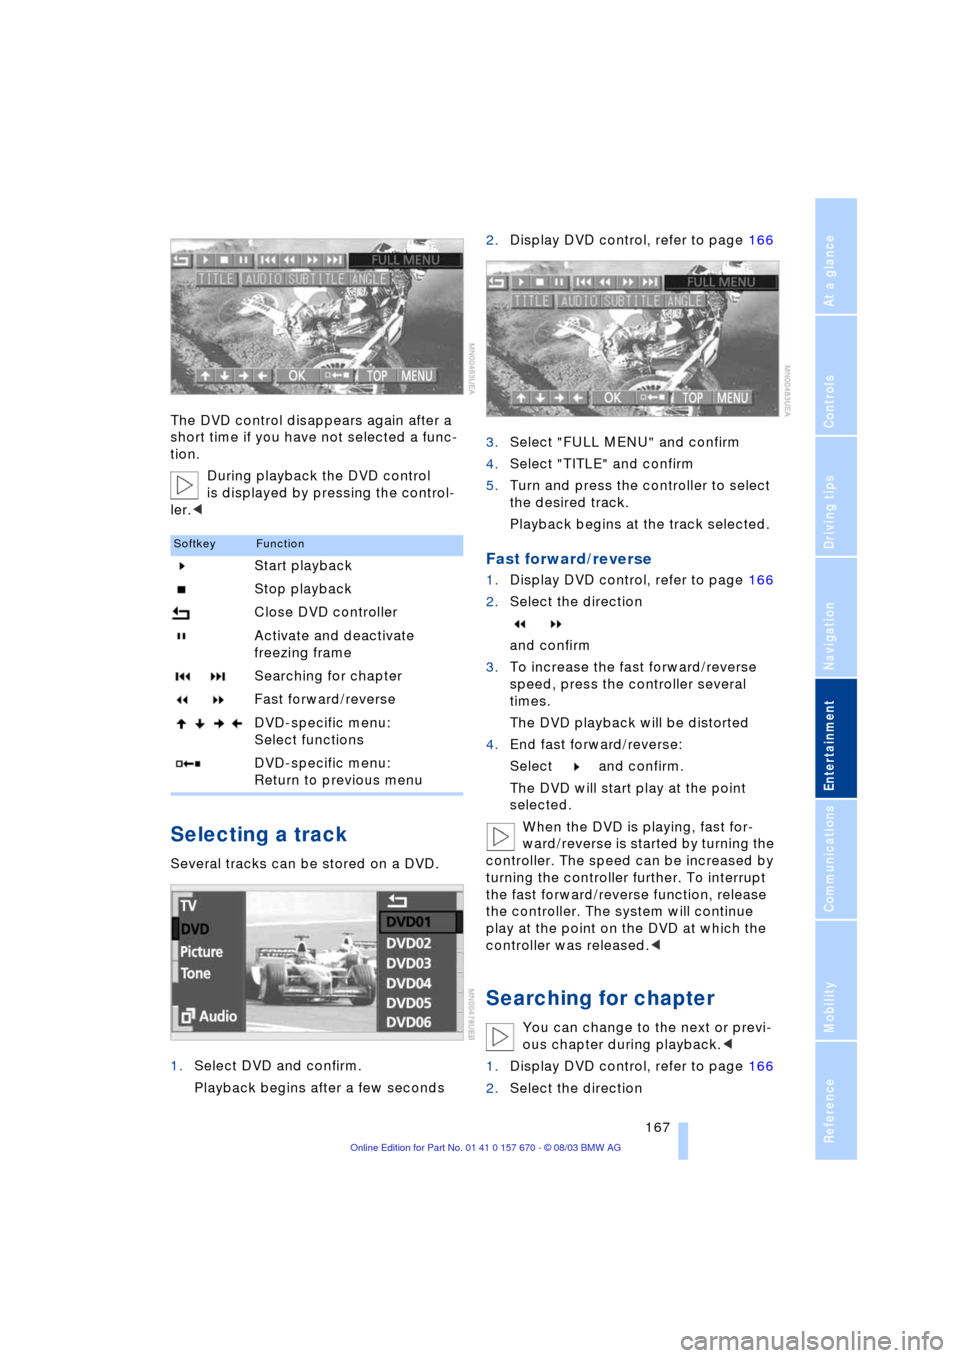
The DVD control disappears again after a
short time if you have not selected a func-
tion.
During playback the DVD control
is displayed by pressing the control-
ler.<
Selecting a track
Several tracks can be stored on a DVD.
1.Select DVD and confirm.
Playback begins after a few seconds2.Display DVD control, refer to page 166
3.Select "FULL MENU" and confirm
4.Select "TITLE" and confirm
5.Turn and press the controller to select
the desired track.
Playback begins at the track selected.
Fast forward/reverse
1.Display DVD control, refer to page 166
2.Select the direction
and confirm
3.To increase the fast forward/reverse
speed, press the controller several
times.
The DVD playback will be distorted
4.End fast forward/reverse:
Select and confirm.
The DVD will start play at the point
selected.
When the DVD is playing, fast for-
ward/reverse is started by turning the
controller. The speed can be increased by
turning the controller further. To interrupt
the fast forward/reverse function, release
the controller. The system will continue
play at the point on the DVD at which the
controller was released.<
Searching for chapter
You can change to the next or previ-
ous chapter during playback.<
1.Display DVD control, refer to page 166
2.Select the direction
SoftkeyFunction
Start playback
Stop playback
Close DVD controller
Activate and deactivate
freezing frame
Searching for chapter
Fast forward/reverse
DVD-specific menu:
Select functions
DVD-specific menu:
Return to previous menu
Page 177 of 232
175
Entertainment
Reference
At a glance
Controls
Driving tips Communications
Navigation
Mobility
influencing the cardiac pacemaker.
With the slightest sign of a cardiac pace-
maker malfunction, switch the BMW porta-
ble phone off immediately.<
Batteries
To avoid possible short circuits, after
removing a battery you should never
allow it to come into contact with metallic
surfaces of any kind. This is why you should
handle charged batteries with care, in par-
ticular if you place batteries, e.g. in jacket
or shirt pockets that contain metal objects.
If you are in an environment where there is
a risk of explosion, do not remove the bat-
tery from the device, as otherwise sparks
from your battery could cause explosions
or fire.<
Disposing of used batteries
Return used batteries to a recycling
collection point or to your BMW cen-
ter.<
Care instructions
You can find useful information on caring
for your portable phone in the separate
Caring for your vehicle brochure and in the
separate portable phone Owner's Manual.
Controls
You have the option of making phone calls
with the car phone
* or the BMW portable
phone.
If there is no BMW portable phone in the
cradle, the Personal Calling connection is
set up with the car phone.
The car phone must be enabled prior
to initial use. In this connection,
please consult your BMW center.<
The telephone used to set up a connection
appears in the upper status line.
For information on operating your
portable phone, please consult the
separate Owner's Manual.
>The Control Center
>The folding telephone keypad
>The voice command system Ð not for
incoming calls.
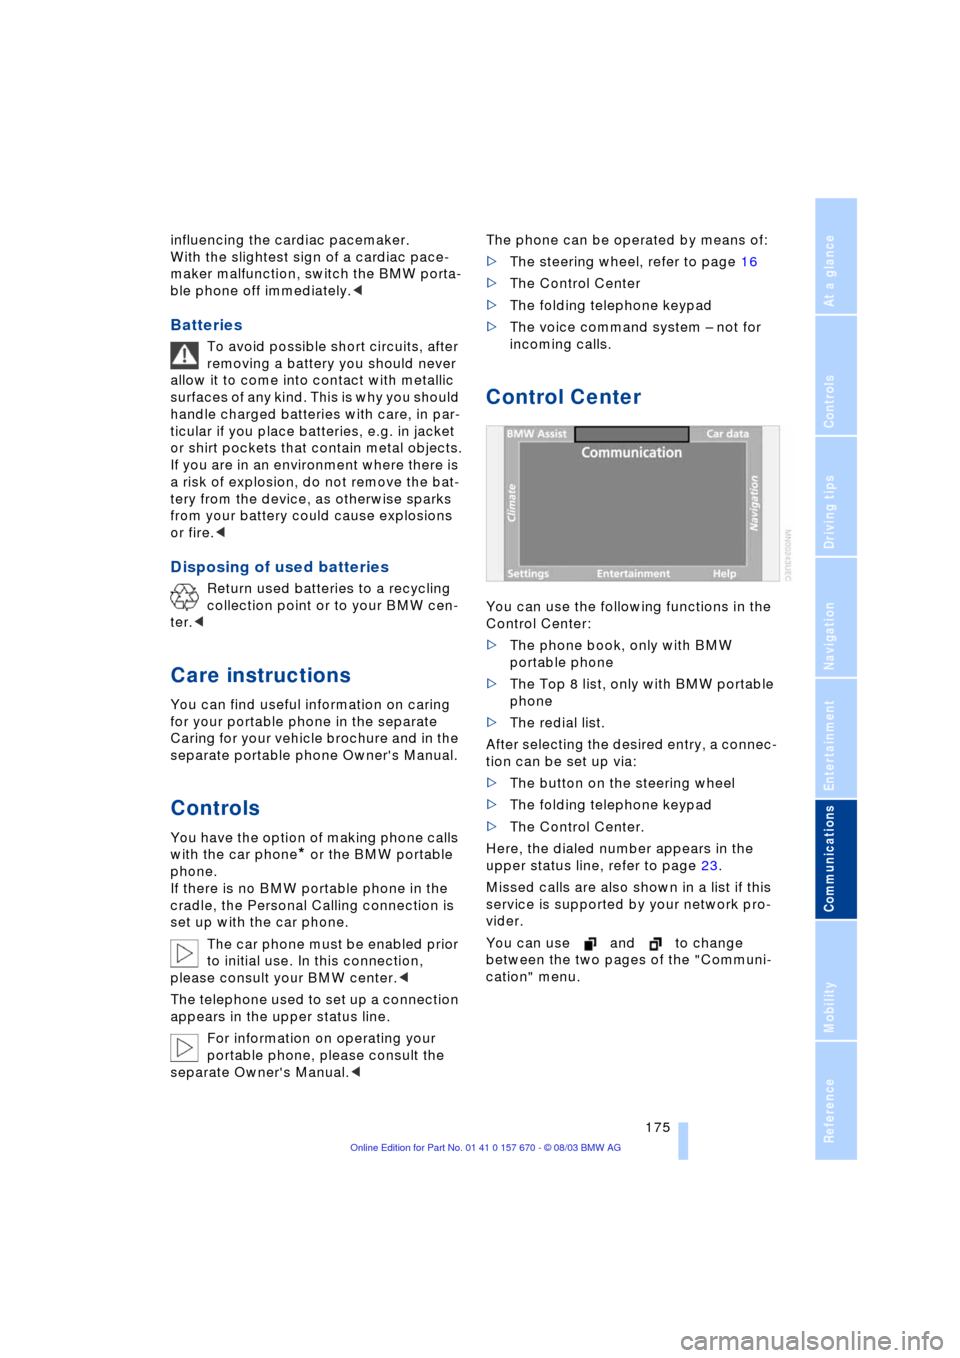
Control Center
You can use the following functions in the
Control Center:
>The phone book, only with BMW
portable phone
>The Top 8 list, only with BMW portable
phone
>The redial list.
After selecting the desired entry, a connec-
tion can be set up via:
>The button on the steering wheel
>The folding telephone keypad
>The Control Center.
Here, the dialed number appears in the
upper status line, refer to page 23.
Missed calls are also shown in a list if this
service is supported by your network pro-
vider.
You can use and to change
between the two pages of the "Communi-
cation" menu.
Page 179 of 232
177
Entertainment
Reference
At a glance
Controls
Driving tips Communications
Navigation
Mobility
Hands-free system
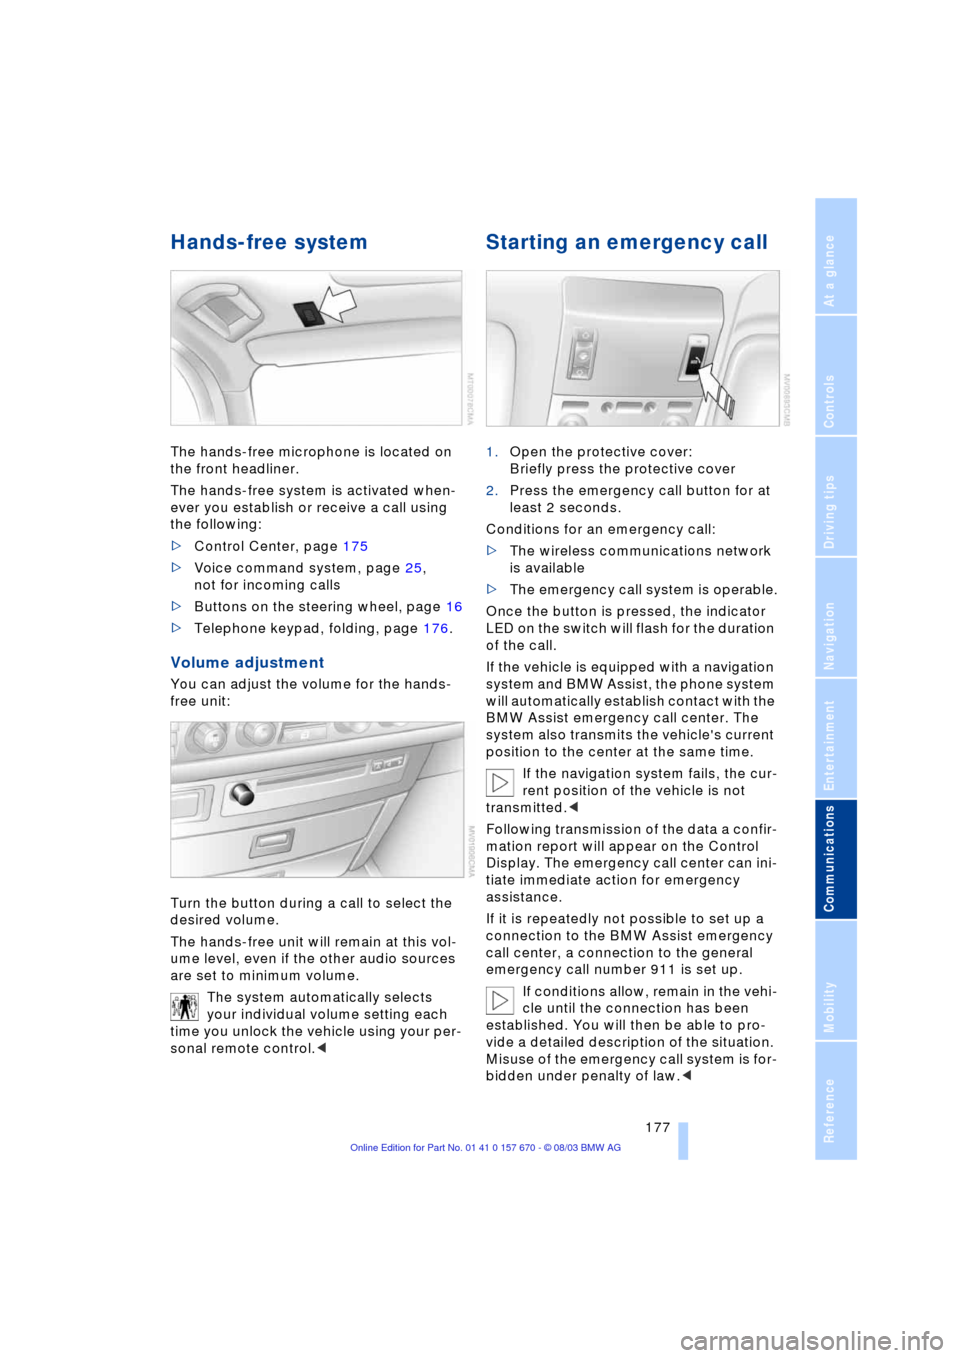
The hands-free microphone is located on
the front headliner.
The hands-free system is activated when-
ever you establish or receive a call using
the following:
>Control Center, page 175
>Voice command system, page 25,
not for incoming calls
>Buttons on the steering wheel, page 16
>Telephone keypad, folding, page 176.
Volume adjustment
You can adjust the volume for the hands-
free unit:
Turn the button during a call to select the
desired volume.
The hands-free unit will remain at this vol-
ume level, even if the other audio sources
are set to minimum volume.
The system automatically selects
your individual volume setting each
time you unlock the vehicle using your per-
sonal remote control.<
Starting an emergency call
1.Open the protective cover:
Briefly press the protective cover
2.Press the emergency call button for at
least 2 seconds.
Conditions for an emergency call:
>The wireless communications network
is available
>The emergency call system is operable.
Once the button is pressed, the indicator
LED on the switch will flash for the duration
of the call.
If the vehicle is equipped with a navigation
system and BMW Assist, the phone system
will automatically establish contact with the
BMW Assist emergency call center. The
system also transmits the vehicle's current
position to the center at the same time.
If the navigation system fails, the cur-
rent position of the vehicle is not
transmitted.<
Following transmission of the data a confir-
mation report will appear on the Control
Display. The emergency call center can ini-
tiate immediate action for emergency
assistance.
If it is repeatedly not possible to set up a
connection to the BMW Assist emergency
call center, a connection to the general
emergency call number 911 is set up.
If conditions allow, remain in the vehi-
cle until the connection has been
established. You will then be able to pro-
vide a detailed description of the situation.
Misuse of the emergency call system is for-
bidden under penalty of law.<
Page 181 of 232
179
Entertainment
Reference
At a glance
Controls
Driving tips Communications
Navigation
Mobility
Getting started
Making a call
1.Enter the desired phone number
2.Press the button
The phone number appears in the Control
Display's status line.
Always remember to enter the com-
plete telephone number, including the
area code, even if you are currently in the
same area as the number that you wish to
contact.<
Ending a call
Press the button
Phone book
You must enter your portable phone's
phone book in the voice command system
before it will be available for access using
voice commands. This creates a special
voice command phone book. If changes
are then made to the phone book using the
voice command system, these modifica-
tions will apply exclusively to the voice
command phone book, and not to the
phone book in the portable phone.
Creating and updating voice
command phone book*
The entries in the portable phone's phone
book appear sequentially in the Info Dis-
play.
You must assign a specific name to each
number that you wish to transfer to the
voice command phone book. These num-
bers will no longer be requested during
updates.
Making a new entry in the voice
command phone book
Dialing from the phone book
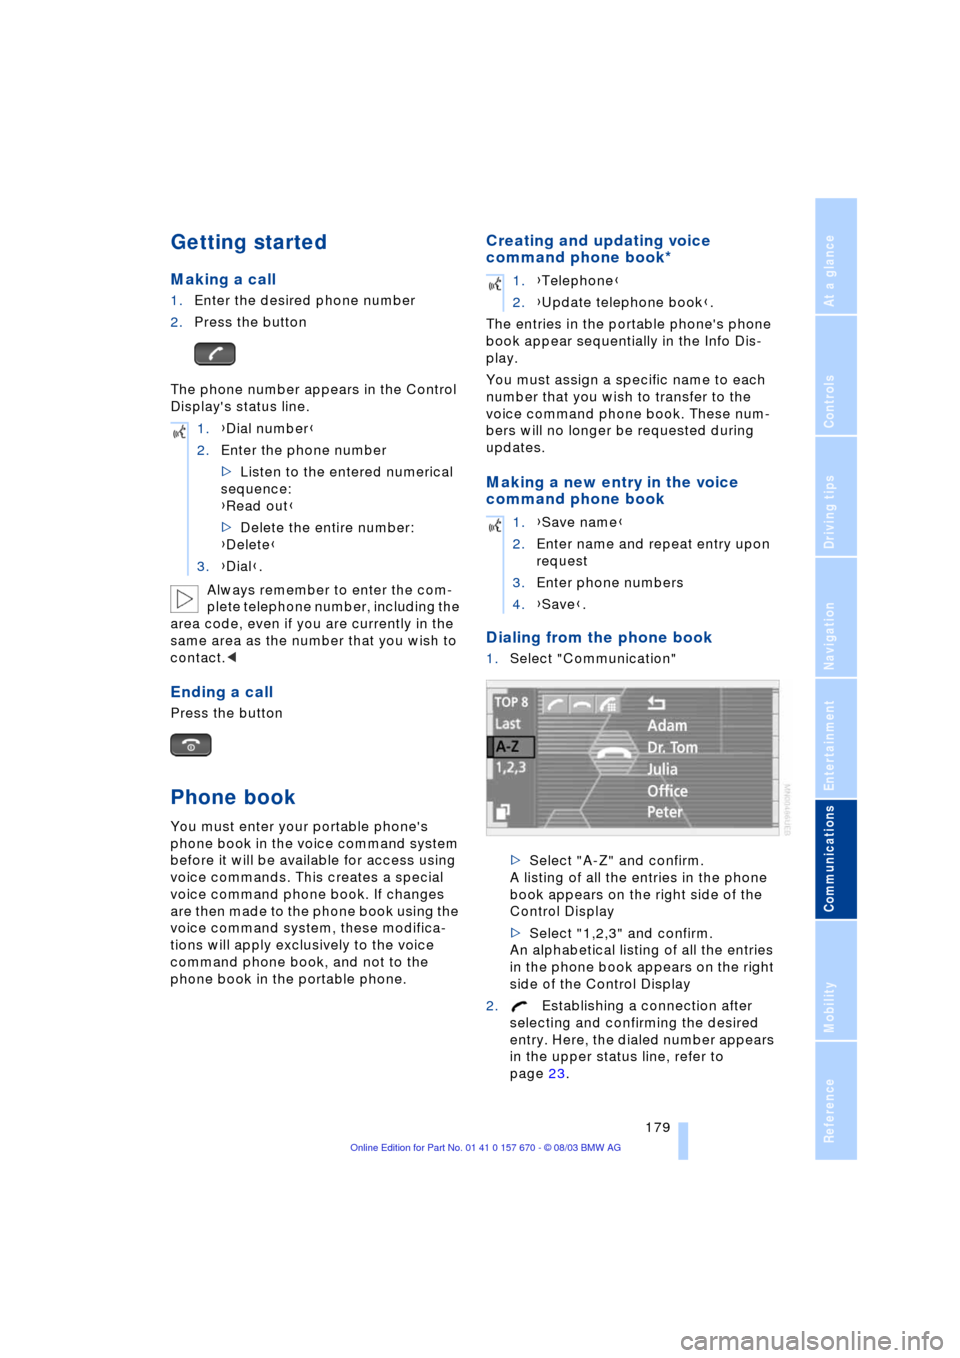
1.Select "Communication"
>Select "A-Z" and confirm.
A listing of all the entries in the phone
book appears on the right side of the
Control Display
>Select "1,2,3" and confirm.
An alphabetical listing of all the entries
in the phone book appears on the right
side of the Control Display
2.Establishing a connection after
selecting and confirming the desired
entry. Here, the dialed number appears
in the upper status line, refer to
page 23. 1.{Dial number}
2.Enter the phone number
>Listen to the entered numerical
sequence:
{Read out}
>Delete the entire number:
{Delete}
3.{Dial}.
1.{Telephone}
2.{Update telephone book}.
1.{Save name}
2.Enter name and repeat entry upon
request
3.Enter phone numbers
4.{Save}.
Page 189 of 232
Mobility
187Reference
At a glance
Controls
Driving tips
Communications
Navigation
Entertainment
Fuel specifications
The engine uses lead-free gasoline only.
Required fuel:
>Premium Unleaded Gasoline,
min. 91 AKI.
AKI = Anti-Knock Index.
Do not use leaded fuels. The use of
leaded fuels will cause permanent
damage to the system's oxygen sensor and
the catalytic converter.<
Page 197 of 232
Mobility
195Reference
At a glance
Controls
Driving tips
Communications
Navigation
Entertainment
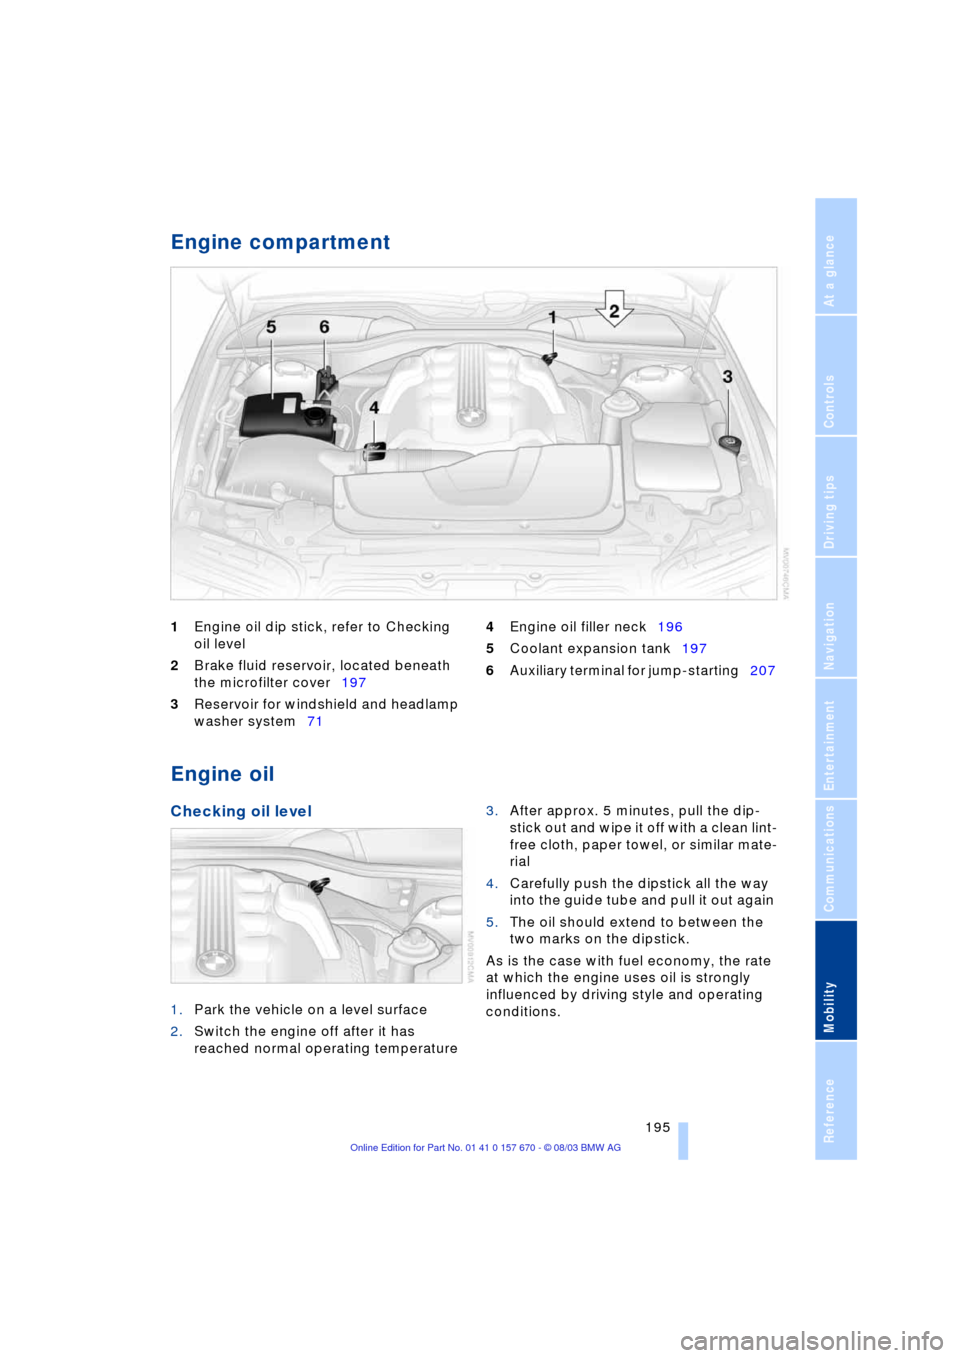
Engine compartment
1Engine oil dip stick, refer to Checking
oil level
2Brake fluid reservoir, located beneath
the microfilter cover197
3Reservoir for windshield and headlamp
washer system71 4Engine oil filler neck196
5Coolant expansion tank197
6Auxiliary terminal for jump-starting207
Engine oil
Checking oil level
1.Park the vehicle on a level surface
2.Switch the engine off after it has
reached normal operating temperature 3.After approx. 5 minutes, pull the dip-
stick out and wipe it off with a clean lint-
free cloth, paper towel, or similar mate-
rial
4.Carefully push the dipstick all the way
into the guide tube and pull it out again
5.The oil should extend to between the
two marks on the dipstick.
As is the case with fuel economy, the rate
at which the engine uses oil is strongly
influenced by driving style and operating
conditions.
Page 199 of 232
Mobility
197Reference
At a glance
Controls
Driving tips
Communications
Navigation
Entertainment
Antifreeze and anticorrosion agents are
flammable. Therefore, do not pour over hot
engine parts, as otherwise they could catch
fire and cause burns.
Always observe the instructions for use
provided on the containers.<
Always observe all applicable rules
and regulations for environmental
protection when disposing of used anti-
freeze and anticorrosion agents.<
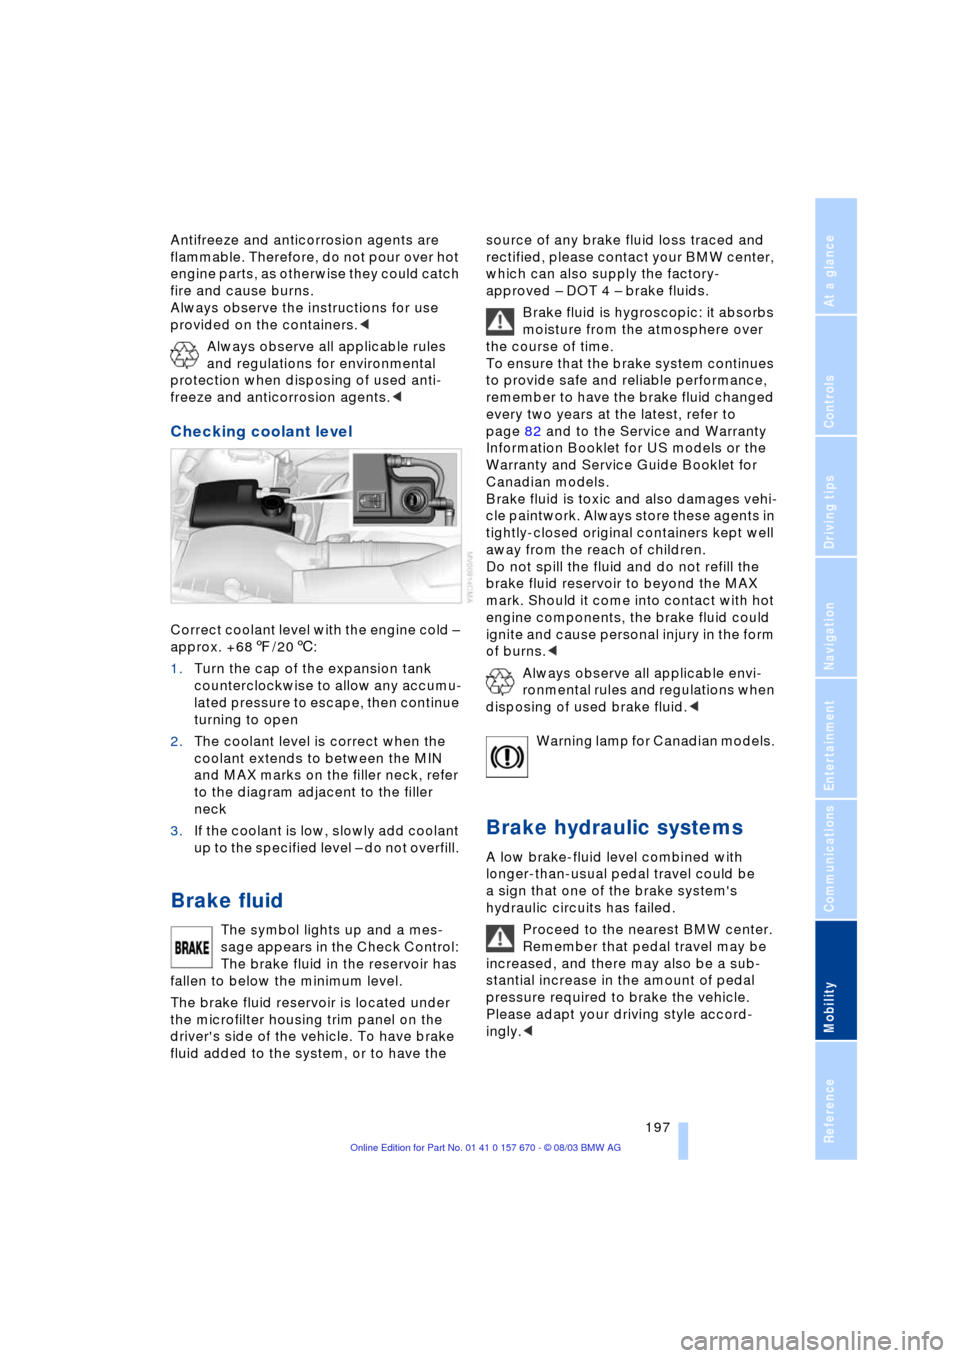
Checking coolant level
Correct coolant level with the engine cold Ð
approx. +687/206:
1.Turn the cap of the expansion tank
counterclockwise to allow any accumu-
lated pressure to escape, then continue
turning to open
2.The coolant level is correct when the
coolant extends to between the MIN
and MAX marks on the filler neck, refer
to the diagram adjacent to the filler
neck
3.If the coolant is low, slowly add coolant
up to the specified level Ð do not overfill.
Brake fluid
The symbol lights up and a mes-
sage appears in the Check Control:
The brake fluid in the reservoir has
fallen to below the minimum level.
The brake fluid reservoir is located under
the microfilter housing trim panel on the
driver's side of the vehicle. To have brake
fluid added to the system, or to have the source of any brake fluid loss traced and
rectified, please contact your BMW center,
which can also supply the factory-
approved Ð DOT 4 Ð brake fluids.
Brake fluid is hygroscopic: it absorbs
moisture from the atmosphere over
the course of time.
To ensure that the brake system continues
to provide safe and reliable performance,
remember to have the brake fluid changed
every two years at the latest, refer to
page 82 and to the Service and Warranty
Information Booklet for US models or the
Warranty and Service Guide Booklet for
Canadian models.
Brake fluid is toxic and also damages vehi-
cle paintwork. Always store these agents in
tightly-closed original containers kept well
away from the reach of children.
Do not spill the fluid and do not refill the
brake fluid reservoir to beyond the MAX
mark. Should it come into contact with hot
engine components, the brake fluid could
ignite and cause personal injury in the form
of burns.<
Always observe all applicable envi-
ronmental rules and regulations when
disposing of used brake fluid.<
Warning lamp for Canadian models.
Brake hydraulic systems
A low brake-fluid level combined with
longer-than-usual pedal travel could be
a sign that one of the brake system's
hydraulic circuits has failed.
Proceed to the nearest BMW center.
Remember that pedal travel may be
increased, and there may also be a sub-
stantial increase in the amount of pedal
pressure required to brake the vehicle.
Please adapt your driving style accord-
ingly.<
Page 201 of 232
Mobility
199Reference
At a glance
Controls
Driving tips
Communications
Navigation
Entertainment
Rules and regulations
California Proposition 65
Warning
California laws require us to issue the fol-
lowing warning:
Engine exhaust and a wide variety of
automobile components and parts,
including components found in the interior
furnishings in a vehicle, contain or emit
chemicals known to the State of California
to cause cancer and birth defects and
reproductive harm. In addition, certain flu-
ids contained in vehicles and certain prod-
ucts of component wear contain or emit
chemicals known to the State of California
to cause cancer and birth defects or other
reproductive harm.
Battery posts, terminals and related acces-
sories contain lead and lead compounds.
Wash your hands after handling.
Used engine oil contains chemicals that
have caused cancer in laboratory animals.
Always protect your skin by washing thor-
oughly with soap and water.<
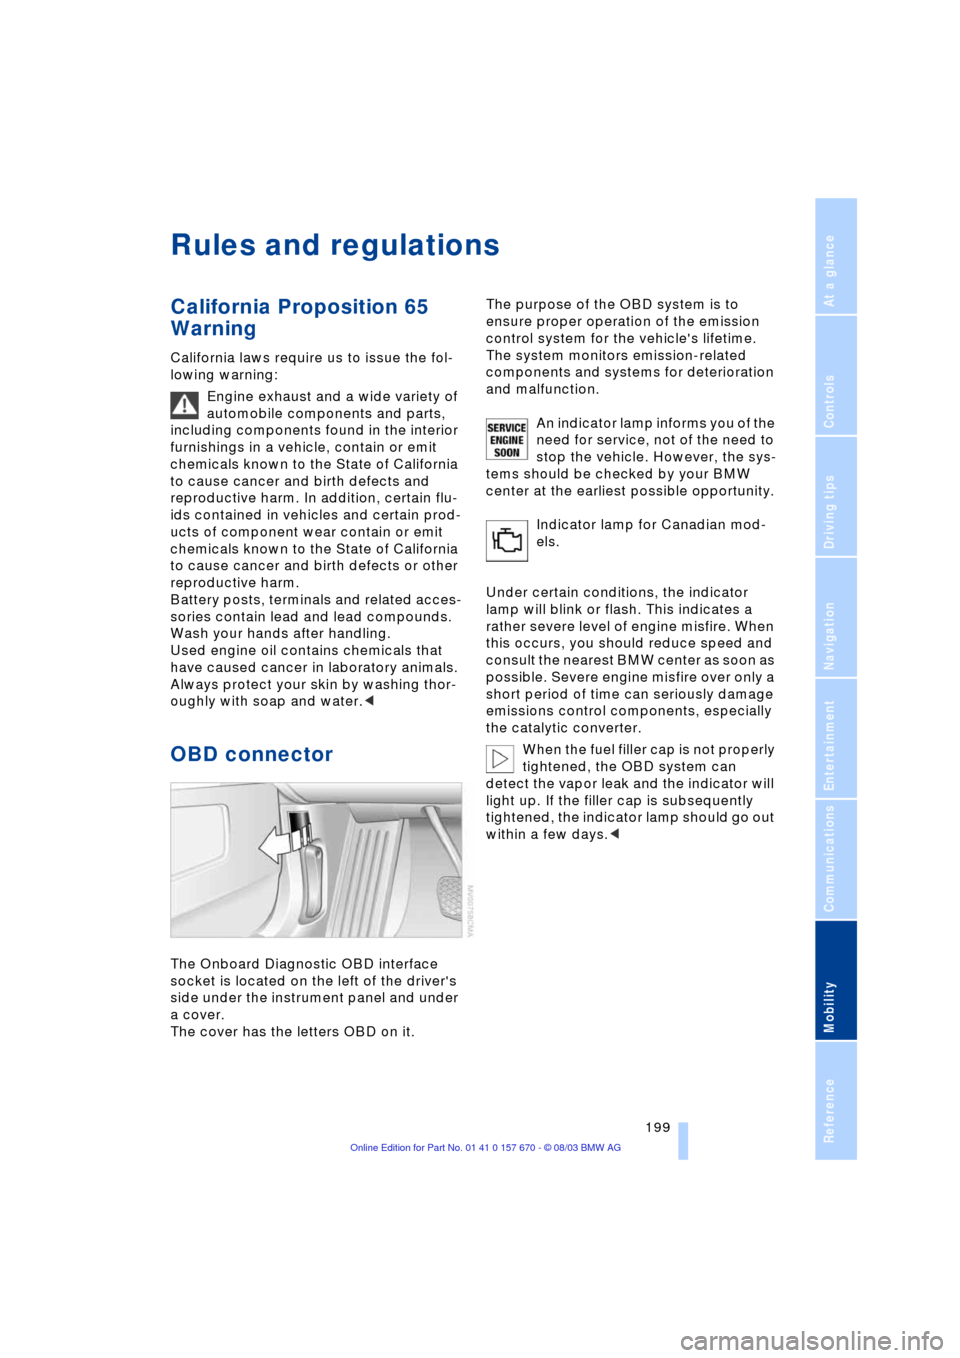
OBD connector
The Onboard Diagnostic OBD interface
socket is located on the left of the driver's
side under the instrument panel and under
a cover.
The cover has the letters OBD on it.The purpose of the OBD system is to
ensure proper operation of the emission
control system for the vehicle's lifetime.
The system monitors emission-related
components and systems for deterioration
and malfunction.
An indicator lamp informs you of the
need for service, not of the need to
stop the vehicle. However, the sys-
tems should be checked by your BMW
center at the earliest possible opportunity.
Indicator lamp for Canadian mod-
els.
Under certain conditions, the indicator
lamp will blink or flash. This indicates a
rather severe level of engine misfire. When
this occurs, you should reduce speed and
consult the nearest BMW center as soon as
possible. Severe engine misfire over only a
short period of time can seriously damage
emissions control components, especially
the catalytic converter.
When the fuel filler cap is not properly
tightened, the OBD system can
detect the vapor leak and the indicator will
light up. If the filler cap is subsequently
tightened, the indicator lamp should go out
within a few days.<
Page 209 of 232
Mobility
207Reference
At a glance
Controls
Driving tips
Communications
Navigation
Entertainment
Giving and receiving assistance
Warning triangle*
The warning triangle is conveniently stored
in the onboard tool kit mounted on the
inside of the luggage compartment lid.
Comply with legal requirements
requiring you to carry a hazard warn-
ing triangle in the vehicle.<
First-aid kit*
You will also find the first-aid kit in the
onboard tool kit's container.
Some of the articles contained in the
first-aid kit have a limited service life.
For this reason, check the expiration dates
of each of the items regularly, and replace
any whose expiration dates have passed.
You can find replacements in any phar-
macy.
Always comply with laws requiring a first-
aid kit to be carried in the vehicle.<
Jump-starting
When your battery is discharged you can
use two jumper cables to start your vehicle
with power from the battery in a second
vehicle. You can also use the same method
to help start another vehicle. Use only
jumper cables with fully-insulated clamp
handles.To avoid the risk of potentially fatal
injury, always avoid all contact with
electrical components while the engine is
running. Carefully adhere to the following
sequence, both to prevent damage to one
or both vehicles, and to guard against pos-
sible personal injury.<
Preparing
1.Check whether the battery of the other
vehicle has a voltage of 12 Volts and
approximately the same capacitance
in Ah. This information can be found on
the battery
2.Switch off the engine of the support
vehicle
3.Switch off any electrical systems and
components in both vehicles.
Ensure that no contact exists
between the bodywork on the two
vehicles, otherwise there is a danger of
short circuits.<
Connecting the jumper cables
To avoid personal injury from sparks,
always observe this sequence when
connecting jumper cables.<
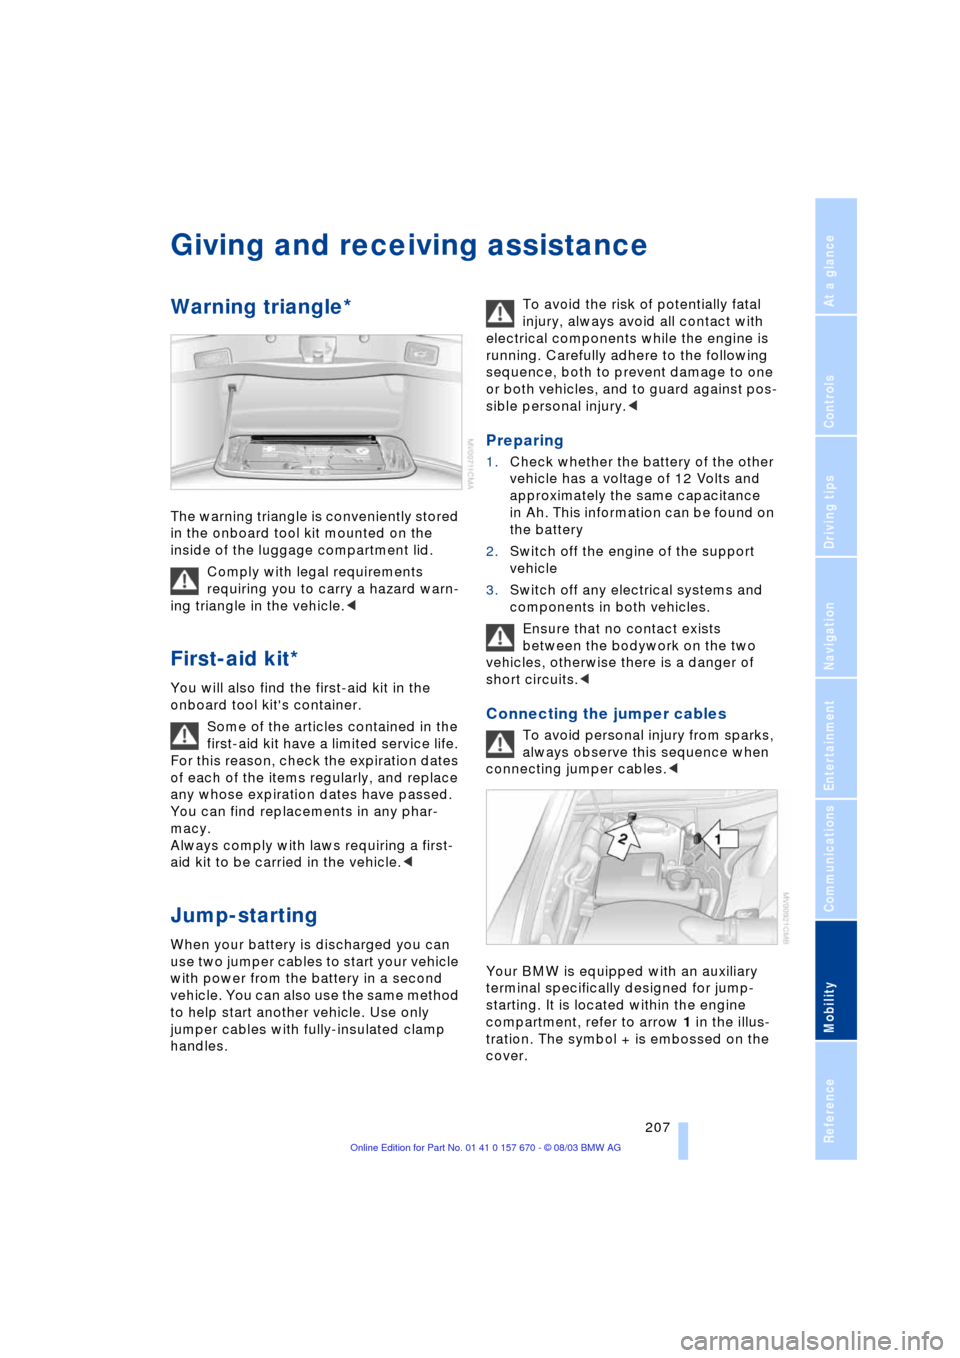
Your BMW is equipped with an auxiliary
terminal specifically designed for jump-
starting. It is located within the engine
compartment, refer to arrow 1 in the illus-
tration. The symbol + is embossed on the
cover.
Page 217 of 232
Reference 215
At a glance
Controls
Driving tips
Communications
Navigation
Entertainment
Mobility
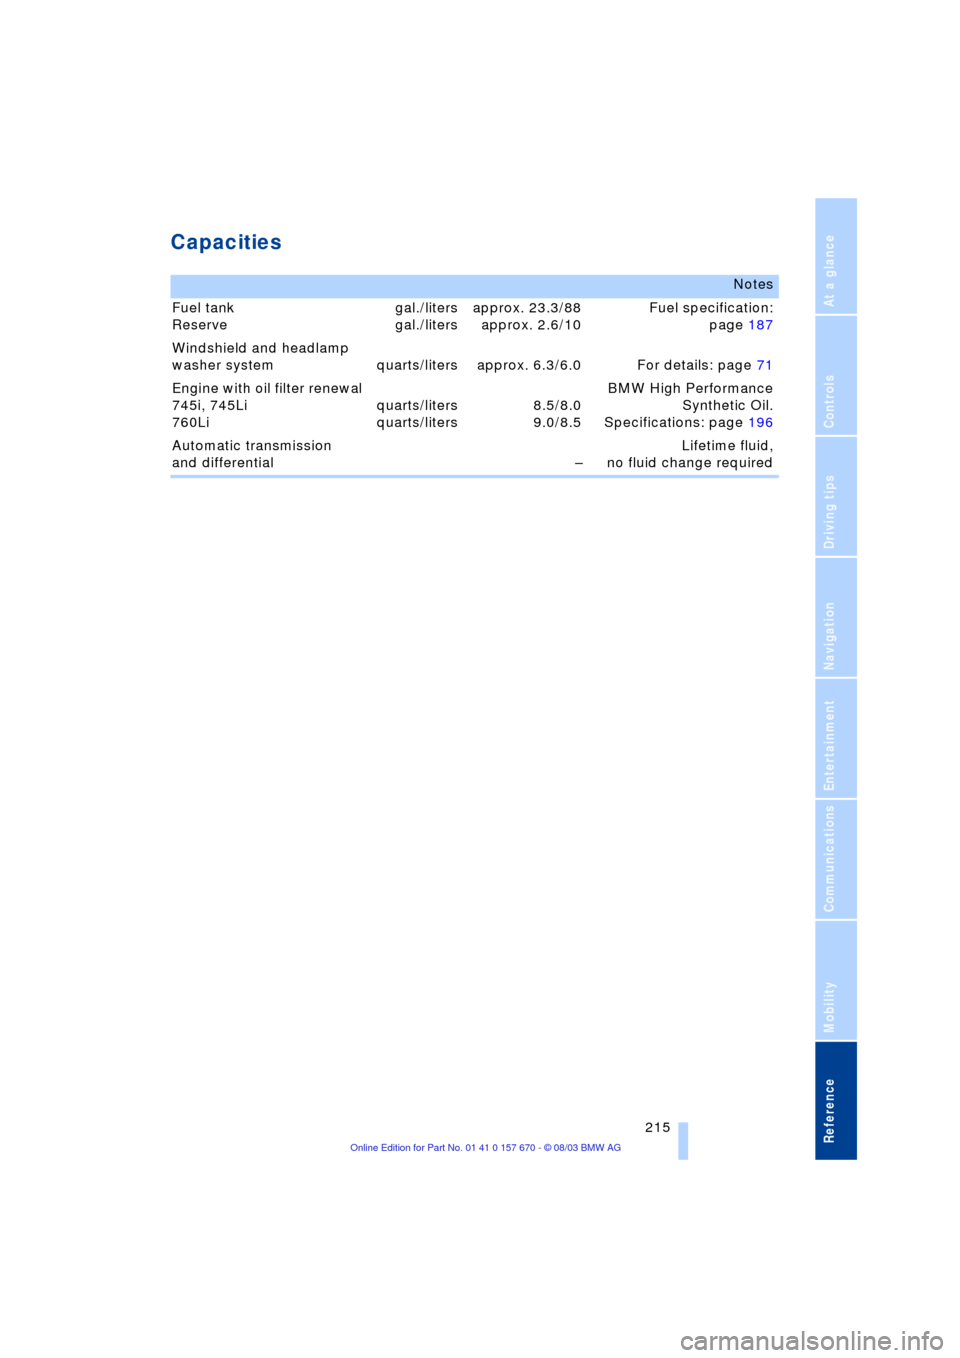
Capacities
Notes
Fuel tank
Reserve gal./liters
gal./litersapprox. 23.3/88
approx. 2.6/10Fuel specification:
page 187
Windshield and headlamp
washer system quarts/liters approx. 6.3/6.0 For details: page 71
Engine with oil filter renewal
745i, 745Li
760Liquarts/liters
quarts/liters8.5/8.0
9.0/8.5BMW High Performance
Synthetic Oil.
Specifications: page 196
Automatic transmission
and differential ÐLifetime fluid,
no fluid change required