rear entertainment BMW 760LI SEDAN 2003 User Guide
[x] Cancel search | Manufacturer: BMW, Model Year: 2003, Model line: 760LI SEDAN, Model: BMW 760LI SEDAN 2003Pages: 229, PDF Size: 4.35 MB
Page 53 of 229
At a glance
Controls
Driving tips
Communications
Navigation
Entertainment
Mobility
Reference
51
Heated seats*
Front
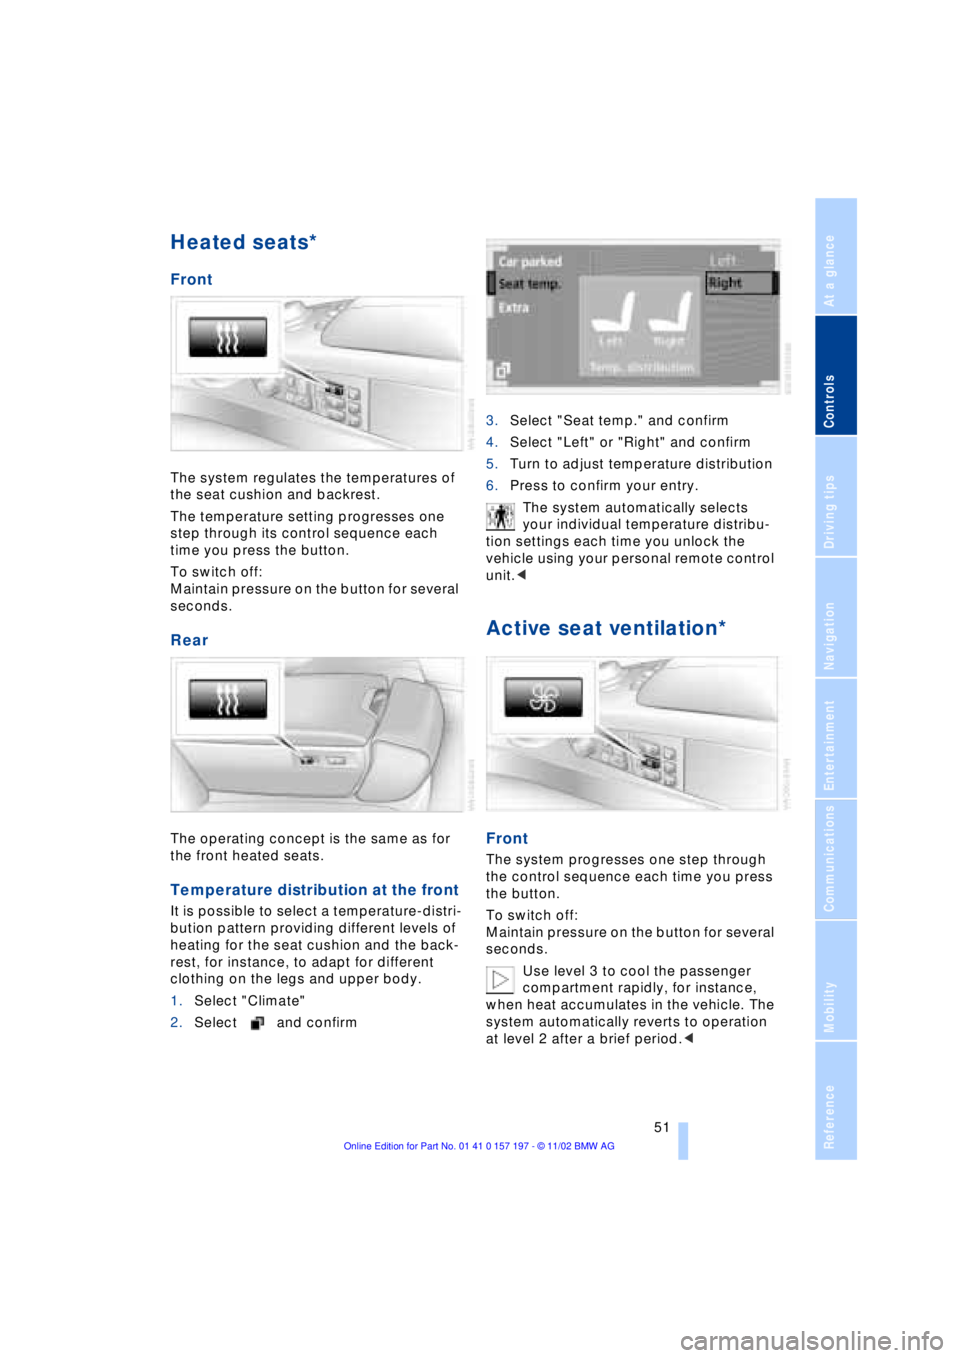
The system regulates the temperatures of
the seat cushion and backrest.
The temperature setting progresses one
step through its control sequence each
time you press the button.
To switch off:
Maintain pressure on the button for several
seconds.
Rear
The operating concept is the same as for
the front heated seats.
Temperature distribution at the front
It is possible to select a temperature-distri-
bution pattern providing different levels of
heating for the seat cushion and the back-
rest, for instance, to adapt for different
clothing on the legs and upper body.
1.Select "Climate"
2.Select and confirm3.Select "Seat temp." and confirm
4.Select "Left" or "Right" and confirm
5.Turn to adjust temperature distribution
6.Press to confirm your entry.
The system automatically selects
your individual temperature distribu-
tion settings each time you unlock the
vehicle using your personal remote control
unit.<
Active seat ventilation*
Front
The system progresses one step through
the control sequence each time you press
the button.
To switch off:
Maintain pressure on the button for several
seconds.
Use level 3 to cool the passenger
compartment rapidly, for instance,
when heat accumulates in the vehicle. The
system automatically reverts to operation
at level 2 after a brief period.<
Page 55 of 229
At a glance
Controls
Driving tips
Communications
Navigation
Entertainment
Mobility
Reference
53
The mirrors automatically revert to their
clear, undimmed mode whenever you
place the selector lever into reverse.
For trouble-free operation, keep the
photocells clean and do not cover the
area between the interior rearview mirror
and the windshield. Do not attach any kind
of stickers on the windshield in front of the
mirror, either.<
Illuminated vanity mirror in the rear
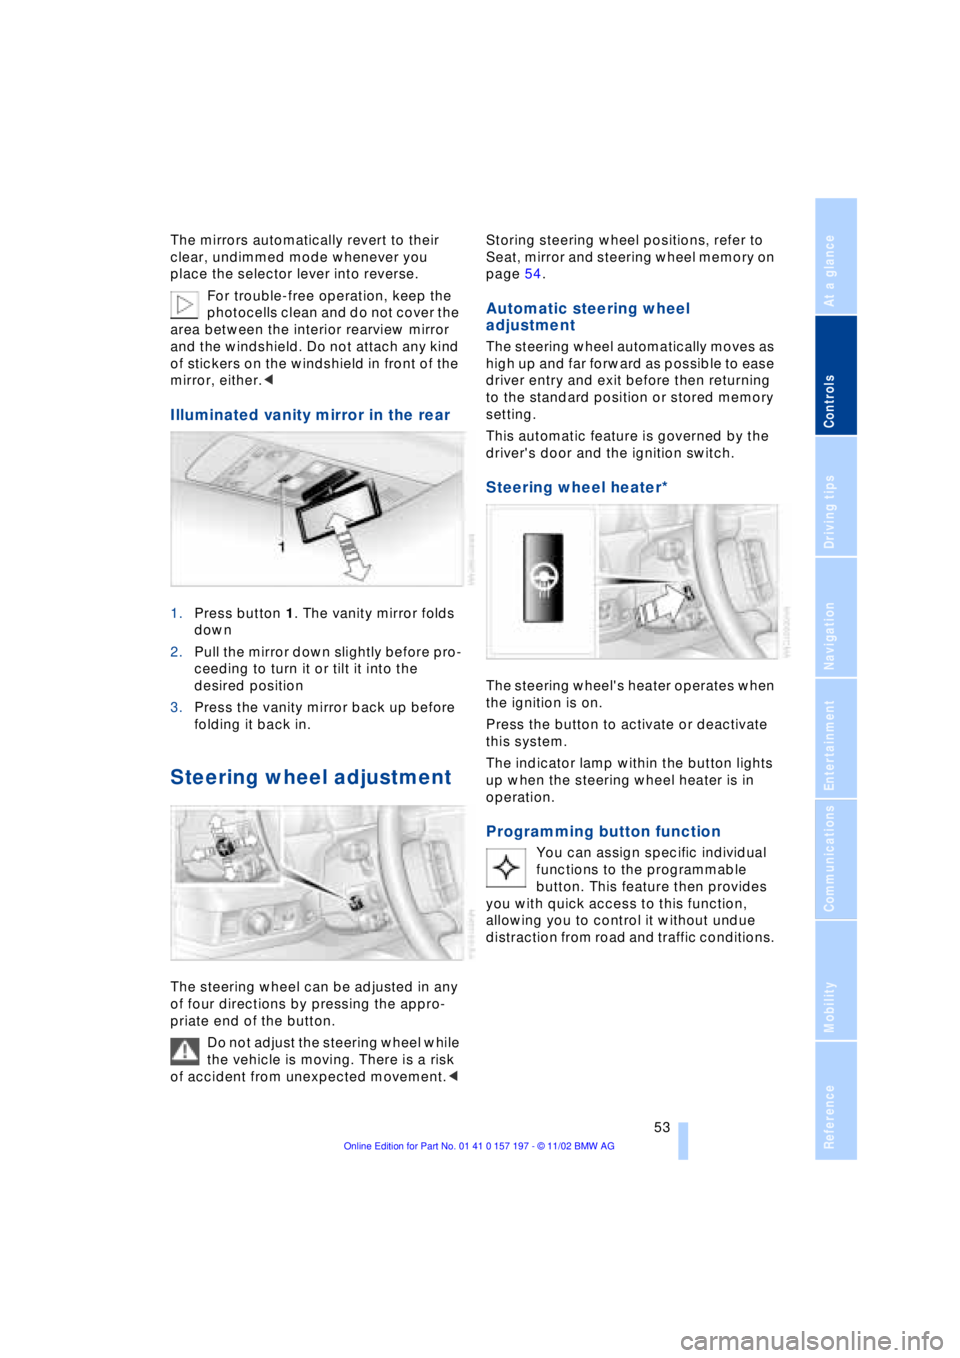
1.Press button 1. The vanity mirror folds
down
2.Pull the mirror down slightly before pro-
ceeding to turn it or tilt it into the
desired position
3.Press the vanity mirror back up before
folding it back in.
Steering wheel adjustment
The steering wheel can be adjusted in any
of four directions by pressing the appro-
priate end of the button.
Do not adjust the steering wheel while
the vehicle is moving. There is a risk
of accident from unexpected movement.< Storing steering wheel positions, refer to
Seat, mirror and steering wheel memory on
page 54.
Automatic steering wheel
adjustment
The steering wheel automatically moves as
high up and far forward as possible to ease
driver entry and exit before then returning
to the standard position or stored memory
setting.
This automatic feature is governed by the
driver's door and the ignition switch.
Steering wheel heater*
The steering wheel's heater operates when
the ignition is on.
Press the button to activate or deactivate
this system.
The indicator lamp within the button lights
up when the steering wheel heater is in
operation.
Programming button function
You can assign specific individual
functions to the programmable
button. This feature then provides
you with quick access to this function,
allowing you to control it without undue
distraction from road and traffic conditions.
Page 57 of 229
At a glance
Controls
Driving tips
Communications
Navigation
Entertainment
Mobility
Reference
55
Safety feature
1.Driver's door closed and ignition
switched either on or off
2.Press memory button 1 or 2 and main-
tain pressure until the adjustment pro-
cess has been completed.
If you press the
MEMORY button acciden-
tally:
Press the button again; the indicator lamp
goes out.
Do not call up a position from the
memory while the vehicle is moving.
There is a risk of accident from unexpected
movement of the seat or steering wheel.<
You can have your vehicle pro-
grammed to automatically dial in your
own individual adjustment settings for the
seat, mirrors and steering wheel whenever
you use your personal remote control unit
to unlock the vehicle.<
When using the Key Memory feature
always make sure that the footwell
behind the driver's seat is empty and unob-
structed. If you fail to do so, any persons or
objects behind the seat could be injured or
damaged by a rearward movement of the
seat.<
Passenger-side exterior mirror tilt
function
Automatic curb monitor
1.Select the driver's door mirror with the
switch
2.When you select the transmission posi-
tion R, the door mirror on the front pas-
senger side tilts downward slightly. This
allows the driver to see the area imme-
diately adjacent to the vehicle Ð such as
a curb Ð when parking, etc.
You can deactivate this automatic feature:
Slide the mirror selection switch to the pas-
senger's side position.
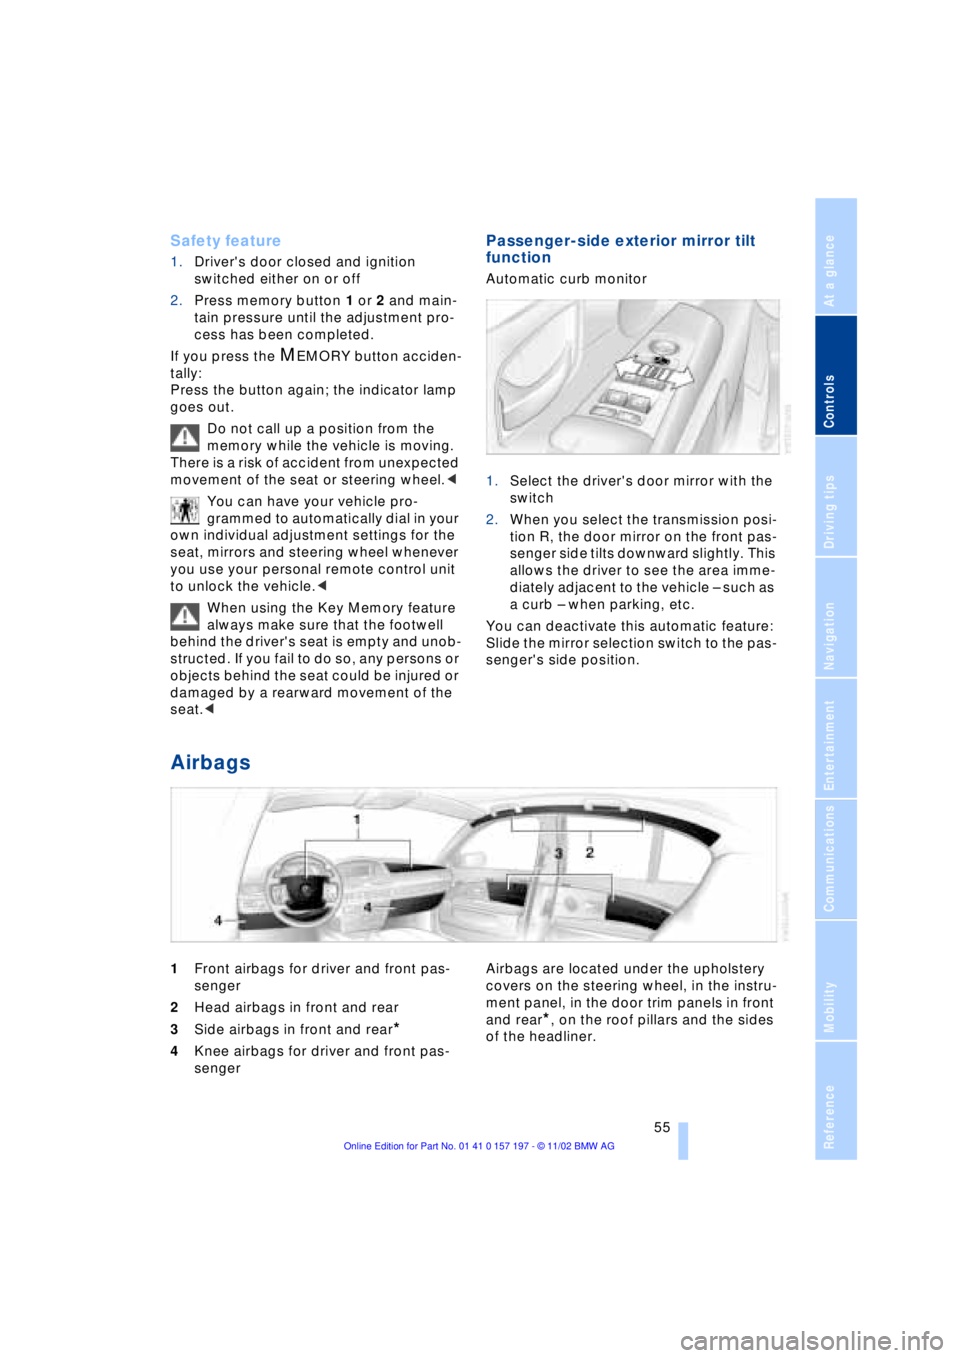
Airbags
1Front airbags for driver and front pas-
senger
2Head airbags in front and rear
3Side airbags in front and rear
*
4Knee airbags for driver and front pas-
senger Airbags are located under the upholstery
covers on the steering wheel, in the instru-
ment panel, in the door trim panels in front
and rear*, on the roof pillars and the sides
of the headliner.
Page 59 of 229
At a glance
Controls
Driving tips
Communications
Navigation
Entertainment
Mobility
Reference
57
near the side airbag. Therefore, we recom-
mend that the rear side airbags, if provided,
be deactivated if you plan to transport chil-
dren in the rear seat.
The rear seat side airbags may already
have been deactivated, either at the time of
manufacture or by a BMW center. Labels in
the rear door opening should indicate the
status of your rear seat side airbags. If you
are uncertain of their status, or wish to have
the airbags activated or deactivated,
please contact your BMW center.<
Even when all these guidelines are
observed, there is still a small residual risk
of injuries to the face, hands and arms
occurring from airbag deployment in iso-
lated instances. The ignition and inflation
noise may provoke a mild temporary
hearing loss in extremely sensitive individ-
uals.
Airbag warning information is also provided
on the sun visors.
Indicator lamp
The indicator lamp shows the
airbag and belt-tensioner system's
operational status as soon as you
insert the remote control unit in the ignition.
System operational:
>The indicator lamp comes on briefly.
System malfunction:
>The indicator lamp fails to come on or
>it remains on continuously.
A system malfunction could prevent the
system from responding to an impact
occurring within its normal response range.
Please respond to any signs of malfunction
by having the airbag system inspected
immediately at a BMW center.
Transporting children safely
Commercially-available child-restraint sys-
tems are designed to be secured with a lap
belt or with the lap belt portion of a combi-
nation lap/shoulder belt. Improperly or
inadequately installed restraint systems can increase the risk of injury to children.
Always read and follow the instructions that
come with the system.
Child-restraint system with tether
strap
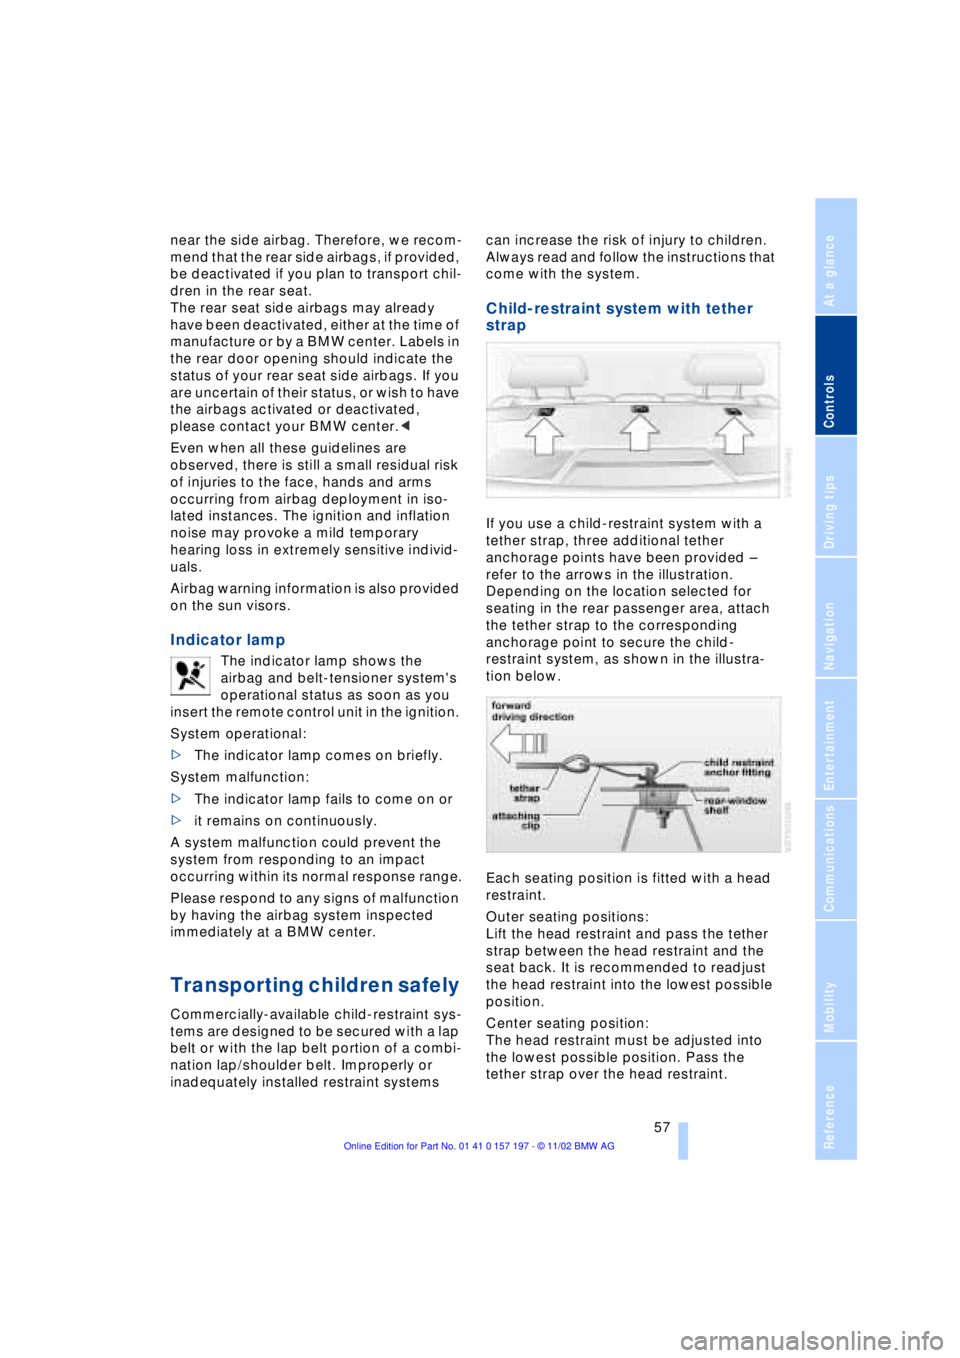
If you use a child-restraint system with a
tether strap, three additional tether
anchorage points have been provided Ð
refer to the arrows in the illustration.
Depending on the location selected for
seating in the rear passenger area, attach
the tether strap to the corresponding
anchorage point to secure the child-
restraint system, as shown in the illustra-
tion below.
Each seating position is fitted with a head
restraint.
Outer seating positions:
Lift the head restraint and pass the tether
strap between the head restraint and the
seat back. It is recommended to readjust
the head restraint into the lowest possible
position.
Center seating position:
The head restraint must be adjusted into
the lowest possible position. Pass the
tether strap over the head restraint.
Page 61 of 229
At a glance
Controls
Driving tips
Communications
Navigation
Entertainment
Mobility
Reference
59
LATCH* child-restraint
system
LATCH: Lower Anchor and Tethers for
CHildren.
If the vehicle is equipped with electric
power seats, these must be returned
to their standard adjustment setting before
a LATCH child-restraint system can be
used, refer to page 47.<
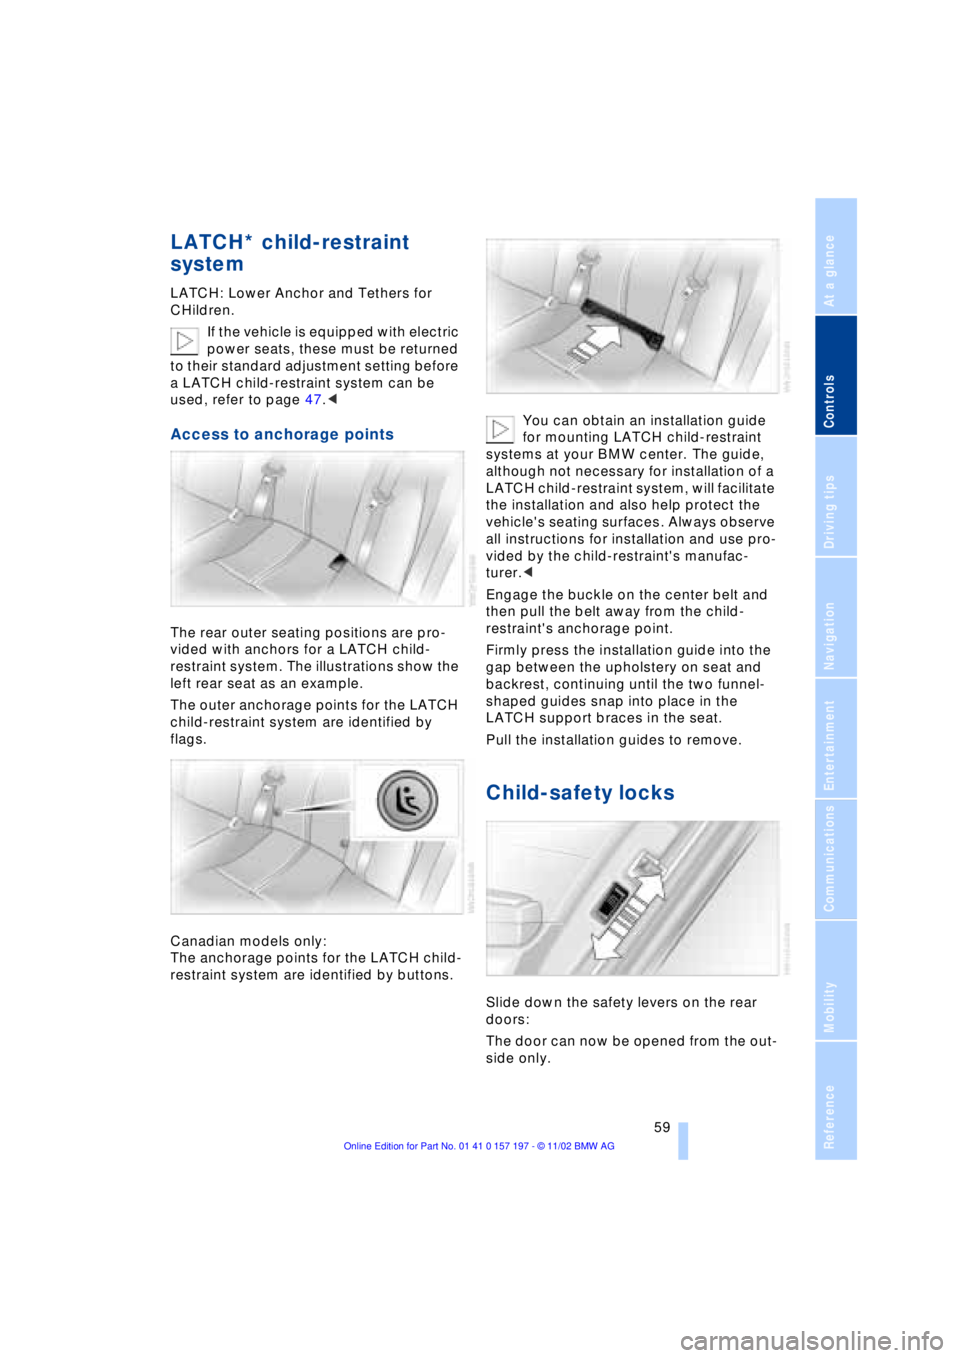
Access to anchorage points
The rear outer seating positions are pro-
vided with anchors for a LATCH child-
restraint system. The illustrations show the
left rear seat as an example.
The outer anchorage points for the LATCH
child-restraint system are identified by
flags.
Canadian models only:
The anchorage points for the LATCH child-
restraint system are identified by buttons.You can obtain an installation guide
for mounting LATCH child-restraint
systems at your BMW center. The guide,
although not necessary for installation of a
LATCH child-restraint system, will facilitate
the installation and also help protect the
vehicle's seating surfaces. Always observe
all instructions for installation and use pro-
vided by the child-restraint's manufac-
turer.<
Engage the buckle on the center belt and
then pull the belt away from the child-
restraint's anchorage point.
Firmly press the installation guide into the
gap between the upholstery on seat and
backrest, continuing until the two funnel-
shaped guides snap into place in the
LATCH support braces in the seat.
Pull the installation guides to remove.
Child-safety locks
Slide down the safety levers on the rear
doors:
The door can now be opened from the out-
side only.
Page 65 of 229
At a glance
Controls
Driving tips
Communications
Navigation
Entertainment
Mobility
Reference
63
You have two separate options for
engaging the parking brake:
>Manually, by briefly pressing the button
>Automatically, through activation of the
Automatic Hold mode, refer to page 64.
An electrohydraulic mechanism then
engages the parking brake to prevent the
rear wheels from turning whenever you
switch off the engine.
When the engine is running, parking brake
engagement is controlled by the brake
system's hydraulic circuits, which act on
the disc brakes at the front and rear
wheels.
Brake pedal feel
Because this function is activated using the
brake system's hydraulic circuits, the
response of the brake pedal may change
slightly. Engagement may also be accom-
panied by activation noise Ð this is normal.
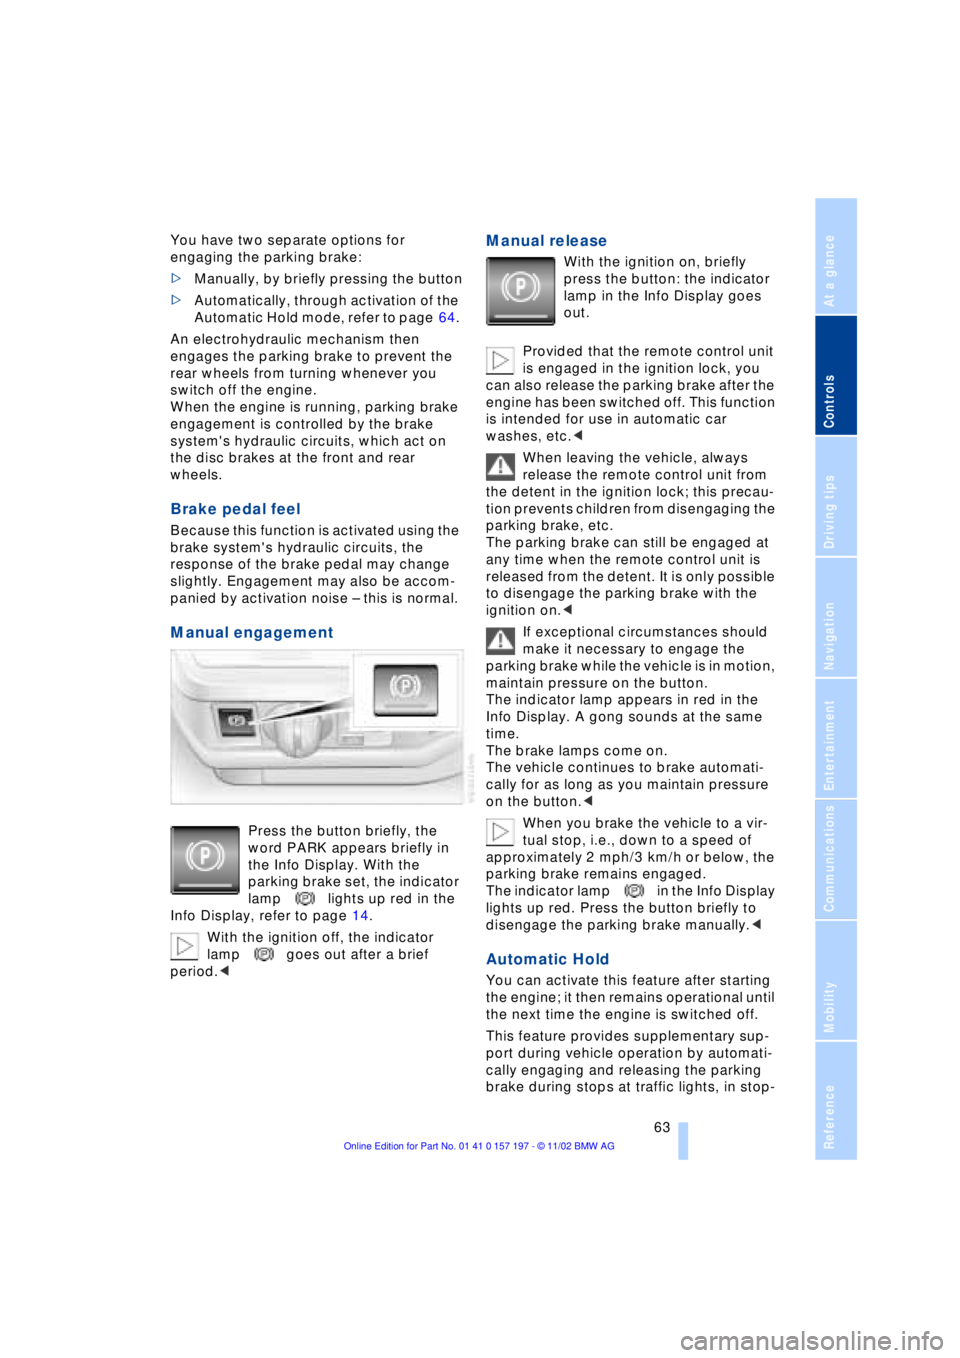
Manual engagement
Press the button briefly, the
word PARK appears briefly in
the Info Display. With the
parking brake set, the indicator
lamp lights up red in the
Info Display, refer to page 14.
With the ignition off, the indicator
lamp goes out after a brief
period.<
Manual release
With the ignition on, briefly
press the button: the indicator
lamp in the Info Display goes
out.
Provided that the remote control unit
is engaged in the ignition lock, you
can also release the parking brake after the
engine has been switched off. This function
is intended for use in automatic car
washes, etc.<
When leaving the vehicle, always
release the remote control unit from
the detent in the ignition lock; this precau-
tion prevents children from disengaging the
parking brake, etc.
The parking brake can still be engaged at
any time when the remote control unit is
released from the detent. It is only possible
to disengage the parking brake with the
ignition on.<
If exceptional circumstances should
make it necessary to engage the
parking brake while the vehicle is in motion,
maintain pressure on the button.
The indicator lamp appears in red in the
Info Display. A gong sounds at the same
time.
The brake lamps come on.
The vehicle continues to brake automati-
cally for as long as you maintain pressure
on the button.<
When you brake the vehicle to a vir-
tual stop, i.e., down to a speed of
approximately 2 mph/3 km/h or below, the
parking brake remains engaged.
The indicator lamp in the Info Display
lights up red. Press the button briefly to
disengage the parking brake manually.<
Automatic Hold
You can activate this feature after starting
the engine; it then remains operational until
the next time the engine is switched off.
This feature provides supplementary sup-
port during vehicle operation by automati-
cally engaging and releasing the parking
brake during stops at traffic lights, in stop-
Page 71 of 229
At a glance
Controls
Driving tips
Communications
Navigation
Entertainment
Mobility
Reference
69
Deactivate the L mode to obtain max-
imum acceleration for overtaking
maneuvers, etc.<
Deactivating the L mode
>Press the L/D button or
>press the selector lever into position D
once again.
Automatic transmission
with Steptronic*
While you can drive as with any conven-
tional automatic transmission, you also
enjoy the option of shifting manually at the
steering wheel, refer to the next column.
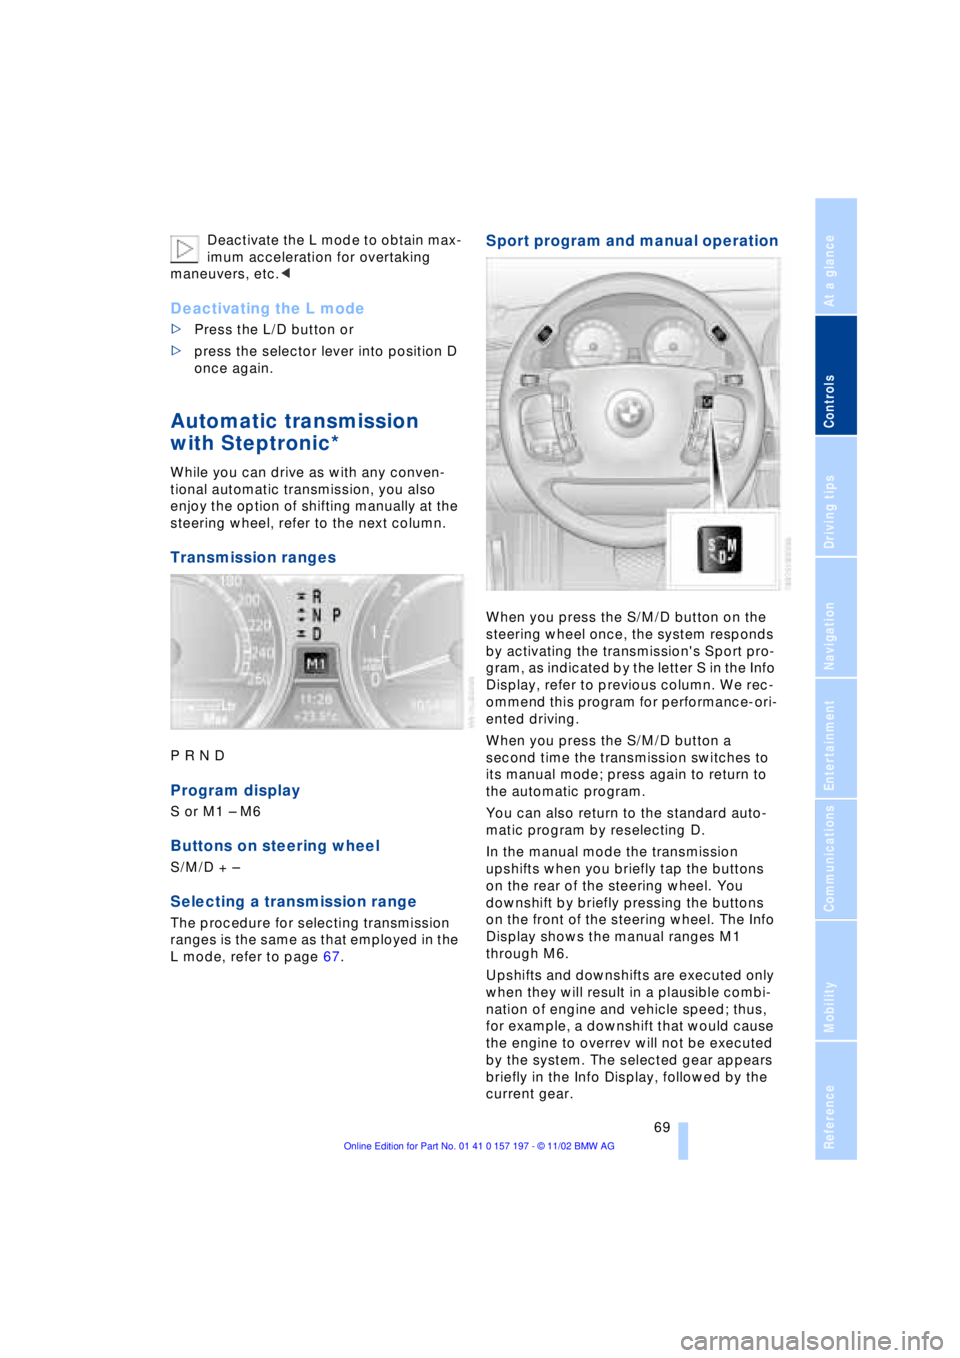
Transmission ranges
P R N D
Program display
S or M1 Ð M6
Buttons on steering wheel
S/M/D + Ð
Selecting a transmission range
The procedure for selecting transmission
ranges is the same as that employed in the
L mode, refer to page 67.
Sport program and manual operation
When you press the S/M/D button on the
steering wheel once, the system responds
by activating the transmission's Sport pro-
gram, as indicated by the letter S in the Info
Display, refer to previous column. We rec-
ommend this program for performance-ori-
ented driving.
When you press the S/M/D button a
second time the transmission switches to
its manual mode; press again to return to
the automatic program.
You can also return to the standard auto-
matic program by reselecting D.
In the manual mode the transmission
upshifts when you briefly tap the buttons
on the rear of the steering wheel. You
downshift by briefly pressing the buttons
on the front of the steering wheel. The Info
Display shows the manual ranges M1
through M6.
Upshifts and downshifts are executed only
when they will result in a plausible combi-
nation of engine and vehicle speed; thus,
for example, a downshift that would cause
the engine to overrev will not be executed
by the system. The selected gear appears
briefly in the Info Display, followed by the
current gear.
Page 95 of 229
At a glance
Controls
Driving tips
Communications
Navigation
Entertainment
Mobility
Reference
93
Technology for comfort, convenience
and safety
PDC Park Distance Control*
The concept
The PDC assists you when you are parking.
Signal tones indicate the current distance
to an object behind or in front of your
vehicle. Four ultrasonic sensors in both the
bumpers monitor the distance to the
nearest object. The sensors at the front and
at the two rear corners have a range of
approx. 2 ft (60 cm); the rear middle sen-
sors have approx. 5 ft (1.50 m).
PDC is a parking aid that can indicate
objects when they are approached
slowly, as is usually the case when parking.
Avoid approaching an object at high speed,
as otherwise the physical circumstances
would mean that the system warning was
too late.<
Automatic function
Whenever the ignition is on the system
automatically assumes operational status
after a few seconds each time you engage
the transmission position R.
Wait this short period before
reversing.<
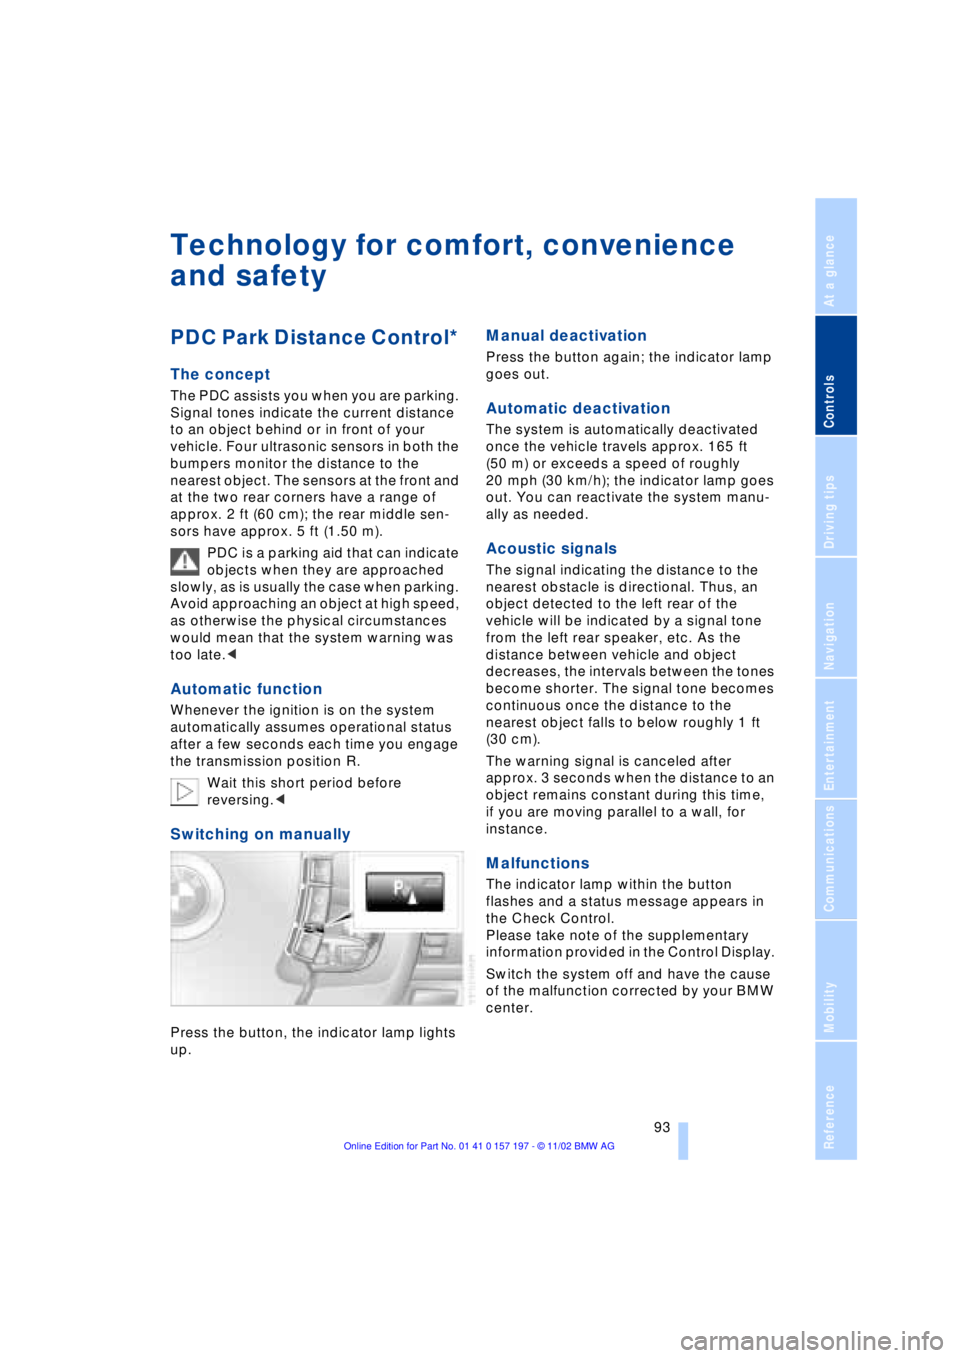
Switching on manually
Press the button, the indicator lamp lights
up.
Manual deactivation
Press the button again; the indicator lamp
goes out.
Automatic deactivation
The system is automatically deactivated
once the vehicle travels approx. 165 ft
(50 m) or exceeds a speed of roughly
20 mph (30 km/h); the indicator lamp goes
out. You can reactivate the system manu-
ally as needed.
Acoustic signals
The signal indicating the distance to the
nearest obstacle is directional. Thus, an
object detected to the left rear of the
vehicle will be indicated by a signal tone
from the left rear speaker, etc. As the
distance between vehicle and object
decreases, the intervals between the tones
become shorter. The signal tone becomes
continuous once the distance to the
nearest object falls to below roughly 1 ft
(30 cm).
The warning signal is canceled after
approx. 3 seconds when the distance to an
object remains constant during this time,
if you are moving parallel to a wall, for
instance.
Malfunctions
The indicator lamp within the button
flashes and a status message appears in
the Check Control.
Please take note of the supplementary
information provided in the Control Display.
Switch the system off and have the cause
of the malfunction corrected by your BMW
center.
Page 99 of 229
At a glance
Controls
Driving tips
Communications
Navigation
Entertainment
Mobility
Reference
97
Check Control messages, refer to page 85.
Please note the supplementary information
provided in the Control Display.
Indicator and warning lamps on
Canadian models.
Dynamic Drive
The concept
Dynamic Drive minimizes body roll and
optimizes vehicle stability during cornering
and evasive maneuvers.
Active stabilizers at the front and rear axles
form the basis for Dynamic Drive. Suspen-
sion compliance adapts to suit driving con-
ditions, varying from performance-oriented
during cornering to smooth and comfort-
oriented when the vehicle is proceeding in
a straight line.
The system assumes operational status
each time you start the engine.
Driving with Dynamic Drive
During vehicle operation, the system con-
tinuously runs through closed-loop control
cycles lasting only fractions of a second.
In case of malfunction
The symbol will light up, accompa-
nied by a status message in the
Check Control. Please take note of
the additional information in the Control
Display.
You can find more detailed information on
the Check Control starting on page 85.
If the Dynamic Drive system switches
off in response to malfunction, please
remember to adapt your speed accord-
ingly, especially in curves.
The suspension will be noticeably softer
and the vehicle will display a greater ten-dency to tilt during cornering and in cross-
winds.
If a Check Control message stating that
you should stop appears in addition to the
red symbol, stop immediately and switch
off the engine. In this case the oil level in
the reservoir may have dropped below the
minimum, possibly owing to a leak in the
hydraulic system.
Please observe the additional instructions
provided in the Control Display.<
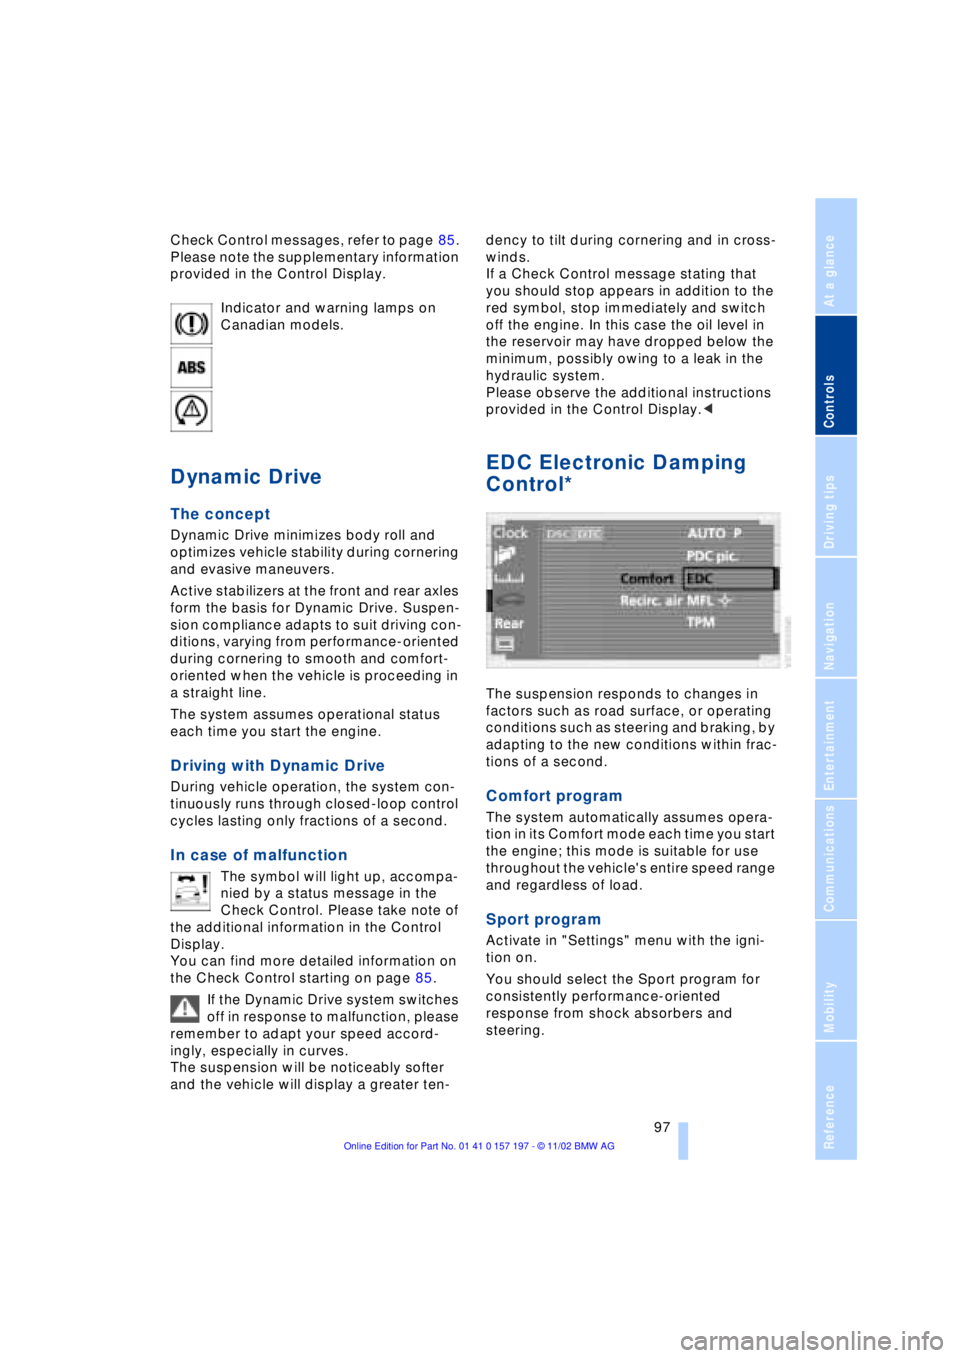
EDC Electronic Damping
Control*
The suspension responds to changes in
factors such as road surface, or operating
conditions such as steering and braking, by
adapting to the new conditions within frac-
tions of a second.
Comfort program
The system automatically assumes opera-
tion in its Comfort mode each time you start
the engine; this mode is suitable for use
throughout the vehicle's entire speed range
and regardless of load.
Sport program
Activate in "Settings" menu with the igni-
tion on.
You should select the Sport program for
consistently performance-oriented
response from shock absorbers and
steering.
Page 103 of 229
At a glance
Controls
Driving tips
Communications
Navigation
Entertainment
Mobility
Reference
101
The symbol will appear in yellow in the
Check Control and a message will appear.
You will also see the same message
>in the event of a system fault
>if a wheel is mounted without the
appropriate TPM electronics
>if, in addition to the spare tire, addi-
tional wheels with TPM electronics are
on board.
Please refer to the additional information
supplied in the Control Display, and have
the system inspected at your BMW center.
Self-leveling suspension*
In the event of malfunction
A Check Control message
appearing together with this symbol
indicates a malfunction in the self-
leveling suspension. Please take note of
the additional information in the Control
Display.
Stop and inspect the vehicle. If the rear of
the vehicle is visibly lower than the front,
possibly accompanied by a tilt noticeable
when you compare the left rear with the
right rear, you should respond by immedi-
ately proceeding to the nearest BMW
center. Drive with appropriate caution in
the meantime. The vehicle has reduced
ground clearance and driving comfort may
be noticeably reduced. Even if the attitude
of the vehicle is normal, you should consult
the nearest BMW center if the warning
lamp indicates a system fault.
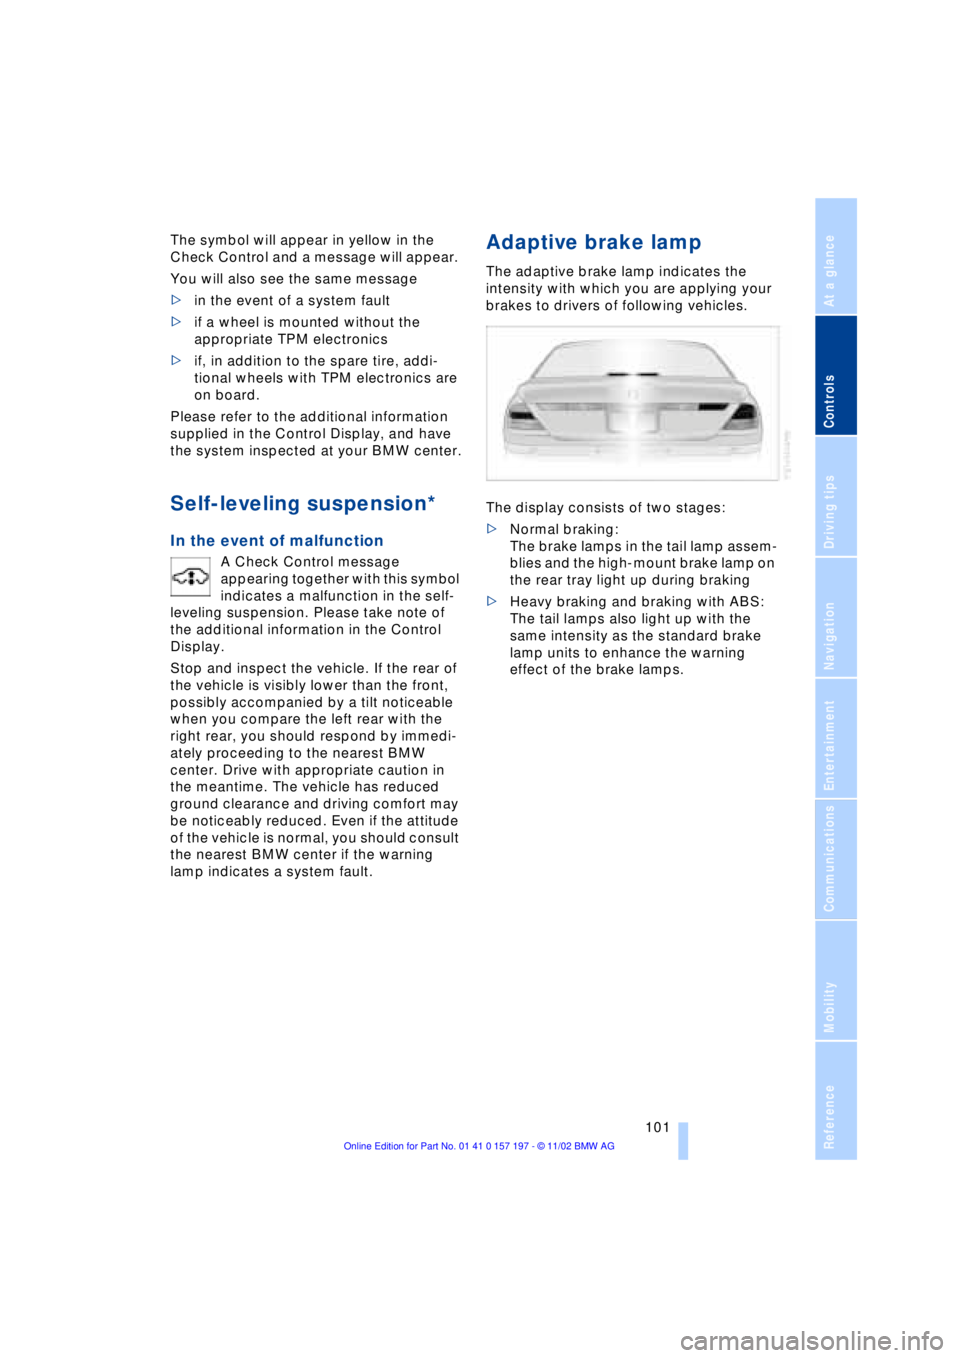
Adaptive brake lamp
The adaptive brake lamp indicates the
intensity with which you are applying your
brakes to drivers of following vehicles.
The display consists of two stages:
>Normal braking:
The brake lamps in the tail lamp assem-
blies and the high-mount brake lamp on
the rear tray light up during braking
>Heavy braking and braking with ABS:
The tail lamps also light up with the
same intensity as the standard brake
lamp units to enhance the warning
effect of the brake lamps.