ECO mode BMW M6 CONVERTIBLE 2013 F12 Owner's Manual
[x] Cancel search | Manufacturer: BMW, Model Year: 2013, Model line: M6 CONVERTIBLE, Model: BMW M6 CONVERTIBLE 2013 F12Pages: 222, PDF Size: 7.3 MB
Page 7 of 222
Addendum
term “Approved” should be
disregarded and in lieu thereof, the
term “Recommended” should be
read in its place. In addition, the
text of that section should be
disregarded and the following text
should be read in lieu thereof:
The manufacturer of your vehicle
strongly suggests that you use
wheels and tires that have been
recommended by the vehicle
manufacturer for your vehicle type;
otherwise, for example, despite
having the same official size ratings,
variations can lead to body contact
and with it, the risk of severe
accidents.
The manufacturer of your vehicle
does not evaluate non-
recommended wheels and tires to
determine if they are suitable for
use on your vehicle.
14.At page 175, under the heading:
“Snow Chains,” the text should be
disregarded and the following text
should be read in lieu thereof:
Only certain types of fine-link snow
chains have been tested by the
manufacturer of your vehicle and
are determined by the manufacturer
of your vehicle to be road safe and
are recommended by the
manufacturer of your vehicle.
Information about recommended
snow chains is available from a
service center.
15.At page 176, under the heading
“Hood,” the sentence beginning, “If
you are unfamiliar” should be
disregarded.
16.At page 179, under the heading:
“Approved oil types,” the references
to “Approved” should be read as
“Suitable.” The references to
“Specification” should be read as
“Rating.” Immediately preceding the
“Specification” chart, the following
sentence should be inserted: “Add
engine oils that meet the following oil
rating standards: . . .”
17.At page 179, under the heading:
“Alternative oil types,” the text
preceding the chart should be
disregarded, and in lieu thereof
should be read as follows: “If an
engine oil suitable for continuous
use is not available, up to 1 US
quart/liter of an engine oil with the
following oil rating can be added: . .
.” The references to “Specification”
should be read as “Rating.”
18.At page 180, under the heading:
“Engine oil change,” the text should
be disregarded and in lieu thereof
should be read as follows:
BMW recommends that you have
the oil changed at your BMW
dealer’s service center or at another
service center that has trained
personnel that can perform the work
in accordance with BMW
specifications
19.At page 182, under the heading:
“Service and Warranty Information
Booklet for US models and
Warranty and Service Guide
Booklet for Canadian models,” the
Page 11 of 222
scribed in this Owner's Manual may differ from
those in your vehicle.
Updates made after the editorial
deadline
Any updates made after the editorial deadline
for the Owner's Manuals are located in the ap‐
pendix of the printed quick reference for the
vehicle.
For your own safety
Maintenance and repairs
Advanced technology, e.g., the use of modern
materials and high-performance electronics,
requires suitable maintenance and repair
methods.
Therefore, have this work performed only by a
BMW center or a workshop that works accord‐
ing to BMW repair procedures with appropri‐
ately trained personnel.
If this work is not carried out properly, there is
the danger of subsequent damage and related
safety hazards.
Parts and Accessories
Seite 7Notes7
Online Edition for Part no. 01 40 2 910 746 - VI/13
California Proposition 65 Warning
California laws require us to state the following
warning:
Engine exhaust and a wide variety of automo‐
bile components and parts, including compo‐
nents found in the interior furnishings in a vehi‐
cle, contain or emit chemicals known to the
State of California to cause cancer and birth
defects and reproductive harm. In addition,
certain fluids contained in vehicles and certain
products of component wear contain or emit
chemicals known to the State of California to
cause cancer and birth defects or other repro‐
ductive harm. Battery posts, terminals and re‐
lated accessories contain lead and lead com‐
pounds. Wash your hands after handling. Used
engine oil contains chemicals that have caused
cancer in laboratory animals. Always protect
your skin by washing thoroughly with soap and
water.
Service and warranty
We recommend that you read this publication
thoroughly. Your vehicle is covered by the fol‐
lowing warranties:
BMW recommends using parts and
accessories approved by BMW for this
Your BMW center is the right contact for
genuine BMW parts and accessories, other
products approved by BMW and related
qualified advice.
BMW has tested these products for safety and
suitability in relation to BMW vehicles.
BMW can assume responsibility for them.
However, we cannot assume any responsibility
whatsoever for parts and accessories that have
not been specifically approved by BMW.
BMW cannot evaluate whether each individual
product from another manufacturer can be
used with BMW vehicles without presenting a
safety hazard. This guarantee is also not
applicable when country-specific government
approval has been granted. Testing of this kind
may fail to embrace the entire range of
potential operating conditions to which
components might be exposed on BMW
vehicles. Such products could conceivably fail
to comply with BMW's own stringent quality
standards.
purpose.
Page 16 of 222
CockpitVehicle equipment
All standard, country-specific and optional
equipment that is offered in the model series is
described in this chapter. Therefore, equip‐ment is also described that is not available in a
vehicle, e. g., because of the selected optional
equipment or country variant. This also applies
for safety-related functions and systems.
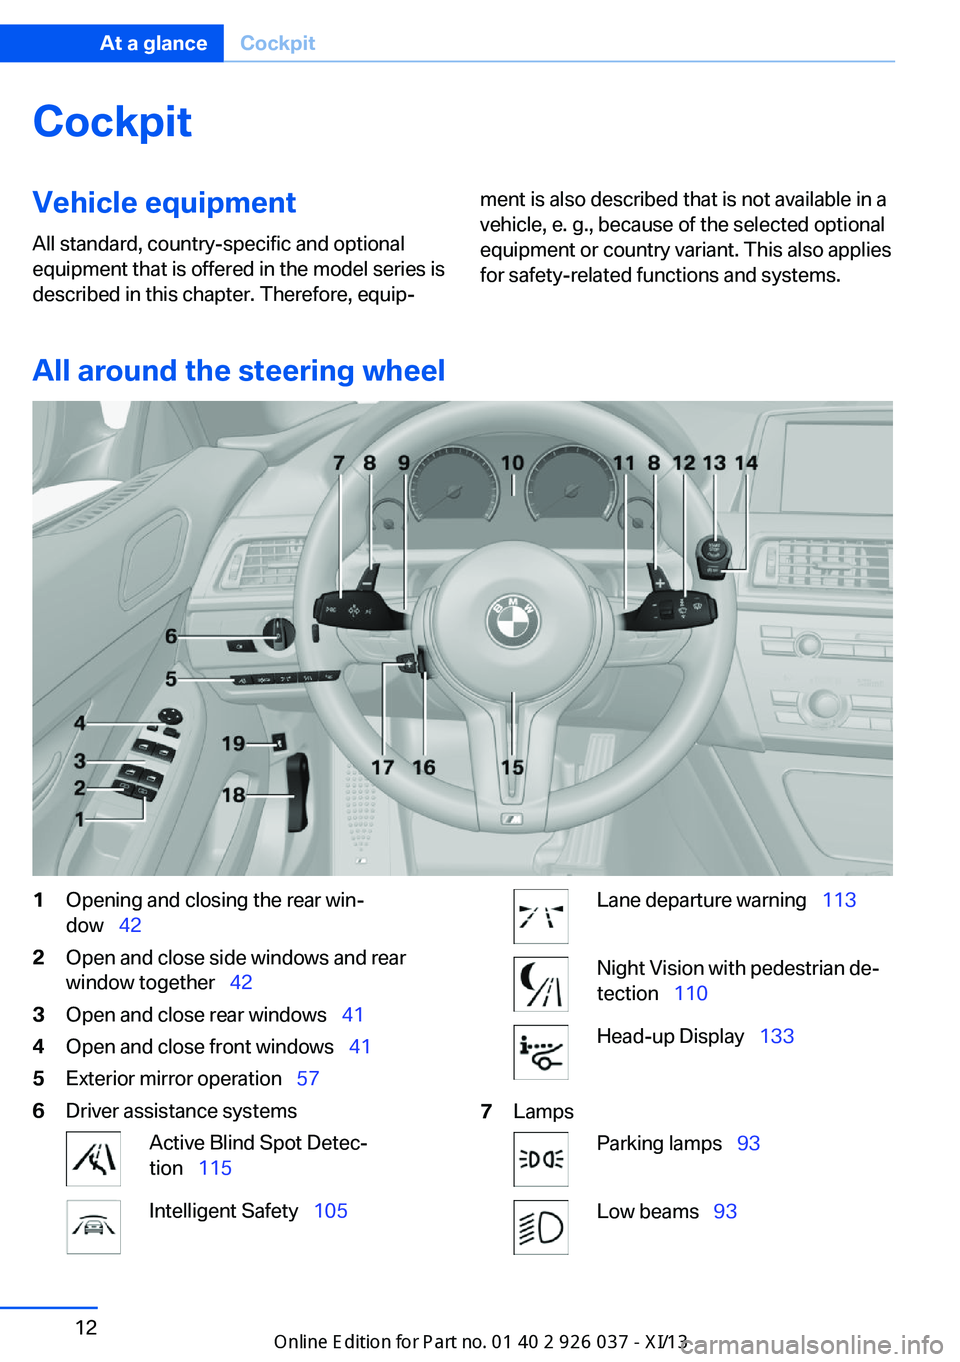
All around the steering wheel
1Opening and closing the rear win‐
dow 422Open and close side windows and rear
window together 423Open and close rear windows 414Open and close front windows 415Exterior mirror operation 576Driver assistance systemsActive Blind Spot Detec‐
tion 115Intelligent Safety 105Lane departure warning 113Night Vision with pedestrian de‐
tection 110Head-up Display 1337LampsParking lamps 93Low beams 93Seite 12At a glanceCockpit12
Online Edition for Part no. 01 40 2 910 746 - VI/13
Page 20 of 222
iDriveVehicle equipment
All standard, country-specific and optional
equipment that is offered in the model series is
described in this chapter. Therefore, equip‐
ment is also described that is not available in a
vehicle, e. g., because of the selected optional
equipment or country variant. This also applies
for safety-related functions and systems.
The concept The iDrive combines the functions of a multi‐
tude of switches. Thus, these functions can be
operated from a central location.
Using the iDrive during a trip
To avoid becoming distracted and pos‐
ing an unnecessary hazard to your vehicle's
occupants and to other road users, never at‐
tempt to use the controls or enter information
unless traffic and road conditions allow this.◀
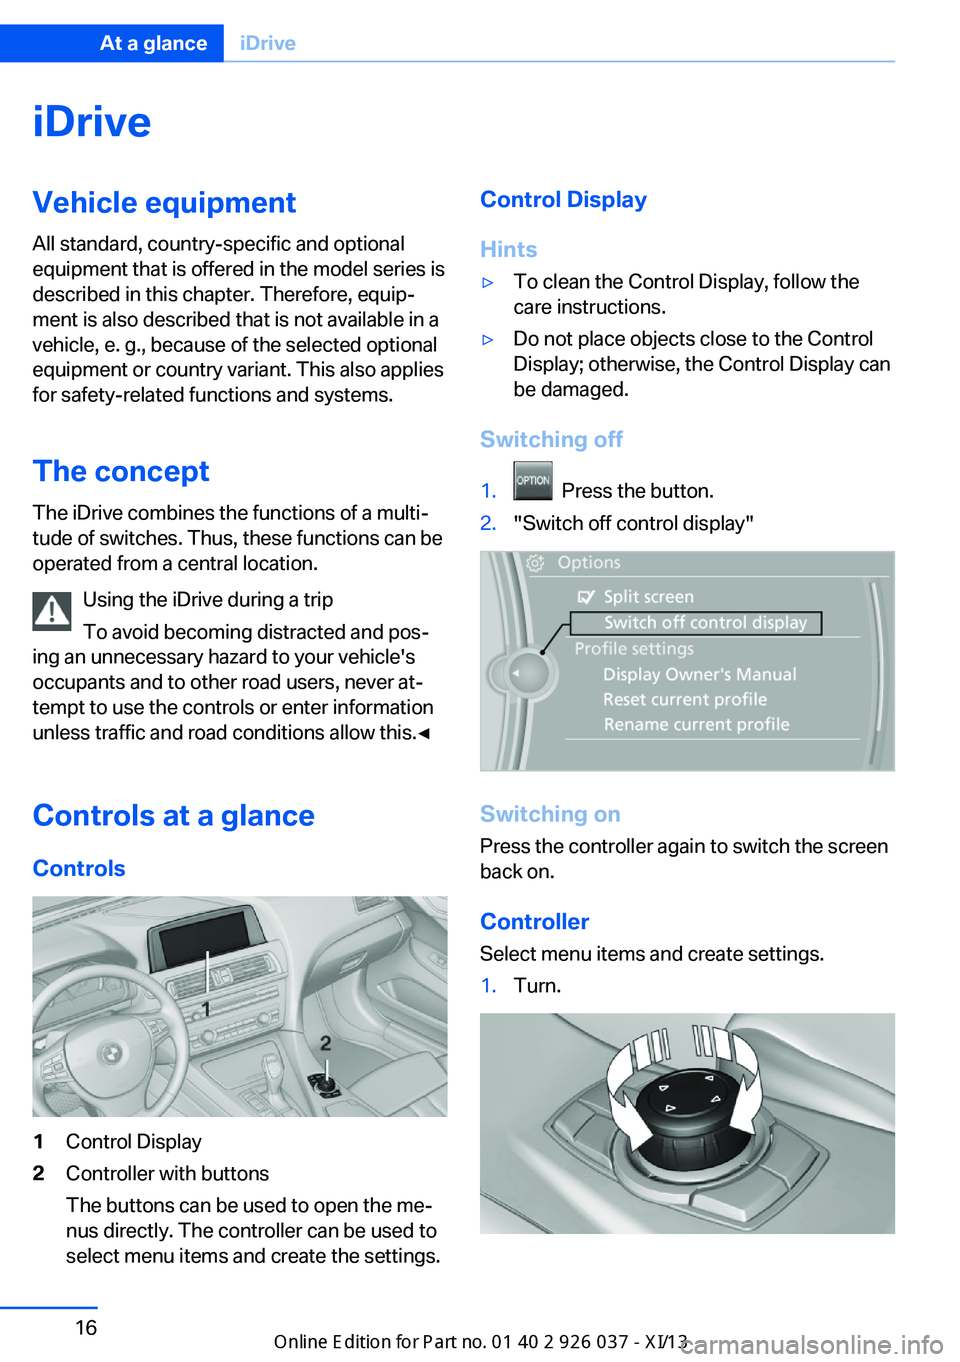
Controls at a glance Controls1Control Display2Controller with buttons
The buttons can be used to open the me‐
nus directly. The controller can be used to
select menu items and create the settings.Control Display
Hints▷To clean the Control Display, follow the
care instructions.▷Do not place objects close to the Control
Display; otherwise, the Control Display can
be damaged.
Switching off
1. Press the button.2."Switch off control display"
Switching on
Press the controller again to switch the screen
back on.
Controller
Select menu items and create settings.
1.Turn.Seite 16At a glanceiDrive16
Online Edition for Part no. 01 40 2 910 746 - VI/13
Page 39 of 222
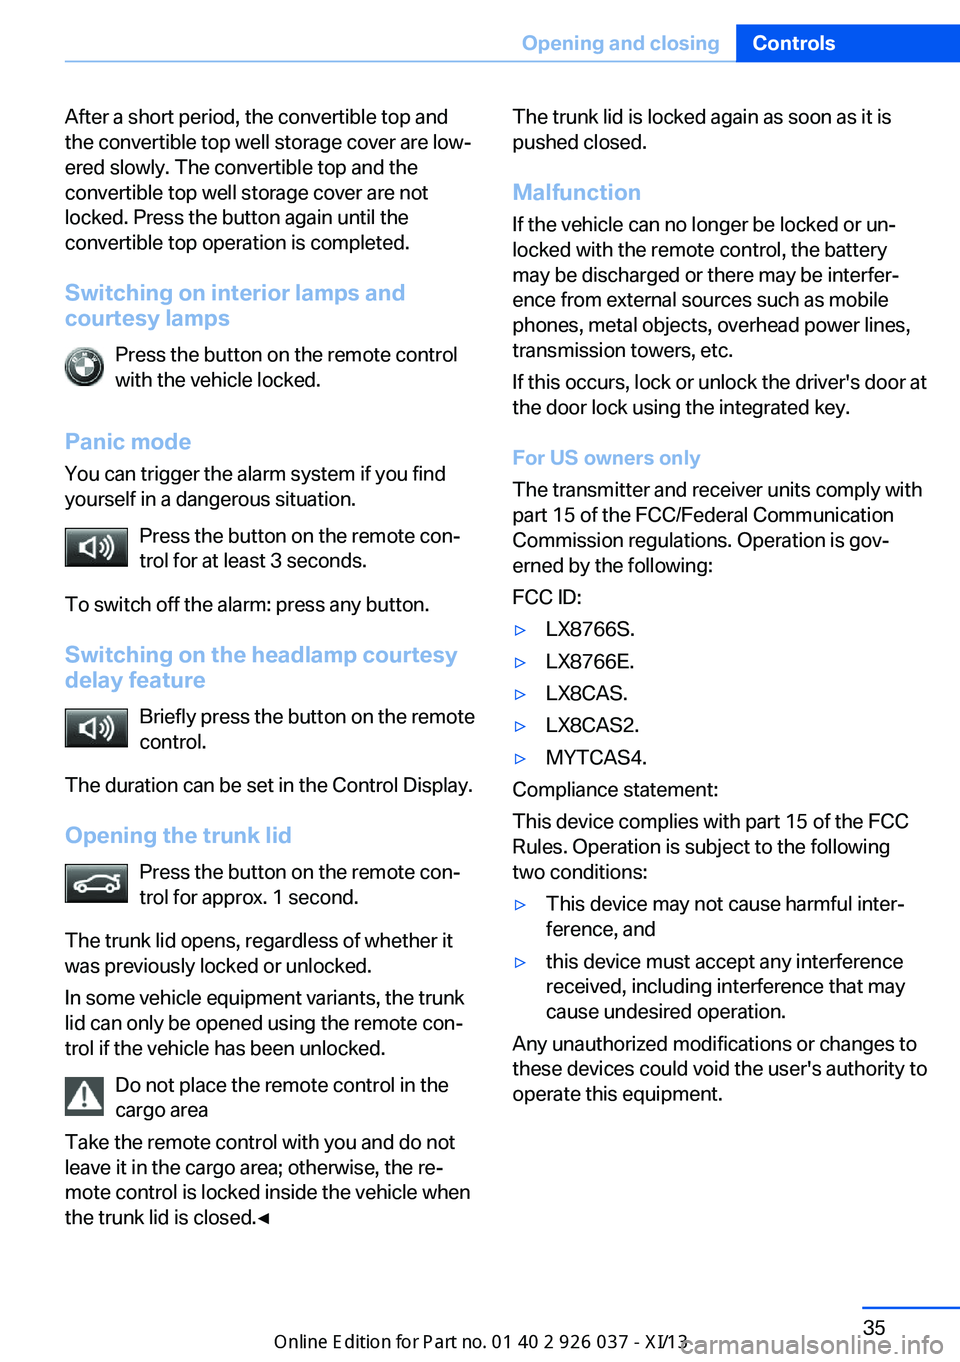
After a short period, the convertible top and
the convertible top well storage cover are low‐
ered slowly. The convertible top and the
convertible top well storage cover are not
locked. Press the button again until the
convertible top operation is completed.
Switching on interior lamps and
courtesy lamps
Press the button on the remote control
with the vehicle locked.
Panic mode
You can trigger the alarm system if you find
yourself in a dangerous situation.
Press the button on the remote con‐
trol for at least 3 seconds.
To switch off the alarm: press any button.
Switching on the headlamp courtesy
delay feature
Briefly press the button on the remote
control.
The duration can be set in the Control Display.
Opening the trunk lid Press the button on the remote con‐
trol for approx. 1 second.
The trunk lid opens, regardless of whether it
was previously locked or unlocked.
In some vehicle equipment variants, the trunk
lid can only be opened using the remote con‐
trol if the vehicle has been unlocked.
Do not place the remote control in the
cargo area
Take the remote control with you and do not
leave it in the cargo area; otherwise, the re‐
mote control is locked inside the vehicle when
the trunk lid is closed.◀The trunk lid is locked again as soon as it is
pushed closed.
Malfunction
If the vehicle can no longer be locked or un‐
locked with the remote control, the battery
may be discharged or there may be interfer‐
ence from external sources such as mobile
phones, metal objects, overhead power lines,
transmission towers, etc.
If this occurs, lock or unlock the driver's door at
the door lock using the integrated key.
For US owners only
The transmitter and receiver units comply with
part 15 of the FCC/Federal Communication
Commission regulations. Operation is gov‐
erned by the following:
FCC ID:▷LX8766S.▷LX8766E.▷LX8CAS.▷LX8CAS2.▷MYTCAS4.
Compliance statement:
This device complies with part 15 of the FCC
Rules. Operation is subject to the following
two conditions:
▷This device may not cause harmful inter‐
ference, and▷this device must accept any interference
received, including interference that may
cause undesired operation.
Any unauthorized modifications or changes to
these devices could void the user's authority to
operate this equipment.
Seite 35Opening and closingControls35
Online Edition for Part no. 01 40 2 910 746 - VI/13
Page 44 of 222
The vehicle locks automatically after
you drive away.
Retrieving the seat, mirror, and
steering wheel settings
The driver's seat, exterior mirror, and steering
wheel positions selected last are stored for the
currently used remote control.
When the vehicle is unlocked, these positions
are automatically retrieved if this function was
activated.
Pinch hazard when moving back the seat
If this function is used, first make sure
that the footwell behind the driver's seat is
empty. Otherwise, people can be injured or ob‐
jects damaged when the seat is moved back.◀
The adjustment procedure is interrupted:
▷When a seat position switch is pressed.▷When a button of the seat, mirror, and
steering wheel memory is pressed briefly.
Activating the setting
1."Settings"2."Doors/key"3."Last seat position autom."
Alarm system
The conceptThe vehicle alarm system responds to:
▷Opening of a door, the hood or the trunk
lid.▷Movements in the vehicle.▷Changes in the vehicle tilt, e.g., during at‐
tempts to steal a wheel or when towing the
car.▷Interruptions in battery voltage.
The alarm system briefly indicates tampering:
▷By sounding an acoustic alarm.▷By switching on the hazard warning sys‐
tem.▷By flashing the high beams.
Arming and disarming the alarm
system
General information
When you lock or unlock the vehicle, either
with the remote control, Comfort Access or at
the door lock the alarm system is armed or dis‐
armed at the same time.
Door lock and armed alarm systemUnlocking via the door lock will trigger the
alarm on some country-specific versions.
In order to terminate this alarm, unlock vehicle
with the remote control or switch on the igni‐
tion, if necessary, by emergency detection of
the remote control.
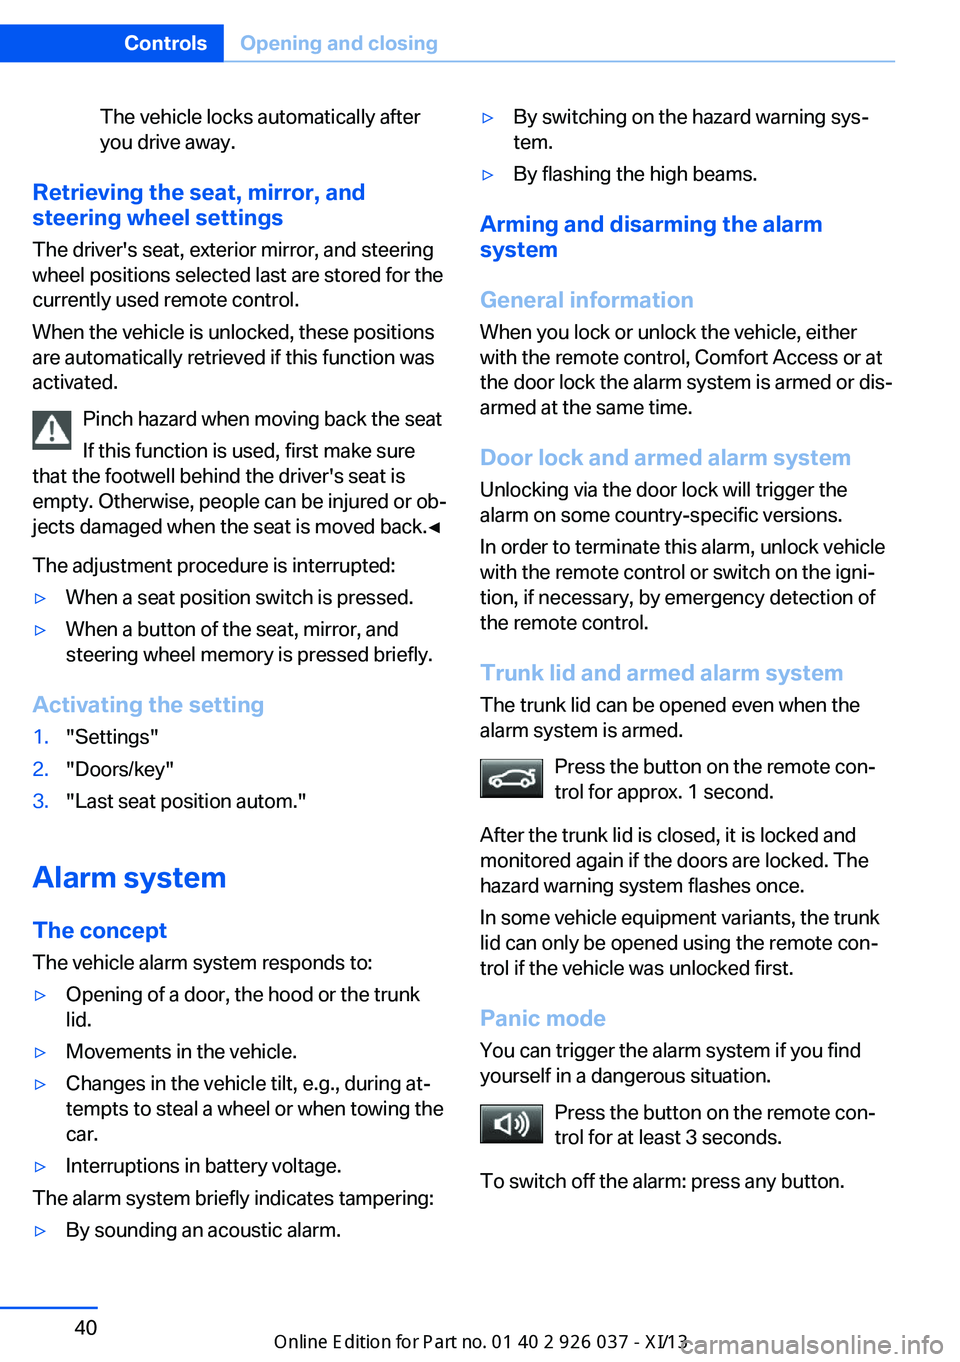
Trunk lid and armed alarm system The trunk lid can be opened even when the
alarm system is armed.
Press the button on the remote con‐
trol for approx. 1 second.
After the trunk lid is closed, it is locked and
monitored again if the doors are locked. The
hazard warning system flashes once.
In some vehicle equipment variants, the trunk
lid can only be opened using the remote con‐
trol if the vehicle was unlocked first.
Panic mode You can trigger the alarm system if you find
yourself in a dangerous situation.
Press the button on the remote con‐
trol for at least 3 seconds.
To switch off the alarm: press any button.
Seite 40ControlsOpening and closing40
Online Edition for Part no. 01 40 2 910 746 - VI/13
Page 71 of 222
The display indicates that the
conditions for an automatic en‐
gine stop have not been satis‐
fied.
Note
The engine is not switched off automatically in
the following situations:▷External temperature too low.▷The external temperature is high and auto‐
matic climate control is running.▷The passenger compartment has not yet
been heated or cooled to the required
level.▷The engine is not yet at operating temper‐
ature.▷The wheels are at a sharp angle or the
steering wheel is being turned.▷After driving in reverse.▷Fogging of the windows when the auto‐
matic climate control is switched on.▷Vehicle battery is heavily discharged.▷The engine compartment lid is unlocked.▷Stop-and-go traffic.▷Use of fuel with high ethanol content.
Starting the engine
The engine starts automatically under the fol‐
lowing conditions:
▷Manual transmission:
The clutch pedal is pressed.▷Double-clutch transmission:
By releasing the brake pedal.
After the engine starts, accelerate as usual.
Safety mode
After the engine switches off automatically, it
will not start again automatically if any one of
the following conditions are met.
▷The driver's safety belt is unbuckled and
the driver's door is open.▷The hood was unlocked.
Some indicator lamps light up for varying
lengths of time.
The engine can only be started via the Start/
Stop button.
Note Even if driving away was not intended, the de‐
activated engine starts up automatically in the
following situations:
▷Excessive warming of the passenger com‐
partment when the cooling function is
switched on.▷The steering wheel is turned.▷Double-clutch transmission: Change of the
transmission from D to N, R or D/S.▷Double-clutch transmission: Accelerating
while simultaneously applying the brake.▷Fogging of the windows when the auto‐
matic climate control is switched on.▷Vehicle battery is heavily discharged.▷Excessive cooling of the passenger com‐
partment when the heating is switched on.
Preventing an automatic engine stop with a double-clutch transmission
The concept To make it possible to drive away very quickly,
such as at an intersection, the automatic en‐
gine stop can be actively prevented.
Preventing an engine stop using the
brake pedal
The engine stop can be actively prevented
within one second after the vehicle comes to a
standstill.
▷Immediately after the vehicle comes to a
standstill, briefly press the brake pedal
forcefully.Seite 67DrivingControls67
Online Edition for Part no. 01 40 2 910 746 - VI/13
Page 74 of 222
It may take several seconds for the brake to be
put into operation. Any sounds associated with
this are normal.
The indicator lamp in the instrument
cluster goes out as soon as the parking
brake is ready for operation.
Lower lamp: indicator lamp in Canadian
models.
M double-clutch
transmission with Drivelogic
The conceptThe M double-clutch transmission with Drive‐
logic is an automatic shift transmission with
two clutches and partial transmissions in which
the gears can be changed without interrupting
the tractive force.
The operation is via the shift lever or two shift
paddles on the steering wheel.
Functions▷Sequential mode or drive mode.▷Various drive programs, Drivelogic.▷Upshifting display, Shift Lights.▷Automatic downshifting and protection
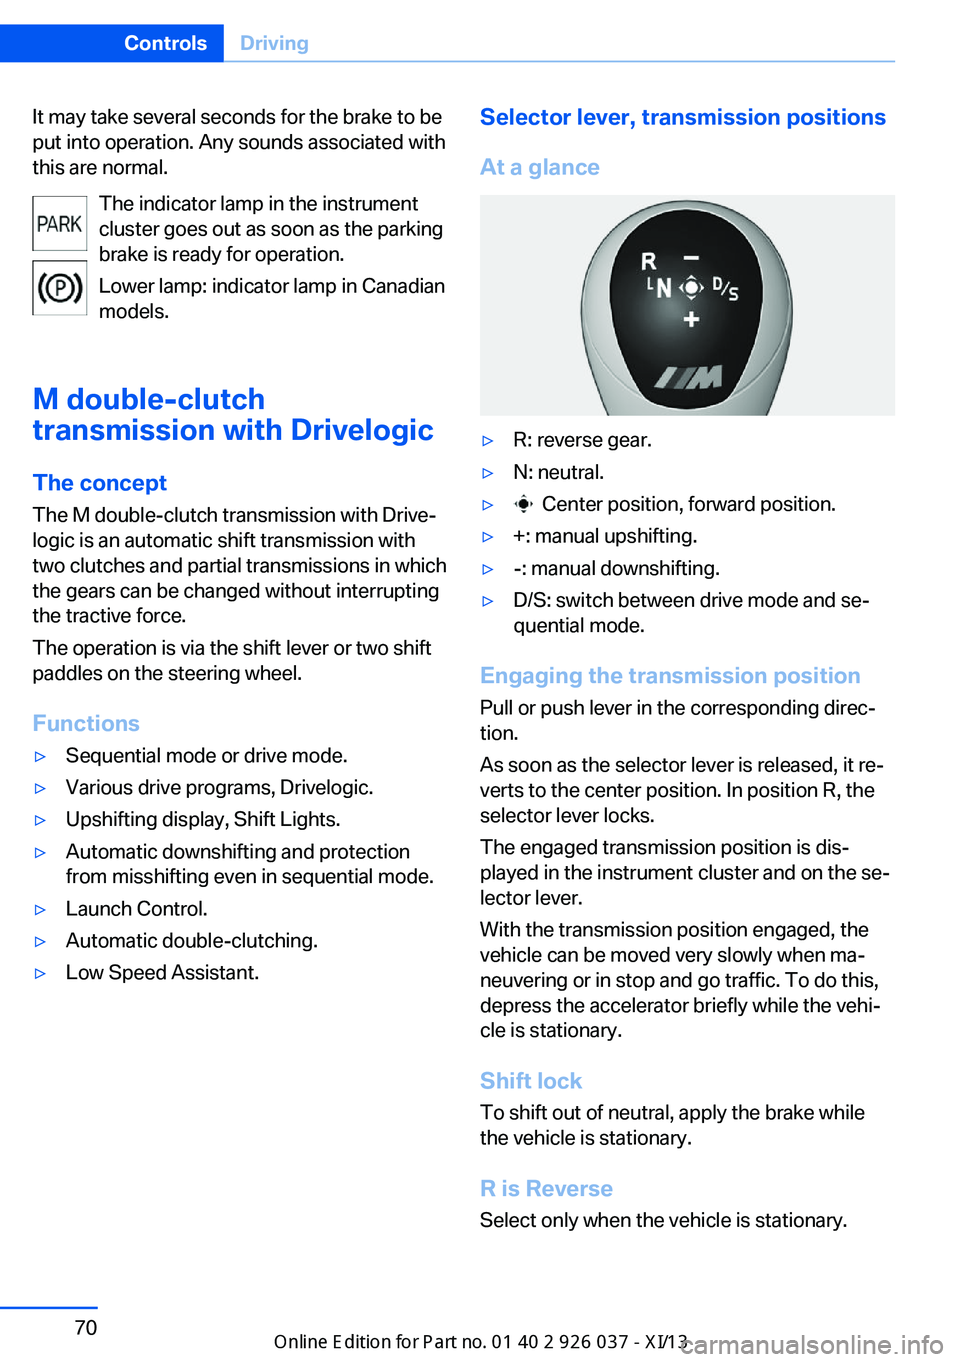
from misshifting even in sequential mode.▷Launch Control.▷Automatic double-clutching.▷Low Speed Assistant.Selector lever, transmission positions
At a glance▷R: reverse gear.▷N: neutral.▷ Center position, forward position.▷+: manual upshifting.▷-: manual downshifting.▷D/S: switch between drive mode and se‐
quential mode.
Engaging the transmission position
Pull or push lever in the corresponding direc‐
tion.
As soon as the selector lever is released, it re‐
verts to the center position. In position R, the
selector lever locks.
The engaged transmission position is dis‐
played in the instrument cluster and on the se‐
lector lever.
With the transmission position engaged, the
vehicle can be moved very slowly when ma‐
neuvering or in stop and go traffic. To do this,
depress the accelerator briefly while the vehi‐
cle is stationary.
Shift lock
To shift out of neutral, apply the brake while
the vehicle is stationary.
R is Reverse
Select only when the vehicle is stationary.
Seite 70ControlsDriving70
Online Edition for Part no. 01 40 2 910 746 - VI/13
Page 75 of 222
It is also possible to rock the vehicle up to
6 mph/10 km/h. To do this, switch between
forward and reverse gear.
N is Neutral Use in automatic car washes, for example. The
vehicle can then roll.
S Sequential mode
Use the shift paddles or the shift lever to up‐
shift or downshift without letting off the gas.
Automatic Functions:▷Upshifting or downshifting is done only if
the rpm and vehicle speed are appropriate.
For example, there is no downshifting if the
engine speed is too high.▷Shortly before falling below a gear-de‐
pendent minimum speed, the transmission
is automatically downshifted.
It is also possible to start out in 2nd gear, e. g.
on icy roads.
Kickdown: for maximum acceleration, e. g.
when passing. To do this, depress the acceler‐
ator pedal past the resistance point, and pull
the left shift paddle once or push the shift lever
forward once.
Switch to Drive mode: push selector lever in
D/S direction.
D Drive mode In Drive mode, all forward gears are automati‐
cally changed.
Kickdown: for maximum acceleration, e. g.
when passing. To do this, depress the acceler‐
ator pedal past the resistance point.
Switch to Sequential mode: shift using the
shift paddles or the selector lever, or push the
selector lever in the D/S direction.
P Park
The drive wheels are blocked.
P is engaged automatically:
▷After the engine is switched off in ignition
off, refer to page 64, if position R or D is
engaged.▷If the ignition is switched off and position N
is engaged.
Displays in the instrument cluster
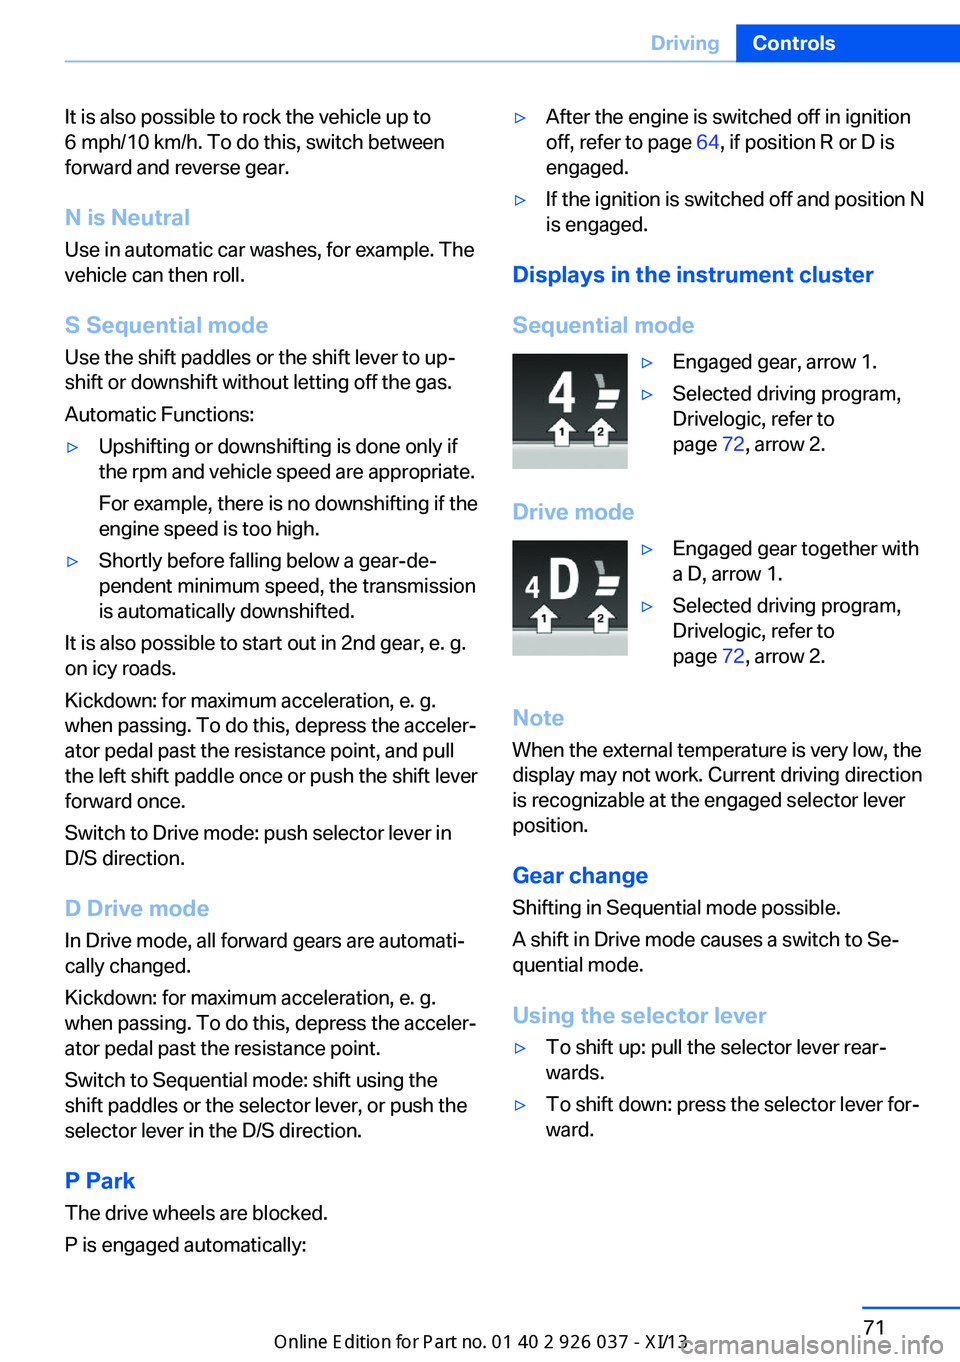
Sequential mode
▷Engaged gear, arrow 1.▷Selected driving program,
Drivelogic, refer to
page 72, arrow 2.
Drive mode
▷Engaged gear together with
a D, arrow 1.▷Selected driving program,
Drivelogic, refer to
page 72, arrow 2.
Note
When the external temperature is very low, the
display may not work. Current driving direction
is recognizable at the engaged selector lever
position.
Gear change
Shifting in Sequential mode possible.
A shift in Drive mode causes a switch to Se‐
quential mode.
Using the selector lever
▷To shift up: pull the selector lever rear‐
wards.▷To shift down: press the selector lever for‐
ward.Seite 71DrivingControls71
Online Edition for Part no. 01 40 2 910 746 - VI/13
Page 86 of 222
The supplementary text of urgent messages is
automatically displayed on the Control Display.
Symbols
Depending on the Check Control message, the
following functions can be selected.▷ "Owner's Manual"
Display additional information about the
Check Control message in the Integrated
Owner's Manual.▷ "Service request"
Contact the service partner.▷ "Roadside Assistance"
Contact Roadside Assistance.
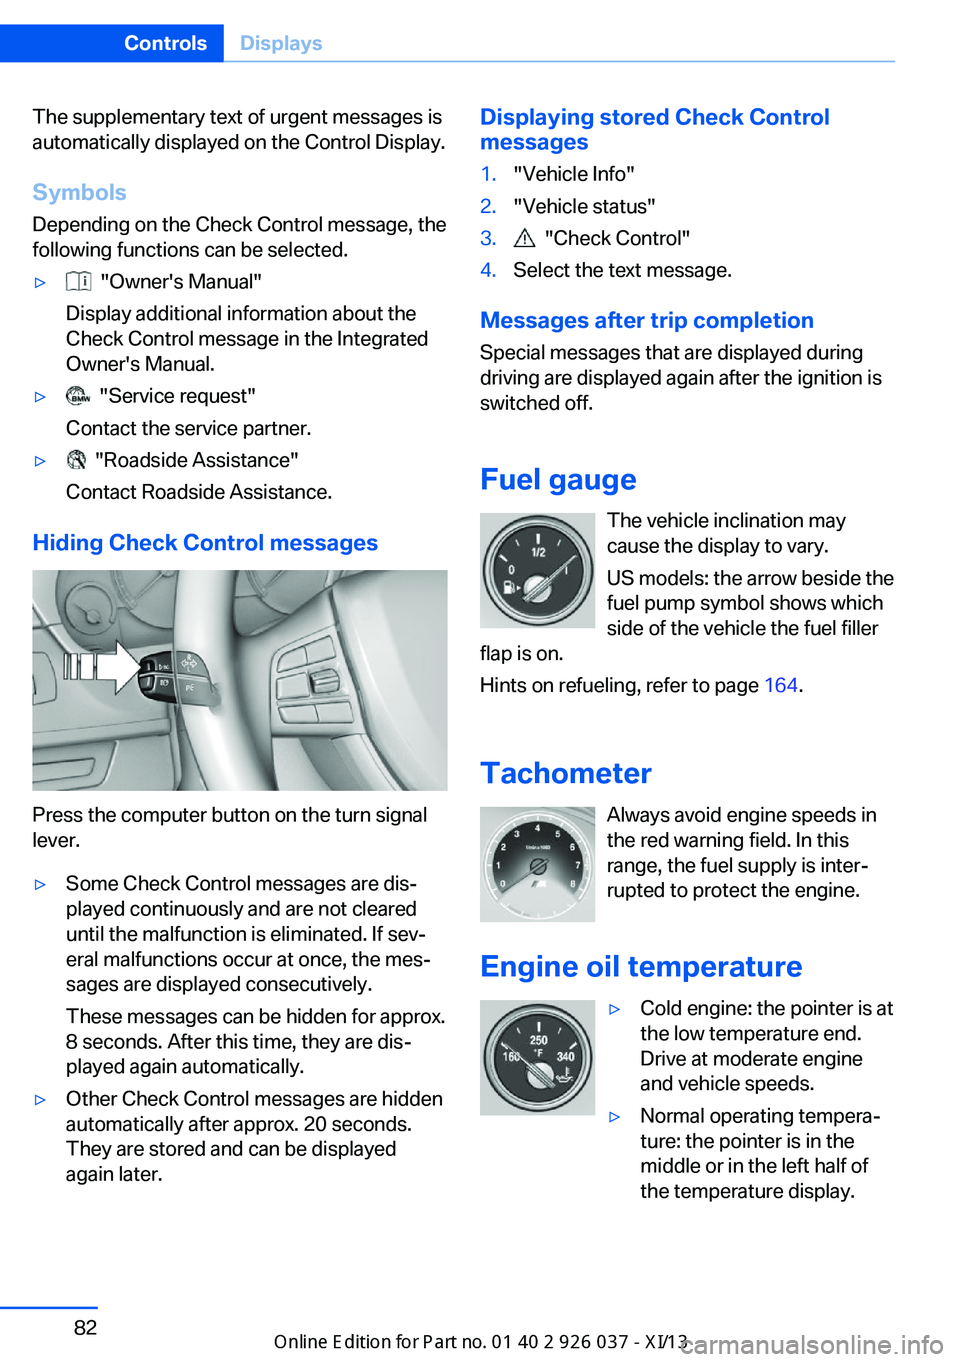
Hiding Check Control messages
Press the computer button on the turn signal
lever.
▷Some Check Control messages are dis‐
played continuously and are not cleared
until the malfunction is eliminated. If sev‐
eral malfunctions occur at once, the mes‐
sages are displayed consecutively.
These messages can be hidden for approx.
8 seconds. After this time, they are dis‐
played again automatically.▷Other Check Control messages are hidden
automatically after approx. 20 seconds.
They are stored and can be displayed
again later.Displaying stored Check Control
messages1."Vehicle Info"2."Vehicle status"3. "Check Control"4.Select the text message.
Messages after trip completion
Special messages that are displayed during
driving are displayed again after the ignition is
switched off.
Fuel gauge The vehicle inclination may
cause the display to vary.
US models: the arrow beside the
fuel pump symbol shows which
side of the vehicle the fuel filler
flap is on.
Hints on refueling, refer to page 164.
Tachometer Always avoid engine speeds inthe red warning field. In this
range, the fuel supply is inter‐
rupted to protect the engine.
Engine oil temperature
▷Cold engine: the pointer is at
the low temperature end.
Drive at moderate engine
and vehicle speeds.▷Normal operating tempera‐
ture: the pointer is in the
middle or in the left half of
the temperature display.Seite 82ControlsDisplays82
Online Edition for Part no. 01 40 2 910 746 - VI/13