ABS BMW M6 COUPE 2006 E63 Owner's Manual
[x] Cancel search | Manufacturer: BMW, Model Year: 2006, Model line: M6 COUPE, Model: BMW M6 COUPE 2006 E63Pages: 227, PDF Size: 8.32 MB
Page 49 of 227
Controls
47Reference
At a glance
Driving tips
Communications
Navigation
Entertainment
Mobility
Activating settings
Press the button on the steering wheel.
The indicator lamp in the instrument
cluster lights up. The settings made on
the Control Display for the functions
contained in MDrive are active.
Pressing the button again deactivates MDrive.
If the indicator lamp flashes after pressing
the button, MDrive was unable to react, as
the ABS Antilock Brake System or DSC
Dynamic Stability Control is currently control-
ling the vehicle stability. Press the button
again when the indicator lamp no longer
flashes.<
Even with MDrive activated, you can change
individual settings outside MDrive, e.g. with the
buttons in the center console. To reactivate all
settings made for MDrive on the Control Dis-
play: press the button twice.
Page 73 of 227
Controls
71Reference
At a glance
Driving tips
Communications
Navigation
Entertainment
Mobility
are already shown there before a signal tone
sounds. The setting is stored for the remote
control currently in use.
iDrive, for explanation of principle, refer to
page16.
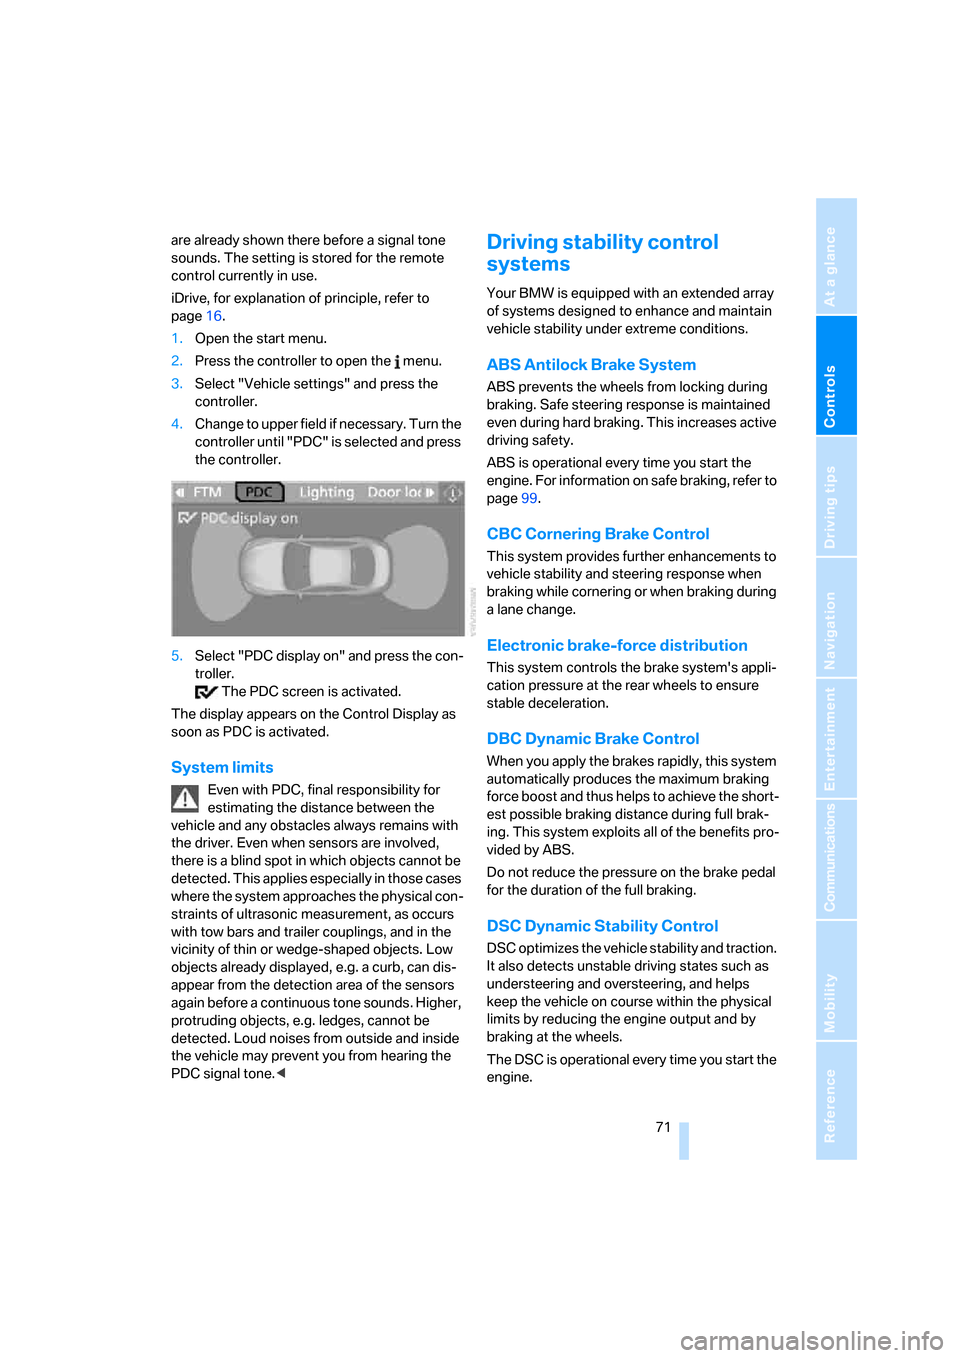
1.Open the start menu.
2.Press the controller to open the menu.
3.Select "Vehicle settings" and press the
controller.
4.Change to upper field if necessary. Turn the
controller until "PDC" is selected and press
the controller.
5.Select "PDC display on" and press the con-
troller.
The PDC screen is activated.
The display appears on the Control Display as
soon as PDC is activated.
System limits
Even with PDC, final responsibility for
estimating the distance between the
vehicle and any obstacles always remains with
the driver. Even when sensors are involved,
there is a blind spot in which objects cannot be
detected. This applies especially in those cases
where the system approaches the physical con-
straints of ultrasonic measurement, as occurs
with tow bars and trailer couplings, and in the
vicinity of thin or wedge-shaped objects. Low
objects already displayed, e.g. a curb, can dis-
appear from the detection area of the sensors
again before a continuous tone sounds. Higher,
protruding objects, e.g. ledges, cannot be
detected. Loud noises from outside and inside
the vehicle may prevent you from hearing the
PDC signal tone.<
Driving stability control
systems
Your BMW is equipped with an extended array
of systems designed to enhance and maintain
vehicle stability under extreme conditions.
ABS Antilock Brake System
ABS prevents the wheels from locking during
braking. Safe steering response is maintained
even during hard braking. This increases active
driving safety.
ABS is operational every time you start the
engine. For information on safe braking, refer to
page99.
CBC Cornering Brake Control
This system provides further enhancements to
vehicle stability and steering response when
braking while cornering or when braking during
a lane change.
Electronic brake-force distribution
This system controls the brake system's appli-
cation pressure at the rear wheels to ensure
stable deceleration.
DBC Dynamic Brake Control
When you apply the brakes rapidly, this system
automatically produces the maximum braking
force boost and thus helps to achieve the short-
est possible braking distance during full brak-
ing. This system exploits all of the benefits pro-
vided by ABS.
Do not reduce the pressure on the brake pedal
for the duration of the full braking.
DSC Dynamic Stability Control
DSC optimizes the vehicle stability and traction.
It also detects unstable driving states such as
understeering and oversteering, and helps
keep the vehicle on course within the physical
limits by reducing the engine output and by
braking at the wheels.
The DSC is operational every time you start the
engine.
Page 74 of 227
Technology for comfort, convenience and safety
72 The laws of physics cannot be repealed,
even with DSC. An appropriate driving
style always remains the responsibility of the
driver. Do not reduce the additional safety mar-
gin of the system by taking risks.<
DSC indicator lamp
The indicator lamp goes out shortly
after the engine is started.
The indicator lamp flashes: DSC is con-
trolling the drive forces and brake forces.
The indicator lamp stays lit: DSC is deactivated.
M Dynamic Mode MDM
The M Dynamic Mode is a mode of the DSC
Dynamic Stability Control. It enables driving
with greater longitudinal and lateral accelera-
tion on dry road surfaces, however with limited
vehicle stability. The system does not provide
stabilizing intervention by reducing the engine
output and braking at the wheels until the abso-
lute driving limit is reached. Steering correc-
tions by the driver may also be required in this
driving state.
The M Dynamic Mode is deactivated each time
the engine is started.
With the M Dynamic Mode activated, sta-
bilizing interventions are only carried out
to a reduced degree.<
To maintain vehicle stability, drive with
DSC activated and the M Dynamic Mode
deactivated whenever possible.<
MDM indicator lamp
The indicator lamp goes out shortly
after the engine is started. The indica-
tor lamp stays lit: M Dynamic Mode is
activated.
The indicator lamp lights up continuously and
the DSC indicator lamp flashes: the M Dynamic
Mode is active and controls the drive and brak-
ing forces.
Activating MDM
You activate the M Dynamic Mode with the
button on the steering wheel, refer to MDrive on
page46.With the ignition switched on you can change
the settings of MDrive on the Control Display.
iDrive, for explanation of principle, refer to
page16.
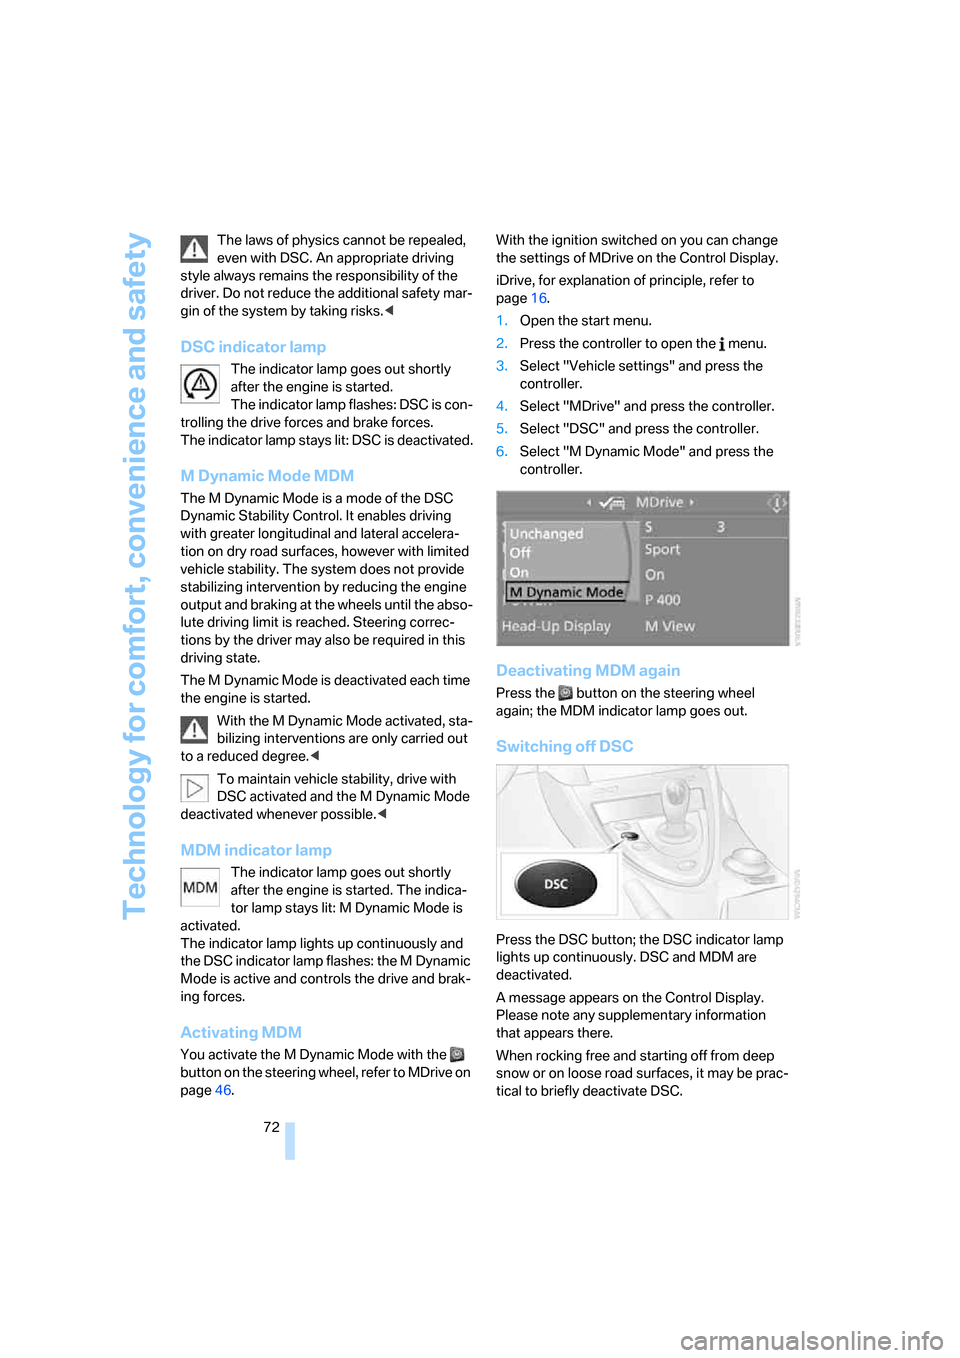
1.Open the start menu.
2.Press the controller to open the menu.
3.Select "Vehicle settings" and press the
controller.
4.Select "MDrive" and press the controller.
5.Select "DSC" and press the controller.
6.Select "M Dynamic Mode" and press the
controller.
Deactivating MDM again
Press the button on the steering wheel
again; the MDM indicator lamp goes out.
Switching off DSC
Press the DSC button; the DSC indicator lamp
lights up continuously. DSC and MDM are
deactivated.
A message appears on the Control Display.
Please note any supplementary information
that appears there.
When rocking free and starting off from deep
snow or on loose road surfaces, it may be prac-
tical to briefly deactivate DSC.
Page 75 of 227
Controls
73Reference
At a glance
Driving tips
Communications
Navigation
Entertainment
Mobility
To maintain vehicle stability, always drive
with the system switched on when possi-
ble.<
Reactivating DSC
Press the DSC button; the indicator lamp in the
instrument cluster goes out.
You can also activate and deactivate DSC with
the button on the steering wheel, refer to
MDrive on page46.
EDC Electronic Damping
Control
The concept
If the influencing variables such as road surface
quality or operating conditions such as steer-
ing, braking etc. change, the damping automat-
ically adjusts to the new conditions within a
fraction of a second.
You can choose from three programs.
"Comfort" program
Select the "Comfort" program if you want com-
fort-oriented coordination of shock absorbers
and steering.
"Normal" program
The "Normal" program offers a balanced mix-
ture of the comfort and the sport program.
"Sport" program
Select the "Sport" program if you want a con-
sistently sporty coordination of shock absorb-
ers and steering.
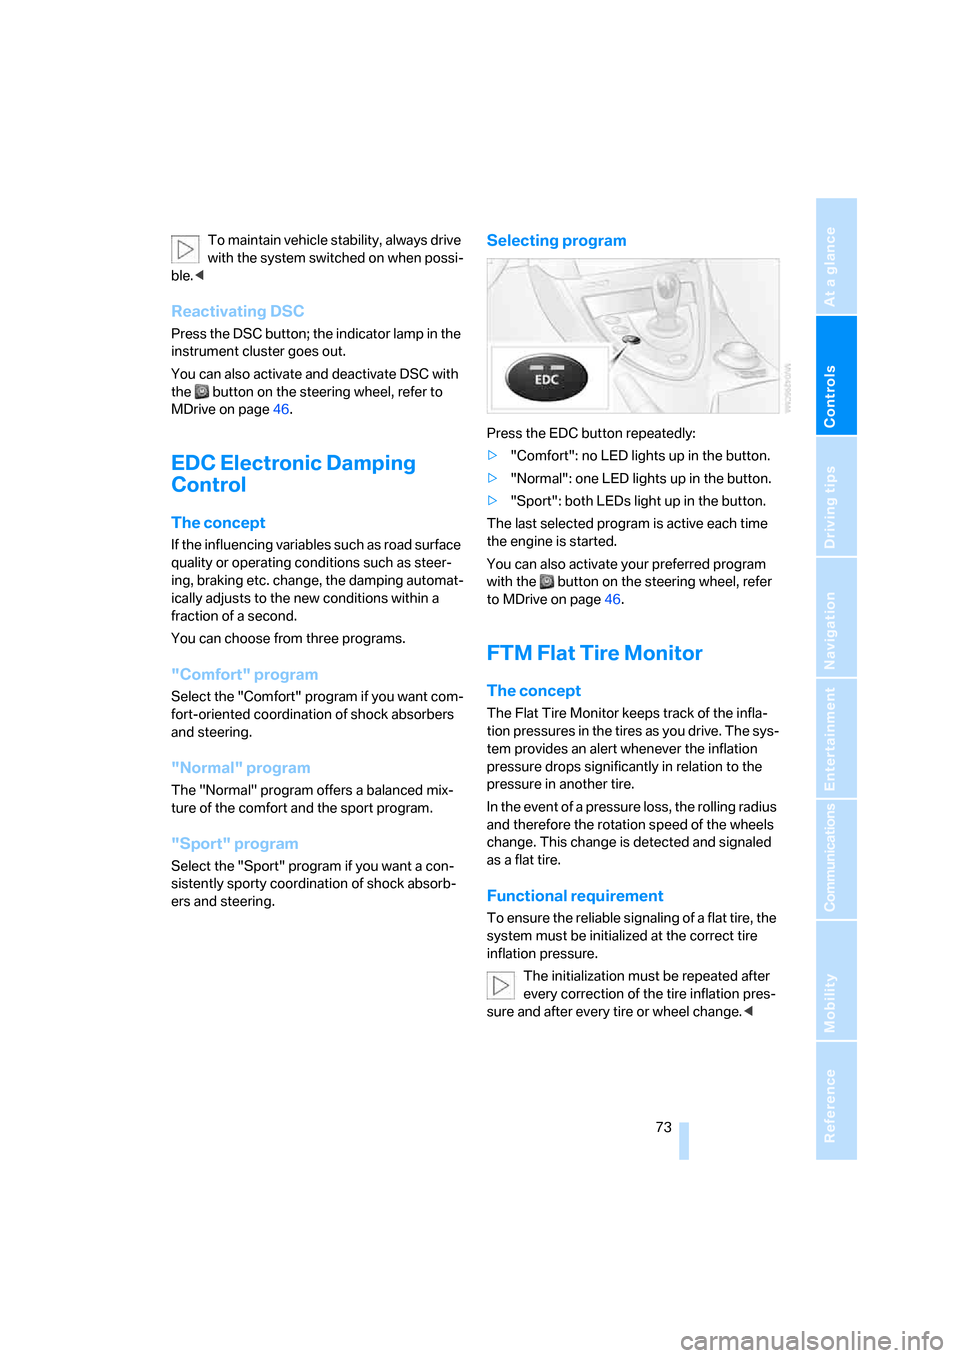
Selecting program
Press the EDC button repeatedly:
>"Comfort": no LED lights up in the button.
>"Normal": one LED lights up in the button.
>"Sport": both LEDs light up in the button.
The last selected program is active each time
the engine is started.
You can also activate your preferred program
with the button on the steering wheel, refer
to MDrive on page46.
FTM Flat Tire Monitor
The concept
The Flat Tire Monitor keeps track of the infla-
tion pressures in the tires as you drive. The sys-
tem provides an alert whenever the inflation
pressure drops significantly in relation to the
pressure in another tire.
In the event of a pressure loss, the rolling radius
and therefore the rotation speed of the wheels
change. This change is detected and signaled
as a flat tire.
Functional requirement
To ensure the reliable signaling of a flat tire, the
system must be initialized at the correct tire
inflation pressure.
The initialization must be repeated after
every correction of the tire inflation pres-
sure and after every tire or wheel change.<
Page 79 of 227
Controls
77Reference
At a glance
Driving tips
Communications
Navigation
Entertainment
Mobility
Operational readiness of airbag system
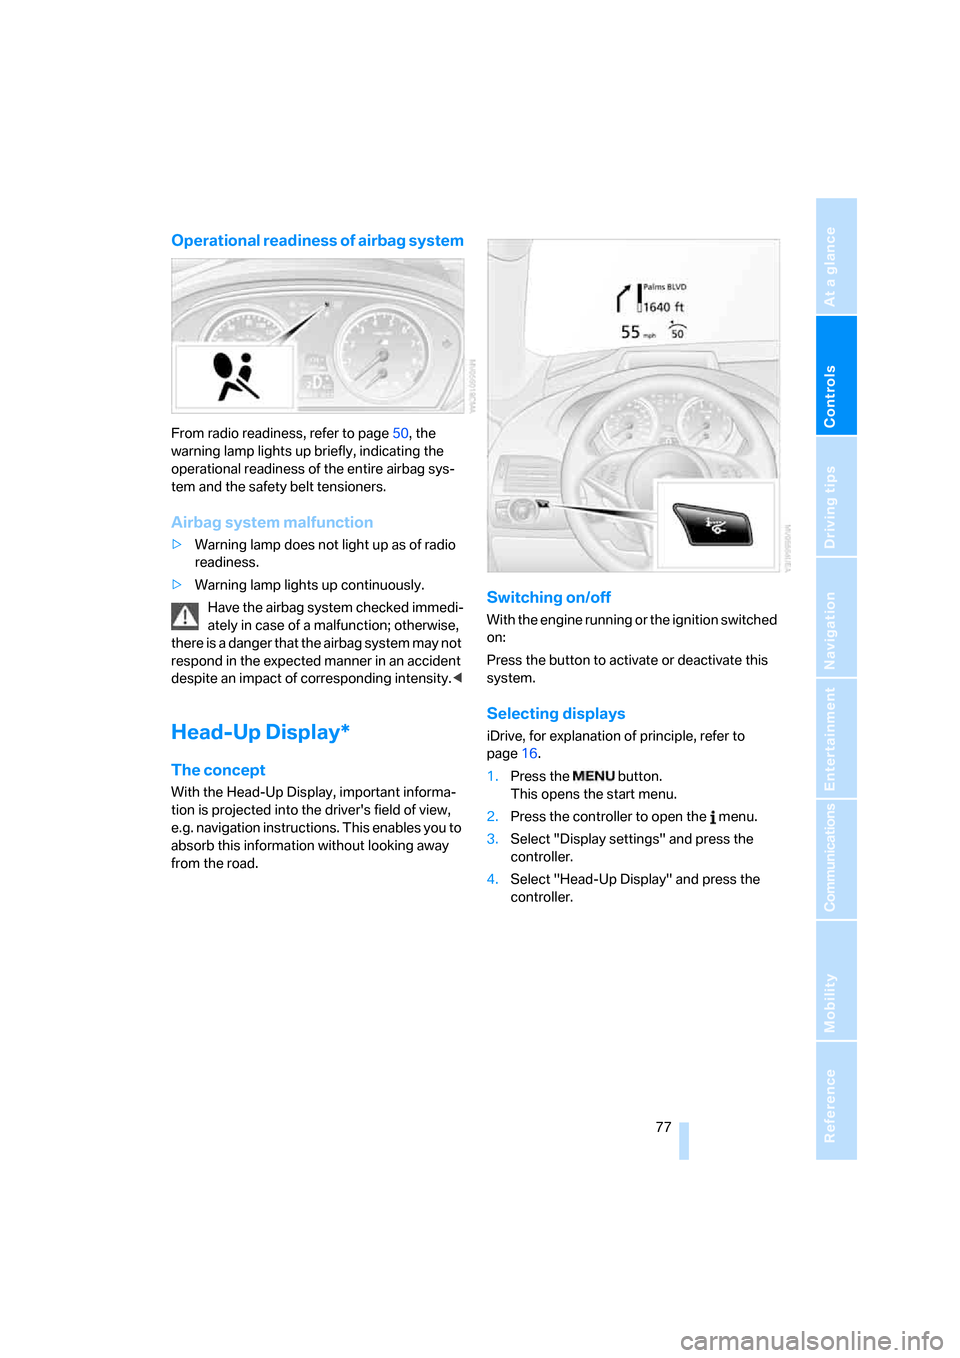
From radio readiness, refer to page50, the
warning lamp lights up briefly, indicating the
operational readiness of the entire airbag sys-
tem and the safety belt tensioners.
Airbag system malfunction
>Warning lamp does not light up as of radio
readiness.
>Warning lamp lights up continuously.
Have the airbag system checked immedi-
ately in case of a malfunction; otherwise,
there is a danger that the airbag system may not
respond in the expected manner in an accident
despite an impact of corresponding intensity.<
Head-Up Display*
The concept
With the Head-Up Display, important informa-
tion is projected into the driver's field of view,
e.g. navigation instructions. This enables you to
absorb this information without looking away
from the road.
Switching on/off
With the engine running or the ignition switched
on:
Press the button to activate or deactivate this
system.
Selecting displays
iDrive, for explanation of principle, refer to
page16.
1.Press the button.
This opens the start menu.
2.Press the controller to open the menu.
3.Select "Display settings" and press the
controller.
4.Select "Head-Up Display" and press the
controller.
Page 97 of 227
Controls
95Reference
At a glance
Driving tips
Communications
Navigation
Entertainment
Mobility
Securing cargo
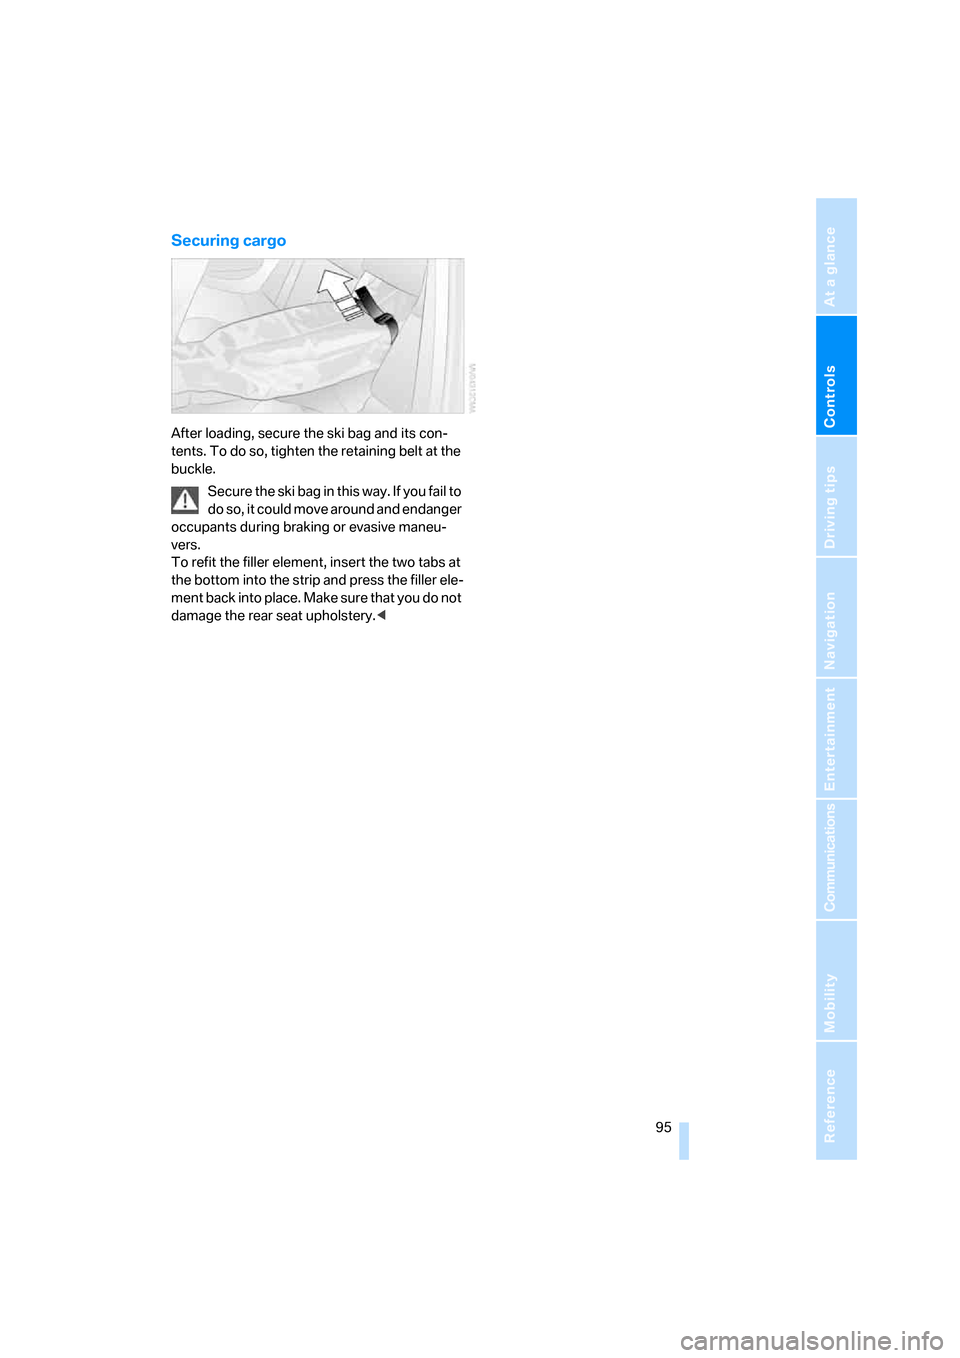
After loading, secure the ski bag and its con-
tents. To do so, tighten the retaining belt at the
buckle.
Secure the ski bag in this way. If you fail to
do so, it could move around and endanger
occupants during braking or evasive maneu-
vers.
To refit the filler element, insert the two tabs at
the bottom into the strip and press the filler ele-
ment back into place. Make sure that you do not
damage the rear seat upholstery.<
Page 100 of 227
Things to remember when driving
98
Things to remember when driving
Breaking-in
Moving parts need time to adjust to one
another. To ensure that your vehicle continues
to provide optimized economy of operation
throughout an extended service life, we request
that you devote careful attention to the follow-
ing section.
Do not use the driving programs 5 and 6, refer
to Drivelogic on page54, during break-in.
Engine and differential
Always obey all official speed limits.
Up to 1,200 miles/2,000 km
Drive at changing engine and driving speeds,
however do not exceed 5,500 rpm or 105 mph/
170 km/h.
Avoid full-throttle operation and use of the
transmission's kick-down mode during these
initial miles.
From 1,200 miles/2,000 km to
3,000 miles/5,000 km
The engine and driving speed can gradually be
increased up to a continuous vehicle speed of
135 mph/220 km/h. Only drive at top speed
briefly, e.g. when passing.
Transmission
The function of the transmission is only at its
optimized level after driving a distance of
approx. 300 miles/500 km. Do not exceed
engine speeds of 5,500 rpm during this time.
Tires
Due to technical factors associated with their
manufacture, tires do not achieve their full trac-
tion potential until after an initial break-in
period. Therefore, drive reservedly during the
first 200 miles/300 km.
Brake system
Brakes require an initial break-in period of
approx. 300 miles/500 km to achieve optimized
contact and wear patterns between brake pads
and rotors. Drive in a reserved manner during
this break-in period.
Clutch
The function of the clutch is only at its opti-
mized level after a distance driven of approx.
300 miles/500 km.
Following part replacement
Observe the break-in instructions again if com-
ponents mentioned above must be replaced
after subsequent driving operation.
General driving notes
Closing luggage compartment lid
Only drive with the luggage compartment
lid completely closed, otherwise exhaust
can penetrate into the passenger compart-
ment.<
If special circumstances should make it abso-
lutely necessary to operate the vehicle with the
luggage compartment lid open:
1.Close both windows.
2.Increase the air volume of the automatic
climate control to a high level, refer to
page86.
Hot exhaust system
As in all vehicles, extremely high temper-
atures are generated in the exhaust sys-
tem. Do not remove the heat shields installed
adjacent to it, and never apply undercoating to
them. When driving, standing at idle and while
parking, take care to avoid possible contact
between the hot exhaust system and any highly
flammable materials such as hay, leaves, grass,
etc. Such contact could lead to a fire, and with it
Page 101 of 227
Driving tips
99Reference
At a glance
Controls
Communications
Navigation
Entertainment
Mobility
the risk of serious property damage as well as
personal injury.<
Mobile communications devices in
vehicle
BMW advises against using mobile com-
munications devices, e.g. mobile phones,
inside the vehicle without a direct connection to
an external antenna. Otherwise, the vehicle
electronics and mobile communications device
can interfere with each other. In addition, there
is no assurance that the radiation emitted dur-
ing transmission will be conveyed out of the
vehicle interior.<
Hydroplaning
When driving on wet or slushy roads,
reduce road speed. If you do not, a wedge
of water can form between tires and road sur-
face. This phenomenon is referred to as hydro-
planing, and is characterized by a partial or
complete loss of contact between the tires and
the road surface, ultimately undermining your
ability to steer and brake the vehicle.<
The risk of hydroplaning increases as the tread
depth of the tires decreases, also refer to Mini-
mum tire tread on page172.
Driving through water
Do not drive through water on the road if it
is deeper than 1 ft/30 cm, and then only at
walking speed at the most. Otherwise, the vehi-
cle's engine, the electrical systems and the
transmission may be damaged.<
Starting off
On slopes
The starting assistant enables starting off on
slopes virtually without rolling back.
1.Hold the vehicle with the footbrake.
2.Make sure that the handbrake is released.
3.Release the footbrake and immediately
drive off quickly.The starting assistant holds the vehicle
for approx. 1 second after releasing the
footbrake. Depending on the load, the vehicle
may also roll back slightly during this time.
After releasing the footbrake, immediately start
quickly, otherwise the starting assistant no
longer holds the vehicle after approx. 1 second
and it begins to roll back.<
Start off quickly on slopes. Do not hold
the vehicle on a hill by pressing the accel-
erator, but apply the footbrake or handbrake
instead. Otherwise overheating and heavy wear
can result in the area of the Sequential Manual
Transmission.<
To protect the clutch of the Sequential Manual
Transmission from overheating, the starting-off
behavior is changed under heavy loading, e.g. a
rapid succession of starts on slopes. This can
be noticed from shaking during starting off.
On a slippery surface
1.Select program "P 400" of M Engine
Dynamic Control, refer to page55.
2.Gently press accelerator pedal to prevent
wheels from spinning when starting off.
Braking safely
Your BMW is equipped with ABS as a standard
feature. In situations that require it, it is best to
brake with full force. Since the vehicle maintains
steering responsiveness, you can still avoid
possible obstacles with a minimum of steering
effort.
The pulsing of he brake pedal indicates that the
ABS is controlling braking.
In certain braking situations the perforated
brake rotors can cause operating noises which,
however, have not effect on the performance
and operating safety of the brake system.
Do not drive with your foot resting on the
brake pedal. Even light but consistent
pedal pressure can lead to high temperatures,
brake wear and possibly even brake failure.<
Page 175 of 227
Mobility
173Reference
At a glance
Controls
Driving tips
Communications
Navigation
Entertainment
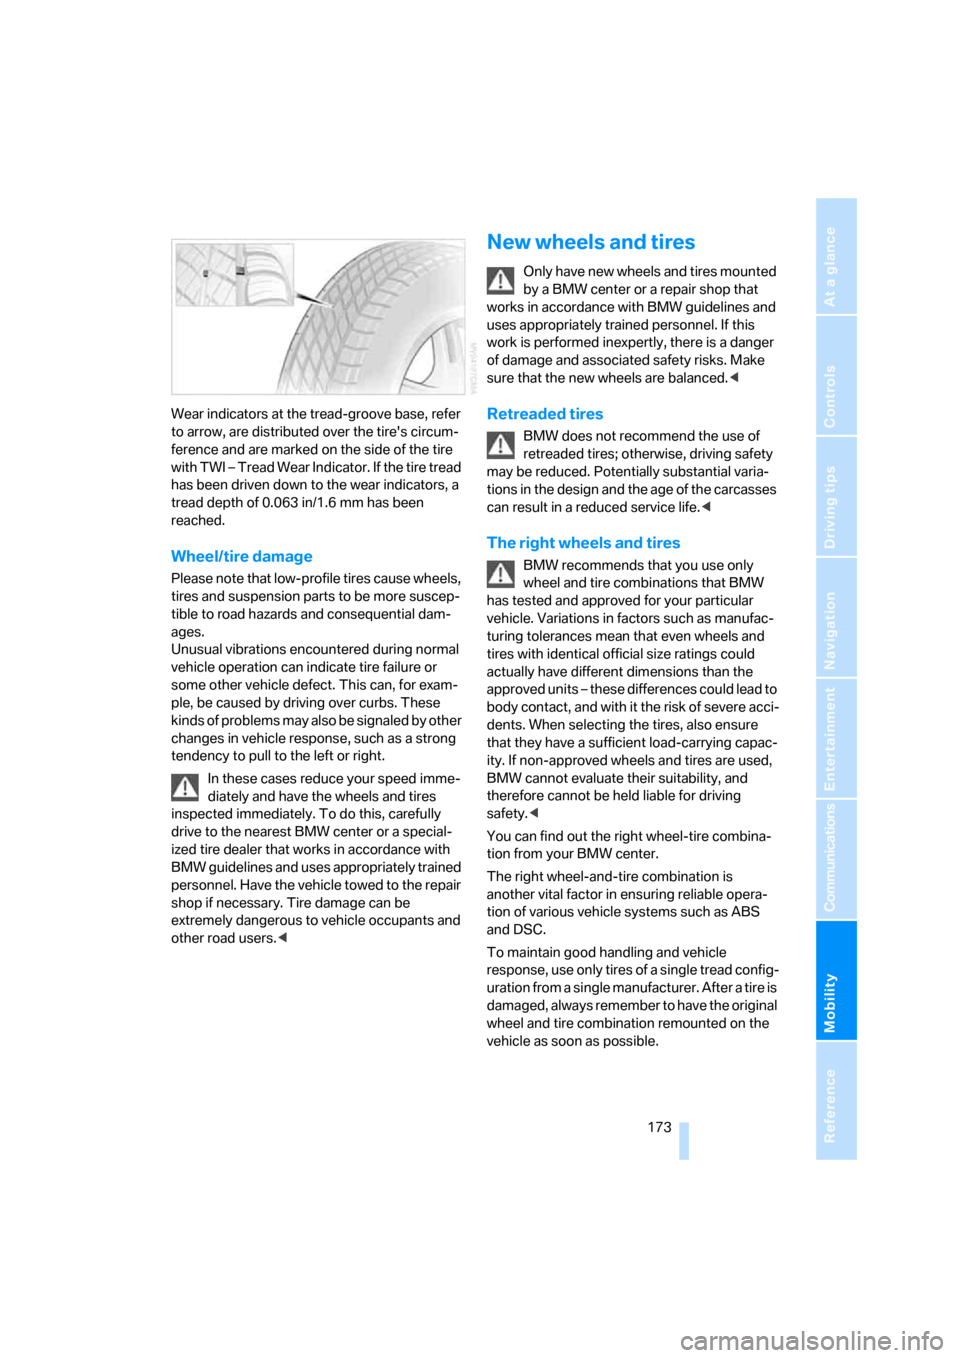
Wear indicators at the tread-groove base, refer
to arrow, are distributed over the tire's circum-
ference and are marked on the side of the tire
with TWI – Tread Wear Indicator. If the tire tread
has been driven down to the wear indicators, a
tread depth of 0.063 in/1.6 mm has been
reached.
Wheel/tire damage
Please note that low-profile tires cause wheels,
tires and suspension parts to be more suscep-
tible to road hazards and consequential dam-
ages.
Unusual vibrations encountered during normal
vehicle operation can indicate tire failure or
some other vehicle defect. This can, for exam-
ple, be caused by driving over curbs. These
kinds of problems may also be signaled by other
changes in vehicle response, such as a strong
tendency to pull to the left or right.
In these cases reduce your speed imme-
diately and have the wheels and tires
inspected immediately. To do this, carefully
drive to the nearest BMW center or a special-
ized tire dealer that works in accordance with
BMW guidelines and uses appropriately trained
personnel. Have the vehicle towed to the repair
shop if necessary. Tire damage can be
extremely dangerous to vehicle occupants and
other road users.<
New wheels and tires
Only have new wheels and tires mounted
by a BMW center or a repair shop that
works in accordance with BMW guidelines and
uses appropriately trained personnel. If this
work is performed inexpertly, there is a danger
of damage and associated safety risks. Make
sure that the new wheels are balanced.<
Retreaded tires
BMW does not recommend the use of
retreaded tires; otherwise, driving safety
may be reduced. Potentially substantial varia-
tions in the design and the age of the carcasses
can result in a reduced service life.<
The right wheels and tires
BMW recommends that you use only
wheel and tire combinations that BMW
has tested and approved for your particular
vehicle. Variations in factors such as manufac-
turing tolerances mean that even wheels and
tires with identical official size ratings could
actually have different dimensions than the
approved units – these differences could lead to
body contact, and with it the risk of severe acci-
dents. When selecting the tires, also ensure
that they have a sufficient load-carrying capac-
ity. If non-approved wheels and tires are used,
BMW cannot evaluate their suitability, and
therefore cannot be held liable for driving
safety.<
You can find out the right wheel-tire combina-
tion from your BMW center.
The right wheel-and-tire combination is
another vital factor in ensuring reliable opera-
tion of various vehicle systems such as ABS
and DSC.
To maintain good handling and vehicle
response, use only tires of a single tread config-
uration from a single manufacturer. After a tire is
damaged, always remember to have the original
wheel and tire combination remounted on the
vehicle as soon as possible.
Page 184 of 227
Replacing components
182
Replacing components
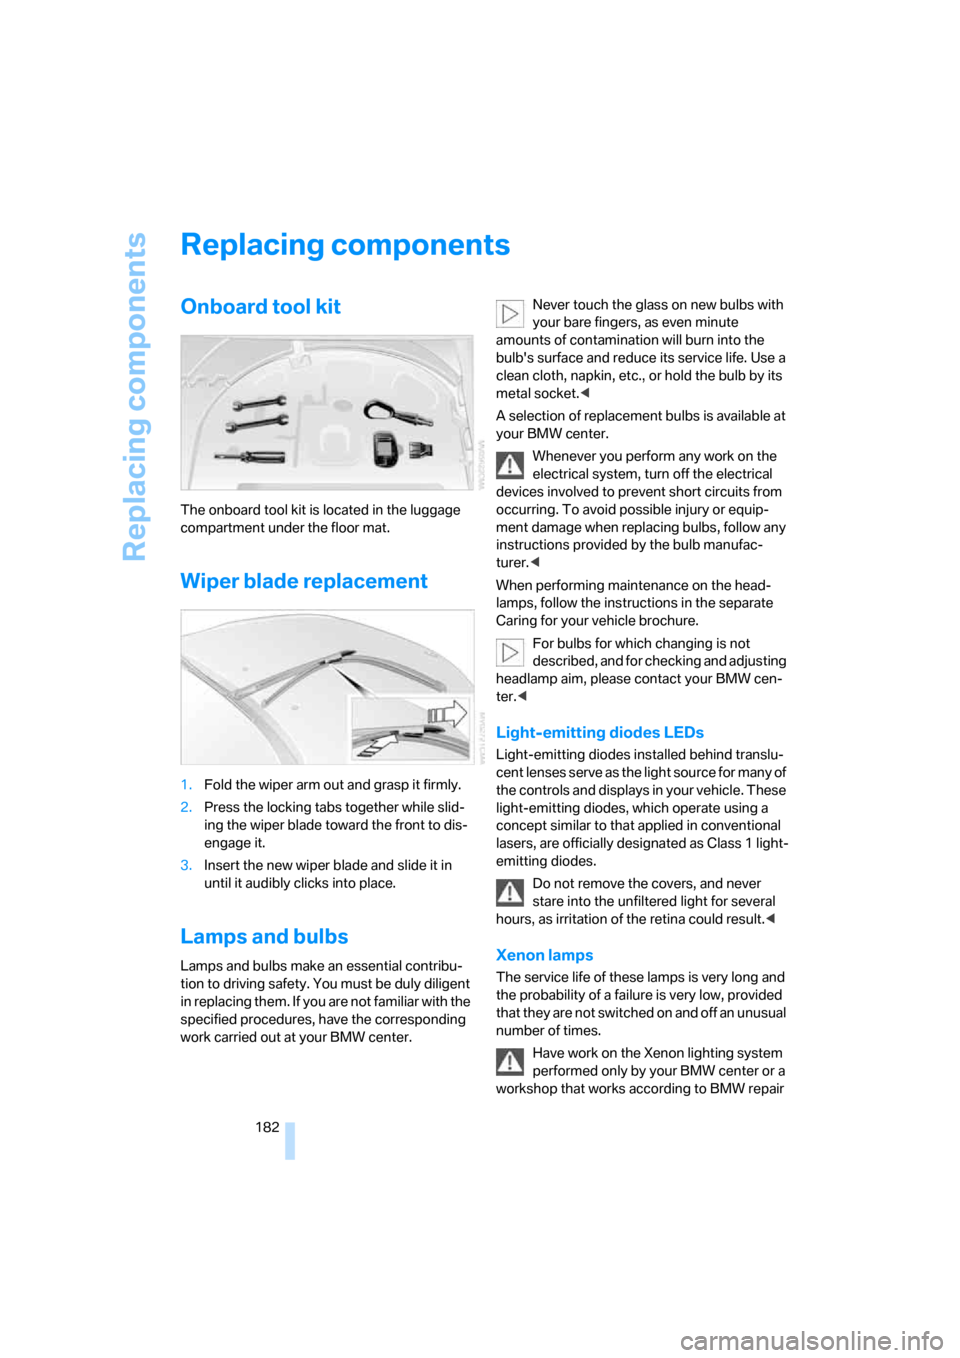
Onboard tool kit
The onboard tool kit is located in the luggage
compartment under the floor mat.
Wiper blade replacement
1.Fold the wiper arm out and grasp it firmly.
2.Press the locking tabs together while slid-
ing the wiper blade toward the front to dis-
engage it.
3.Insert the new wiper blade and slide it in
until it audibly clicks into place.
Lamps and bulbs
Lamps and bulbs make an essential contribu-
tion to driving safety. You must be duly diligent
in replacing them. If you are not familiar with the
specified procedures, have the corresponding
work carried out at your BMW center.Never touch the glass on new bulbs with
your bare fingers, as even minute
amounts of contamination will burn into the
bulb's surface and reduce its service life. Use a
clean cloth, napkin, etc., or hold the bulb by its
metal socket.<
A selection of replacement bulbs is available at
your BMW center.
Whenever you perform any work on the
electrical system, turn off the electrical
devices involved to prevent short circuits from
occurring. To avoid possible injury or equip-
ment damage when replacing bulbs, follow any
instructions provided by the bulb manufac-
turer.<
When performing maintenance on the head-
lamps, follow the instructions in the separate
Caring for your vehicle brochure.
For bulbs for which changing is not
described, and for checking and adjusting
headlamp aim, please contact your BMW cen-
ter.<
Light-emitting diodes LEDs
Light-emitting diodes installed behind translu-
cent lenses serve as the light source for many of
the controls and displays in your vehicle. These
light-emitting diodes, which operate using a
concept similar to that applied in conventional
lasers, are officially designated as Class 1 light-
emitting diodes.
Do not remove the covers, and never
stare into the unfiltered light for several
hours, as irritation of the retina could result.<
Xenon lamps
The service life of these lamps is very long and
the probability of a failure is very low, provided
that they are not switched on and off an unusual
number of times.
Have work on the Xenon lighting system
performed only by your BMW center or a
workshop that works according to BMW repair