fuel BMW MOTORRAD G650 XMOTO 2007 Rider's Manual (in English)
[x] Cancel search | Manufacturer: BMW MOTORRAD, Model Year: 2007, Model line: G650 XMOTO, Model: BMW MOTORRAD G650 XMOTO 2007Pages: 132, PDF Size: 2.83 MB
Page 4 of 132
Table of ContentsYou can also consult the index at
the end of this Rider's Manual if
you want to find a particular topic
or item of information.
1 General instructions . . . . . 5
Overview ...................... 6
Abbreviations and symbols . . . . 6
Equipment . . . . . . .............. 6
Technical data . . .............. 7
Currency . ..................... 7
2 General views . . . . . . . . . . . . . 9
General view, left side . . . . . . . . 11
General view, right side . . . . . . 13
Underneath the seat ......... 14
Handlebar fitting, left ......... 15
Handlebar fitting, right . . . . . . . . 16
Instrument cluster . . . ......... 17
Headlight . .................... 18
3 Status indicators . . . . . . . 19
Status indicators ............. 20
Standard warnings . . ......... 20
ABS warnings
OE
............. 23 4 Operation . . . . . . . . . . . . . . . . 27
Ignition switch and steering
lock . . . . . .
.................... 28
Multifunction display ......... 28
Lights . . . . .................... 31
Turn indicators . . ............. 32
Emergency off switch (kill
switch) . . . .................... 32
BMW Motorrad ABS
OE
...... 33
Mirrors . . . .................... 33
Spring preload . . ............. 34
Damping . .................... 35
Tyres . . . . . .................... 37
Headlight . .................... 38
Seat . . . . . . .................... 38
5 Riding . . . . . . . . . . . . . . . . . . . . 41
Safety instructions . . ......... 42
Checklist . .................... 44
Starting . . . .................... 44
Running in . . . . . . ............. 46
Brakes . . . .................... 47
Parking your motorcycle . . . . . 49
Refuelling .................... 50 6 Engineering details . . . . . 51
Brake system with BMW Mo-
torrad ABS
OE
................ 52
7 Accessories . . . . . . . . . . . . . 55
General instructions . ......... 56
Power socketOE.............. 56
Luggage . .................... 57
8 Maintenance . . . . . . . . . . . . 59
Notes ........................ 60
Toolkit ........................ 60
Engine oil .................... 61
Brake system . . . ............. 63
Brake pads . . . . . . ............. 64
Brake fluid .................... 65
Coolant . . . .................... 67
Clutch . . . . .................... 68
Tyres . . . . . .................... 69
Rims . ........................ 69
Chain . . . . . .................... 69
Wheels . . . .................... 71
BMW Motorrad auxiliary
stand . . . . . .................... 78
Page 5 of 132
BMW Motorrad front-wheel
stand ......................... 79
Fuses ........................ 81
Bulbs . ........................ 82
Jump starting . . . ............. 90
Battery . . . . . . ................. 91
Number-plate carrier . . . ...... 95
9 Care . . . . . . ................ 97
Care products . . . ............. 98
Washing motorcycle . . . . ...... 98
Cleaning easily damaged
components . ................. 98
Paint care . . . ................. 99
Protective wax coating . .... 100
Laying up motorcycle . . .... 100
Restoring motorcycle to
use......................... 100
10 Technical data . . . . . . . 101
Troubleshooting chart . . .... 102
Threaded fasteners . . . . .... 103
Engine . . . . . . ............... 105
Fuel . . ...................... 106
Engine oil . . . ............... 106
Clutch ...................... 107
Transmission ............... 107 Rear-wheel drive
........... 108
Running gear ............... 108
Brakes . . . . . . ............... 109
Wheels and tyres ........... 109
Electrics . . . . . ............... 110
Frame ...................... 112
Dimensions . ............... 112
Weights . . . . . ............... 113
Riding specifications . . . .... 113
11 Service . . . . . . . . . . . . . . . . 115
BMW Motorrad service . .... 116
BMW Motorrad service
quality ...................... 116
BMW Motorrad Service
Card: on-the-spot break-
down assistance ........... 116
BMW Motorrad service net-
work . . ...................... 117
Maintenance work . . . . . . .... 117
Confirmation of mainten-
ance work . . . ............... 118
Confirmation of service . .... 123
Page 15 of 132
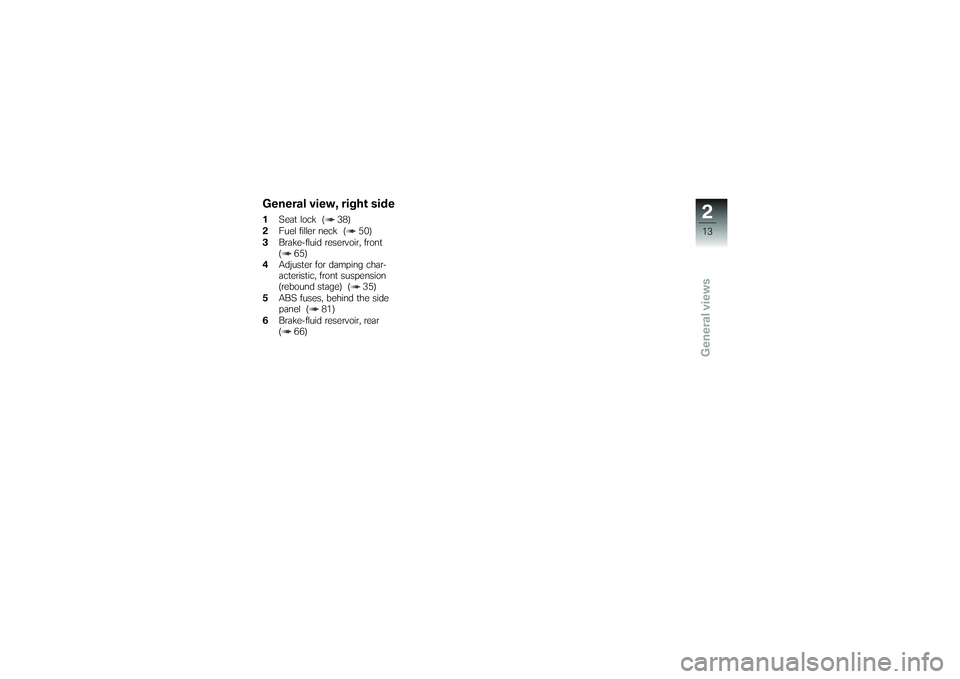
General view, right side1Seat lock ( 38)
2 Fuel filler neck ( 50)
3 Brake-fluid reservoir, front
( 65)
4 Adjuster for damping char-
acteristic, front suspension
(rebound stage) ( 35)
5 ABS fuses, behind the side
panel ( 81)
6 Brake-fluid reservoir, rear
( 66)
213zGeneral views
Page 23 of 132
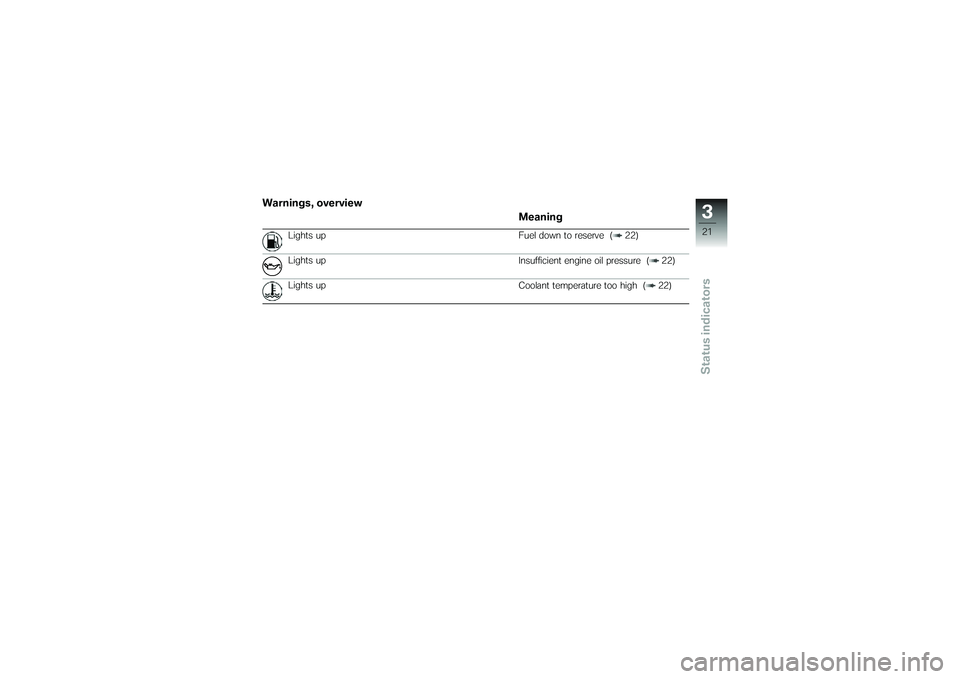
Warnings, overviewMeaning
Lights up Fuel down to reserve ( 22)
Lights up Insufficient engine oil pressure ( 22)
Lights up Coolant temperature too high ( 22)
321zStatus indicators
Page 24 of 132
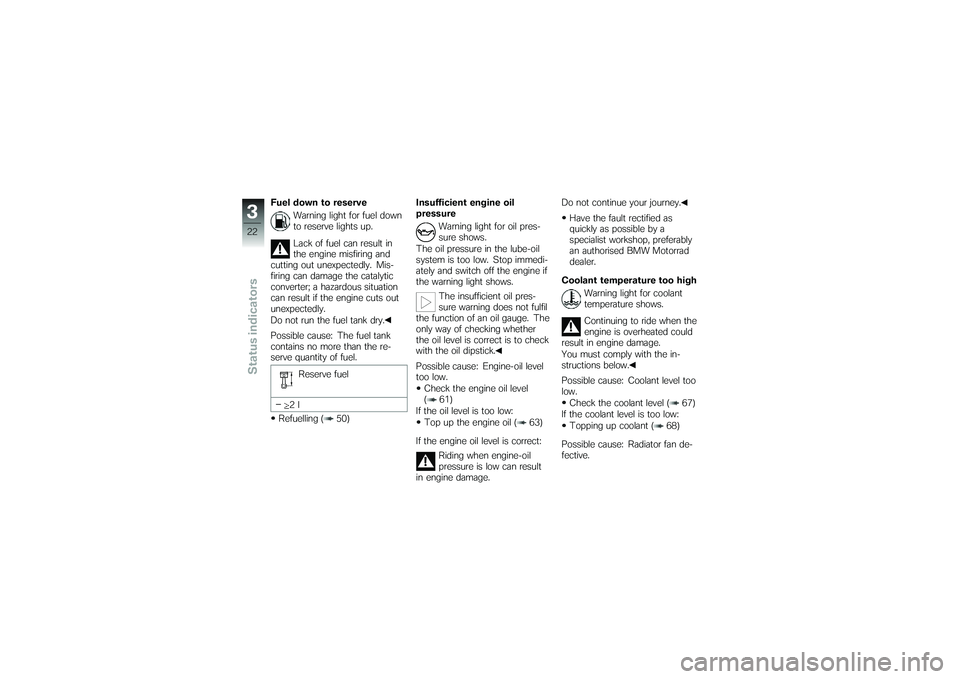
Fuel down to reserveWarning light for fuel down
to reserve lights up.
Lack of fuel can result in
the engine misfiring and
cutting out unexpectedly. Mis-
firing can damage the catalytic
converter; a hazardous situation
can result if the engine cuts out
unexpectedly.
Do not run the fuel tank dry.
Possible cause: The fuel tank
contains no more than the re-
serve quantity of fuel.
Reserve fuel
2l
Refuelling ( 50) Insufficient engine oil
pressure
Warning light for oil pres-
sure shows.
The oil pressure in the lube-oil
system is too low. Stop immedi-
ately and switch off the engine if
the warning light shows.
The insufficient oil pres-
sure warning does not fulfil
the function of an oil gauge. The
only way of checking whether
the oil level is correct is to check
with the oil dipstick.
Possible cause: Engine-oil level
too low.
Check the engine oil level
( 61)
If the oil level is too low: Top up the engine oil ( 63)
If the engine oil level is correct: Riding when engine-oil
pressure is low can result
in engine damage. Do not continue your journey.
Have the fault rectified as
quickly as possible by a
specialist workshop, preferably
an authorised BMW Motorrad
dealer.
Coolant temperature too high Warning light for coolant
temperature shows.
Continuing to ride when the
engine is overheated could
result in engine damage.
You must comply with the in-
structions below.
Possible cause: Coolant level too
low.
Check the coolant level ( 67)
If the coolant level is too low:
Topping up coolant ( 68)
Possible cause: Radiator fan de-
fective.
322zStatus indicators
Page 31 of 132
If the motorcycle is to re-
main abroad for a lengthy
period, you can have the display
readouts changed from miles to
kilometers or vice versa, if neces-
sary. Under these circumstances
consult a specialist workshop,
preferably an authorised BMW
Motorrad dealer.
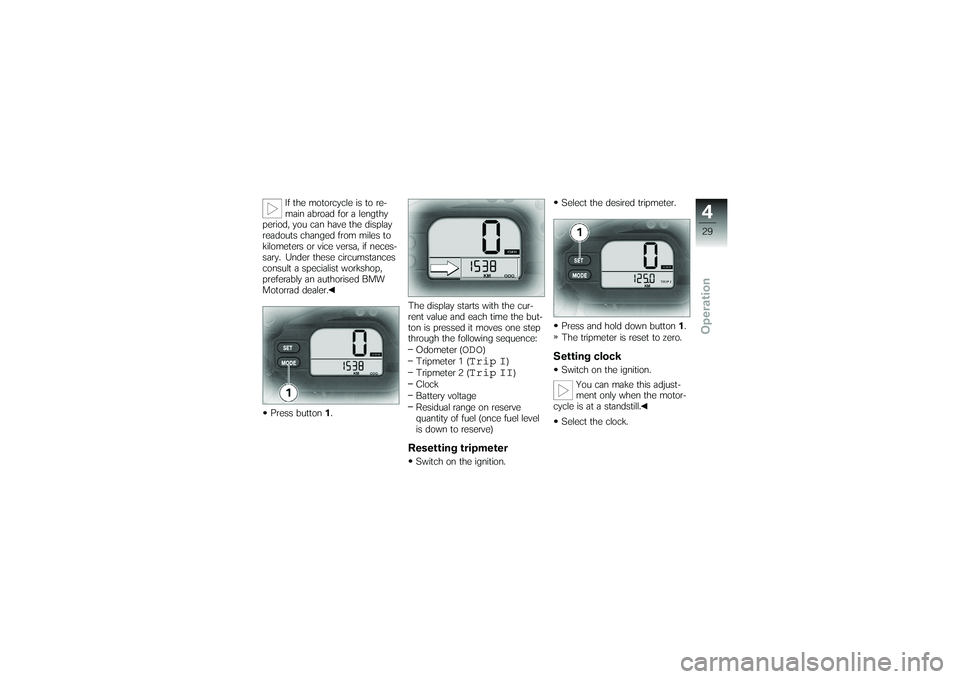
Press button 1. The display starts with the cur-
rent value and each time the but-
ton is pressed it moves one step
through the following sequence:
Odometer (
ODO
)
Tripmeter 1 (
Trip I
)
Tripmeter 2 (
Trip II
)
Clock
Battery voltage
Residual range on reserve
quantity of fuel (once fuel level
is down to reserve)
Resetting tripmeterSwitch on the ignition. Select the desired tripmeter.
Press and hold down button
1.
The tripmeter is reset to zero.
Setting clockSwitch on the ignition.
You can make this adjust-
ment only when the motor-
cycle is at a standstill.
Select the clock.
429zOperation
Page 33 of 132
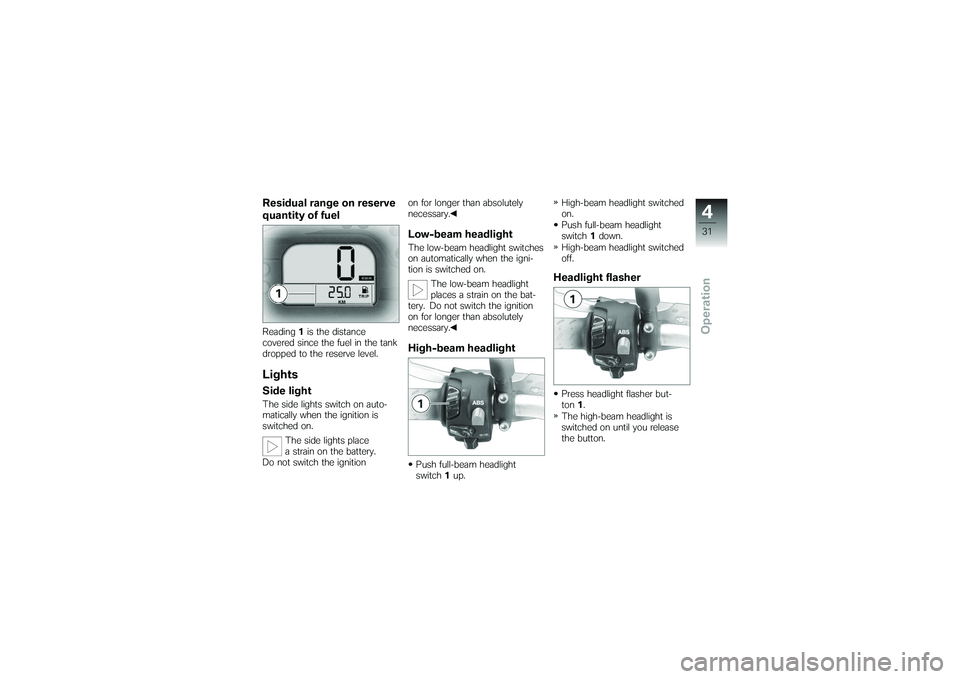
Residual range on reserve
quantity of fuelReading1is the distance
covered since the fuel in the tank
dropped to the reserve level.LightsSide lightThe side lights switch on auto-
matically when the ignition is
switched on.
The side lights place
a strain on the battery.
Do not switch the ignition on for longer than absolutely
necessary.
Low-beam headlightThe low-beam headlight switches
on automatically when the igni-
tion is switched on.
The low-beam headlight
places a strain on the bat-
tery. Do not switch the ignition
on for longer than absolutely
necessary.High-beam headlightPush full-beam headlight
switch 1up. High-beam headlight switched
on.
Push full-beam headlight
switch
1down.
High-beam headlight switched
off.
Headlight flasherPress headlight flasher but-
ton 1.
The high-beam headlight is
switched on until you release
the button.
431zOperation
Page 37 of 132
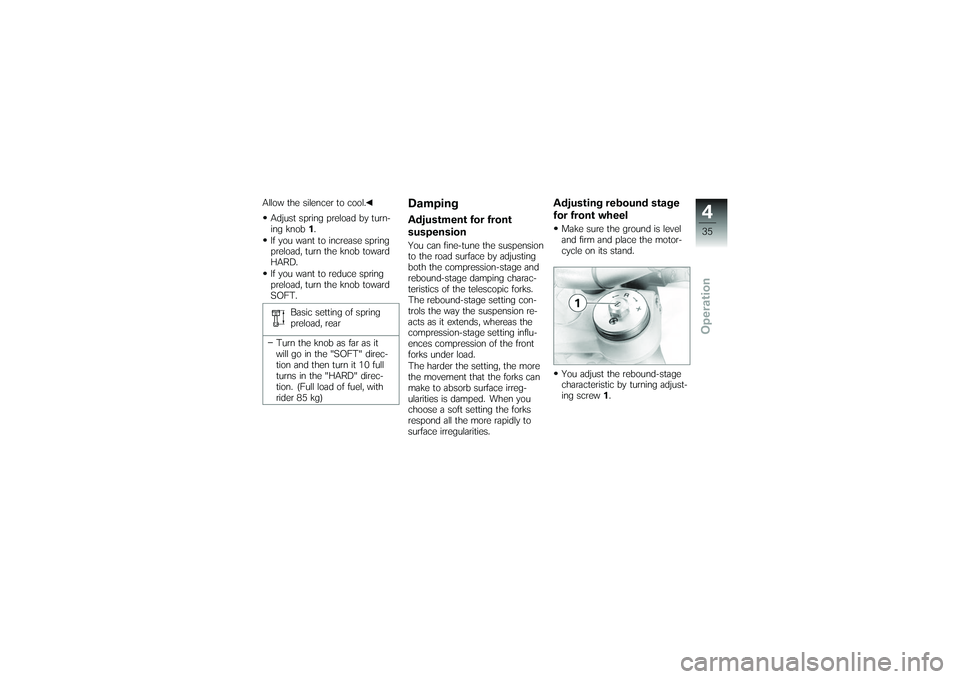
Allow the silencer to cool.Adjust spring preload by turn-
ing knob 1.
If you want to increase spring
preload, turn the knob toward
HARD.
If you want to reduce spring
preload, turn the knob toward
SOFT.
Basic setting of spring
preload, rear
Turn the knob as far as it
will go in the "SOFT" direc-
tion and then turn it 10 full
turns in the "HARD" direc-
tion. (Full load of fuel, with
rider 85 kg)
DampingAdjustment for front
suspensionYou can fine-tune the suspension
to the road surface by adjusting
both the compression-stage and
rebound-stage damping charac-
teristics of the telescopic forks.
The rebound-stage setting con-
trols the way the suspension re-
acts as it extends, whereas the
compression-stage setting influ-
ences compression of the front
forks under load.
The harder the setting, the more
the movement that the forks can
make to absorb surface irreg-
ularities is damped. When you
choose a soft setting the forks
respond all the more rapidly to
surface irregularities.
Adjusting rebound stage
for front wheelMake sure the ground is level
and firm and place the motor-
cycle on its stand.
You adjust the rebound-stage
characteristic by turning adjust-
ing screw 1.
435zOperation
Page 39 of 132
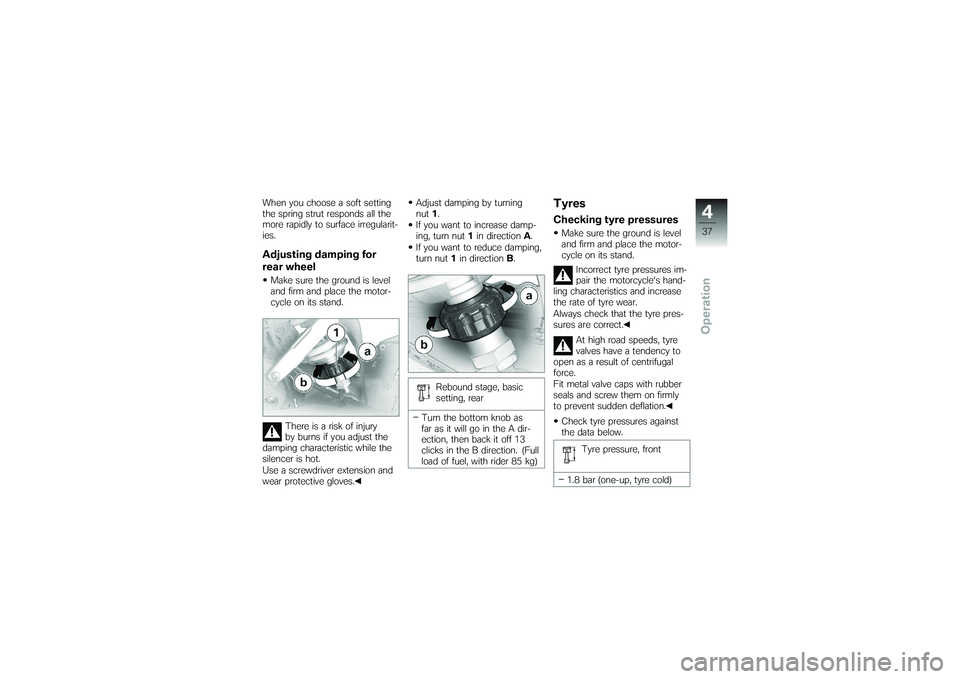
When you choose a soft setting
the spring strut responds all the
more rapidly to surface irregularit-
ies.Adjusting damping for
rear wheelMake sure the ground is level
and firm and place the motor-
cycle on its stand.There is a risk of injury
by burns if you adjust the
damping characteristic while the
silencer is hot.
Use a screwdriver extension and
wear protective gloves. Adjust damping by turning
nut
1.
If you want to increase damp-
ing, turn nut 1in direction A.
If you want to reduce damping,
turn nut 1in direction B.
Rebound stage, basic
setting, rear
Turn the bottom knob as
far as it will go in the A dir-
ection, then back it off 13
clicks in the B direction. (Full
load of fuel, with rider 85 kg)
TyresChecking tyre pressuresMake sure the ground is level
and firm and place the motor-
cycle on its stand. Incorrect tyre pressures im-
pair the motorcycle's hand-
ling characteristics and increase
the rate of tyre wear.
Always check that the tyre pres-
sures are correct.
At high road speeds, tyre
valves have a tendency to
open as a result of centrifugal
force.
Fit metal valve caps with rubber
seals and screw them on firmly
to prevent sudden deflation.
Check tyre pressures against
the data below.
Tyre pressure, front
1.8 bar (one-up, tyre cold)
437zOperation
Page 43 of 132
Riding
Riding
Safety instructions . .................. 42
Checklist . ............................ 44
Starting . . ............................ 44
Running in ........................... 46
Brakes . . . ............................ 47
Parking your motorcycle . ............ 49
Refuelling ............................ 50
541zRiding