lock BMW MOTORRAD K 1200 R 2008 Rider's Manual (in English)
[x] Cancel search | Manufacturer: BMW MOTORRAD, Model Year: 2008, Model line: K 1200 R, Model: BMW MOTORRAD K 1200 R 2008Pages: 165, PDF Size: 2.18 MB
Page 41 of 165
tional for a limited period
of time.
The battery can be
recharged via the on-board
socket.Locking the handlebars
If the motorcycle is on
the side stand, the sur-
face of the ground will de-
termine whether it is better to
turn the handlebars to the left
or right. However, the motor-
cycle is more stable on a level
surface with the handlebars
turned to the left than with the handlebars turned to the
right.
On level ground, always turn
the handlebars to the left to
set the steering lock.
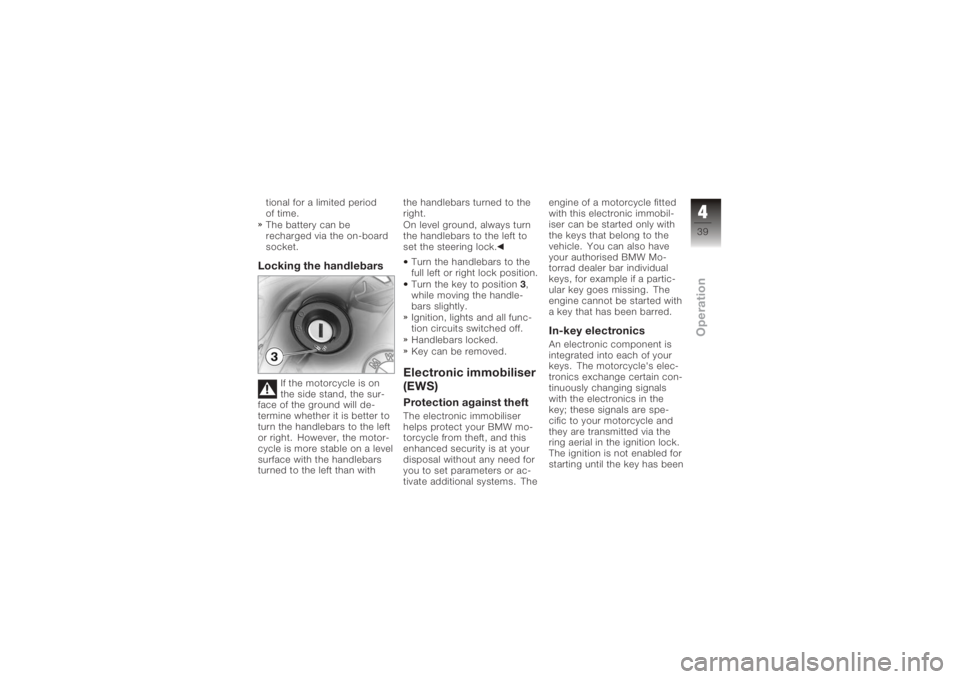
Turn the handlebars to the
full left or right lock position.
Turn the key to position 3,
while moving the handle-
bars slightly.
Ignition, lights and all func-
tion circuits switched off.
Handlebars locked.
Key can be removed.
Electronic immobiliser
(EWS)Protection against theftThe electronic immobiliser
helps protect your BMW mo-
torcycle from theft, and this
enhanced security is at your
disposal without any need for
you to set parameters or ac-
tivate additional systems. The engine of a motorcycle fitted
with this electronic immobil-
iser can be started only with
the keys that belong to the
vehicle. You can also have
your authorised BMW Mo-
torrad dealer bar individual
keys, for example if a partic-
ular key goes missing. The
engine cannot be started with
a key that has been barred.
In-key electronicsAn electronic component is
integrated into each of your
keys. The motorcycle's elec-
tronics exchange certain con-
tinuously changing signals
with the electronics in the
key; these signals are spe-
cific to your motorcycle and
they are transmitted via the
ring aerial in the ignition lock.
The ignition is not enabled for
starting until the key has been
439zOperation
Page 45 of 165
On-board computer
OE
Pushbutton, on-board
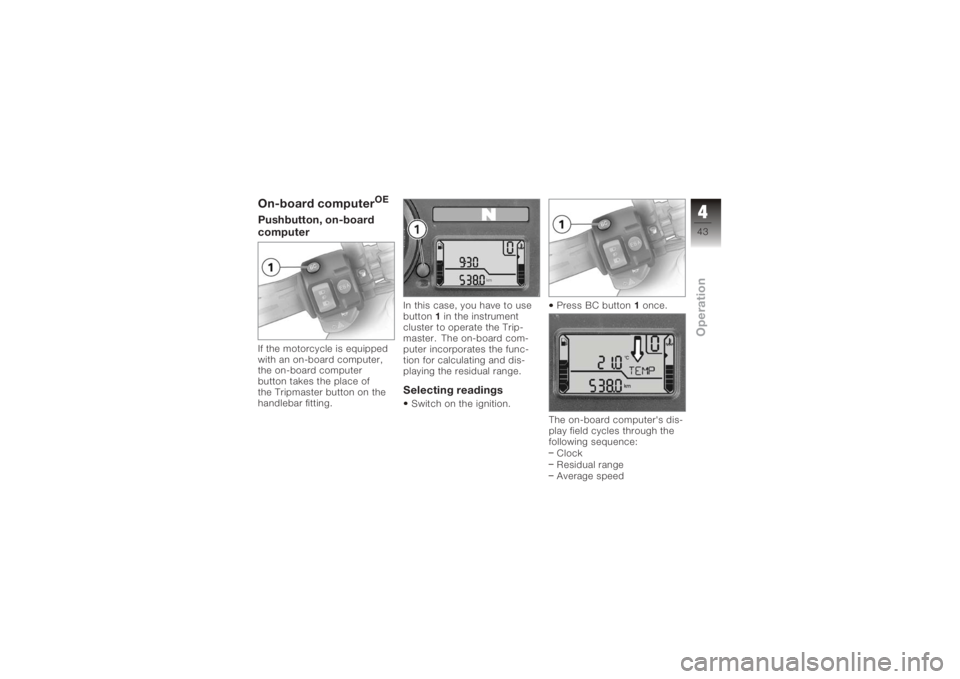
computerIf the motorcycle is equipped
with an on-board computer,
the on-board computer
button takes the place of
the Tripmaster button on the
handlebar fitting.In this case, you have to use
button
1in the instrument
cluster to operate the Trip-
master. The on-board com-
puter incorporates the func-
tion for calculating and dis-
playing the residual range.
Selecting readingsSwitch on the ignition. Press BC button
1once.
The on-board computer's dis-
play field cycles through the
following sequence: Clock
Residual range
Average speed
443zOperation
Page 48 of 165
ClockSetting the clockYou have the option of using
Tripmaster button1to set the
clock as described below.Setting the clockSwitch on the ignition. Attempting to set the
clock while riding the
motorcycle can lead to ac-
cidents.
Set the clock only when the
motorcycle is stationary.
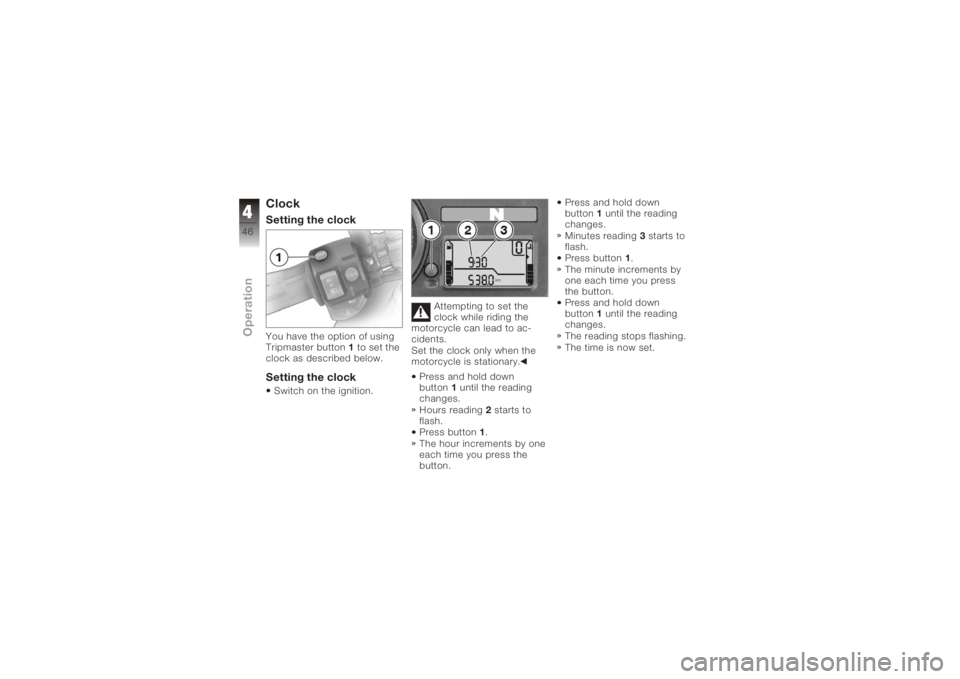
Press and hold down
button 1until the reading
changes.
Hours reading 2starts to
flash.
Press button 1.
The hour increments by one
each time you press the
button. Press and hold down
button
1until the reading
changes.
Minutes reading 3starts to
flash.
Press button 1.
The minute increments by
one each time you press
the button.
Press and hold down
button 1until the reading
changes.
The reading stops flashing.
The time is now set.
446zOperation
Page 49 of 165
Emergency off switch
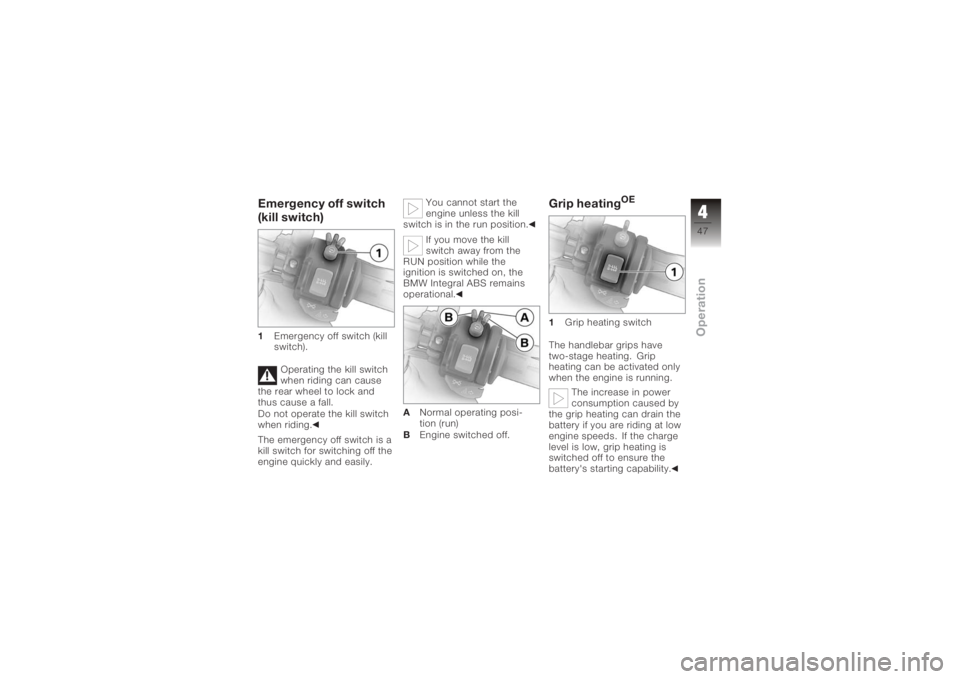
(kill switch)1Emergency off switch (kill
switch).
Operating the kill switch
when riding can cause
the rear wheel to lock and
thus cause a fall.
Do not operate the kill switch
when riding.
The emergency off switch is a
kill switch for switching off the
engine quickly and easily. You cannot start the
engine unless the kill
switch is in the run position.
If you move the kill
switch away from the
RUN position while the
ignition is switched on, the
BMW Integral ABS remains
operational.
A Normal operating posi-
tion (run)
B Engine switched off.
Grip heating
OE
1 Grip heating switch
The handlebar grips have
two-stage heating. Grip
heating can be activated only
when the engine is running. The increase in power
consumption caused by
the grip heating can drain the
battery if you are riding at low
engine speeds. If the charge
level is low, grip heating is
switched off to ensure the
battery's starting capability.
447zOperation
Page 50 of 165
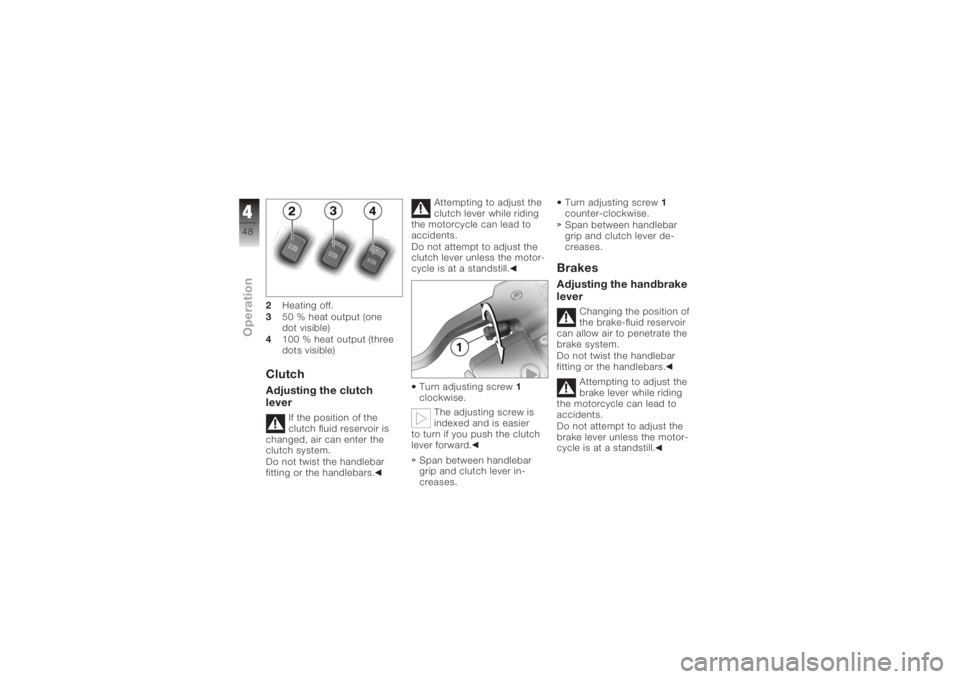
2Heating off.
3 50 % heat output (one
dot visible)
4 100 % heat output (three
dots visible)ClutchAdjusting the clutch
lever
If the position of the
clutch fluid reservoir is
changed, air can enter the
clutch system.
Do not twist the handlebar
fitting or the handlebars. Attempting to adjust the
clutch lever while riding
the motorcycle can lead to
accidents.
Do not attempt to adjust the
clutch lever unless the motor-
cycle is at a standstill.
Turn adjusting screw 1
clockwise.
The adjusting screw is
indexed and is easier
to turn if you push the clutch
lever forward.
Span between handlebar
grip and clutch lever in-
creases. Turn adjusting screw
1
counter-clockwise.
Span between handlebar
grip and clutch lever de-
creases.
BrakesAdjusting the handbrake
lever
Changing the position of
the brake-fluid reservoir
can allow air to penetrate the
brake system.
Do not twist the handlebar
fitting or the handlebars.
Attempting to adjust the
brake lever while riding
the motorcycle can lead to
accidents.
Do not attempt to adjust the
brake lever unless the motor-
cycle is at a standstill.
448zOperation
Page 51 of 165
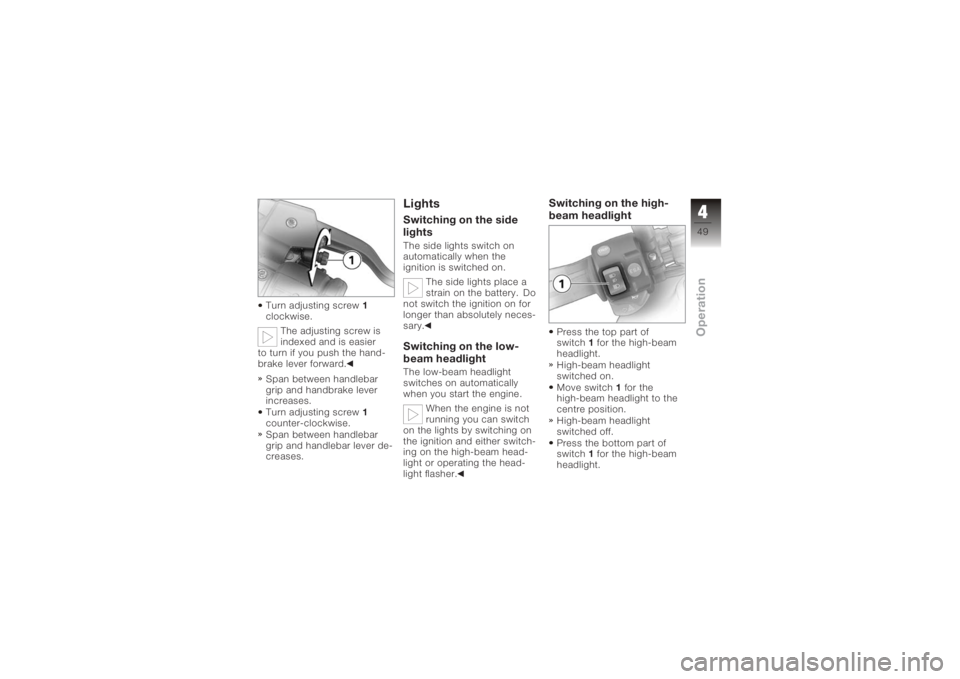
Turn adjusting screw1
clockwise.
The adjusting screw is
indexed and is easier
to turn if you push the hand-
brake lever forward.
Span between handlebar
grip and handbrake lever
increases.
Turn adjusting screw 1
counter-clockwise.
Span between handlebar
grip and handlebar lever de-
creases.
LightsSwitching on the side
lightsThe side lights switch on
automatically when the
ignition is switched on.
The side lights place a
strain on the battery. Do
not switch the ignition on for
longer than absolutely neces-
sary.Switching on the low-
beam headlightThe low-beam headlight
switches on automatically
when you start the engine.
When the engine is not
running you can switch
on the lights by switching on
the ignition and either switch-
ing on the high-beam head-
light or operating the head-
light flasher.
Switching on the high-
beam headlightPress the top part of
switch 1for the high-beam
headlight.
High-beam headlight
switched on.
Move switch 1for the
high-beam headlight to the
centre position.
High-beam headlight
switched off.
Press the bottom part of
switch 1for the high-beam
headlight.
449zOperation
Page 54 of 165
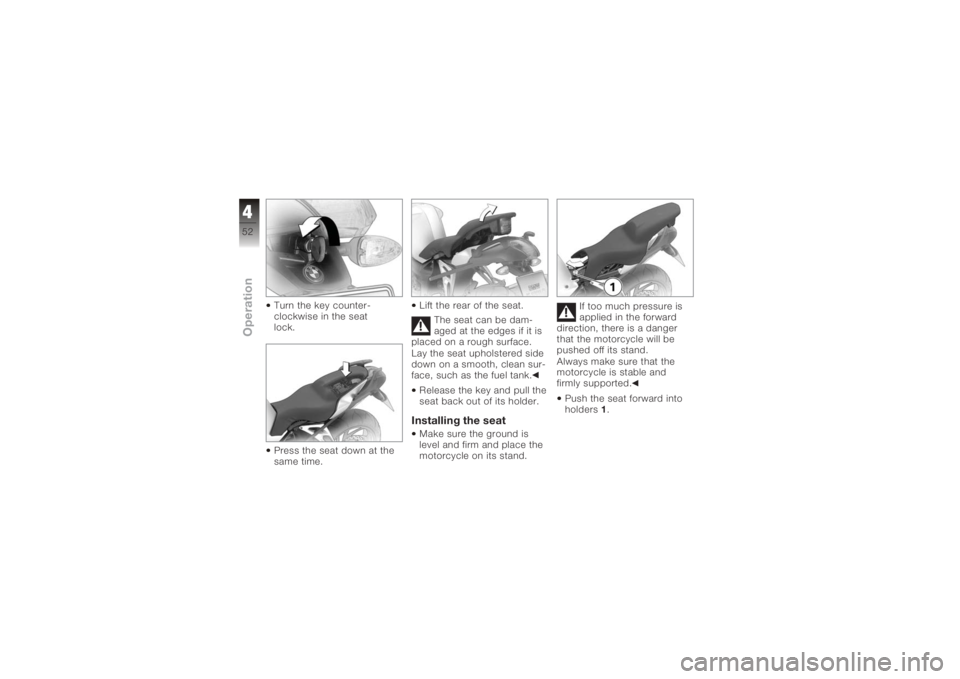
Turn the key counter-
clockwise in the seat
lock.
Press the seat down at the
same time.Lift the rear of the seat.
The seat can be dam-
aged at the edges if it is
placed on a rough surface.
Lay the seat upholstered side
down on a smooth, clean sur-
face, such as the fuel tank.
Release the key and pull the
seat back out of its holder.
Installing the seatMake sure the ground is
level and firm and place the
motorcycle on its stand. If too much pressure is
applied in the forward
direction, there is a danger
that the motorcycle will be
pushed off its stand.
Always make sure that the
motorcycle is stable and
firmly supported.
Push the seat forward into
holders 1.
452zOperation
Page 55 of 165
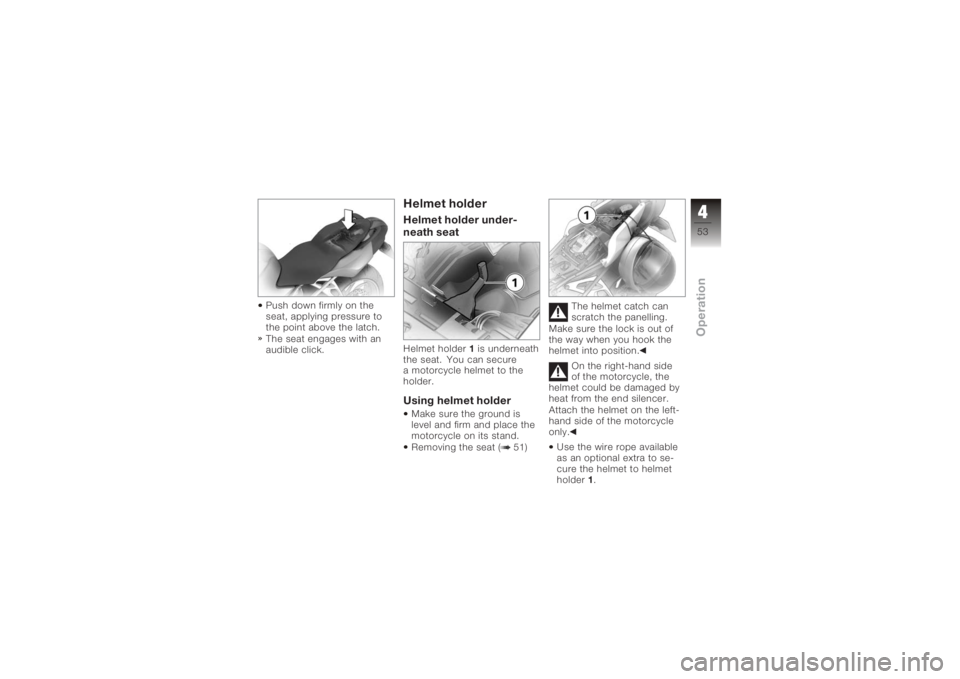
Push down firmly on the
seat, applying pressure to
the point above the latch.
The seat engages with an
audible click.
Helmet holderHelmet holder under-
neath seatHelmet holder1is underneath
the seat. You can secure
a motorcycle helmet to the
holder.Using helmet holderMake sure the ground is
level and firm and place the
motorcycle on its stand.
Removing the seat ( 51) The helmet catch can
scratch the panelling.
Make sure the lock is out of
the way when you hook the
helmet into position.
On the right-hand side
of the motorcycle, the
helmet could be damaged by
heat from the end silencer.
Attach the helmet on the left-
hand side of the motorcycle
only.
Use the wire rope available
as an optional extra to se-
cure the helmet to helmet
holder 1.
453zOperation
Page 73 of 165
Parking your motor-
cycle
Placing motorcycle on
side stand
If the ground is soft or
uneven, there is no guar-
antee that the motorcycle will
rest firmly on the stand.
Always check that the ground
under the stand is level and
firm.
Switch off the engine.
Pull the handbrake lever.
Hold the motorcycle upright
and balanced.
Use your left foot to extend
the side stand fully (arrow). The side stand is de-
signed to support only
the weight of the motorcycle.
Do not lean or sit on the mo-
torcycle with the side stand
extended. Slowly lean the motorcycle
to the side until its weight
is taken by the stand and
dismount to the left.
If the motorcycle is on
the side stand, the sur-
face of the ground will de-
termine whether it is better to
turn the handlebars to the left
or right. However, the motor-
cycle is more stable on a level
surface with the handlebars
turned to the left than with
the handlebars turned to the
right.
On level ground, always turn
the handlebars to the left to
set the steering lock.
Turn the handlebars to full
left or right lock.
Check that the motorcycle
is standing firmly. On a gradient, the mo-
torcycle should always
face uphill; select 1st gear.
571zRiding
Page 75 of 165
Removing motorcycle
from side standUnlock the steering lock.
with OE BMW Motorrad Integ-
ral ABS:
Brake servo assistance
is not available when the
ignition is off; the motorcycle
can start to roll.
Particularly when the motor-
cycle is parked on a gradi-
ent, switch on the ignition and
wait for the ABS to complete
its self-diagnosis.
Switch on the ignition.
Wait for ABS self-diagnosis
to complete.
From the left, grip the
handlebars with both hands.
Pull the handbrake lever.
Swing your right leg over
the seat and lift the motor- cycle to the upright posi-
tion.
Hold the motorcycle upright
and balanced.
An extended side stand
can catch on the ground
when the motorcycle is mov-
ing and lead to a fall.
Retract the side stand before
moving the motorcycle.
Sit on the motorcycle and
use your left foot to retract
the side stand.
573zRiding