ESP BMW X5 2011 E70 Workshop Manual
[x] Cancel search | Manufacturer: BMW, Model Year: 2011, Model line: X5, Model: BMW X5 2011 E70Pages: 312, PDF Size: 8.91 MB
Page 156 of 312
Destination entry
154
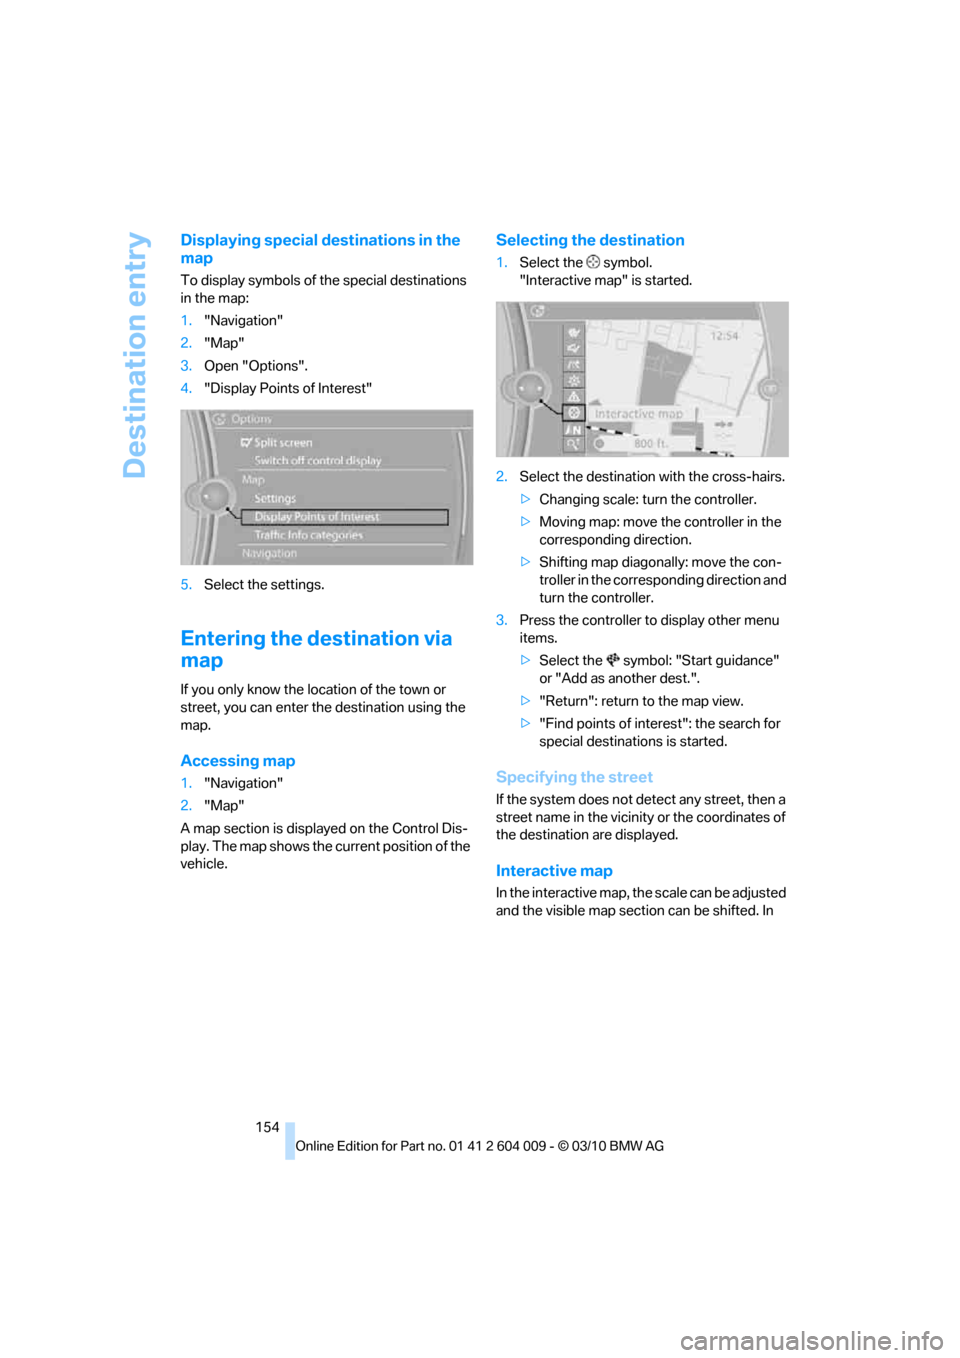
Displaying special destinations in the
map
To display symbols of the special destinations
in the map:
1."Navigation"
2."Map"
3.Open "Options".
4."Display Points of Interest"
5.Select the settings.
Entering the destination via
map
If you only know the location of the town or
street, you can enter the destination using the
map.
Accessing map
1."Navigation"
2."Map"
A map section is displayed on the Control Dis-
play. The map shows the current position of the
vehicle.
Selecting the destination
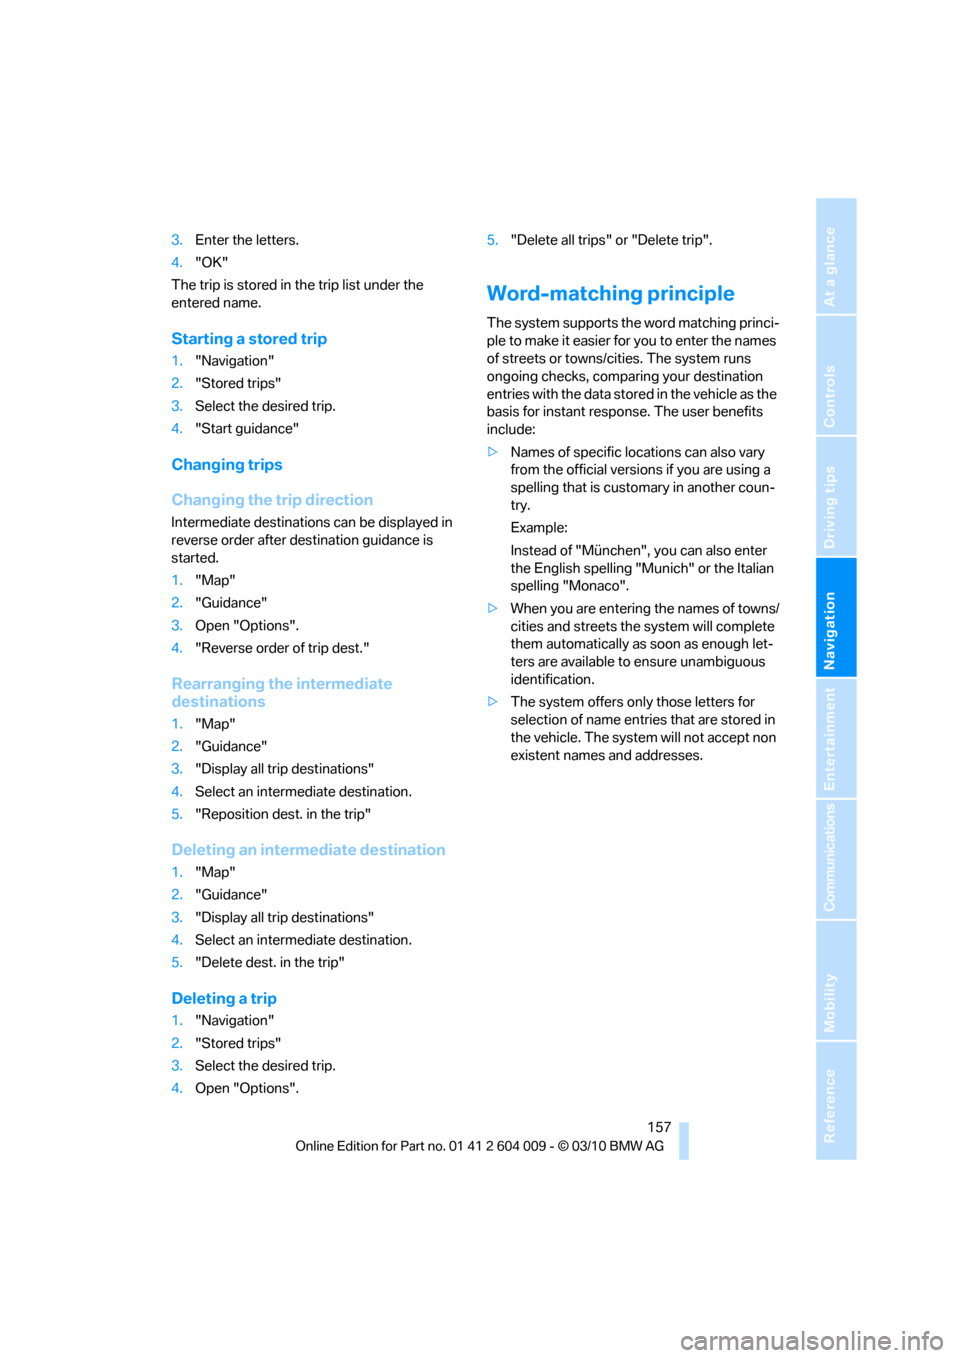
1.Select the symbol.
"Interactive map" is started.
2.Select the destination with the cross-hairs.
>Changing scale: turn the controller.
>Moving map: move the controller in the
corresponding direction.
>Shifting map diagonally: move the con-
troller in the corresponding direction and
turn the controller.
3.Press the controller to display other menu
items.
>Select the symbol: "Start guidance"
or "Add as another dest.".
>"Return": return to the map view.
>"Find points of interest": the search for
special destinations is started.
Specifying the street
If the system does not detect any street, then a
street name in the vicinity or the coordinates of
the destination are displayed.
Interactive map
In the interactive map, the scale can be adjusted
and the visible map section can be shifted. In
Page 159 of 312
Navigation
Driving tips
157Reference
At a glance
Controls
Communications
Entertainment
Mobility
3.Enter the letters.
4."OK"
The trip is stored in the trip list under the
entered name.
Starting a stored trip
1."Navigation"
2."Stored trips"
3.Select the desired trip.
4."Start guidance"
Changing trips
Changing the trip direction
Intermediate destinations can be displayed in
reverse order after destination guidance is
started.
1."Map"
2."Guidance"
3.Open "Options".
4."Reverse order of trip dest."
Rearranging the intermediate
destinations
1."Map"
2."Guidance"
3."Display all trip destinations"
4.Select an intermediate destination.
5."Reposition dest. in the trip"
Deleting an intermediate destination
1."Map"
2."Guidance"
3."Display all trip destinations"
4.Select an intermediate destination.
5."Delete dest. in the trip"
Deleting a trip
1."Navigation"
2."Stored trips"
3.Select the desired trip.
4.Open "Options".5."Delete all trips" or "Delete trip".
Word-matching principle
The system supports the word matching princi-
ple to make it easier for you to enter the names
of streets or towns/cities. The system runs
ongoing checks, comparing your destination
entries with the data stored in the vehicle as the
basis for instant response. The user benefits
include:
>Names of specific locations can also vary
from the official versions if you are using a
spelling that is customary in another coun-
try.
Example:
Instead of "München", you can also enter
the English spelling "Munich" or the Italian
spelling "Monaco".
>When you are entering the names of towns/
cities and streets the system will complete
them automatically as soon as enough let-
ters are available to ensure unambiguous
identification.
>The system offers only those letters for
selection of name entries that are stored in
the vehicle. The system will not accept non
existent names and addresses.
Page 160 of 312
Destination guidance
158
Destination guidance
Starting destination
guidance
1."Navigation"
2."Enter address"
3.Select the destination.
4."Accept destination"
5."Start guidance"
The route is displayed on the Control Display
after it is calculated.
The distance to the destination/intermediate
destination and the estimated time of arrival are
displayed in the map view.
Terminating destination
guidance
1."Navigation"
2."Map"
3.Select the symbol.
4."Stop guidance"
Continuing destination
guidance
If the destination was not reached during the
last trip, destination guidance can be resumed.
"Resume guidance"
Route criteria
General information
You can influence the calculated route by
choosing certain route criteria. You can change
the route criteria as often as you like while
entering the destination and whenever the des-
tination guidance is active.
The route is planned according to fixed rules.
The road type is taken into account, e.g. whether it is a highway or a winding road. As a
result, the routes recommended by the naviga-
tion system may not always be the same ones
that you would choose based on personal expe-
rience.
The settings are stored for the remote control
currently in use.
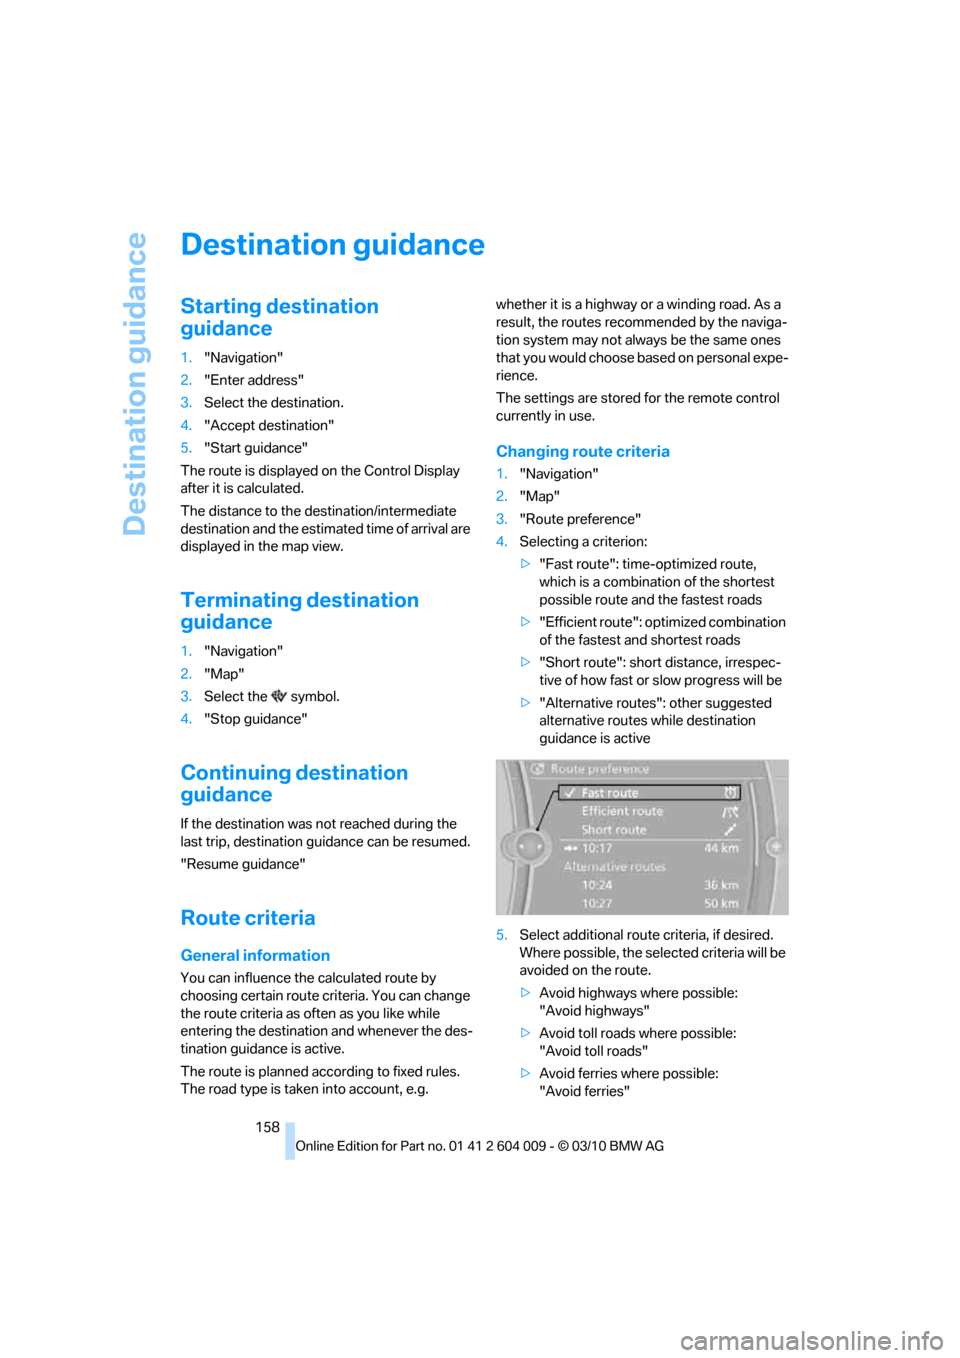
Changing route criteria
1."Navigation"
2."Map"
3."Route preference"
4.Selecting a criterion:
>"Fast route": time-optimized route,
which is a combination of the shortest
possible route and the fastest roads
>"Efficient route": optimized combination
of the fastest and shortest roads
>"Short route": short distance, irrespec-
tive of how fast or slow progress will be
>"Alternative routes": other suggested
alternative routes while destination
guidance is active
5.Select additional route criteria, if desired.
Where possible, the selected criteria will be
avoided on the route.
>Avoid highways where possible:
"Avoid highways"
>Avoid toll roads where possible:
"Avoid toll roads"
>Avoid ferries where possible:
"Avoid ferries"
Page 163 of 312
Navigation
Driving tips
161Reference
At a glance
Controls
Communications
Entertainment
Mobility
Viewing the map
1.Select the symbol.
2.Select a setting:
>"View facing north"
>"View in dir. of travel"
>"Perspective view"
>"Arrow display"
3.Press the controller.
Changing map scale
Select "Interactive map".
>Moving map: move the controller in the cor-
responding direction.
>Shifting map diagonally: move the control-
ler in the corresponding direction and turn
the controller.
Changing scale
1.Select the symbol.
2.Turn the controller to change the scale.
Automatic scaling of the map
In the map display facing north, turn the control-
ler in any direction until AUTO is displayed as
the map scale.
The map shows the entire range from your loca-
tion to the destination.
Settings for the map display
The map appears on the Control Display.
1.Open "Options".
2."Settings"
3.Set the optimum map view.
>"Day/night mode"
Select and create the necessary settings
depending on the light conditions. If
"Traffic conditions/gray map" is acti-
vated, this setting is disregarded.
>"Satellite images"
Depending on availability and resolution, satellite images
* are displayed at scales
of 1 mile to 600 miles/2 km to 1,000 km .
>"Perspective view in 3D"
Displays a spatial view. Prominent land-
marks contained in the navigation data
are displayed on the map in 3D.
>"Traffic conditions/gray map"
The map is optimized to display traffic
information. Symbols for the special
destinations are no longer displayed.
Map view for the split screen display
The map view for the split screen can be
selected separately from the main screen.
1.Open "Options".
2."Split screen"
The split screen is switched on.
3.Move the controller to the right repeatedly
until the split screen content is selected.
4.Select the map view:
>"Arrow display"
>"Map facing north"
>"Map direction of travel"
>"Map view with perspective"
>"Exit ramp view"
Changing scale
1.Move the controller to the right until the
split screen is selected.
2.Turn the controller.
Traffic information*
You can display the traffic bulletins from radio
stations that broadcast the TMC (Traffic Mes-
sage Channel) of a traffic information service.
This information from the traffic information
service is continuously updated on the basis of
measurement data from traffic control centers
and information on traffic congestion.
During destination guidance, traffic bulletins
that are relevant to areas along the route are
automatically displayed and taken into account
Page 164 of 312
Destination guidance
162 in the route planning. You can open all traffic
bulletins manually using iDrive.
The traffic bulletins are shown in the map dis-
play.
Real Time Traffic Information End-User
Provisions
Certain BMW models equipped with navigation
have the capability to display real-time traffic
information. If your system has this capability
the following additional terms and conditions
apply:
An End-User shall no longer have the right to
use the Traffic Data in the event that the End-
User is in material breach of the terms and con-
ditions contained herein.
A. Total Traffic Network, a division of Clear
Channel Broadcasting, Inc. ("Total Traffic Net-
work") holds the rights to the traffic incident
data and RDS-TMC network through which it is
delivered. You may not modify, copy, scan or
use any other method to reproduce, duplicate,
republish, transmit or distribute in any way any
portion of traffic incident data. You agree to
indemnify, defend and hold harmless BMW of
North America, LLC. ("BMW NA") and Total
Traffic Network, Inrix, Inc. (and their affiliates)
against any and all claims, damages, costs or
other expenses that arise directly or indirectly
out of (a) your unauthorized use of the traffic
incident data or the RDS-TMC network, (b) your
violation of this directive and/or (c) any unautho-
rized or unlawful activities by you in connection
herewith.
B. Total Traffic Network traffic data is informa-
tional only. User assumes all risk of use. Total
Traffic Network, BMW NA, and their suppliers
make no representations about content, traffic
and road conditions, route usability, or speed.
C. The licensed material is provided to license
"as is," and "where is". Total Traffic Network,
including, but not limited to, any and all third
party providers of any of the licensed material,
expressly disclaims, to the fullest extent permit-
ted by law, all warranties or representations
with respect to the licensed material (including,
without limitation, that the licensed material will be error-free, will operate without interruption
or that the traffic data will be accurate), express,
implied or statutory, including, without limita-
tion, the implied warranties of merchantability,
non-infringement fitness for a particular pur-
pose, or those arising from a course of dealing
or usage of trade.
D. Neither Total Traffic Network, Inrix, Inc. nor
BMW NA will be liable to you for any indirect,
special, consequential, exemplary, or incidental
damages (including, without limitation, lost rev-
enues, anticipated revenues, or profits relating
to the same) arising from any claim relating
directly or indirectly to use of the traffic data,
and even if Total Traffic Network, Inrix, Inc. or
BMW NA is aware of the possibility of such
damages. These limitations apply to all claims,
including, without limitation, claims in contract
and tort (such as negligence, product liability
and strict liability). Some states do not allow the
exclusion or limitation of incidental or conse-
quential damages, so those particular limita-
tions may not apply to you.
Activating/deactivating reception
1."Navigation"
2.Open "Options".
3.Activate/deactivate "Receive Traffic Info".
Traffic bulletins in a list
A list of the traffic bulletins can be opened via
the menu or map display.
Opening traffic bulletins
1."Navigation"
2."Map"
3.Move the controller to the left, if necessary.
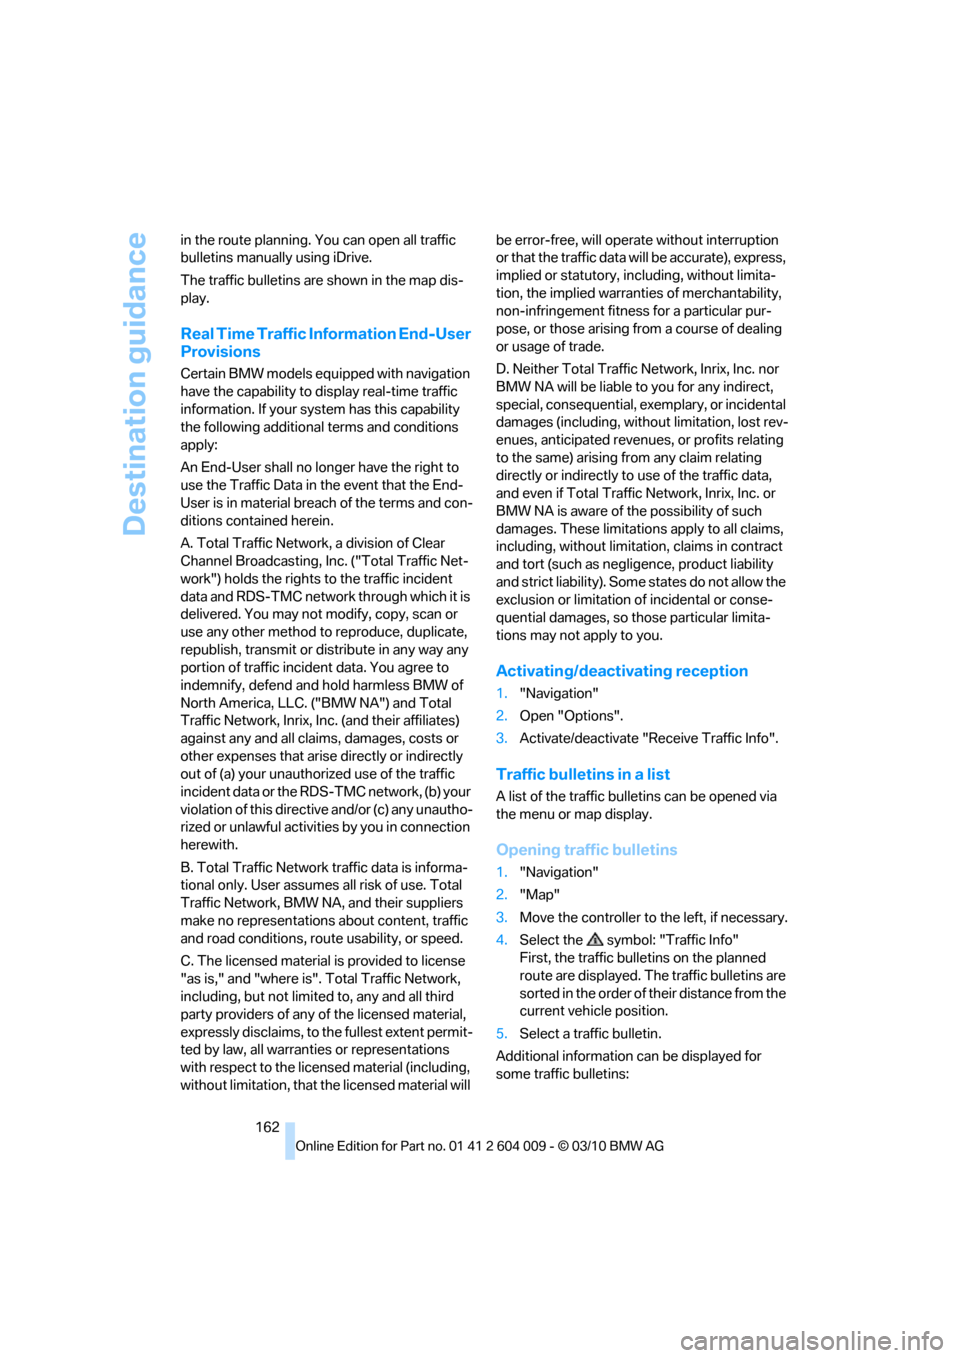
4.Select the symbol: "Traffic Info"
First, the traffic bulletins on the planned
route are displayed. The traffic bulletins are
sorted in the order of their distance from the
current vehicle position.
5.Select a traffic bulletin.
Additional information can be displayed for
some traffic bulletins:
Page 165 of 312
Navigation
Driving tips
163Reference
At a glance
Controls
Communications
Entertainment
Mobility
1.Select the symbol.
2.Additional information is displayed.
3.To exit from the menu:
Move the controller to the left.
Traffic bulletins in the map
When the traffic info map is activated, the pic-
ture on the Control Display is switched to a
grayscale. This permits an optimized depiction
of traffic information. The day/night mode is dis-
regarded in this setting. The symbols for the
special destinations are no longer displayed.
1."Navigation"
2."Map"
3.Open "Options".
4."Settings"
5."Traffic conditions/gray map"
Symbols in map view
The symbols of traffic obstructions are dis-
played differently, depending on the scale of
the map and location of the traffic obstruction in
relation to the route.
Additional information in the map
display
Depending on the map scale, the length, direc-
tion, and effects of a traffic obstruction are
depicted by traffic symbols in the map or by
bars along the planned route. The colors dis-
played depend on the information sent by the
traffic information service.
>Red: traffic congestion
>Orange: stop-and-go traffic
>Yellow: heavy traffic
>Green: clear roads
>Gray: general traffic information such as
road construction
Filtering of traffic bulletins
You can filter which traffic bulletins are to be
displayed by the system:
1."Navigation"
2."Map"3.Open "Options".
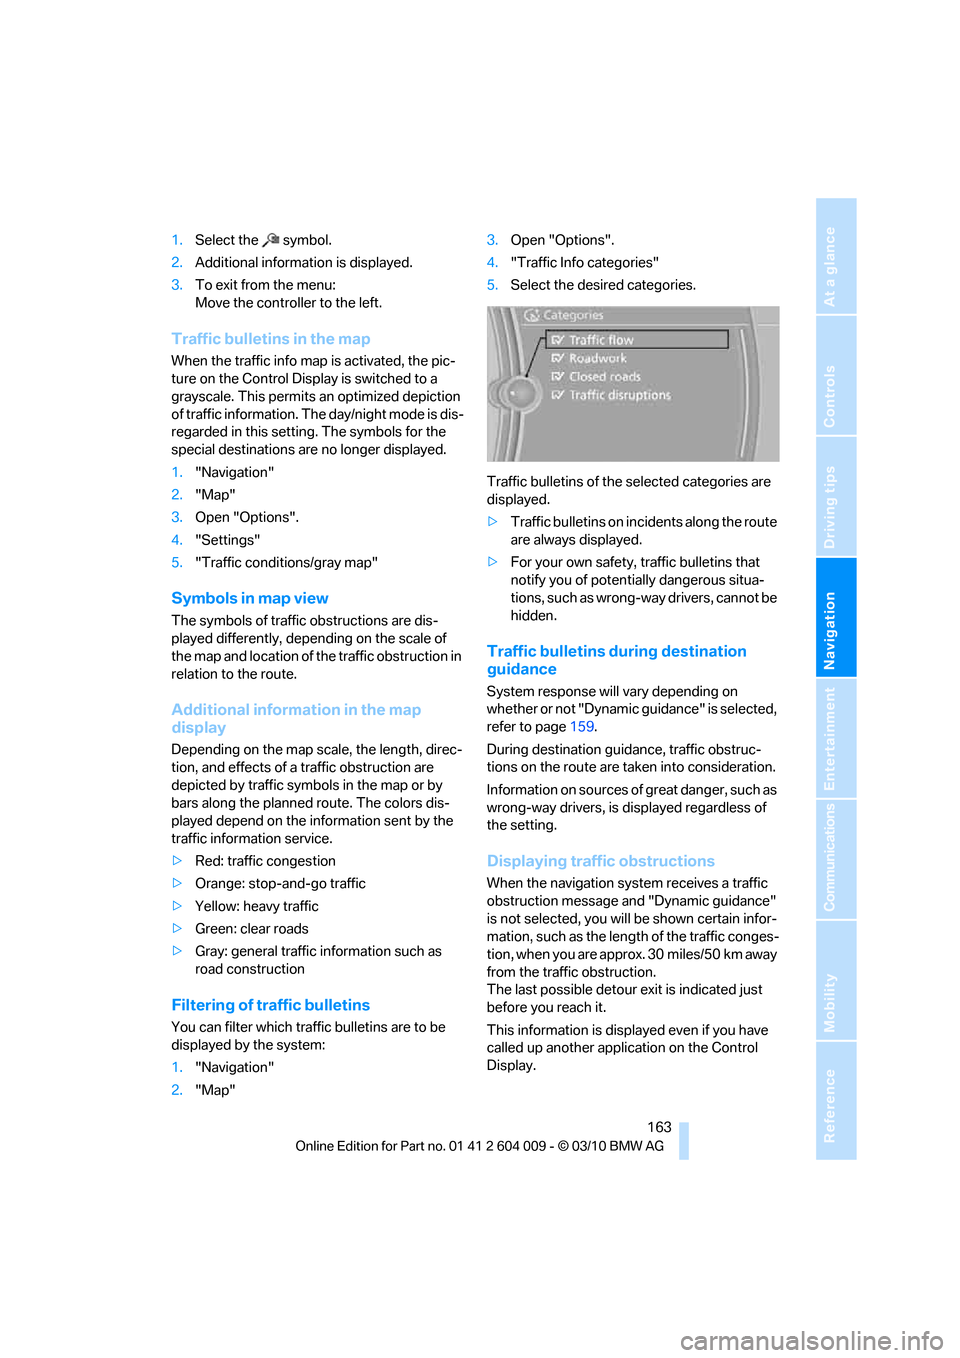
4."Traffic Info categories"
5.Select the desired categories.
Traffic bulletins of the selected categories are
displayed.
>Traffic bulletins on incidents along the route
are always displayed.
>For your own safety, traffic bulletins that
notify you of potentially dangerous situa-
tions, such as wrong-way drivers, cannot be
hidden.
Traffic bulletins during destination
guidance
System response will vary depending on
whether or not "Dynamic guidance" is selected,
refer to page159.
During destination guidance, traffic obstruc-
tions on the route are taken into consideration.
Information on sources of great danger, such as
wrong-way drivers, is displayed regardless of
the setting.
Displaying traffic obstructions
When the navigation system receives a traffic
obstruction message and "Dynamic guidance"
is not selected, you will be shown certain infor-
mation, such as the length of the traffic conges-
tion, when you are approx. 30 miles/50 km away
from the traffic obstruction.
The last possible detour exit is indicated just
before you reach it.
This information is displayed even if you have
called up another application on the Control
Display.
Page 173 of 312
Navigation
Entertainment
Driving tips
171Reference
At a glance
Controls
Communications
Mobility
Radio
Your radio is designed for reception of the fol-
lowing stations:
>FM and AM
>HD Radio
*
>Satellite radio*
Selecting a station
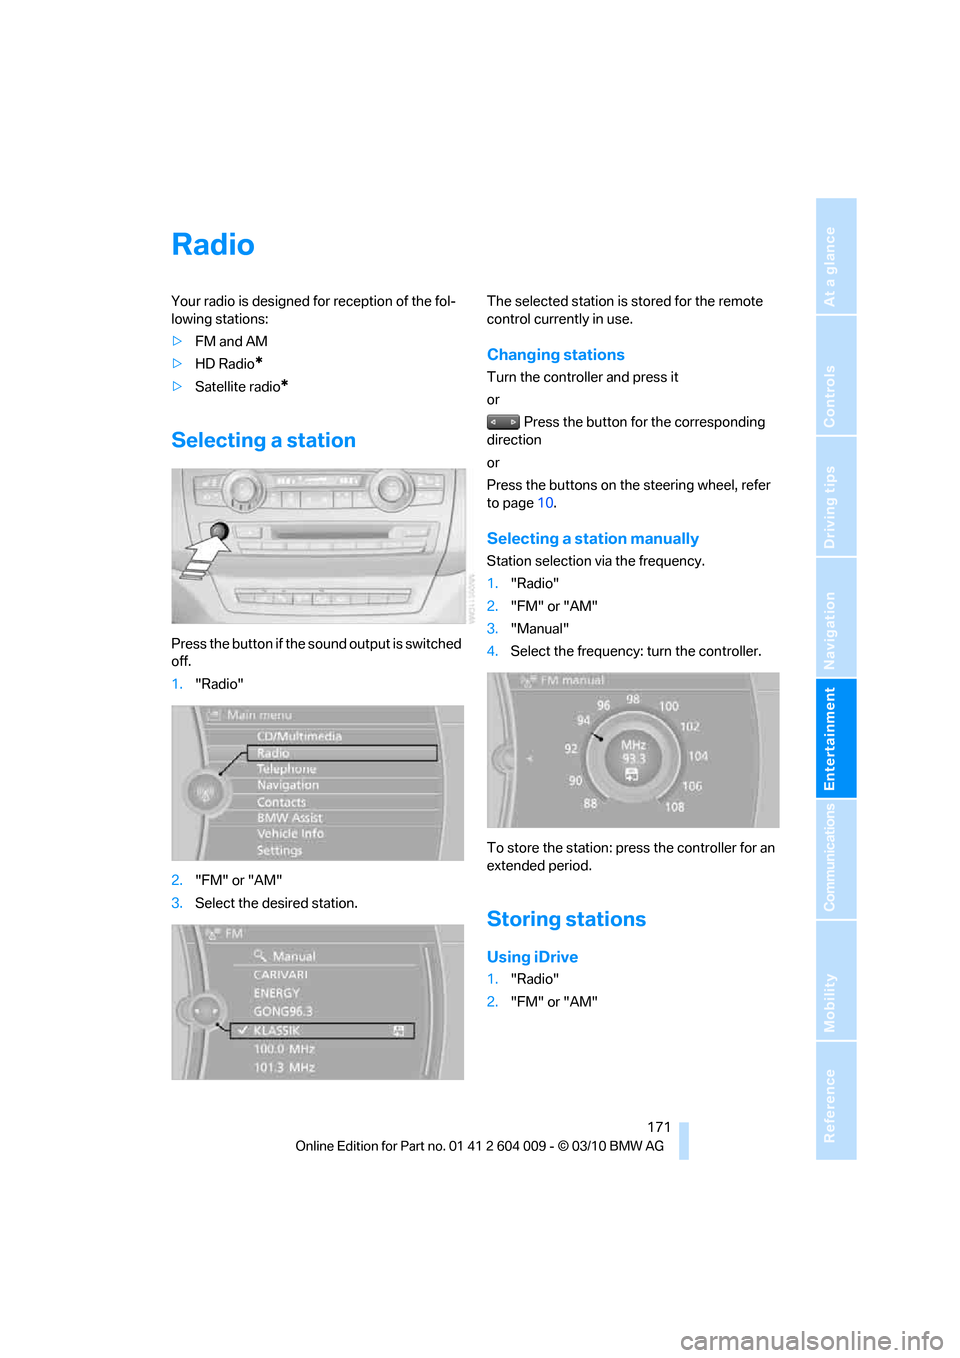
Press the button if the sound output is switched
off.
1."Radio"
2."FM" or "AM"
3.Select the desired station.The selected station is stored for the remote
control currently in use.
Changing stations
Turn the controller and press it
or
Press the button for the corresponding
direction
or
Press the buttons on the steering wheel, refer
to page10.
Selecting a station manually
Station selection via the frequency.
1."Radio"
2."FM" or "AM"
3."Manual"
4.Select the frequency: turn the controller.
To store the station: press the controller for an
extended period.
Storing stations
Using iDrive
1."Radio"
2."FM" or "AM"
Page 177 of 312
Navigation
Entertainment
Driving tips
175Reference
At a glance
Controls
Communications
Mobility
4."Manage subscription"
The telephone number and electronic serial
number, ESN, are displayed.
5.Call Sirius to deactivate the channels.
Selecting channels
You can only listen to activated channels.
The selected channel is stored for the remote
control currently in use.
Using iDrive
1."Radio"
2."Satellite radio"
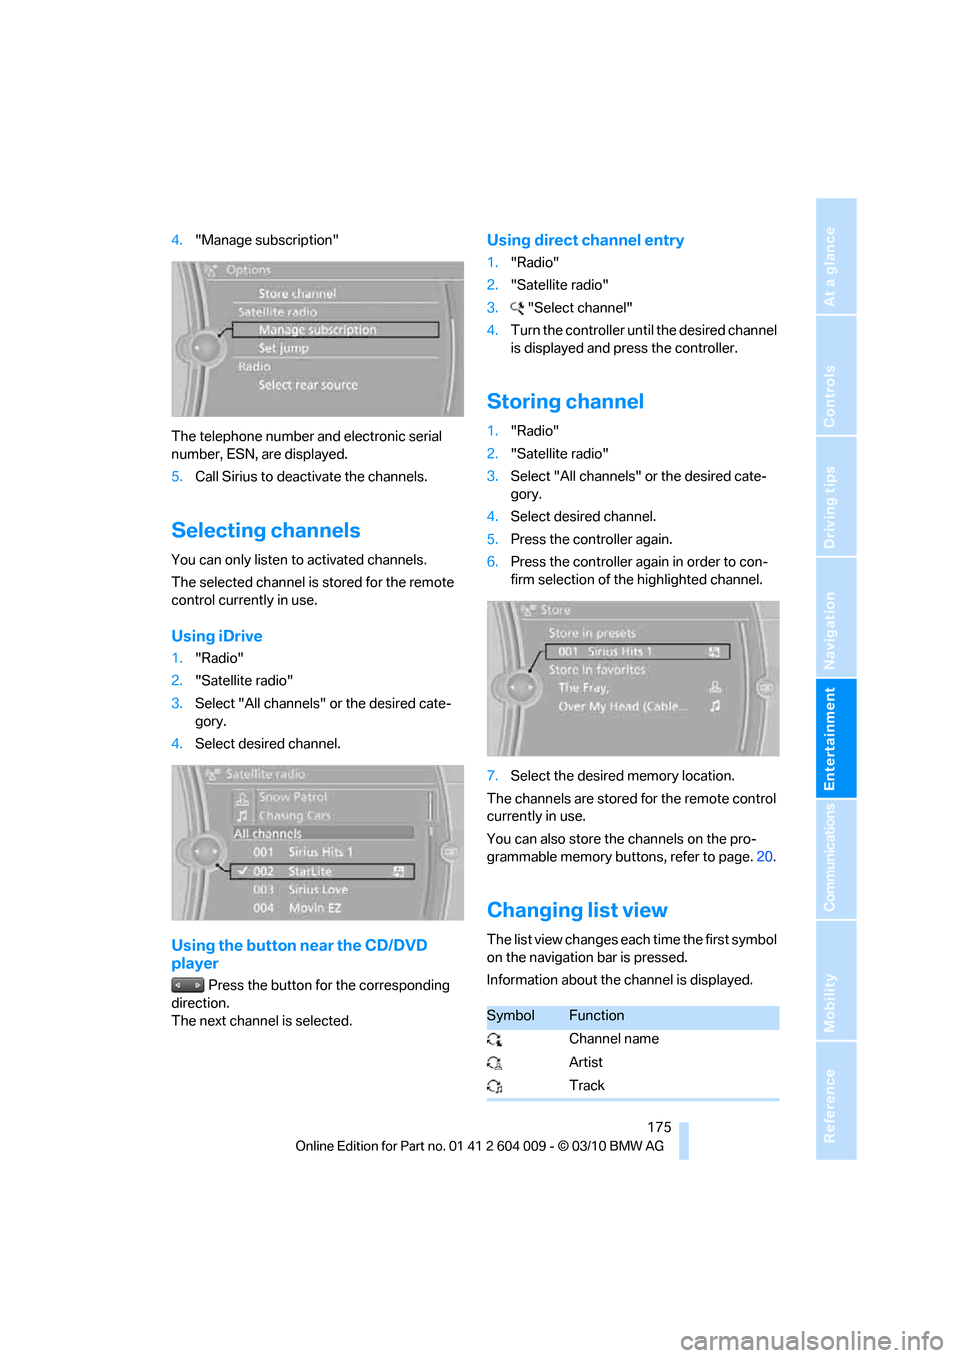
3.Select "All channels" or the desired cate-
gory.
4.Select desired channel.
Using the button near the CD/DVD
player
Press the button for the corresponding
direction.
The next channel is selected.
Using direct channel entry
1."Radio"
2."Satellite radio"
3."Select channel"
4.Turn the controller until the desired channel
is displayed and press the controller.
Storing channel
1."Radio"
2."Satellite radio"
3.Select "All channels" or the desired cate-
gory.
4.Select desired channel.
5.Press the controller again.
6.Press the controller again in order to con-
firm selection of the highlighted channel.
7.Select the desired memory location.
The channels are stored for the remote control
currently in use.
You can also store the channels on the pro-
grammable memory buttons, refer to page.20.
Changing list view
The list view changes each time the first symbol
on the navigation bar is pressed.
Information about the channel is displayed.
SymbolFunction
Channel name
Artist
Track
Page 182 of 312
CD/DVD player and CD/DVD changer
180
Audio playback
Selecting the track using the button
Press the button for the corresponding
direction repeatedly until you reach the desired
track.
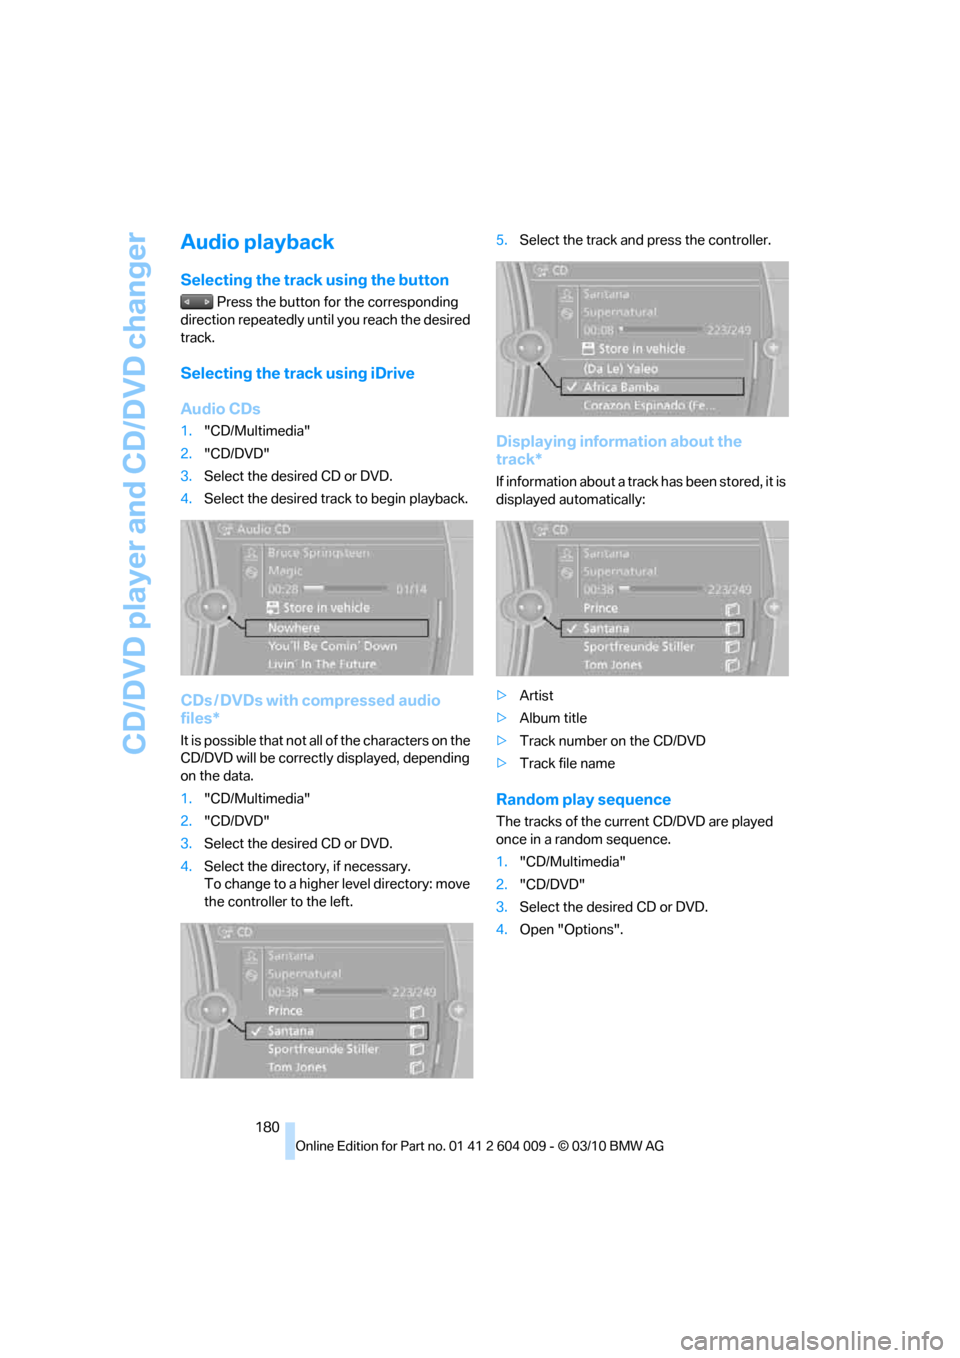
Selecting the track using iDrive
Audio CDs
1."CD/Multimedia"
2."CD/DVD"
3.Select the desired CD or DVD.
4.Select the desired track to begin playback.
CDs / DVDs with compressed audio
files*
It is possible that not all of the characters on the
CD/DVD will be correctly displayed, depending
on the data.
1."CD/Multimedia"
2."CD/DVD"
3.Select the desired CD or DVD.
4.Select the directory, if necessary.
To change to a higher level directory: move
the controller to the left.5.Select the track and press the controller.
Displaying information about the
track*
If information about a track has been stored, it is
displayed automatically:
>Artist
>Album title
>Track number on the CD/DVD
>Track file name
Random play sequence
The tracks of the current CD/DVD are played
once in a random sequence.
1."CD/Multimedia"
2."CD/DVD"
3.Select the desired CD or DVD.
4.Open "Options".
Page 190 of 312
Music collection
188 3."Storing..."
4."Cancel storing"
The storage process is interrupted and can be
continued at any time.
Continuing the storage process
1."CD/Multimedia"
2."CD/DVD"
3. Select the symbol for the CD/DVD
player.
4."Continue storing"
Storage of the CD continues at the beginning of
the track at which storage was interrupted.
Album information
During storage, information such as the name
of the artist is stored with the track, if this infor-
mation is available in the vehicle database or on
the CD.
To update the database, contact your BMW
Sports Activity Vehicle Center.
Storing from a USB device
To store music, a suitable device must be con-
nected to the USB interface in the glove com-
partment.
>Suitable devices: USB mass storage
devices, such as USB flash drives or MP3
players with a USB interface.
>Unsuitable devices: USB hard drives, USB
hubs, USB memory card readers with multi-
ple inserts, Apple iPod/iPhone.
Music from a USB device can be stored
only via the USB interface in the glove
compartment.<1.Connect the USB device to the USB inter-
face in the glove compartment.
2."CD/Multimedia"
3."Music collection"
4.Open "Options".
5."Music data import/export"
6."Import music (USB)"
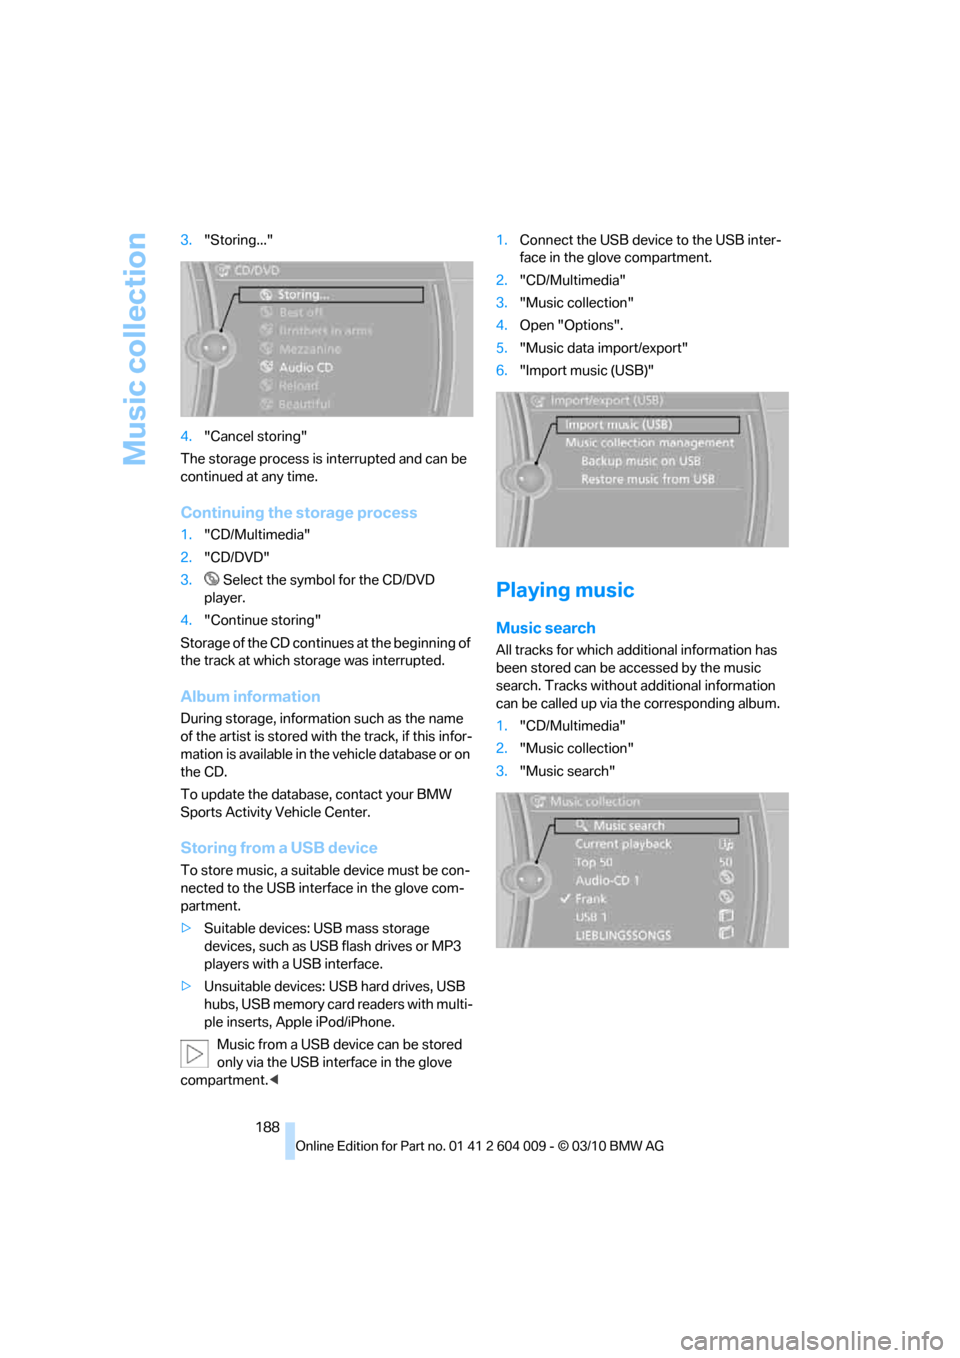
Playing music
Music search
All tracks for which additional information has
been stored can be accessed by the music
search. Tracks without additional information
can be called up via the corresponding album.
1."CD/Multimedia"
2."Music collection"
3."Music search"