ESP BMW X5 4.8IS 2004 E53 Owner's Manual
[x] Cancel search | Manufacturer: BMW, Model Year: 2004, Model line: X5 4.8IS, Model: BMW X5 4.8IS 2004 E53Pages: 200, PDF Size: 3.91 MB
Page 11 of 200
9n
OverviewControlsMaintenanceRepairsDataIndex
Status at time of printing
BMW pursues a policy of continuous,
ongoing development that is conceived
to ensure that our vehicles continue to
embody the highest quality and safety
standards combined with advanced,
state-of-the-art technology. In isolated
cases, the features described in this
Owner's Manual could differ from those
on your vehicle for this reason.
For your own safety
Maintenance and repair:
Advanced technology, e. g. the
use of modern materials and high-
performance electronics, requires spe-
cially adapted maintenance and repair
methods. Therefore, only have corre-
sponding work on your BMW carried
out by a BMW Sports Activity Vehicle
center or a workshop that works
according to BMW repair procedures
with correspondingly trained personnel.
If work is carried out improperly there is
a danger of consequential damage and
the related safety risks.<
Parts and accessories:
For your own safety, use genuine
parts and accessories approved
by BMW.
When you purchase accessories tested
and approved by BMW and Genuine
BMW Parts, you simultaneously acquire
the assurance that they have been thor-
oughly tested by BMW to ensure opti-
mum performance when installed on
your vehicle.
BMW warrants these parts to be free
from defects in material and workman-
ship.
BMW will not accept any liability for
damages resulting from installation of
parts and accessories not approved by
BMW.
BMW cannot test every product on the
market to determine whether it can be
used on a BMW safely and without risk
to either the vehicle, its operation, or its
occupants.
Genuine BMW Parts, BMW Accessories
and other products approved by BMW,
together with professional advice on
using these items, are available from all
BMW Sports Activity Vehicle centers.
Installation and operation of non-BMW
approved accessories such as alarms,
radios, amplifiers, radar detectors,
wheels, suspension components, brake
dust shields, telephones – including
operation of any portable phone from
within the vehicle without using an
externally mounted antenna – or trans-
ceiver equipment such as CB, walkie-
talkie, ham radio or similar accessories,
may cause extensive damage to the
vehicle, compromise its safety, interfere
with the vehicle's electrical system or
affect the validity of the BMW Limited
Warranty. Refer to your BMW Sports
Activity Vehicle center for additional
information.<
Status at time of printing
Notes
Page 21 of 200
19n
OverviewControlsMaintenanceRepairsDataIndex
Indicator and warning lamps
Technology that monitors itself
Indicator and warning lamps that are
identified by
+
are tested for proper
functioning whenever the ignition key is
turned. They each light up once for dif-
ferent periods of time.
If a fault should occur in one of the
monitored systems, the corresponding
lamp does not go out after the engine is
started or it lights up while the vehicle is
moving. You will see how to react to
this in the following section.
Red: stop immediately
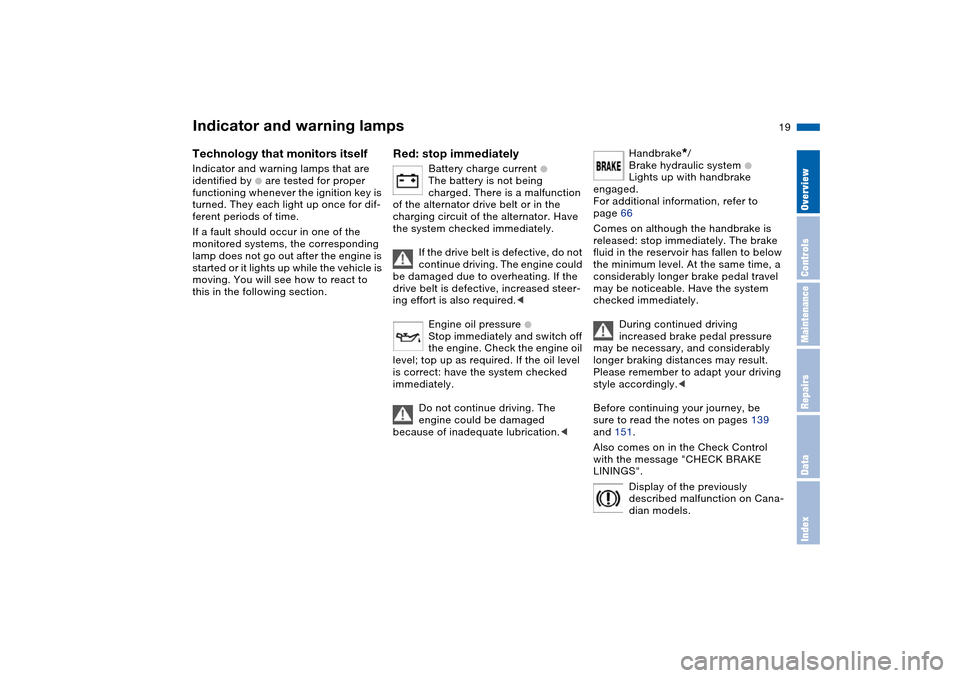
Battery charge current
+
The battery is not being
charged. There is a malfunction
of the alternator drive belt or in the
charging circuit of the alternator. Have
the system checked immediately.
If the drive belt is defective, do not
continue driving. The engine could
be damaged due to overheating. If the
drive belt is defective, increased steer-
ing effort is also required.<
Engine oil pressure +
Stop immediately and switch off
the engine. Check the engine oil
level; top up as required. If the oil level
is correct: have the system checked
immediately.
Do not continue driving. The
engine could be damaged
because of inadequate lubrication.<
Handbrake
*
/
Brake hydraulic system
+
Lights up with handbrake
engaged.
For additional information, refer to
page 66
Comes on although the handbrake is
released: stop immediately. The brake
fluid in the reservoir has fallen to below
the minimum level. At the same time, a
considerably longer brake pedal travel
may be noticeable. Have the system
checked immediately.
During continued driving
increased brake pedal pressure
may be necessary, and considerably
longer braking distances may result.
Please remember to adapt your driving
style accordingly.<
Before continuing your journey, be
sure to read the notes on pages 139
and 151.
Also comes on in the Check Control
with the message "CHECK BRAKE
LININGS".
Display of the previously
described malfunction on Cana-
dian models.
Page 25 of 200
23n
OverviewControlsMaintenanceRepairsDataIndex
Buttons on steering wheel
*
The buttons integrated in the steering
wheel are provided so that you can
operate a number of accessories
quickly and without being distracted
from traffic conditions. You may oper-
ate:
>Selected audio source functions
*
>The recirculated-air mode of the air
conditioner
* or the steering-wheel
heater
*
>The cruise control
>Selected phone functions
* and
>the voice command system*.
In order to operate a system, the
corresponding system must be
switched on.<
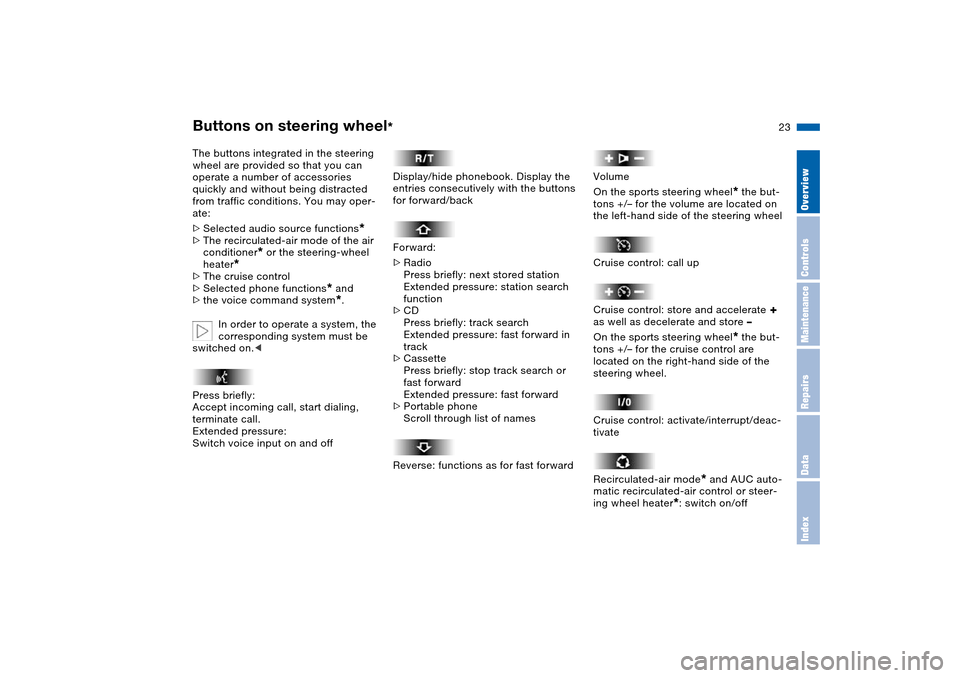
Press briefly:
Accept incoming call, start dialing,
terminate call.
Extended pressure:
Switch voice input on and off
Display/hide phonebook. Display the
entries consecutively with the buttons
for forward/back
Forward:
>Radio
Press briefly: next stored station
Extended pressure: station search
function
>CD
Press briefly: track search
Extended pressure: fast forward in
track
>Cassette
Press briefly: stop track search or
fast forward
Extended pressure: fast forward
>Portable phone
Scroll through list of names
Reverse: functions as for fast forward
Volume
On the sports steering wheel
* the but-
tons +/– for the volume are located on
the left-hand side of the steering wheel
Cruise control: call up
Cruise control: store and accelerate
+
as well as decelerate and store –
On the sports steering wheel
* the but-
tons +/– for the cruise control are
located on the right-hand side of the
steering wheel.
Cruise control: activate/interrupt/deac-
tivate
Recirculated-air mode
* and AUC auto-
matic recirculated-air control or steer-
ing wheel heater
*: switch on/off
Page 28 of 200
26n
Fuel specifications The engine uses lead-free gasoline
only.Required fuelPremium Unleaded Gasoline,
Minimum Octane Rating: 91.
Minimum Octane Rating corresponds
to the Anti Knock Index AKI and is
determined according to the so-called
(R+M)/2 method.
Do not use leaded gasoline, as
otherwise the lambda probe and
catalytic converter will be permanently
damaged.<
Use high-quality brandsField experience has indicated signifi-
cant differences in fuel quality: volatility,
composition, additives, etc., among
gasolines offered for sale in the United
States and Canada. Fuels containing up
to and including 10 % ethanol or other
oxygenates with up to 2.8 % oxygen by
weight, that is, 15 % MTBE or 3 % meth-
anol plus an equivalent amount of co-
solvent, will not void the applicable
warranties with respect to defects in
materials or workmanship.The use of poor-quality fuels may
result in drivability, starting and
stalling problems especially under cer-
tain environmental conditions such as
high ambient temperature and high alti-
tude.
Should you encounter drivability prob-
lems which you suspect could be
related to the fuel you are using, we
recommend that you respond by
switching to a recognized high-quality
brand.
Failure to comply with these recom-
mendations may also result in unsched-
uled maintenance.<
Page 40 of 200
38n
Alarm system The concept The vehicle alarm system responds:
>When a door, the hood, or the liftgate
is opened
>To movement in the vehicle interior:
interior motion sensor
>To variations in the vehicle tilt angle
such as occur during attempts to
steal the wheels or tow the vehicle
>To interruption of battery voltage.
The system responds to unauthorized
vehicle entry and attempted theft by
simultaneously activating the following:
>Sounding an acoustical alarm for
30 seconds
>The hazard warning flashers are acti-
vated for approx. five minutes
>The high beams flash on and off in
the same rhythm.
Arming and disarming alarm
system When you lock or unlock the vehicle,
either with the remote control or at the
door lock, the alarm system is armed or
disarmed at the same time.
You can have different acknowl-
edgment signals set to confirm
arming and disarming.<
The liftgate can also be opened with the
system armed using the button on the
remote control, refer to page 31. The
liftgate is locked again when closed.
Pressing the button longer triggers the
alarm: panic mode, refer to page 32.
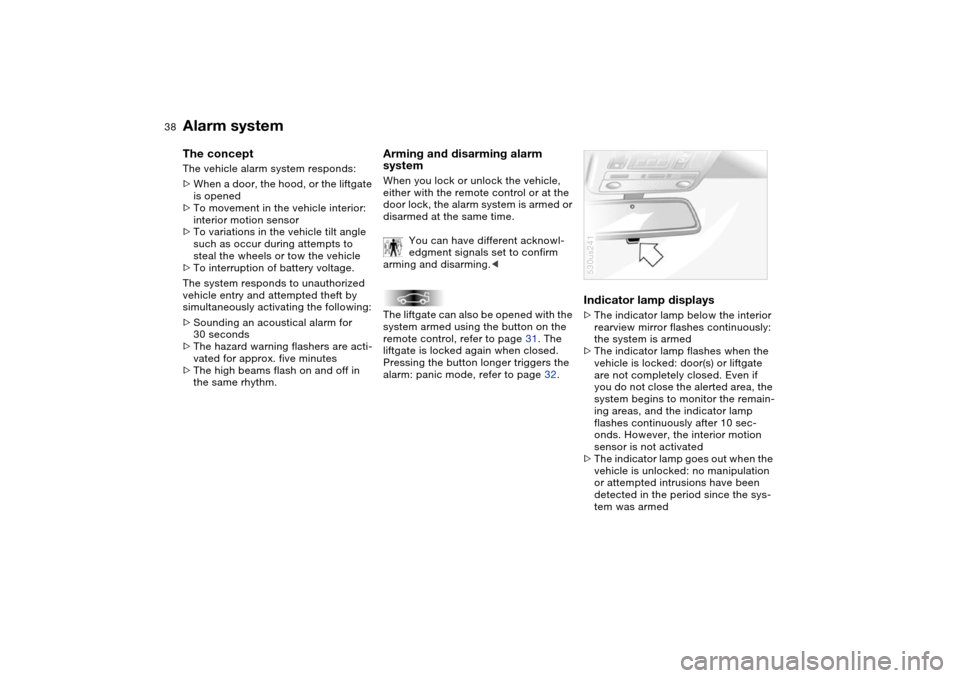
Indicator lamp displays >The indicator lamp below the interior
rearview mirror flashes continuously:
the system is armed
>The indicator lamp flashes when the
vehicle is locked: door(s) or liftgate
are not completely closed. Even if
you do not close the alerted area, the
system begins to monitor the remain-
ing areas, and the indicator lamp
flashes continuously after 10 sec-
onds. However, the interior motion
sensor is not activated
>The indicator lamp goes out when the
vehicle is unlocked: no manipulation
or attempted intrusions have been
detected in the period since the sys-
tem was armed530us241
Page 42 of 200
40n
Windows After the ignition has been switched off:
>You can still operate the windows as
long as neither of the front doors has
been opened. To open the windows,
press the switch beyond the resis-
tance point.
When leaving the vehicle, always
remove the ignition key and close
the doors, as otherwise children could
operate the windows and injure them-
selves etc.<
For the convenience operation via the
remote control or the door lock, refer to
pages 31, 33. Anti-trapping mechanism A contact strip is integrated into the
inner side of each of the upper window
frame sections. If pressure is exerted
against this contact strip while a win-
dow is being raised, the system will
respond by stopping the window and
then retracting it a small distance.
Despite the anti-trapping mecha-
nism, be extremely careful that the
closing path of the window is not
obstructed whenever it is closed.
Otherwise, an object might not touch
the contact strip in some situations,
with very thin objects, for instance.
You can disable the anti-trapping
mechanism by pulling the switch
beyond the resistance point and hold-
ing it.
Because the power windows are sealed
at high pressure to prevent wind noise
when closed, a powerful motor is
required for efficient closing. When
closing the windows, always ensure
that they are not obstructed in any way.
Unsupervised use of these systems can
result in serious personal injury.
Remove the ignition key to deactivate
the power windows whenever you
leave the vehicle. Never leave the keys
in the vehicle with unsupervised chil-
dren. Never place anything that could
obstruct the driver's vision on or next to
the windows.<
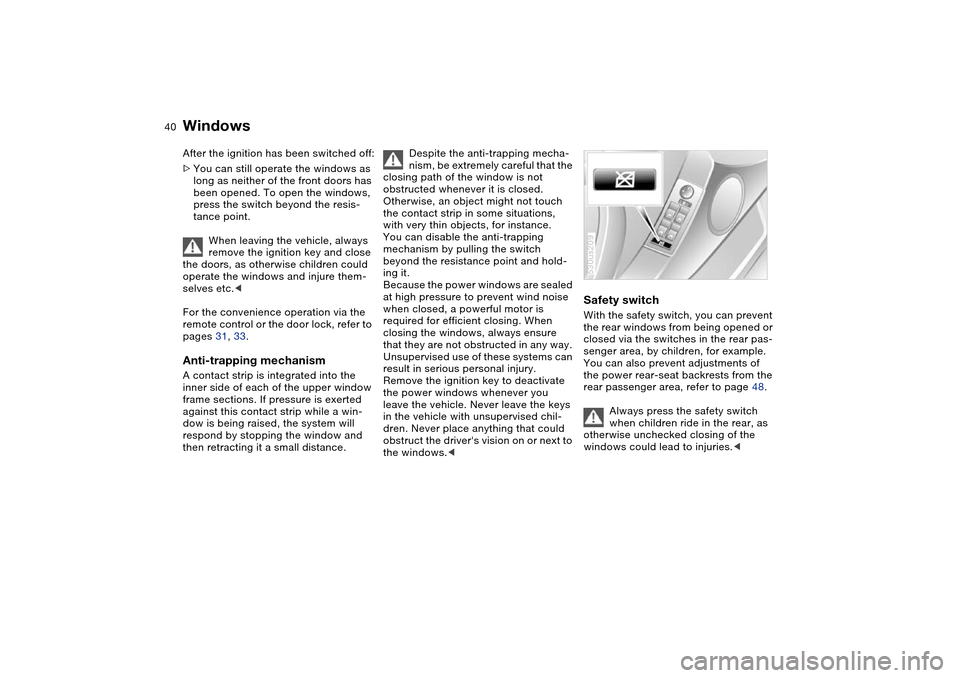
Safety switch With the safety switch, you can prevent
the rear windows from being opened or
closed via the switches in the rear pas-
senger area, by children, for example.
You can also prevent adjustments of
the power rear-seat backrests from the
rear passenger area, refer to page 48.
Always press the safety switch
when children ride in the rear, as
otherwise unchecked closing of the
windows could lead to injuries.<530us209
Page 44 of 200
42n
Panorama glass roof
*
Anti-trapping mechanism If the panorama glass roof or sliding
visor encounter resistance when clos-
ing from roughly one third of the roof
opening or when closing from the
raised position, the closing action is
interrupted and the panorama glass
roof and sliding visor reopen a little.
Despite the anti-trapping mecha-
nism inspect the roof's travel path
prior to closing it, as the safety system
might fail to detect certain kinds of
obstructions, such as very thin objects,
and the roof would continue closing.
The anti-trapping mechanism for clos-
ing the panorama glass roof is deacti-
vated if the switch is pressed beyond
the resistance point and held there. The
closing action is interrupted when you
release the switch.<
Following a power failure Following interruptions in electrical
power, for instance, when the battery is
disconnected, it is possible that the
panorama glass roof will extend to its
tilt-up position, but fail to respond to
other commands. The system must be
initialized. BMW recommends having
this work carried out by your BMW
Sport Activity Vehicle center.
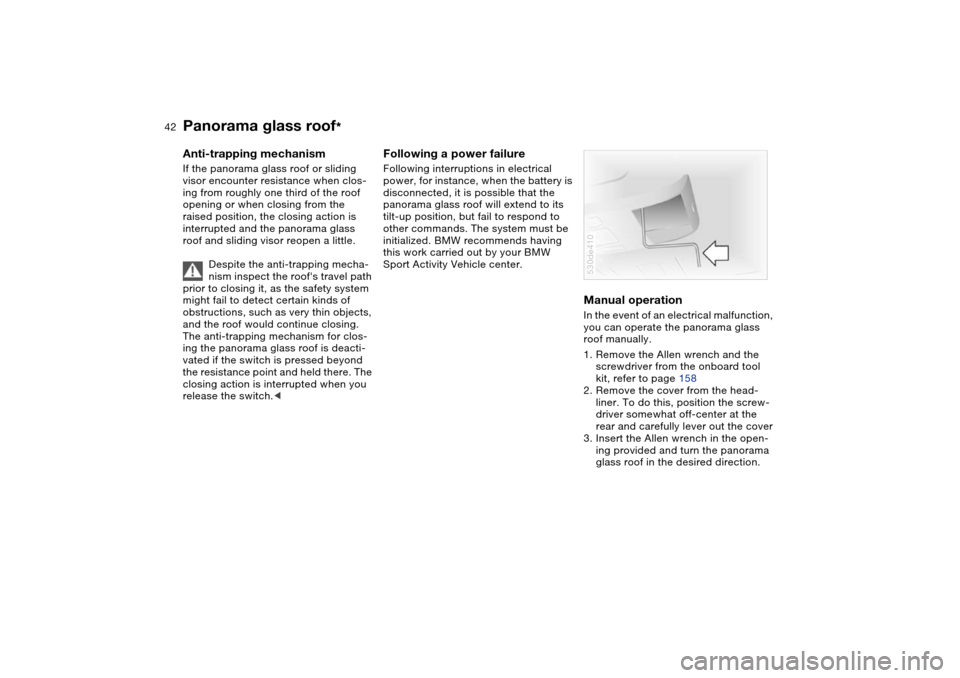
Manual operation In the event of an electrical malfunction,
you can operate the panorama glass
roof manually.
1. Remove the Allen wrench and the
screwdriver from the onboard tool
kit, refer to page 158
2. Remove the cover from the head-
liner. To do this, position the screw-
driver somewhat off-center at the
rear and carefully lever out the cover
3. Insert the Allen wrench in the open-
ing provided and turn the panorama
glass roof in the desired direction.530de410
Page 45 of 200
43n
OverviewControlsMaintenanceRepairsDataIndex
The ideal sitting position can make a
vital contribution to relaxed driving that
is as fatigue-free as possible. The sit-
ting position also plays an important
role together with the safety belts and
airbags in providing occupants with
maximum levels of passive safety in an
accident. To ensure that the safety sys-
tems operate with optimized efficiency,
we strongly urge you to observe the
instructions contained in the following
section.
For additional information on transport-
ing children safely, refer to page 59.Sitting safely with airbags
Always maintain an adequate dis-
tance between yourself and the
airbags. Always hold the steering wheel
by its rim with hands at the 9 o'clock
and 3 o'clock positions to minimize the
risk of injuries to your hands and arms
in the event of airbag deployment.
No one and nothing is to come between
the airbags and the seat occupant. Do
not use the cover of the front airbag on
the front passenger side as a storage
area. Make sure that the front passen-
ger is correctly seated and does not
rest feet or legs on the instrument clus-
ter, otherwise leg injuries can occur if
the knee and front airbag are triggered.
Never let an occupant's head rest near
or on a side airbag because the inflating
airbag could cause a serious or fatal
injury.<
Even if you adhere to all the instructions
injuries resulting from contact with air-
bags cannot be fully excluded, depend-
ing on the circumstances. The ignition
and inflation noise may provoke a mild –
usually temporary – hearing loss in
extremely sensitive individuals.
For airbag locations and additional
information on airbags, refer to
page 57.Sitting safely with safety belts Fasten your safety belt before starting
any trip. Airbags complement the safety
belt as an additional safety device, but
they do not represent a substitute.
Your vehicle has five seats that are all
equipped with a safety belt.
At all times, occupants should sit
upright and be properly restrained
– infants and small children in appropri-
ate child-restraint systems; larger chil-
dren and adults using the safety belts.
Even pregnant women should also
always wear the safety belt and espe-
cially ensure that the lap belt is posi-
tioned low on the hip and does not
press on the lower body.
Only one person should ever wear a
safety belt, and infants and children
may not be seated on the lap of another
passenger.
Do not route the belt across your neck,
or run it across sharp edges. Be sure
that the belt does not become caught
or jammed. Avoid twisting the belt while
routing it firmly across the hips and
shoulder. Do not allow the belt to rest
against hard or fragile objects. Other-
wise, in the event of a frontal impact, a
loose lap belt could slide over your
hips, leading to abdominal injury. Avoid
wearing clothing that prevents the belt
from fitting properly and pull the lap belt
periodically to readjust the tension
across your shoulder in order to avoid a
reduction in the retention effect of the
safety belt.<
For instructions on operating the safety
belt, refer to page 49.
Sitting safely
Page 46 of 200
44n
SeatsNote before adjusting
Never try to adjust your seat while
operating the vehicle. The seat
could respond with unexpected move-
ment, and the ensuing loss of vehicle
control could lead to an accident. On
the front passenger side as well, do not
tilt the backrest too far toward the rear
while driving. Failure to observe this
precaution can prevent the belt from
providing effective protection against
injury, as the passenger could slide
under the belt in an accident.<
Seat adjustment>Mechanical seat adjustment, refer to
following columns
>Power seat adjustment, refer to
page 46
>Head restraints, refer to page 47
>Power rear-seat backrest adjustment,
refer to page 48.
Page 57 of 200
55n
OverviewControlsMaintenanceRepairsDataIndex
MirrorsInterior and exterior mirrors,
automatic dimming feature
*
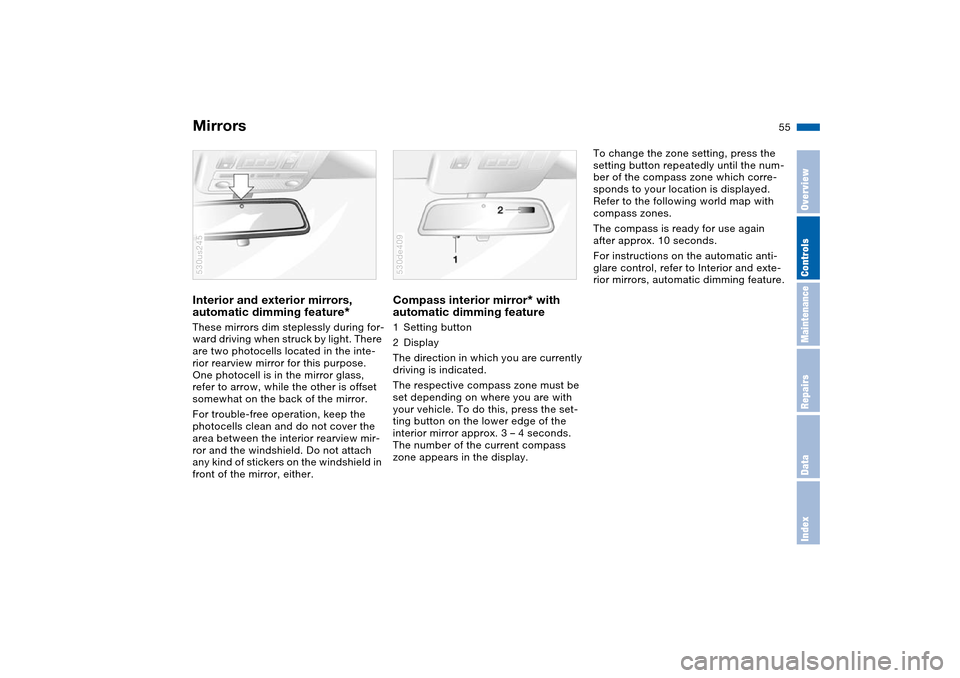
These mirrors dim steplessly during for-
ward driving when struck by light. There
are two photocells located in the inte-
rior rearview mirror for this purpose.
One photocell is in the mirror glass,
refer to arrow, while the other is offset
somewhat on the back of the mirror.
For trouble-free operation, keep the
photocells clean and do not cover the
area between the interior rearview mir-
ror and the windshield. Do not attach
any kind of stickers on the windshield in
front of the mirror, either. 530us245
Compass interior mirror
* with
automatic dimming feature
1Setting button
2Display
The direction in which you are currently
driving is indicated.
The respective compass zone must be
set depending on where you are with
your vehicle. To do this, press the set-
ting button on the lower edge of the
interior mirror approx. 3 – 4 seconds.
The number of the current compass
zone appears in the display.530de409
To change the zone setting, press the
setting button repeatedly until the num-
ber of the compass zone which corre-
sponds to your location is displayed.
Refer to the following world map with
compass zones.
The compass is ready for use again
after approx. 10 seconds.
For instructions on the automatic anti-
glare control, refer to Interior and exte-
rior mirrors, automatic dimming feature.