Stop BMW X5 4.8IS 2006 E53 Owner's Manual
[x] Cancel search | Manufacturer: BMW, Model Year: 2006, Model line: X5 4.8IS, Model: BMW X5 4.8IS 2006 E53Pages: 202, PDF Size: 4.13 MB
Page 19 of 202
19n
OverviewControlsMaintenanceRepairsDataIndex
Indicator and warning lamps Technology that monitors itself Indicator and warning lamps that are
identified by
+ are tested for proper
functioning whenever the ignition key is
turned. They each light up once for dif-
ferent periods of time.
If a malfunction should occur in one of
the monitored systems, the corre-
sponding lamp will not go out after the
engine is started or it will light up while
the vehicle is moving. The section
below will instruct you on what to do in
this situation.
Red: stop immediately
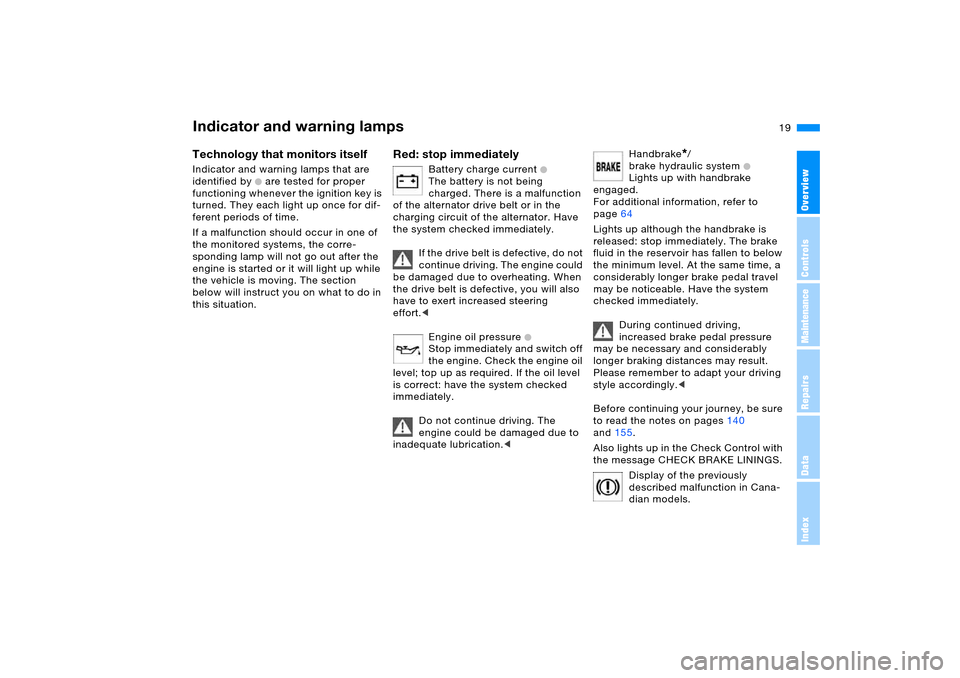
Battery charge current
+
The battery is not being
charged. There is a malfunction
of the alternator drive belt or in the
charging circuit of the alternator. Have
the system checked immediately.
If the drive belt is defective, do not
continue driving. The engine could
be damaged due to overheating. When
the drive belt is defective, you will also
have to exert increased steering
effort.<
Engine oil pressure
+
Stop immediately and switch off
the engine. Check the engine oil
level; top up as required. If the oil level
is correct: have the system checked
immediately.
Do not continue driving. The
engine could be damaged due to
inadequate lubrication.<
Handbrake
*/
brake hydraulic system
+
Lights up with handbrake
engaged.
For additional information, refer to
page64
Lights up although the handbrake is
released: stop immediately. The brake
fluid in the reservoir has fallen to below
the minimum level. At the same time, a
considerably longer brake pedal travel
may be noticeable. Have the system
checked immediately.
During continued driving,
increased brake pedal pressure
may be necessary and considerably
longer braking distances may result.
Please remember to adapt your driving
style accordingly.<
Before continuing your journey, be sure
to read the notes on pages140
and155.
Also lights up in the Check Control with
the message CHECK BRAKE LININGS.
Display of the previously
described malfunction in Cana-
dian models.
Page 20 of 202
20n
Indicator and warning lamps
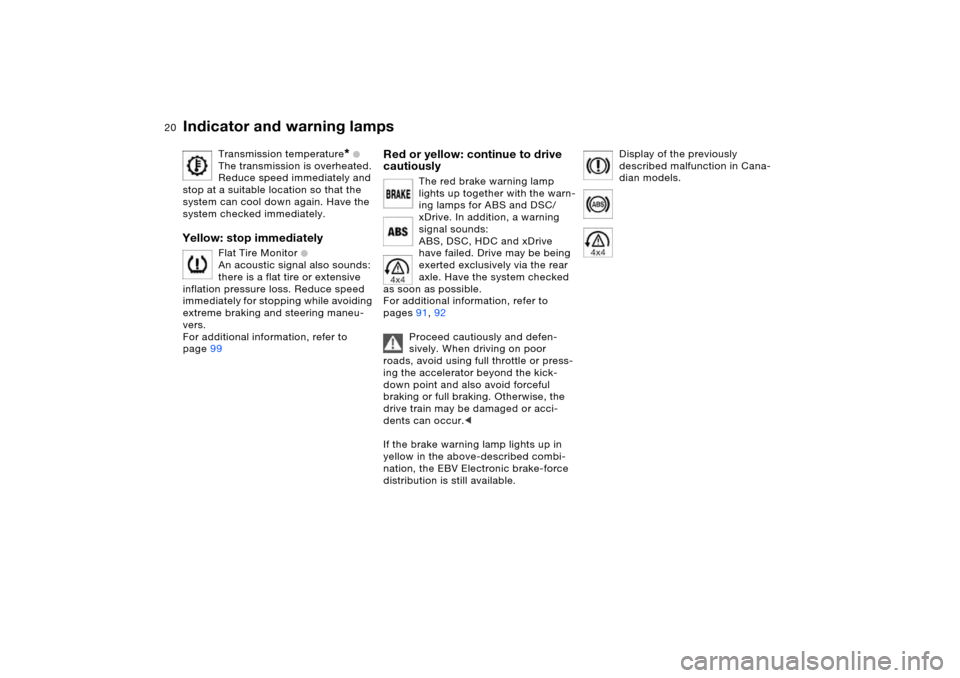
Transmission temperature
* +
The transmission is overheated.
Reduce speed immediately and
stop at a suitable location so that the
system can cool down again. Have the
system checked immediately.
Yellow: stop immediately
Flat Tire Monitor
+
An acoustic signal also sounds:
there is a flat tire or extensive
inflation pressure loss. Reduce speed
immediately for stopping while avoiding
extreme braking and steering maneu-
vers.
For additional information, refer to
page99
Red or yellow: continue to drive
cautiously
The red brake warning lamp
lights up together with the warn-
ing lamps for ABS and DSC/
xDrive. In addition, a warning
signal sounds:
ABS, DSC, HDC and xDrive
have failed. Drive may be being
exerted exclusively via the rear
axle. Have the system checked
as soon as possible.
For additional information, refer to
pages91, 92
Proceed cautiously and defen-
sively. When driving on poor
roads, avoid using full throttle or press-
ing the accelerator beyond the kick-
down point and also avoid forceful
braking or full braking. Otherwise, the
drive train may be damaged or acci-
dents can occur.<
If the brake warning lamp lights up in
yellow in the above-described combi-
nation, the EBV Electronic brake-force
distribution is still available.
Display of the previously
described malfunction in Cana-
dian models.
Page 21 of 202
21n
OverviewControlsMaintenanceRepairsDataIndex
Indicator and warning lamps Red: an important reminder
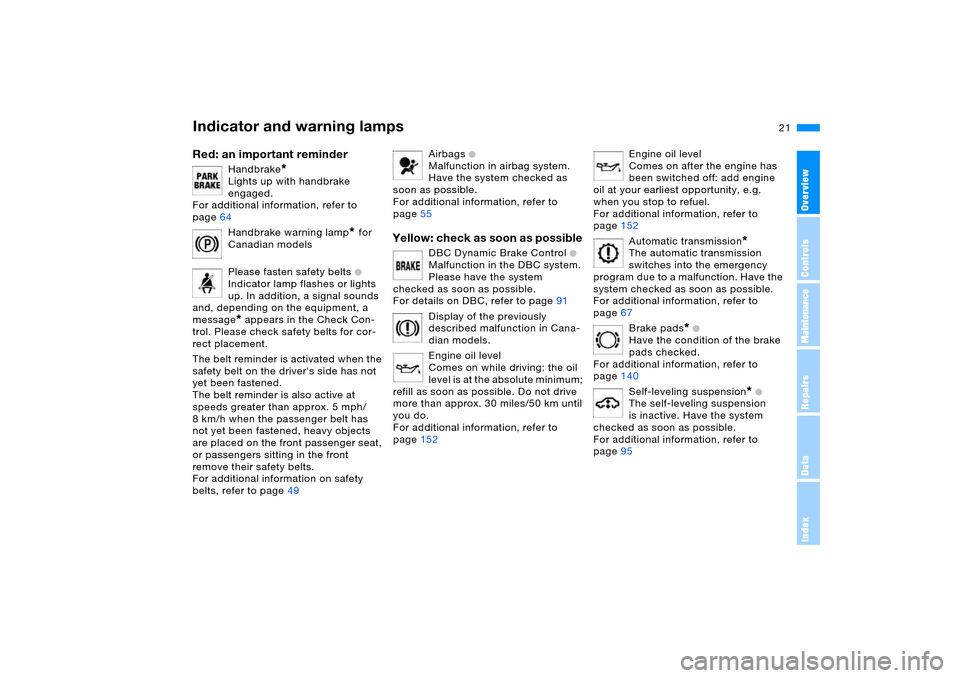
Handbrake
*
Lights up with handbrake
engaged.
For additional information, refer to
page64
Handbrake warning lamp
* for
Canadian models
Please fasten safety belts +
Indicator lamp flashes or lights
up. In addition, a signal sounds
and, depending on the equipment, a
message* appears in the Check Con-
trol. Please check safety belts for cor-
rect placement.
The belt reminder is activated when the
safety belt on the driver's side has not
yet been fastened.
The belt reminder is also active at
speeds greater than approx. 5 mph/
8 km/h when the passenger belt has
not yet been fastened, heavy objects
are placed on the front passenger seat,
or passengers sitting in the front
remove their safety belts.
For additional information on safety
belts, refer to page49
Airbags
+
Malfunction in airbag system.
Have the system checked as
soon as possible.
For additional information, refer to
page55
Yellow: check as soon as possible
DBC Dynamic Brake Control
+
Malfunction in the DBC system.
Please have the system
checked as soon as possible.
For details on DBC, refer to page91
Display of the previously
described malfunction in Cana-
dian models.
Engine oil level
Comes on while driving: the oil
level is at the absolute minimum;
refill as soon as possible. Do not drive
more than approx. 30 miles/50 km until
you do.
For additional information, refer to
page152
Engine oil level
Comes on after the engine has
been switched off: add engine
oil at your earliest opportunity, e.g.
when you stop to refuel.
For additional information, refer to
page152
Automatic transmission
*
The automatic transmission
switches into the emergency
program due to a malfunction. Have the
system checked as soon as possible.
For additional information, refer to
page67
Brake pads
* +
Have the condition of the brake
pads checked.
For additional information, refer to
page140
Self-leveling suspension
* +
The self-leveling suspension
is inactive. Have the system
checked as soon as possible.
For additional information, refer to
page95
Page 23 of 202
23n
OverviewControlsMaintenanceRepairsDataIndex
Buttons on steering wheel
*
The buttons integrated into the steering
wheel are provided so that you can
operate a number of accessories
quickly and without being distracted
from traffic conditions. You may oper-
ate:
>selected functions of the audio
sources
*
>the recirculated-air mode of the air
conditioner
* or the steering-wheel
heater
*
>the cruise control
>selected phone functions
* and
>the voice command system*.
In order to operate a system, the
corresponding system must be
switched on.<
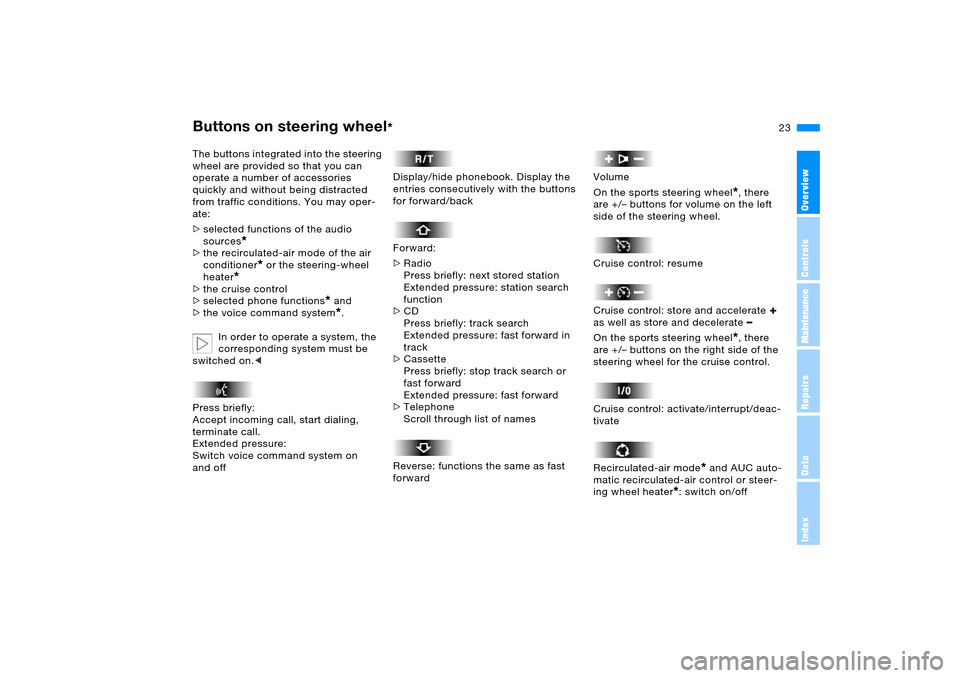
Press briefly:
Accept incoming call, start dialing,
terminate call.
Extended pressure:
Switch voice command system on
and off
Display/hide phonebook. Display the
entries consecutively with the buttons
for forward/back
Forward:
>Radio
Press briefly: next stored station
Extended pressure: station search
function
>CD
Press briefly: track search
Extended pressure: fast forward in
track
>Cassette
Press briefly: stop track search or
fast forward
Extended pressure: fast forward
>Telephone
Scroll through list of names
Reverse: functions the same as fast
forward
Volume
On the sports steering wheel
*, there
are +/– buttons for volume on the left
side of the steering wheel.
Cruise control: resume
Cruise control: store and accelerate
+
as well as store and decelerate
–
On the sports steering wheel
*, there
are +/– buttons on the right side of the
steering wheel for the cruise control.
Cruise control: activate/interrupt/deac-
tivate
Recirculated-air mode
* and AUC auto-
matic recirculated-air control or steer-
ing wheel heater
*: switch on/off
Page 33 of 202
33n
OverviewControlsMaintenanceRepairsDataIndex
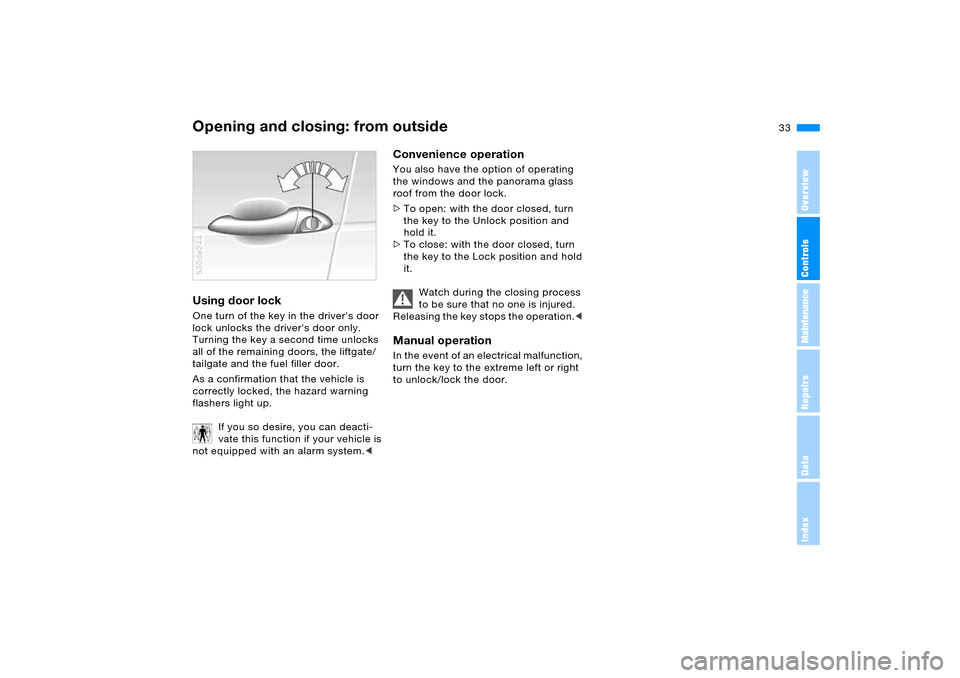
Opening and closing: from outsideUsing door lock One turn of the key in the driver's door
lock unlocks the driver's door only.
Turning the key a second time unlocks
all of the remaining doors, the liftgate/
tailgate and the fuel filler door.
As a confirmation that the vehicle is
correctly locked, the hazard warning
flashers light up.
If you so desire, you can deacti-
vate this function if your vehicle is
not equipped with an alarm system.< 530de244
Convenience operation You also have the option of operating
the windows and the panorama glass
roof from the door lock.
>To open: with the door closed, turn
the key to the Unlock position and
hold it.
>To close: with the door closed, turn
the key to the Lock position and hold
it.
Watch during the closing process
to be sure that no one is injured.
Releasing the key stops the operation.< Manual operation In the event of an electrical malfunction,
turn the key to the extreme left or right
to unlock/lock the door.
Page 40 of 202
40n
Windows matically. Briefly press the switch
again to stop the opening movement.
You can close the windows in the same
manner by pulling the switch.
After the ignition has been switched off:
You can still operate the windows for
approx. 1 minute, as long as no door
has been opened.
For the convenience mode via the
remote control or the door lock, refer to
pages31, 33. Anti-trapping mechanism A contact strip is integrated into the
inner side of each of the upper window
frame sections. If pressure is exerted
against this contact strip while a win-
dow is being raised, the system will
respond by stopping the window and
then retracting it a small distance. Despite the anti-trapping mecha-
nism, be extremely careful that the
closing path of the window is not
obstructed whenever it is closed.
Otherwise, an object might not touch
the contact strip in some situations,
with very thin objects, for instance.
You can disable the anti-trapping
mechanism by pulling the switch
beyond the resistance point and hold-
ing it.
Because the power windows are sealed
at high pressure to prevent wind noise
when closed, a powerful motor is
required for efficient closing. When
closing the windows, always ensure
that they are not obstructed in any way.
Unsupervised use of these systems can
result in serious personal injury.
Remove the ignition key to deactivate
the power windows whenever you leave
the vehicle. Never leave the keys in the
vehicle with unsupervised children.
Never place anything that could
obstruct the driver's vision on or next to
the windows.<
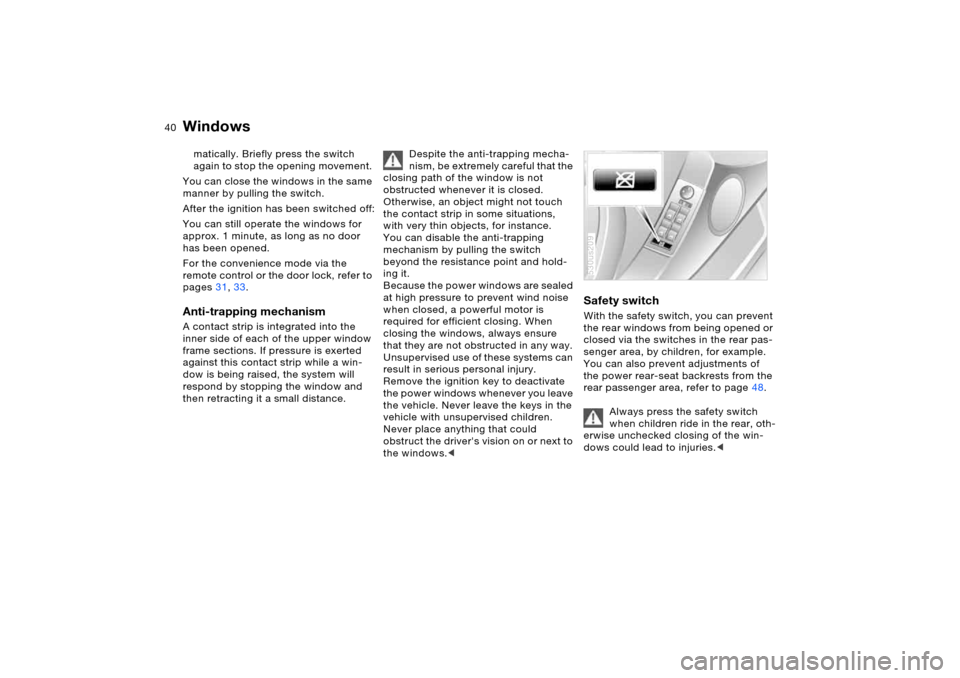
Safety switch With the safety switch, you can prevent
the rear windows from being opened or
closed via the switches in the rear pas-
senger area, by children, for example.
You can also prevent adjustments of
the power rear-seat backrests from the
rear passenger area, refer to page48.
Always press the safety switch
when children ride in the rear, oth-
erwise unchecked closing of the win-
dows could lead to injuries.< 530us209
Page 41 of 202
41n
OverviewControlsMaintenanceRepairsDataIndex
Panorama glass roof
*
To avoid bodily injuries, be sure to
watch the panorama glass roof
while closing. Always take along the
ignition key when you leave the vehicle,
as otherwise children could, for exam-
ple, operate the roof and injure them-
selves.<
The panorama glass roof is operational
with the ignition key in position 2.
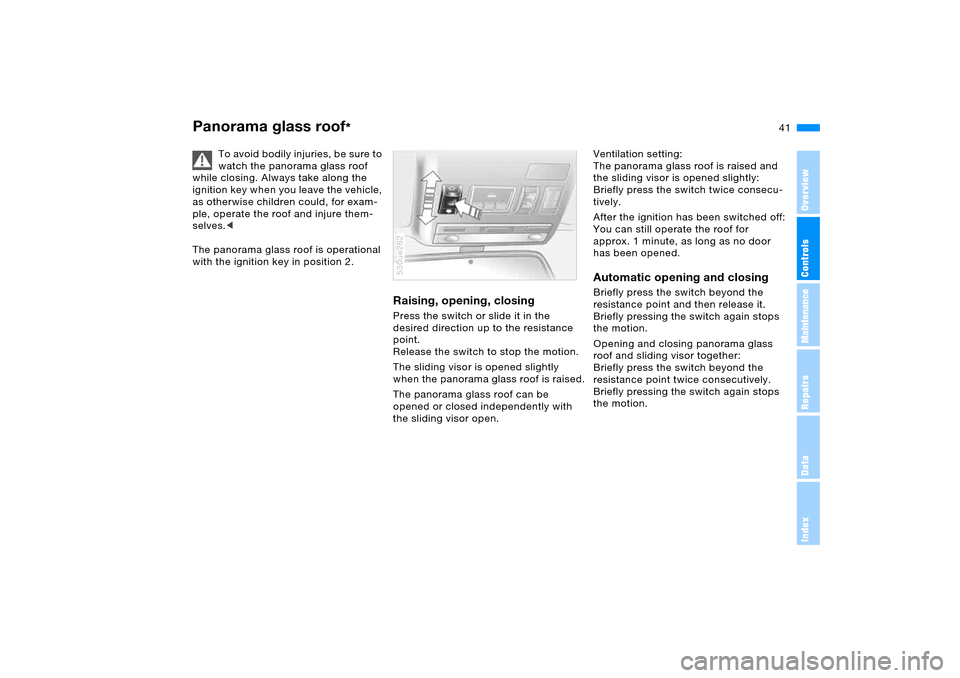
Raising, opening, closingPress the switch or slide it in the
desired direction up to the resistance
point.
Release the switch to stop the motion.
The sliding visor is opened slightly
when the panorama glass roof is raised.
The panorama glass roof can be
opened or closed independently with
the sliding visor open.530ue262
Ventilation setting:
The panorama glass roof is raised and
the sliding visor is opened slightly:
Briefly press the switch twice consecu-
tively.
After the ignition has been switched off:
You can still operate the roof for
approx. 1 minute, as long as no door
has been opened.Automatic opening and closing Briefly press the switch beyond the
resistance point and then release it.
Briefly pressing the switch again stops
the motion.
Opening and closing panorama glass
roof and sliding visor together:
Briefly press the switch beyond the
resistance point twice consecutively.
Briefly pressing the switch again stops
the motion.
Page 42 of 202
42n
Panorama glass roof
*
Comfort position Each time the panorama glass roof is
completely opened or closed, it stops in
the comfort position. Use the switch to
continue the motion after this if you
wish.
In the comfort position, the wind noises
in the interior are reduced.Anti-trapping mechanism If the panorama glass roof or sliding
visor encounter resistance when clos-
ing from roughly one third of the roof
opening or when closing from the
raised position, the closing action is
interrupted and the panorama glass
roof and sliding visor reopen a little.
Despite the anti-trapping mecha-
nism, inspect the roof's travel path
prior to closing it, as the safety system
might fail to detect certain kinds of
obstructions, such as very thin objects,
and the roof would continue closing.
The anti-trapping mechanism for clos-
ing the panorama glass roof is deacti-
vated if the switch is pressed beyond
the resistance point and held there. The
closing action is interrupted when you
release the switch.<
Following a power failure Following interruptions in electrical
power, for instance when the battery is
disconnected, it is possible that the
panorama glass roof will extend to its
tilt-up position, but fail to respond to
other commands. The system must be
initialized. BMW recommends having
this work carried out by your BMW
Sports Activity Vehicle center.
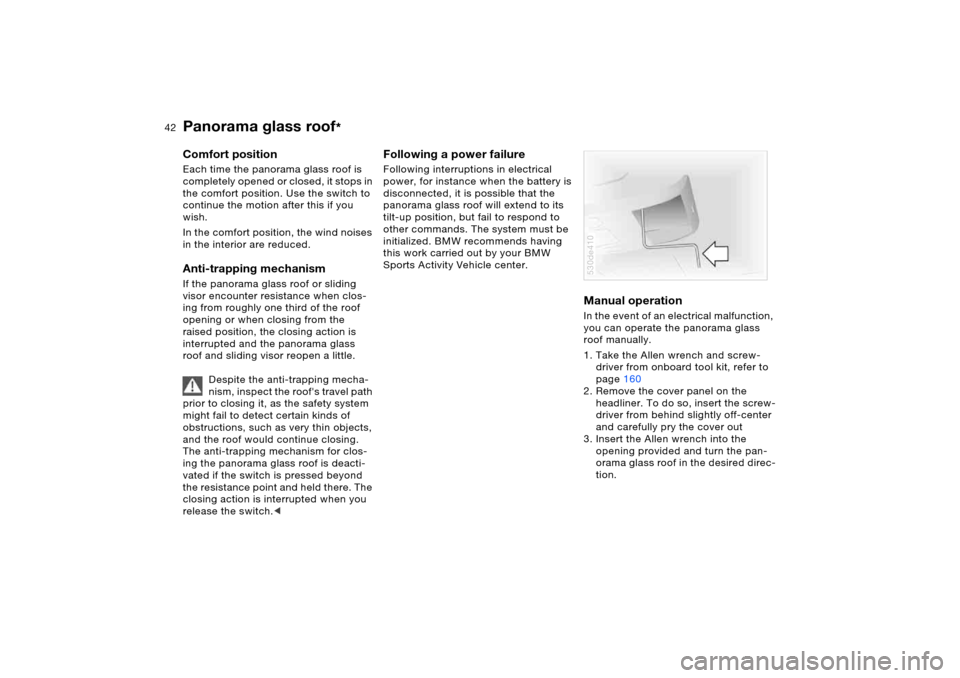
Manual operation In the event of an electrical malfunction,
you can operate the panorama glass
roof manually.
1. Take the Allen wrench and screw-
driver from onboard tool kit, refer to
page160
2. Remove the cover panel on the
headliner. To do so, insert the screw-
driver from behind slightly off-center
and carefully pry the cover out
3. Insert the Allen wrench into the
opening provided and turn the pan-
orama glass roof in the desired direc-
tion.530de410
Page 48 of 202

48n
Head restraints Power rear-seat backrest adjustment
*
Removal – front 1. Pull the head restraint upward to the
stop
2. Press the button, refer to arrow, and
remove the head restraint.Installation – front 1. Press the button, refer to arrow, and
insert the head restraint into the
guides
2. Adjust the head restraint for your
personal comfort.Removal and installation – rearTo remove the head restraint, pull it
outward with a firm movement. To
install it, press it down firmly. 530de323
You can make separate adjustments of
the backrest tilt angle on the right and
left sides.
You can select a comfortable sitting
position and also increase the capacity
of the cargo area by moving the back-
rests into their full, upright position.
From the rear seats: press the corre-
sponding switch.
You can prevent adjustments of
the power rear-seat backrest from
the rear passenger area with the safety
switch for the power windows, refer to
page40.< 530de422
From the cargo area: the switches are
located on both sides of the cargo area. 530de224
Page 51 of 202
51n
OverviewControlsMaintenanceRepairsDataIndex
Seat, mirror and steering wheel memory
*
Calling up a stored setting
Do not call up a position from the
memory while the vehicle is mov-
ing. There is a risk of accident from
unexpected movement of the seat or
steering wheel.<
Convenience function:
1. Open the driver's door after unlock-
ing the vehicle or place the ignition
key in position 1
2. Briefly press memory button 1, 2
or 3, as desired.
Movement stops immediately when
one of the seat-adjustment or mem-
ory buttons is activated during the
adjustment process.
Security function:
1. With the driver's door closed and the
ignition key either removed or in
position 0 or 2
2. Maintain pressure on the desired
memory button 1, 2 or 3 until the
adjustment process is completed.
If you press the
M
EMORY button
accidentally: press the button
again – the LED goes out.<
You can have your vehicle pro-
grammed to automatically dial in
your own individual adjustment settings
for the seat, mirrors and steering wheel
whenever you use your personal
remote control to unlock the vehicle.<
If you make use of this function,
be sure that the footwell behind
the driver's seat is unobstructed before
unlocking the vehicle. If you fail to do
so, any persons or objects behind the
seat could be injured or damaged by a
rearward movement of the seat.<
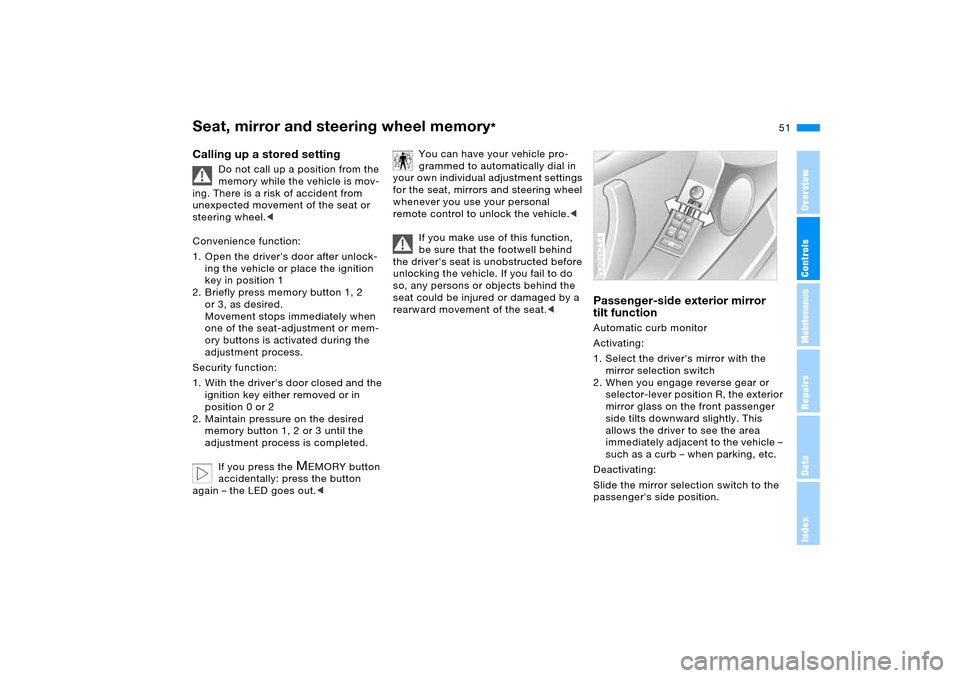
Passenger-side exterior mirror
tilt function Automatic curb monitor
Activating:
1. Select the driver's mirror with the
mirror selection switch
2. When you engage reverse gear or
selector-lever position R, the exterior
mirror glass on the front passenger
side tilts downward slightly. This
allows the driver to see the area
immediately adjacent to the vehicle –
such as a curb – when parking, etc.
Deactivating:
Slide the mirror selection switch to the
passenger's side position.530us214