key battery BMW Z4 ROADSTER 3.0I 2005 E85 Owner's Manual
[x] Cancel search | Manufacturer: BMW, Model Year: 2005, Model line: Z4 ROADSTER 3.0I, Model: BMW Z4 ROADSTER 3.0I 2005 E85Pages: 120, PDF Size: 3.82 MB
Page 8 of 120
Notes
6
For your own safety
Maintenance and repair
Advanced technology, e. g. the use of
modern materials and high-performance
electronics, requires specially adapted mainte-
nance and repair methods. Therefore, only have
corresponding work on your BMW carried out
by a BMW center or a workshop that works
according to BMW repair procedures with cor-
respondingly trained personnel. If work is car-
ried out improperly there is a danger of conse-
quential damage and the related safety risks.<
California Proposition 65 warning
California laws require us to state the following
warning:
Engine exhaust and a wide variety of
automobile components and parts,
including components found in the interior fur-
nishings in a vehicle, contain or emit chemicals
known to the State of California to cause cancer
and birth defects and reproductive harm. In
addition, certain fluids contained in vehicles and
certain products of component wear contain or
emit chemicals known to the State of CA to
cause cancer and birth defects or other repro-
ductive harm.
Battery posts, terminals and related accesso-
ries contain lead and lead compounds. Batter-
ies also contain other chemicals known to the
State of California to cause cancer. Wash your
hands after handling.
Used engine oil contains chemicals that have
caused cancer in laboratory animals. Always
protect your skin by washing thoroughly with
soap and water.<
Parts and accessories
For your own safety, use parts and acces-
sories approved by BMW.
When you purchase accessories tested and
approved by BMW and Original BMW Parts, you
simultaneously acquire the assurance that they
have been thoroughly tested by BMW to ensure
optimum performance when installed on your
vehicle. BMW warrants these parts to be free from
defects in material and workmanship.
BMW will not accept any liability for damage
resulting from installation of parts and accesso-
ries not approved by BMW.
BMW cannot test every product made by other
manufacturers to verify if it can be used on a
BMW safely and without risk to either the vehi-
cle, its operation, or its occupants.
Original BMW Parts, BMW Accessories and
other products approved by BMW, together
with professional advice on using these items,
are available from all BMW retailers.
Installation and operation of non-BMW
approved accessories such as alarms, radios,
amplifiers, radar detectors, wheels, suspension
components, brake dust shields, telephones,
including operation of any portable cellular
phone from within the vehicle without using an
externally mounted antenna, or transceiver
equipment, e.g. C.B., walkie-talkie, ham radio or
similar, may cause extensive damage to the
vehicle, compromise its safety, interfere with
the vehicle's electrical system or affect the
validity of the BMW Limited Warranty. See your
BMW center for additional information.
Do not use key or remote control to lock doors
or trunk with anyone inside the vehicle. Refer to
the Owner's Manual for more details.<
Maintenance, replacement or repair of
the emission control devices and sys-
tems may be performed by any automotive
repair establishment or individual using any cer-
tified automotive part.<
Page 14 of 120
Cockpit
12
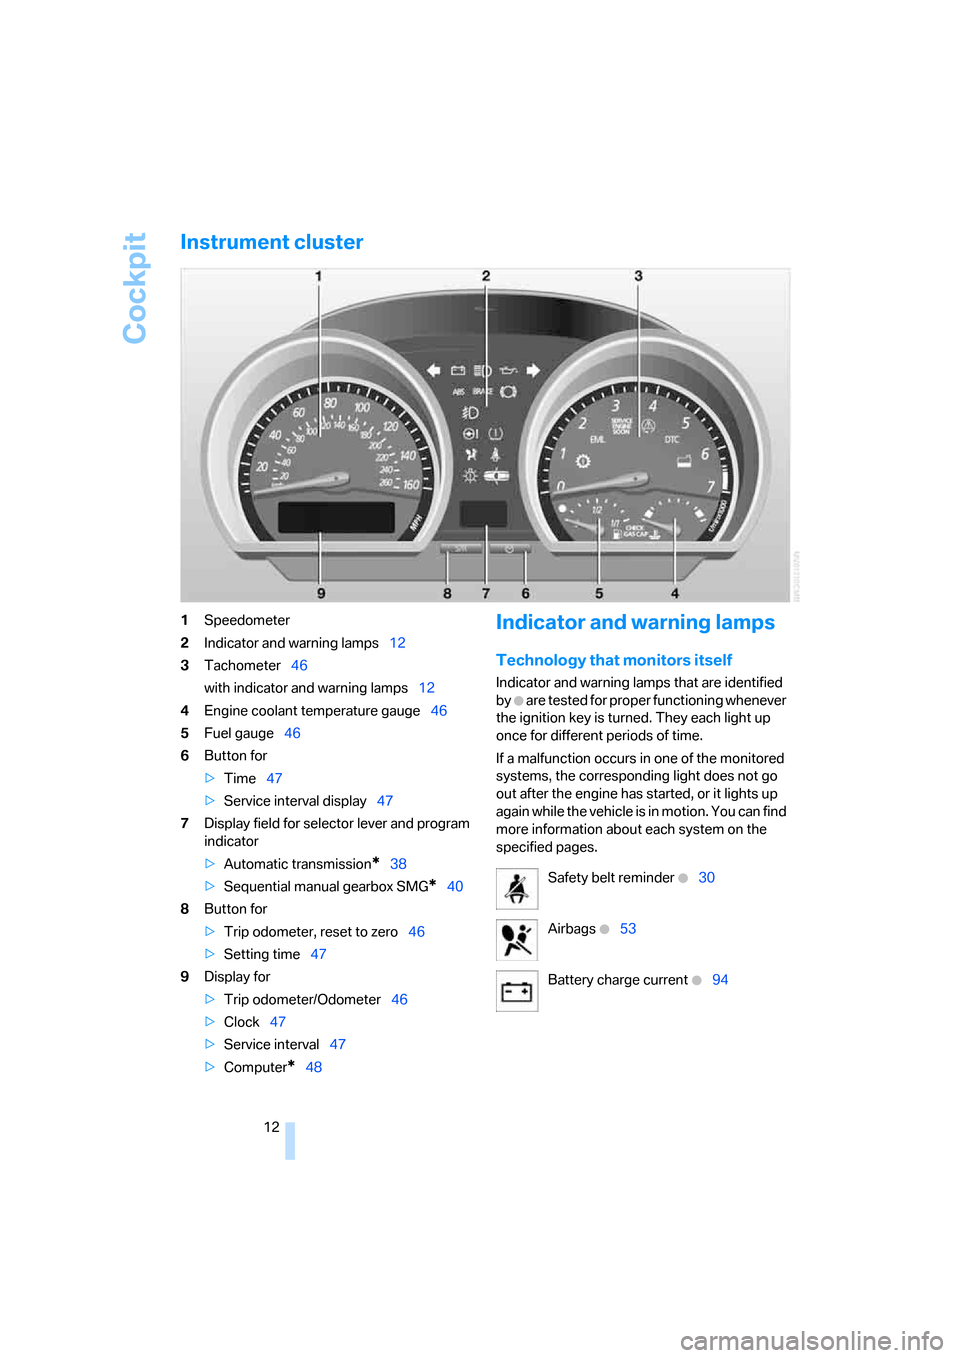
Instrument cluster
1Speedometer
2Indicator and warning lamps12
3Tachometer46
with indicator and warning lamps12
4Engine coolant temperature gauge46
5Fuel gauge46
6Button for
>Time47
>Service interval display47
7Display field for selector lever and program
indicator
>Automatic transmission
*38
>Sequential manual gearbox SMG
*40
8Button for
>Trip odometer, reset to zero46
>Setting time47
9Display for
>Trip odometer/Odometer46
>Clock47
>Service interval47
>Computer
*48
Indicator and warning lamps
Technology that monitors itself
Indicator and warning lamps that are identified
by
+ are tested for proper functioning whenever
the ignition key is turned. They each light up
once for different periods of time.
If a malfunction occurs in one of the monitored
systems, the corresponding light does not go
out after the engine has started, or it lights up
again while the vehicle is in motion. You can find
more information about each system on the
specified pages.
Safety belt reminder +30
Airbags
+53
Battery charge current
+94
Page 18 of 120
Opening and closing
16
Opening and closing
The key set
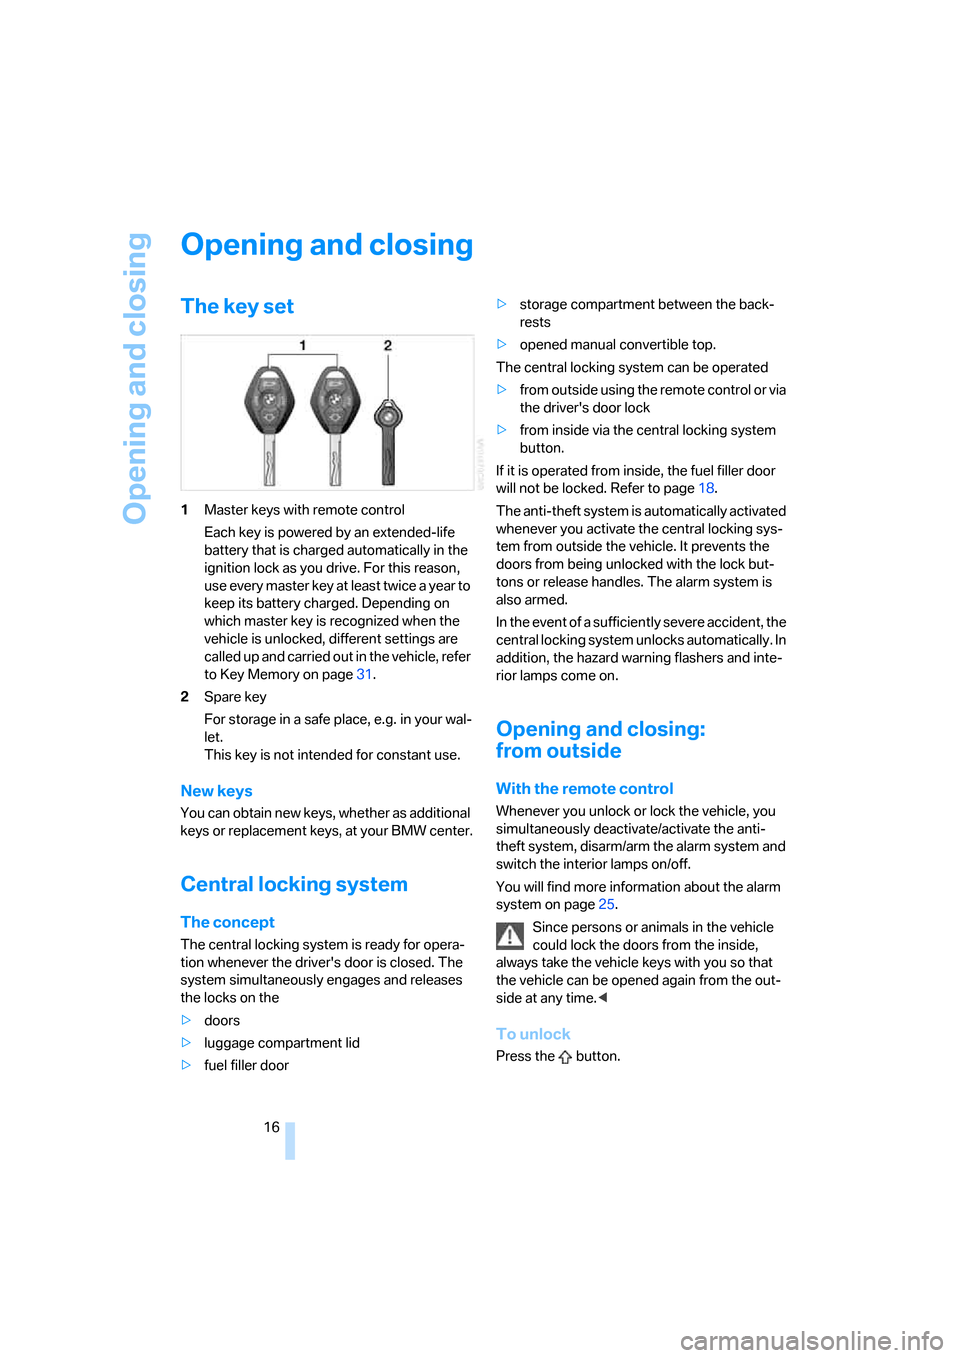
1Master keys with remote control
Each key is powered by an extended-life
battery that is charged automatically in the
ignition lock as you drive. For this reason,
use every master key at least twice a year to
keep its battery charged. Depending on
which master key is recognized when the
vehicle is unlocked, different settings are
called up and carried out in the vehicle, refer
to Key Memory on page31.
2Spare key
For storage in a safe place, e.g. in your wal-
let.
This key is not intended for constant use.
New keys
You can obtain new keys, whether as additional
keys or replacement keys, at your BMW center.
Central locking system
The concept
The central locking system is ready for opera-
tion whenever the driver's door is closed. The
system simultaneously engages and releases
the locks on the
>doors
>luggage compartment lid
>fuel filler door>storage compartment between the back-
rests
>opened manual convertible top.
The central locking system can be operated
>from outside using the remote control or via
the driver's door lock
>from inside via the central locking system
button.
If it is operated from inside, the fuel filler door
will not be locked. Refer to page18.
The anti-theft system is automatically activated
whenever you activate the central locking sys-
tem from outside the vehicle. It prevents the
doors from being unlocked with the lock but-
tons or release handles. The alarm system is
also armed.
In the event of a sufficiently severe accident, the
central locking system unlocks automatically. In
addition, the hazard warning flashers and inte-
rior lamps come on.
Opening and closing:
from outside
With the remote control
Whenever you unlock or lock the vehicle, you
simultaneously deactivate/activate the anti-
theft system, disarm/arm the alarm system and
switch the interior lamps on/off.
You will find more information about the alarm
system on page25.
Since persons or animals in the vehicle
could lock the doors from the inside,
always take the vehicle keys with you so that
the vehicle can be opened again from the out-
side at any time.<
To unlock
Press the button.
Page 19 of 120
Reference
At a glance
Controls
Driving tips
Mobility
17
Press the button once to unlock the driver’s
door and the fuel filler door; press a second time
to disengage all vehicle locks.
Convenience opening mode
Keep the button pressed:
The windows and the fully automatic convert-
ible top are opened.
To lock and secure
Press the button.
The hazard warning flashers light up once.
If you wish, you can have this special fea-
ture activated/deactivated.<
To switch on the interior lamps
With the vehicle locked:
Press the button.
With this function, you can also search for your
vehicle when parked in an underground garage,
for instance.
To open the luggage compartment
Press button briefly.
The luggage compartment lid will open slightly,
regardless of whether it was locked or
unlocked.
Before and after a trip, be sure that the
luggage compartment lid has not been
opened unintentionally.<
Panic mode*
By pressing and holding button for more
than approx. two seconds, you can trigger the
alarm systems
* in response to any impending
danger.
To switch off the alarm: press any of the but-
tons.
Malfunction
Local radio waves can impede the functioning
of the remote control.
Should this occur, open and close the vehicle
using the master key in either a door or the lug-
gage compartment lock.If it is no longer possible to lock the vehicle with
the remote control, the battery is discharged.
Use this remote control key while driving for an
extended period in order to recharge the bat-
tery, refer to page16.
For US owners only
The transmitter and receiver units comply with
part 15 of the FCC, Federal Communications
Commission, regulations. Operation is gov-
erned by the following:
FCC ID: LX8EWS
LX8FZVS
LX8FZVE
Compliance statement:
This device complies with part 15 of the FCC
Rules. Operation is subject to the following two
conditions:
>This device may not cause harmful interfer-
ence, and
>this device must accept any interference
received, including interference that may
cause undesired operation.
Any unauthorized modifications to these
devices could void the user's authority to
operate the equipment.<
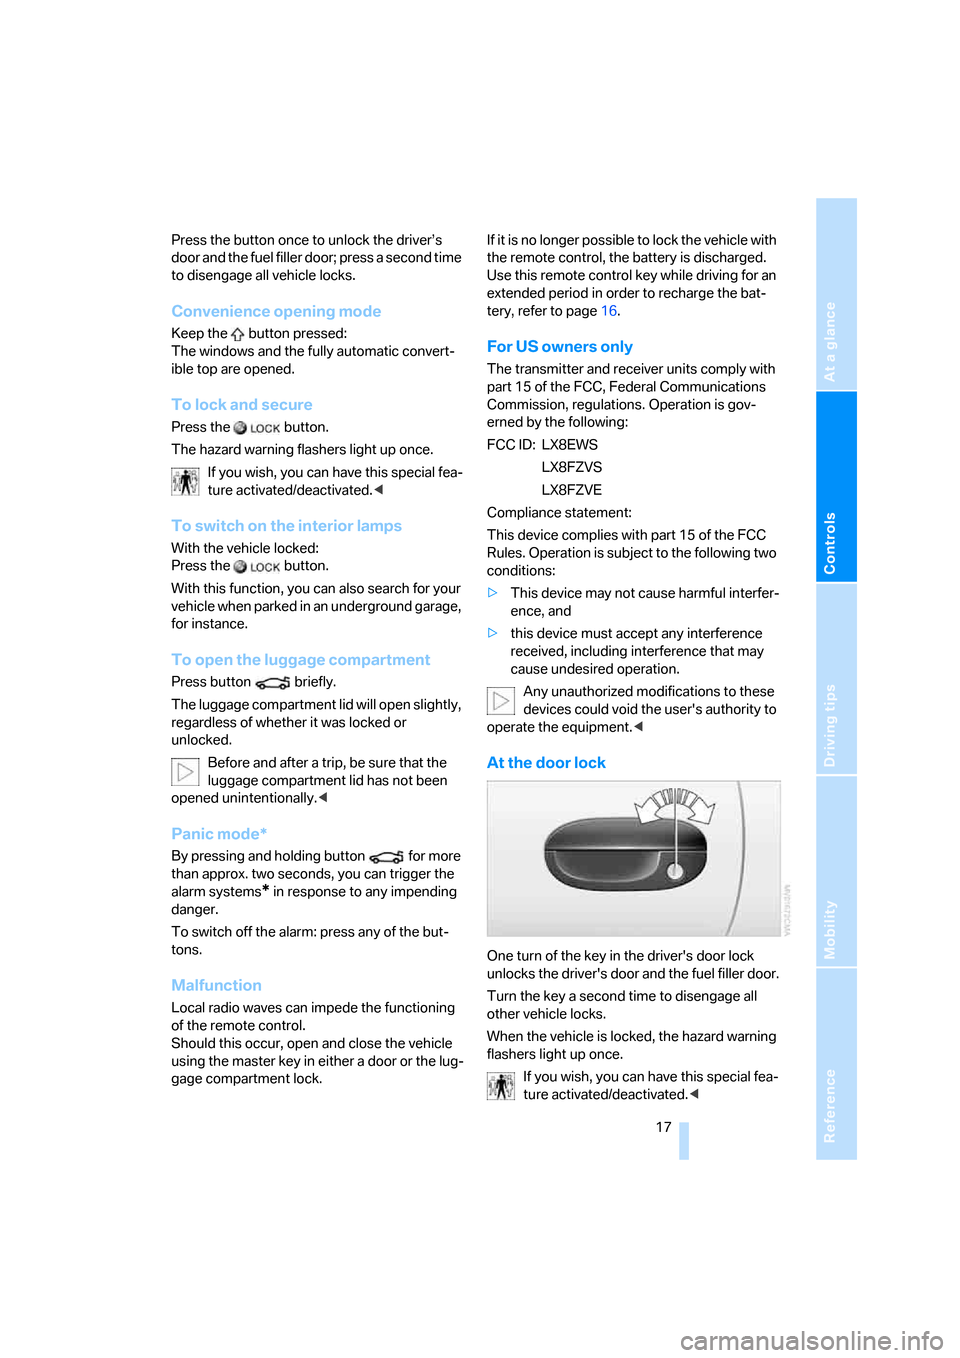
At the door lock
One turn of the key in the driver's door lock
unlocks the driver's door and the fuel filler door.
Turn the key a second time to disengage all
other vehicle locks.
When the vehicle is locked, the hazard warning
flashers light up once.
If you wish, you can have this special fea-
ture activated/deactivated.<
Page 22 of 120
Opening and closing
20
Windows
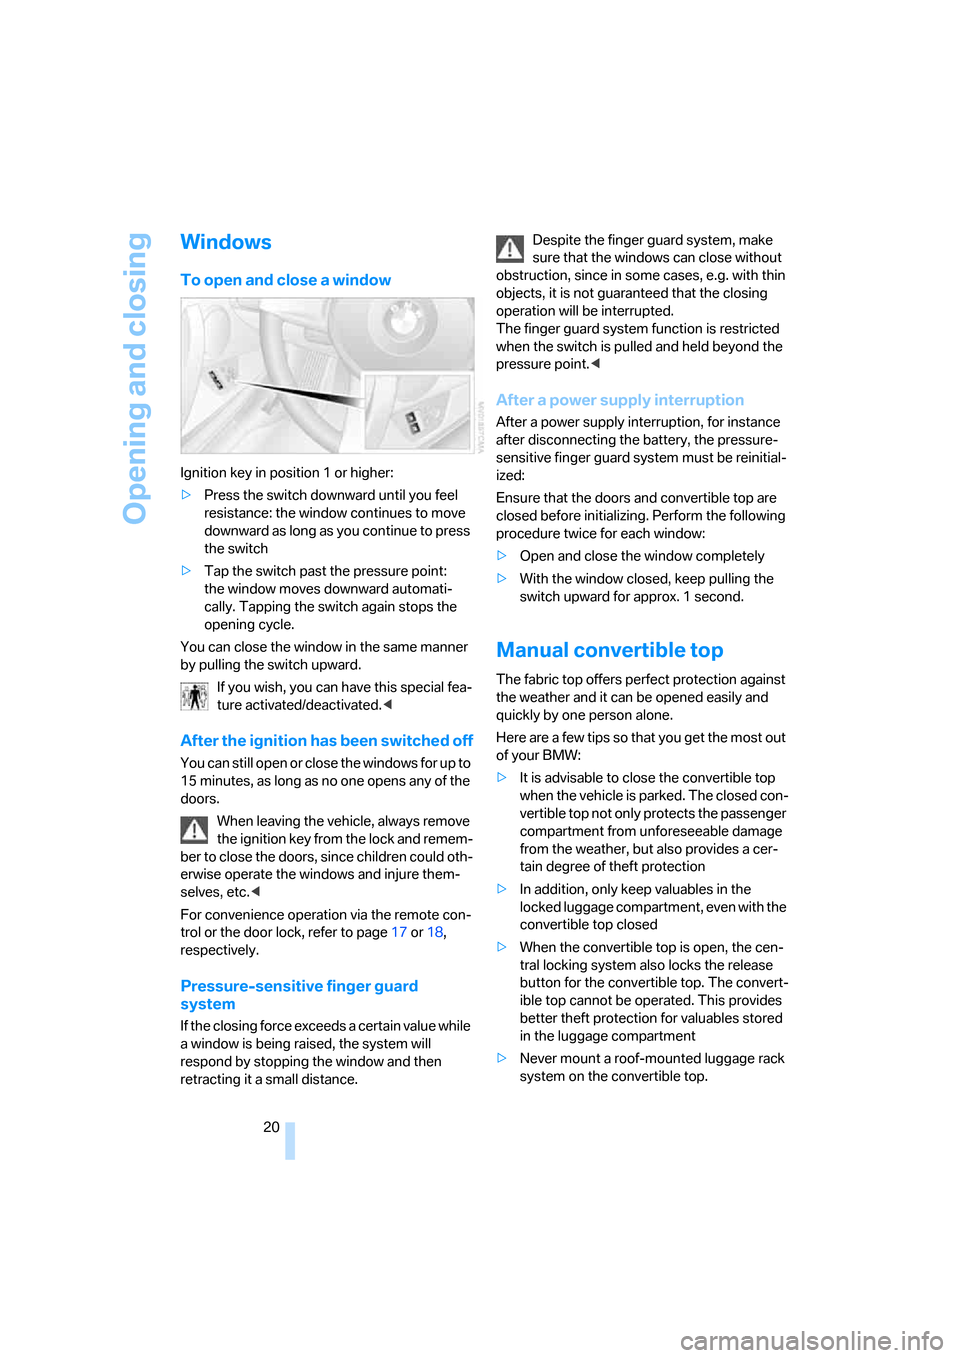
To open and close a window
Ignition key in position 1 or higher:
>Press the switch downward until you feel
resistance: the window continues to move
downward as long as you continue to press
the switch
>Tap the switch past the pressure point:
the window moves downward automati-
cally. Tapping the switch again stops the
opening cycle.
You can close the window in the same manner
by pulling the switch upward.
If you wish, you can have this special fea-
ture activated/deactivated.<
After the ignition has been switched off
You can still open or close the windows for up to
15 minutes, as long as no one opens any of the
doors.
When leaving the vehicle, always remove
the ignition key from the lock and remem-
ber to close the doors, since children could oth-
erwise operate the windows and injure them-
selves, etc.<
For convenience operation via the remote con-
trol or the door lock, refer to page17 or18,
respectively.
Pressure-sensitive finger guard
system
If the closing force exceeds a certain value while
a window is being raised, the system will
respond by stopping the window and then
retracting it a small distance.Despite the finger guard system, make
sure that the windows can close without
obstruction, since in some cases, e.g. with thin
objects, it is not guaranteed that the closing
operation will be interrupted.
The finger guard system function is restricted
when the switch is pulled and held beyond the
pressure point.<
After a power supply interruption
After a power supply interruption, for instance
after disconnecting the battery, the pressure-
sensitive finger guard system must be reinitial-
ized:
Ensure that the doors and convertible top are
closed before initializing. Perform the following
procedure twice for each window:
>Open and close the window completely
>With the window closed, keep pulling the
switch upward for approx. 1 second.
Manual convertible top
The fabric top offers perfect protection against
the weather and it can be opened easily and
quickly by one person alone.
Here are a few tips so that you get the most out
of your BMW:
>It is advisable to close the convertible top
when the vehicle is parked. The closed con-
vertible top not only protects the passenger
compartment from unforeseeable damage
from the weather, but also provides a cer-
tain degree of theft protection
>In addition, only keep valuables in the
locked luggage compartment, even with the
convertible top closed
>When the convertible top is open, the cen-
tral locking system also locks the release
button for the convertible top. The convert-
ible top cannot be operated. This provides
better theft protection for valuables stored
in the luggage compartment
>Never mount a roof-mounted luggage rack
system on the convertible top.
Page 24 of 120
Opening and closing
22 the top not only guards the passenger com-
partment from unforeseeable damage from
the weather, but also affords a degree of
protection against theft. In addition, only
keep valuables in the locked luggage com-
partment, even with the convertible top
closed
>Never mount a roof-mounted luggage rack
system on the convertible top
>To avoid damage, do not operate the con-
vertible top at temperatures below 147/
–106.
To avoid permanent damage from mois-
ture, never store the convertible top while
it is wet.
Driving when the opening or closing process
has not been completed can cause vehicle
damage or personal injury.
Do not lay objects on the convertible top, since
they could fall off when the convertible top is
operated and cause damage or injuries.
Do not reach into the convertible top mecha-
nism during opening and closing. Keep children
away from the moving parts of the convertible
top during operation.<
If possible, only operate the convertible
top with the vehicle stopped, as other-
wise the process may be interrupted.
If you set the convertible top in motion while the
vehicle is stationary and then have to start sud-
denly, for instance at a traffic light, you can still
complete the procedure by driving as slowly as
possible and again holding the corresponding
button pressed.
At higher speeds, a vacuum effect in the pas-
senger compartment can cause the convertible
top to begin fluttering. Increase the air supply
so that a low pressure draft does not occur in
the vehicle.<
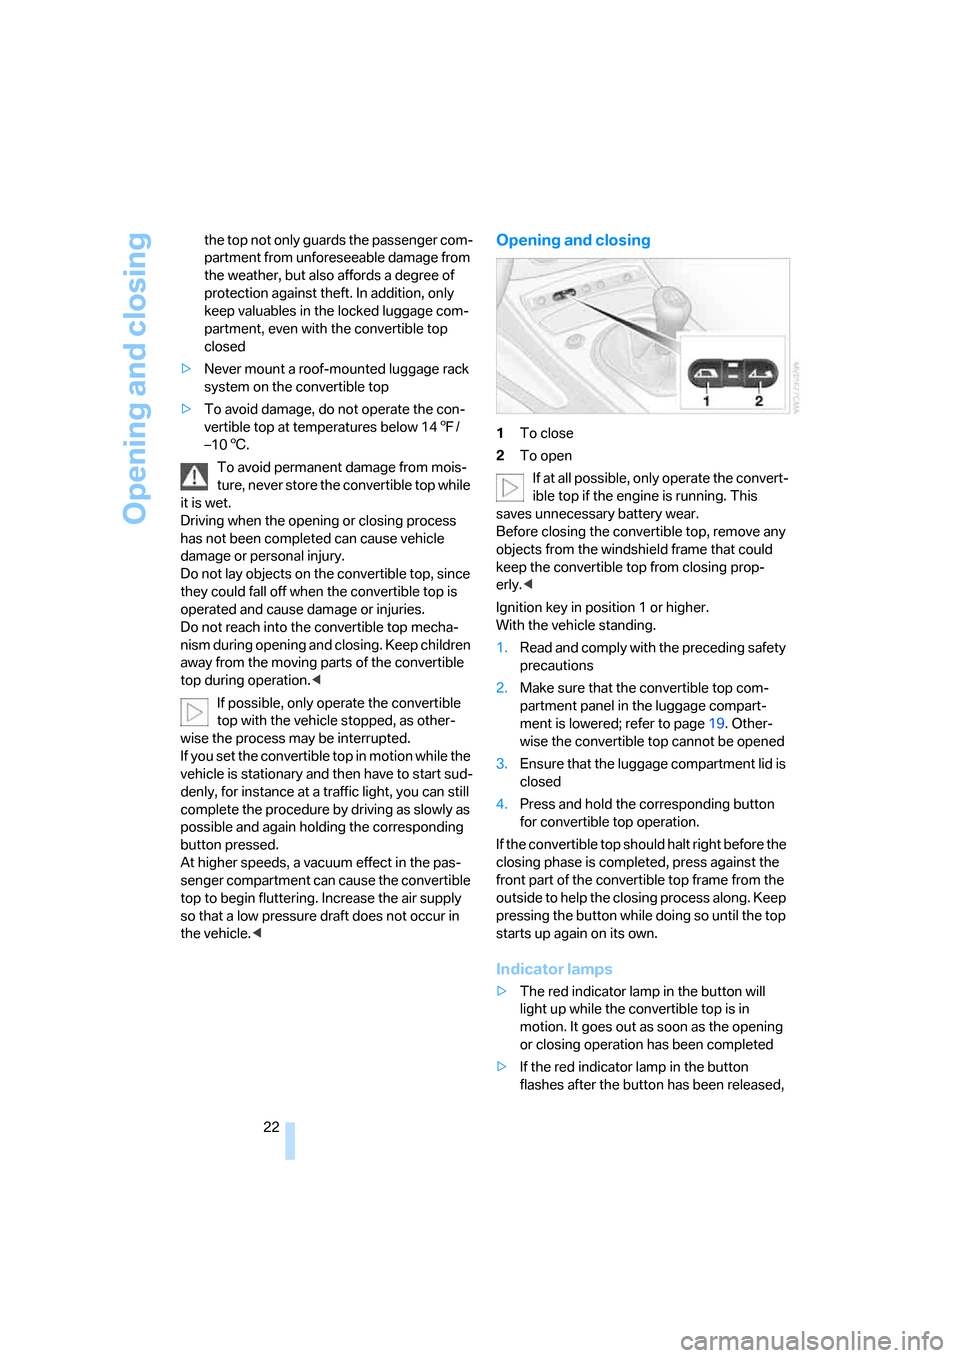
Opening and closing
1To close
2To open
If at all possible, only operate the convert-
ible top if the engine is running. This
saves unnecessary battery wear.
Before closing the convertible top, remove any
objects from the windshield frame that could
keep the convertible top from closing prop-
erly.<
Ignition key in position 1 or higher.
With the vehicle standing.
1.Read and comply with the preceding safety
precautions
2.Make sure that the convertible top com-
partment panel in the luggage compart-
ment is lowered; refer to page19. Other-
wise the convertible top cannot be opened
3.Ensure that the luggage compartment lid is
closed
4.Press and hold the corresponding button
for convertible top operation.
If the convertible top should halt right before the
closing phase is completed, press against the
front part of the convertible top frame from the
outside to help the closing process along. Keep
pressing the button while doing so until the top
starts up again on its own.
Indicator lamps
>The red indicator lamp in the button will
light up while the convertible top is in
motion. It goes out as soon as the opening
or closing operation has been completed
>If the red indicator lamp in the button
flashes after the button has been released,
Page 38 of 120
Driving
36
Driving
Ignition lock
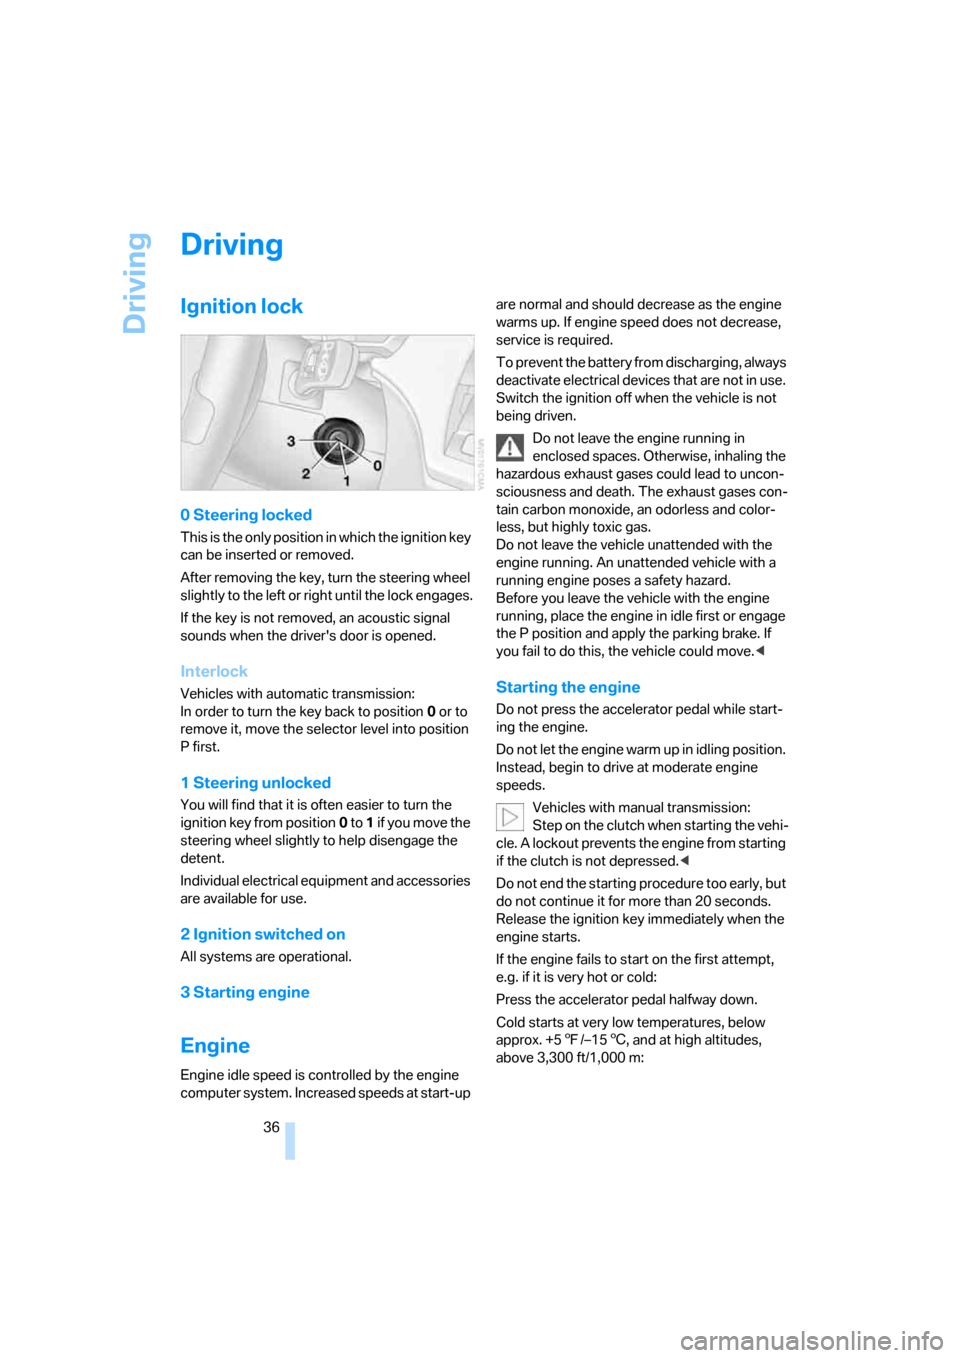
0 Steering locked
This is the only position in which the ignition key
can be inserted or removed.
After removing the key, turn the steering wheel
slightly to the left or right until the lock engages.
If the key is not removed, an acoustic signal
sounds when the driver's door is opened.
Interlock
Vehicles with automatic transmission:
In order to turn the key back to position0 or to
remove it, move the selector level into position
P first.
1 Steering unlocked
You will find that it is often easier to turn the
ignition key from position0 to 1 if you move the
steering wheel slightly to help disengage the
detent.
Individual electrical equipment and accessories
are available for use.
2 Ignition switched on
All systems are operational.
3 Starting engine
Engine
Engine idle speed is controlled by the engine
computer system. Increased speeds at start-up are normal and should decrease as the engine
warms up. If engine speed does not decrease,
service is required.
To prevent the battery from discharging, always
deactivate electrical devices that are not in use.
Switch the ignition off when the vehicle is not
being driven.
Do not leave the engine running in
enclosed spaces. Otherwise, inhaling the
hazardous exhaust gases could lead to uncon-
sciousness and death. The exhaust gases con-
tain carbon monoxide, an odorless and color-
less, but highly toxic gas.
Do not leave the vehicle unattended with the
engine running. An unattended vehicle with a
running engine poses a safety hazard.
Before you leave the vehicle with the engine
running, place the engine in idle first or engage
the P position and apply the parking brake. If
you fail to do this, the vehicle could move.<
Starting the engine
Do not press the accelerator pedal while start-
ing the engine.
Do not let the engine warm up in idling position.
Instead, begin to drive at moderate engine
speeds.
Vehicles with manual transmission:
Step on the clutch when starting the vehi-
cle. A lockout prevents the engine from starting
if the clutch is not depressed.<
Do not end the starting procedure too early, but
do not continue it for more than 20 seconds.
Release the ignition key immediately when the
engine starts.
If the engine fails to start on the first attempt,
e.g. if it is very hot or cold:
Press the accelerator pedal halfway down.
Cold starts at very low temperatures, below
approx. +57/–156, and at high altitudes,
above 3,300 ft/1,000 m:
Page 100 of 120
Giving and receiving assistance
98 positive terminal of the battery or to an aux-
iliary jump-starting terminal of the vehicle to
be jump-started.
Your BMW is equipped with a special nut,
refer also to the engine compartment over-
view on page85
3.With the– jumper cable, connect the nega-
tive terminals of both vehicles.
To do this:
Attach one cable clamp to the negative bat-
tery terminal or to a suitable ground on the
engine or body work of the support vehicle.
Attach the second cable clamp to the nega-
tive battery terminal or to a suitable ground
on the engine or body work of the vehicle to
be jump-started.
Starting the engine
1.Start the engine of the support vehicle and
let it run for several minutes at a slightly ele-
vated engine idle speed
2.Start the engine of the other vehicle as
usual.
If the first start attempt is not successful,
wait a few minutes before another attempt
in order to allow the discharged battery to
recharge
3.Allow the engines to run for several minutes
4.Then disconnect the jumper cables in
reverse sequence
5.Depending on the cause of the fault, have
the battery checked and recharged.
Never use spray starter fluids to start the
engine.<
Towing and tow-starting the
vehicle
Using the towing eyelet
The screw-in towing eyelet is stored in the
onboard tool kit; be sure that it remains in the
vehicle at all times. It can be attached at the
front or rear of your BMW.
Observe the following instructions in
order to avoid damaging the towing eye-
let or the vehicle: use only the towing eyelet
supplied with the vehicle, and screw it in firmly
until it stops. Use the towing eyelet for towing
on paved roads only. Avoid subjecting the tow-
ing eyelet to lateral loads, e.g. do not lift the
vehicle using the towing eyelet.<
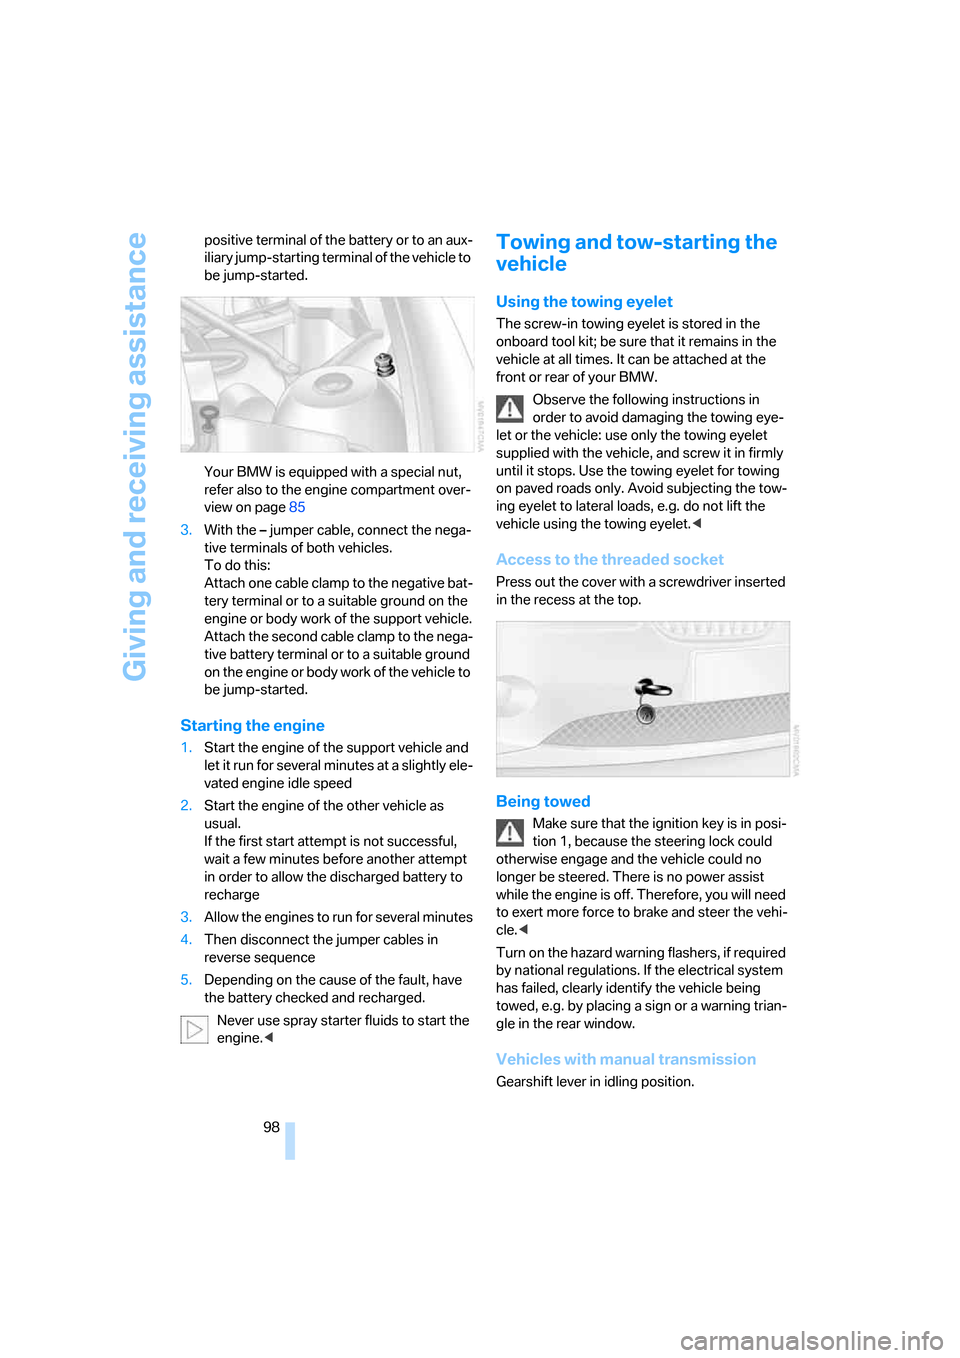
Access to the threaded socket
Press out the cover with a screwdriver inserted
in the recess at the top.
Being towed
Make sure that the ignition key is in posi-
tion 1, because the steering lock could
otherwise engage and the vehicle could no
longer be steered. There is no power assist
while the engine is off. Therefore, you will need
to exert more force to brake and steer the vehi-
cle.<
Turn on the hazard warning flashers, if required
by national regulations. If the electrical system
has failed, clearly identify the vehicle being
towed, e.g. by placing a sign or a warning trian-
gle in the rear window.
Vehicles with manual transmission
Gearshift lever in idling position.
Page 109 of 120
Reference
At a glance
Controls
Driving tips
Mobility
107
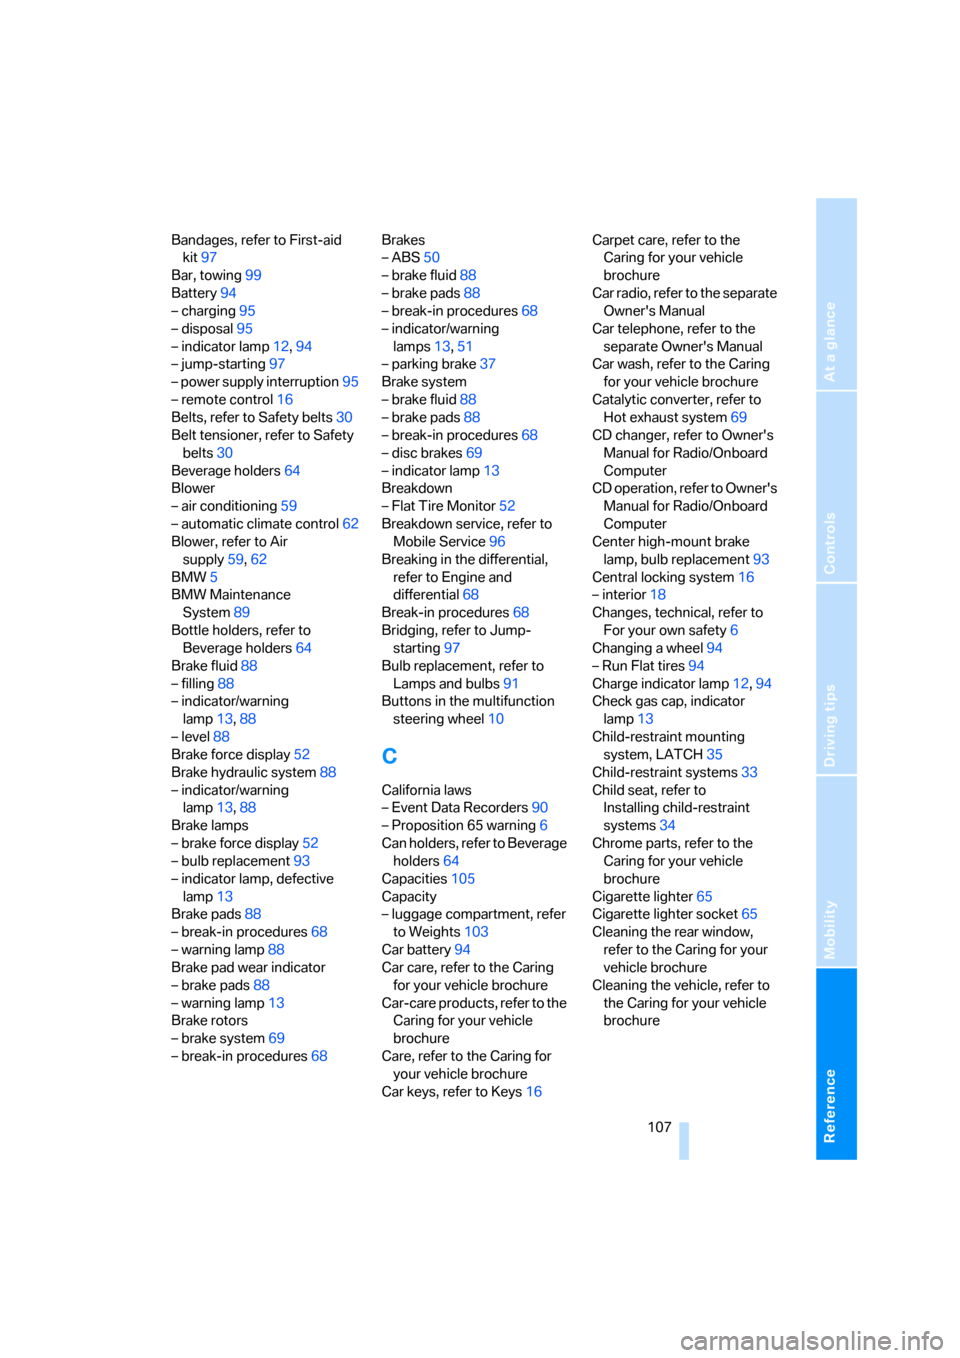
Bandages, refer to First-aid
kit97
Bar, towing99
Battery94
– charging95
– disposal95
– indicator lamp12,94
– jump-starting97
– power supply interruption95
– remote control16
Belts, refer to Safety belts30
Belt tensioner, refer to Safety
belts30
Beverage holders64
Blower
– air conditioning59
– automatic climate control62
Blower, refer to Air
supply59,62
BMW5
BMW Maintenance
System89
Bottle holders, refer to
Beverage holders64
Brake fluid88
– filling88
– indicator/warning
lamp13,88
– level88
Brake force display52
Brake hydraulic system88
– indicator/warning
lamp13,88
Brake lamps
– brake force display52
– bulb replacement93
– indicator lamp, defective
lamp13
Brake pads88
– break-in procedures68
– warning lamp88
Brake pad wear indicator
– brake pads88
– warning lamp13
Brake rotors
– brake system69
– break-in procedures68Brakes
– ABS50
– brake fluid88
– brake pads88
– break-in procedures68
– indicator/warning
lamps13,51
– parking brake37
Brake system
– brake fluid88
– brake pads88
– break-in procedures68
– disc brakes69
– indicator lamp13
Breakdown
– Flat Tire Monitor52
Breakdown service, refer to
Mobile Service96
Breaking in the differential,
refer to Engine and
differential68
Break-in procedures68
Bridging, refer to Jump-
starting97
Bulb replacement, refer to
Lamps and bulbs91
Buttons in the multifunction
steering wheel10
C
California laws
– Event Data Recorders90
– Proposition 65 warning6
Can holders, refer to Beverage
holders64
Capacities105
Capacity
– luggage compartment, refer
to Weights103
Car battery94
Car care, refer to the Caring
for your vehicle brochure
Car-care products, refer to the
Caring for your vehicle
brochure
Care, refer to the Caring for
your vehicle brochure
Car keys, refer to Keys16Carpet care, refer to the
Caring for your vehicle
brochure
Car radio, refer to the separate
Owner's Manual
Car telephone, refer to the
separate Owner's Manual
Car wash, refer to the Caring
for your vehicle brochure
Catalytic converter, refer to
Hot exhaust system69
CD changer, refer to Owner's
Manual for Radio/Onboard
Computer
CD operation, refer to Owner's
Manual for Radio/Onboard
Computer
Center high-mount brake
lamp, bulb replacement93
Central locking system16
– interior18
Changes, technical, refer to
For your own safety6
Changing a wheel94
– Run Flat tires94
Charge indicator lamp12,94
Check gas cap, indicator
lamp13
Child-restraint mounting
system, LATCH35
Child-restraint systems33
Child seat, refer to
Installing child-restraint
systems34
Chrome parts, refer to the
Caring for your vehicle
brochure
Cigarette lighter65
Cigarette lighter socket65
Cleaning the rear window,
refer to the Caring for your
vehicle brochure
Cleaning the vehicle, refer to
the Caring for your vehicle
brochure
Page 110 of 120
Everything from A to Z
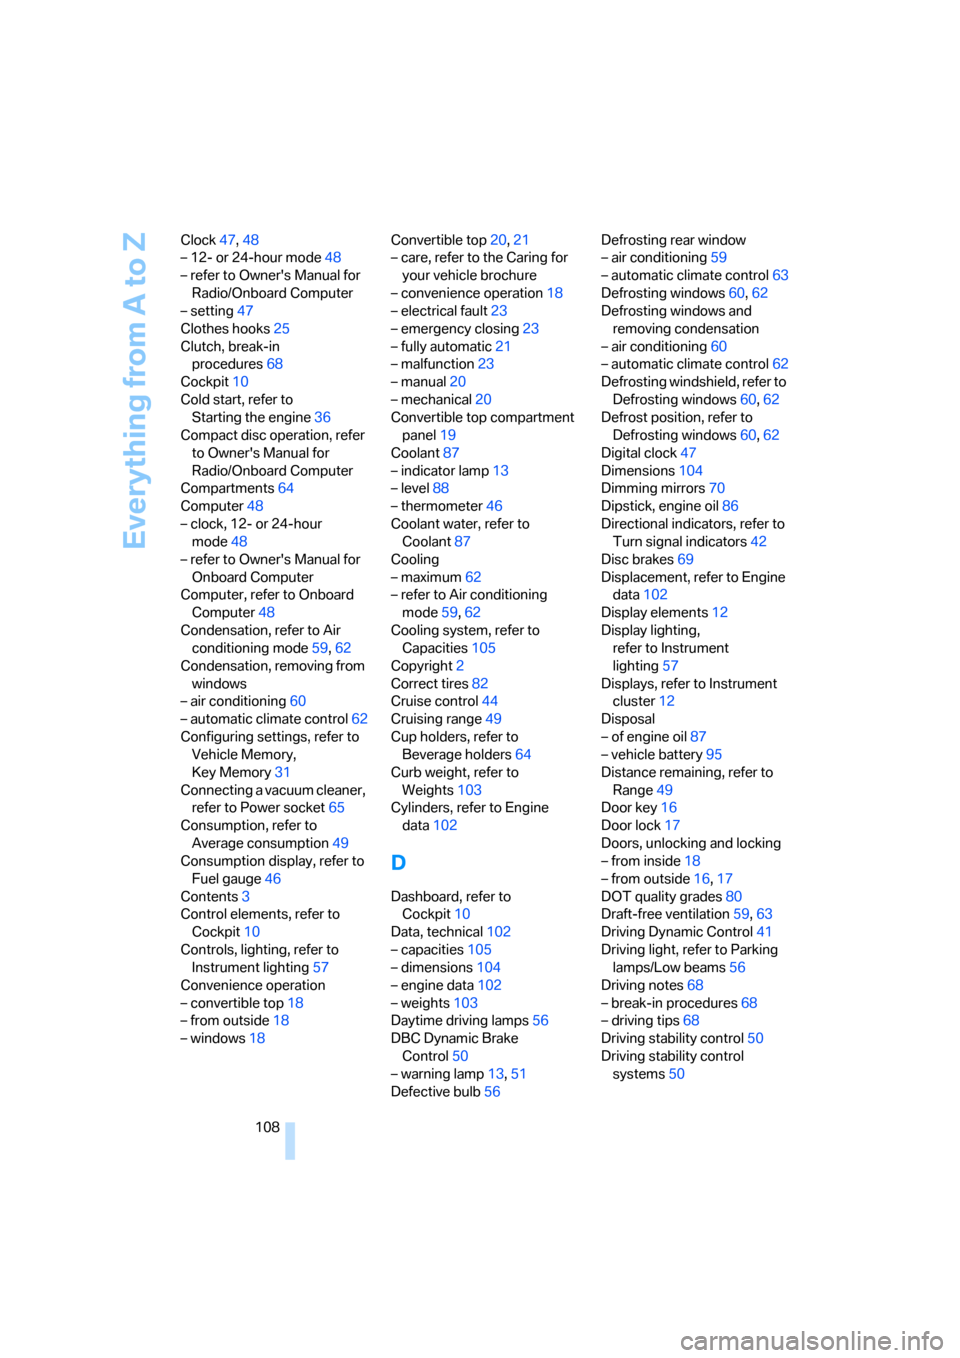
108 Clock47,48
– 12- or 24-hour mode48
– refer to Owner's Manual for
Radio/Onboard Computer
– setting47
Clothes hooks25
Clutch, break-in
procedures68
Cockpit10
Cold start, refer to
Starting the engine36
Compact disc operation, refer
to Owner's Manual for
Radio/Onboard Computer
Compartments64
Computer48
– clock, 12- or 24-hour
mode48
– refer to Owner's Manual for
Onboard Computer
Computer, refer to Onboard
Computer48
Condensation, refer to Air
conditioning mode59,62
Condensation, removing from
windows
– air conditioning60
– automatic climate control62
Configuring settings, refer to
Vehicle Memory,
Key Memory31
Connecting a vacuum cleaner,
refer to Power socket65
Consumption, refer to
Average consumption49
Consumption display, refer to
Fuel gauge46
Contents3
Control elements, refer to
Cockpit10
Controls, lighting, refer to
Instrument lighting57
Convenience operation
– convertible top18
– from outside18
– windows18Convertible top20,21
– care, refer to the Caring for
your vehicle brochure
– convenience operation18
– electrical fault23
– emergency closing23
– fully automatic21
– malfunction23
– manual20
– mechanical20
Convertible top compartment
panel19
Coolant87
– indicator lamp13
– level88
– thermometer46
Coolant water, refer to
Coolant87
Cooling
– maximum62
– refer to Air conditioning
mode59,62
Cooling system, refer to
Capacities105
Copyright2
Correct tires82
Cruise control44
Cruising range49
Cup holders, refer to
Beverage holders64
Curb weight, refer to
Weights103
Cylinders, refer to Engine
data102
D
Dashboard, refer to
Cockpit10
Data, technical102
– capacities105
– dimensions104
– engine data102
– weights103
Daytime driving lamps56
DBC Dynamic Brake
Control50
– warning lamp13,51
Defective bulb56Defrosting rear window
– air conditioning59
– automatic climate control63
Defrosting windows60,62
Defrosting windows and
removing condensation
– air conditioning60
– automatic climate control62
Defrosting windshield, refer to
Defrosting windows60,62
Defrost position, refer to
Defrosting windows60,62
Digital clock47
Dimensions104
Dimming mirrors70
Dipstick, engine oil86
Directional indicators, refer to
Turn signal indicators42
Disc brakes69
Displacement, refer to Engine
data102
Display elements12
Display lighting,
refer to Instrument
lighting57
Displays, refer to Instrument
cluster12
Disposal
– of engine oil87
– vehicle battery95
Distance remaining, refer to
Range49
Door key16
Door lock17
Doors, unlocking and locking
– from inside18
– from outside16,17
DOT quality grades80
Draft-free ventilation59,63
Driving Dynamic Control41
Driving light, refer to Parking
lamps/Low beams56
Driving notes68
– break-in procedures68
– driving tips68
Driving stability control50
Driving stability control
systems50