BMW Z8 2001 Workshop Manual
Manufacturer: BMW, Model Year: 2001, Model line: Z8, Model: BMW Z8 2001Pages: 170, PDF Size: 1.64 MB
Page 51 of 170

51n
IndexDataTechnologyRepairsCar careControlsOverview
Airbags 1 Front airbag on driver and passenger
side
2 Side airbags on driver and passenger
sideProtectionThe front airbags protect the driver and
passenger in the event of severe frontal
impacts in which a safety belt alone is
not enough to afford optimal protection.
The side airbags help provide protec-
tion in the event of a collision from the
side. Each of the side airbags is
designed to help support the seat occu-
pant's upper body.520de021
The illustration shows the system's
effective response range.
The airbags do not respond to mi-
nor impacts, if the vehicle rolls
over, or if the vehicle is hit from the
rear.<520de022
Indicator lamp
The indicator lamp in the instru-
ment cluster comes on to
confirm the system's operational
status from ignition key position 1.
System operational:
>The indicator lamp comes on briefly
then goes out.
System malfunction:
>The indicator lamp fails to come on
>The indicator lamp comes on briefly
before going out and then lighting up
again.
A system malfunction could prevent the
system from responding to a high-
intensity impact sustained within its
normal response range.
Have your BMW center inspect the
system immediately.
Page 52 of 170
52n
AirbagsSitting correctly with airbags
Comply with the following instruc-
tions for the airbags, otherwise,
the airbags may not be able to provide
their maximum protection, with
resulting risks to personal safety. All
passengers in the vehicle should be
aware of and comply with this informa-
tion:
The airbag is a supplemental restraint
device; it is not a substitute or replace-
ment for your safety belt, which you
should continue to wear at all times.
When adjusting your seat, assume a
comfortable driving posture allowing
comfortable and secure access to all of
the vehicle's controls. Avoid sitting too
close to the steering wheel.
Always hold the steering wheel by the
rim Ð hands in the "9 o'clock" and
"3 o'clock" positions Ð otherwise, your
hands or arms could be injured if the
airbag is triggered.
Never allow any other passengers,
animals or objects to intrude into the
area between the airbag and the driver
or front passenger.
Do not use the cover panel above the
front passenger airbag as a storage
area.
Do not apply adhesive materials to the
cover panels of the airbags, or cover or
modify them in any other way.
Do not use a rear-facing child seat in the
front passenger seat. If you use a child
restraint system, carefully read and
comply with the instructions on page 53.
Be sure that child seats are installed
correctly and with the greatest possible
distance between them and the side
airbag. Do not allow children to lean out
of the child's seat in the direction of the
side trim panels. If they do so, serious
injuries can occur if the airbag is trig-
gered.<
Even when all these guidelines are
observed, there is still a small residual
risk of injury to the face, hands and
arms occurring from airbag deployment
in isolated instances.
The ignition and inflation noise may
cause a mild temporary hearing loss in
extremely sensitive individuals.
You will find the proper airbag safety
precautions on both sun visors and on
the instrument cluster (US models).
For additional information concerning
the airbag system, refer to pages 121
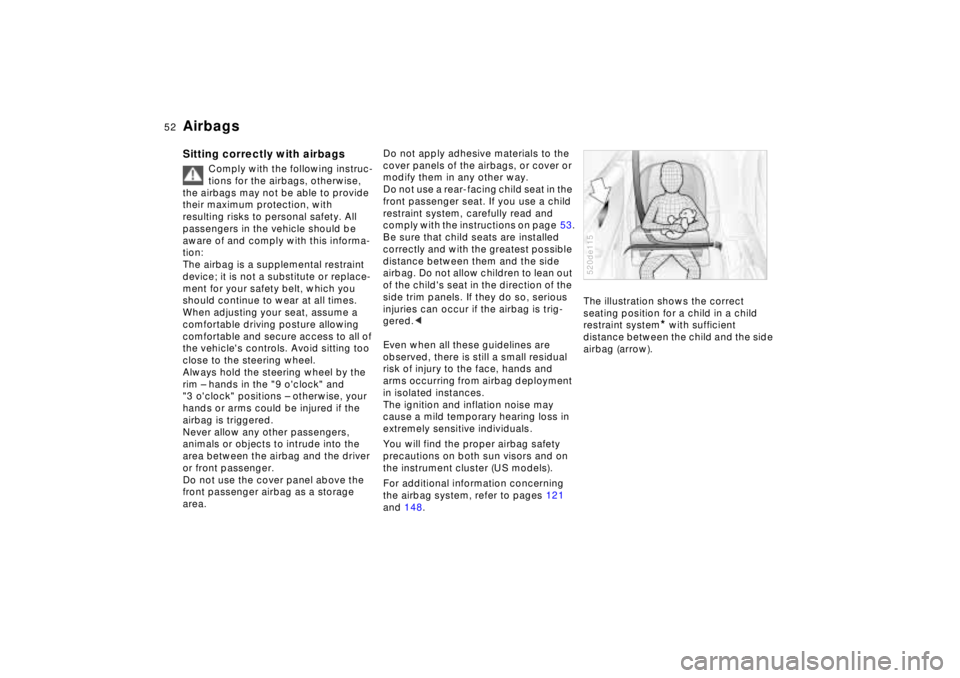
and 148.The illustration shows the correct
seating position for a child in a child
restraint system
* with sufficient
distance between the child and the side
airbag (arrow).
520de115
Page 53 of 170
53n
IndexDataTechnologyRepairsCar careControlsOverview
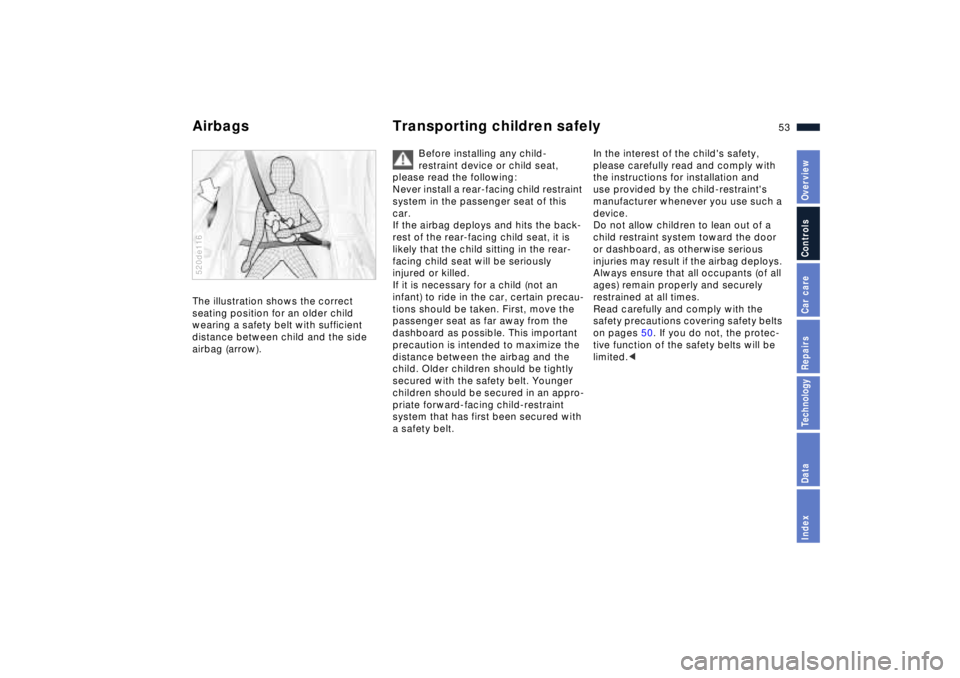
Airbags Transporting children safelyThe illustration shows the correct
seating position for an older child
wearing a safety belt with sufficient
distance between child and the side
airbag (arrow).520de116
Before installing any child-
restraint device or child seat,
please read the following:
Never install a rear-facing child restraint
system in the passenger seat of this
car.
If the airbag deploys and hits the back-
rest of the rear-facing child seat, it is
likely that the child sitting in the rear-
facing child seat will be seriously
injured or killed.
If it is necessary for a child (not an
infant) to ride in the car, certain precau-
tions should be taken. First, move the
passenger seat as far away from the
dashboard as possible. This important
precaution is intended to maximize the
distance between the airbag and the
child. Older children should be tightly
secured with the safety belt. Younger
children should be secured in an appro-
priate forward-facing child-restraint
system that has first been secured with
a safety belt.
In the interest of the child's safety,
please carefully read and comply with
the instructions for installation and
use provided by the child-restraint's
manufacturer whenever you use such a
device.
Do not allow children to lean out of a
child restraint system toward the door
or dashboard, as otherwise serious
injuries may result if the airbag deploys.
Always ensure that all occupants (of all
ages) remain properly and securely
restrained at all times.
Read carefully and comply with the
safety precautions covering safety belts
on pages 50. If you do not, the protec-
tive function of the safety belts will be
limited.<
Page 54 of 170
54n
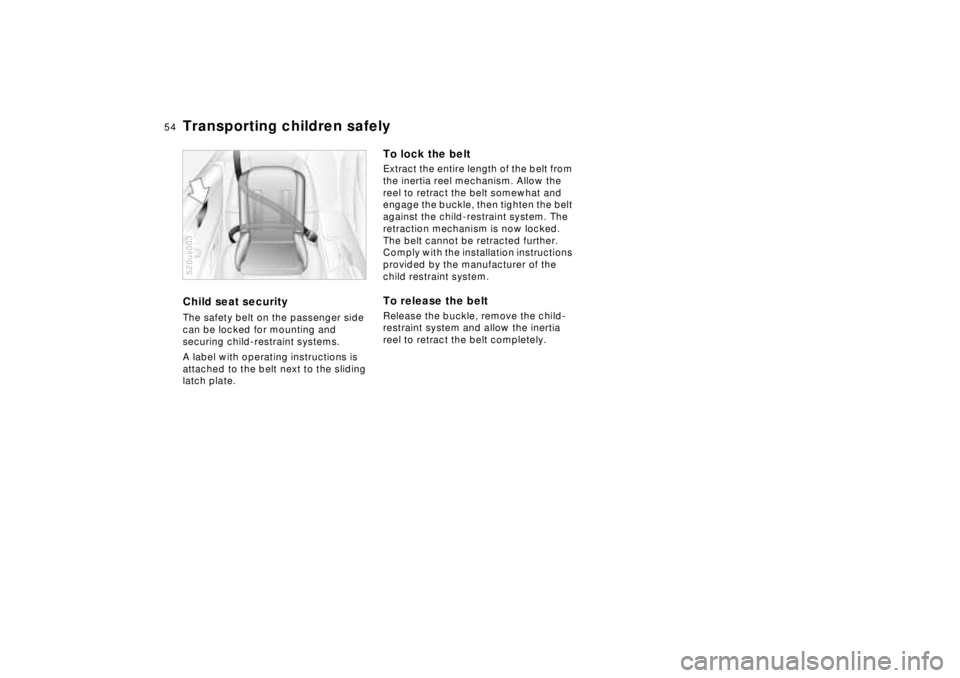
Transporting children safelyChild seat securityThe safety belt on the passenger side
can be locked for mounting and
securing child-restraint systems.
A label with operating instructions is
attached to the belt next to the sliding
latch plate.520us003
To lock the beltExtract the entire length of the belt from
the inertia reel mechanism. Allow the
reel to retract the belt somewhat and
engage the buckle, then tighten the belt
against the child-restraint system. The
retraction mechanism is now locked.
The belt cannot be retracted further.
Comply with the installation instructions
provided by the manufacturer of the
child restraint system.To release the beltRelease the buckle, remove the child-
restraint system and allow the inertia
reel to retract the belt completely.
Page 55 of 170
55n
IndexDataTechnologyRepairsCar careControlsOverview
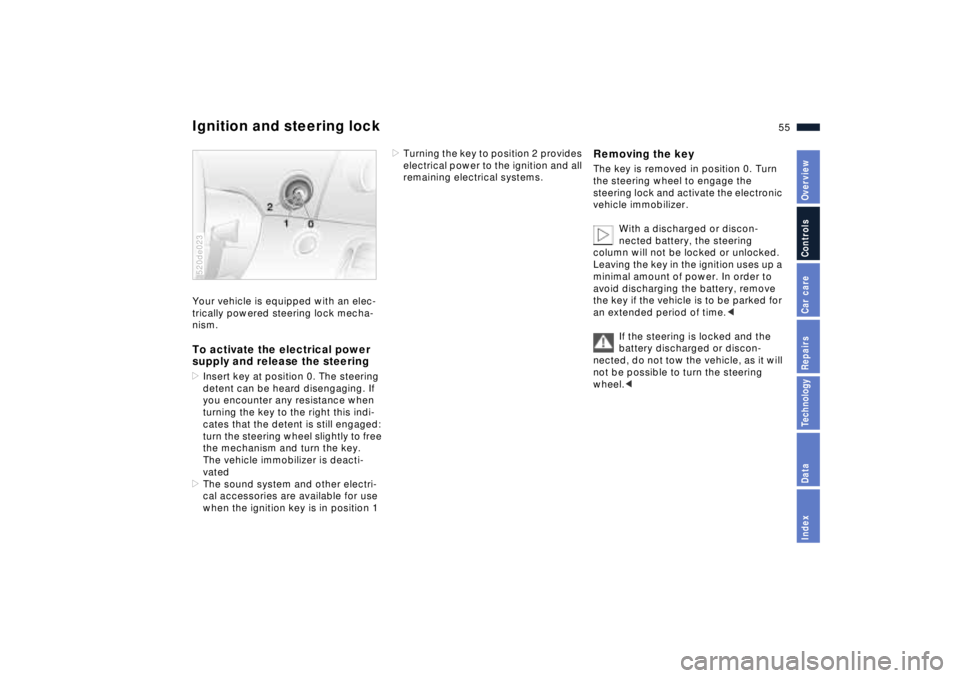
Your vehicle is equipped with an elec-
trically powered steering lock mecha-
nism.To activate the electrical power
supply and release the steering>Insert key at position 0. The steering
detent can be heard disengaging. If
you encounter any resistance when
turning the key to the right this indi-
cates that the detent is still engaged:
turn the steering wheel slightly to free
the mechanism and turn the key.
The vehicle immobilizer is deacti-
vated
>The sound system and other electri-
cal accessories are available for use
when the ignition key is in position 1 520de023
>Turning the key to position 2 provides
electrical power to the ignition and all
remaining electrical systems.
Removing the keyThe key is removed in position 0. Turn
the steering wheel to engage the
steering lock and activate the electronic
vehicle immobilizer.
With a discharged or discon-
nected battery, the steering
column will not be locked or unlocked.
Leaving the key in the ignition uses up a
minimal amount of power. In order to
avoid discharging the battery, remove
the key if the vehicle is to be parked for
an extended period of time.<
If the steering is locked and the
battery discharged or discon-
nected, do not tow the vehicle, as it will
not be possible to turn the steering
wheel.<
Ignition and steering lock
Page 56 of 170
56n
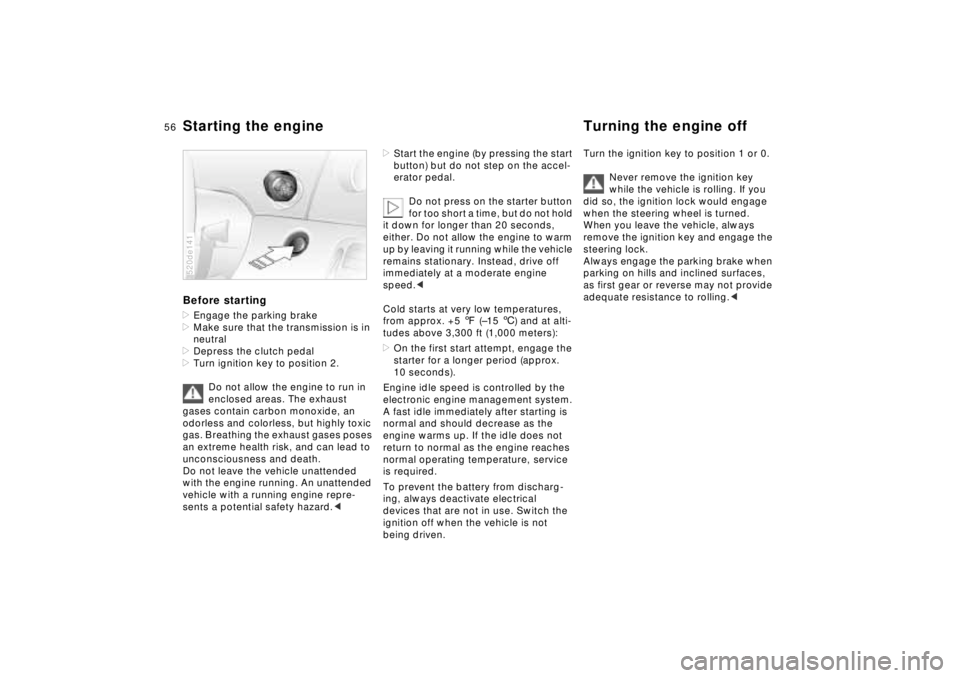
Starting the engine Turning the engine off Before starting>Engage the parking brake
>Make sure that the transmission is in
neutral
>Depress the clutch pedal
>Turn ignition key to position 2.
Do not allow the engine to run in
enclosed areas. The exhaust
gases contain carbon monoxide, an
odorless and colorless, but highly toxic
gas. Breathing the exhaust gases poses
an extreme health risk, and can lead to
unconsciousness and death.
Do not leave the vehicle unattended
with the engine running. An unattended
vehicle with a running engine repre-
sents a potential safety hazard.<520de141
>Start the engine (by pressing the start
button) but do not step on the accel-
erator pedal.
Do not press on the starter button
for too short a time, but do not hold
it down for longer than 20 seconds,
either. Do not allow the engine to warm
up by leaving it running while the vehicle
remains stationary. Instead, drive off
immediately at a moderate engine
speed.<
Cold starts at very low temperatures,
from approx. +5 7 (Ð15 6) and at alti-
tudes above 3,300 ft (1,000 meters):
>On the first start attempt, engage the
starter for a longer period (approx.
10 seconds).
Engine idle speed is controlled by the
electronic engine management system.
A fast idle immediately after starting is
normal and should decrease as the
engine warms up. If the idle does not
return to normal as the engine reaches
normal operating temperature, service
is required.
To prevent the battery from discharg-
ing, always deactivate electrical
devices that are not in use. Switch the
ignition off when the vehicle is not
being driven.
Turn the ignition key to position 1 or 0.
Never remove the ignition key
while the vehicle is rolling. If you
did so, the ignition lock would engage
when the steering wheel is turned.
When you leave the vehicle, always
remove the ignition key and engage the
steering lock.
Always engage the parking brake when
parking on hills and inclined surfaces,
as first gear or reverse may not provide
adequate resistance to rolling.<
Page 57 of 170
57n
IndexDataTechnologyRepairsCar careControlsOverview
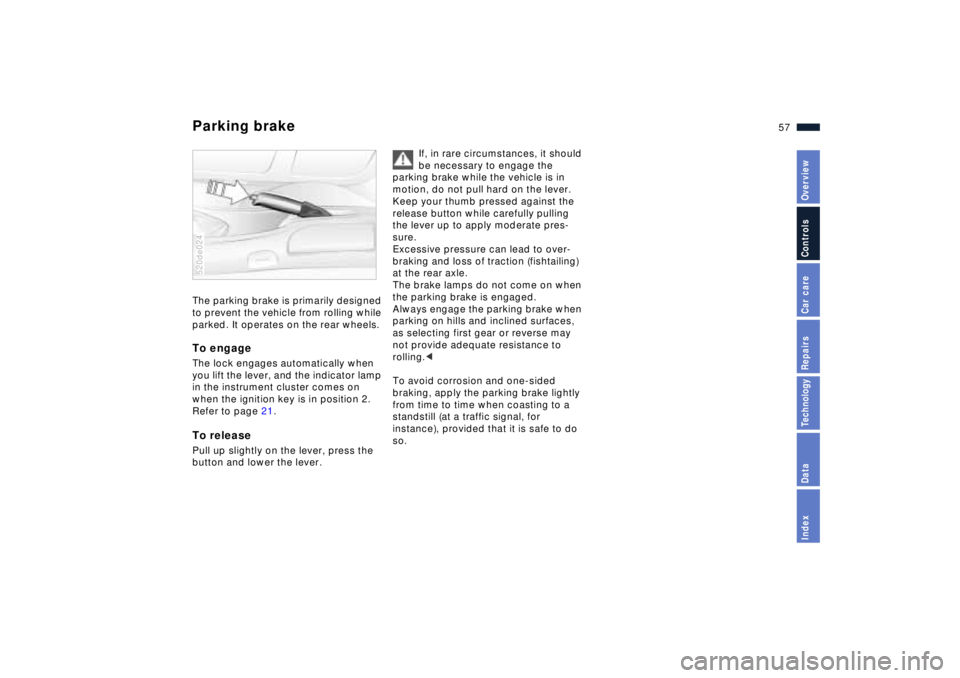
Parking brake The parking brake is primarily designed
to prevent the vehicle from rolling while
parked. It operates on the rear wheels.To engageThe lock engages automatically when
you lift the lever, and the indicator lamp
in the instrument cluster comes on
when the ignition key is in position 2.
Refer to page 21.To releasePull up slightly on the lever, press the
button and lower the lever.520de024
If, in rare circumstances, it should
be necessary to engage the
parking brake while the vehicle is in
motion, do not pull hard on the lever.
Keep your thumb pressed against the
release button while carefully pulling
the lever up to apply moderate pres-
sure.
Excessive pressure can lead to over-
braking and loss of traction (fishtailing)
at the rear axle.
The brake lamps do not come on when
the parking brake is engaged.
Always engage the parking brake when
parking on hills and inclined surfaces,
as selecting first gear or reverse may
not provide adequate resistance to
rolling.<
To avoid corrosion and one-sided
braking, apply the parking brake lightly
from time to time when coasting to a
standstill (at a traffic signal, for
instance), provided that it is safe to do
so.
Page 58 of 170
58n
Manual transmission
Turn signal/Headlamp flasher
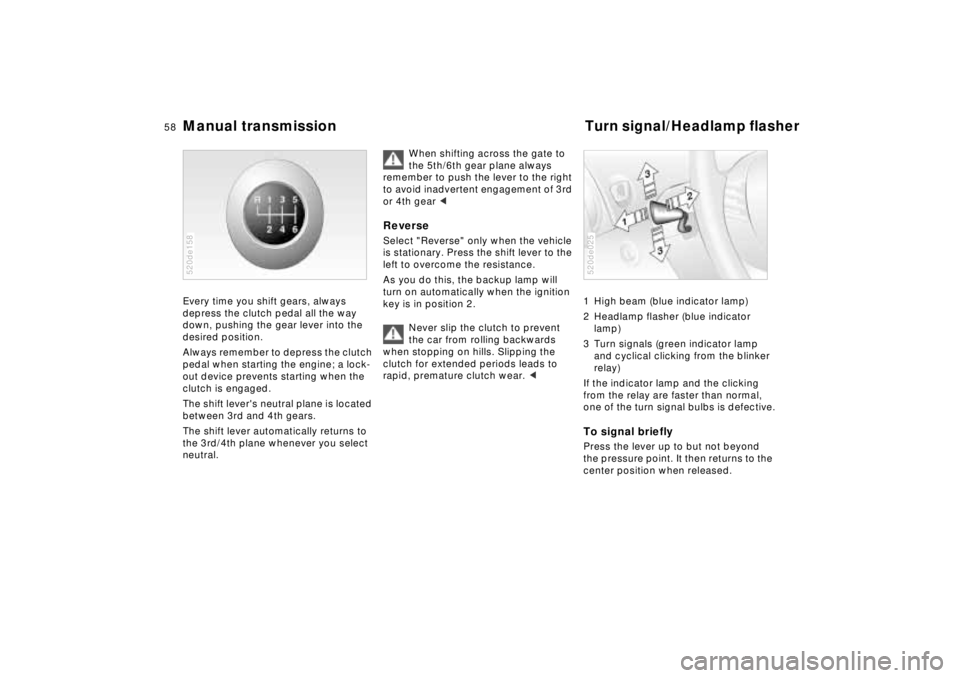
Every time you shift gears, always
depress the clutch pedal all the way
down, pushing the gear lever into the
desired position.
Always remember to depress the clutch
pedal when starting the engine; a lock-
out device prevents starting when the
clutch is engaged.
The shift lever's neutral plane is located
between 3rd and 4th gears.
The shift lever automatically returns to
the 3rd/4th plane whenever you select
neutral. 520de158
When shifting across the gate to
the 5th/6th gear plane always
remember to push the lever to the right
to avoid inadvertent engagement of 3rd
or 4th gear <
Reverse Select "Reverse" only when the vehicle
is stationary. Press the shift lever to the
left to overcome the resistance.
As you do this, the backup lamp will
turn on automatically when the ignition
key is in position 2.
Never slip the clutch to prevent
the car from rolling backwards
when stopping on hills. Slipping the
clutch for extended periods leads to
rapid, premature clutch wear. <
1 High beam (blue indicator lamp)
2 Headlamp flasher (blue indicator
lamp)
3 Turn signals (green indicator lamp
and cyclical clicking from the blinker
relay)
If the indicator lamp and the clicking
from the relay are faster than normal,
one of the turn signal bulbs is defective.To signal brieflyPress the lever up to but not beyond
the pressure point. It then returns to the
center position when released.520de025
Page 59 of 170
59n
IndexDataTechnologyRepairsCar careControlsOverview
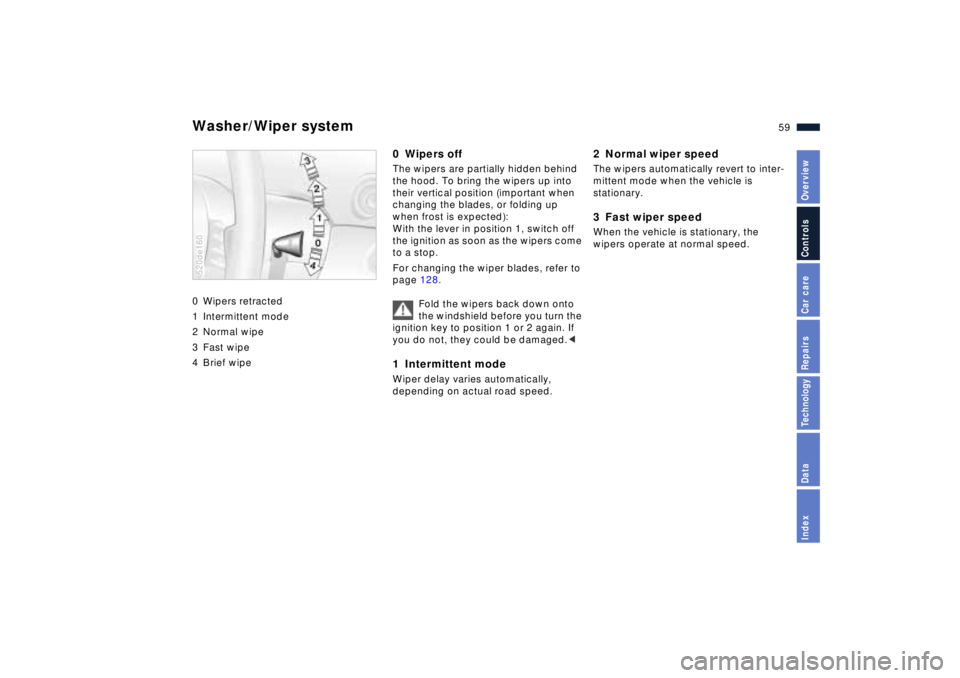
Washer/Wiper system 0 Wipers retracted
1 Intermittent mode
2 Normal wipe
3 Fast wipe
4 Brief wipe520de160
0 Wipers offThe wipers are partially hidden behind
the hood. To bring the wipers up into
their vertical position (important when
changing the blades, or folding up
when frost is expected):
With the lever in position 1, switch off
the ignition as soon as the wipers come
to a stop.
For changing the wiper blades, refer to
page 128.
Fold the wipers back down onto
the windshield before you turn the
ignition key to position 1 or 2 again. If
you do not, they could be damaged.<1 Intermittent mode Wiper delay varies automatically,
depending on actual road speed.
2 Normal wiper speedThe wipers automatically revert to inter-
mittent mode when the vehicle is
stationary.3 Fast wiper speedWhen the vehicle is stationary, the
wipers operate at normal speed.
Page 60 of 170
60n
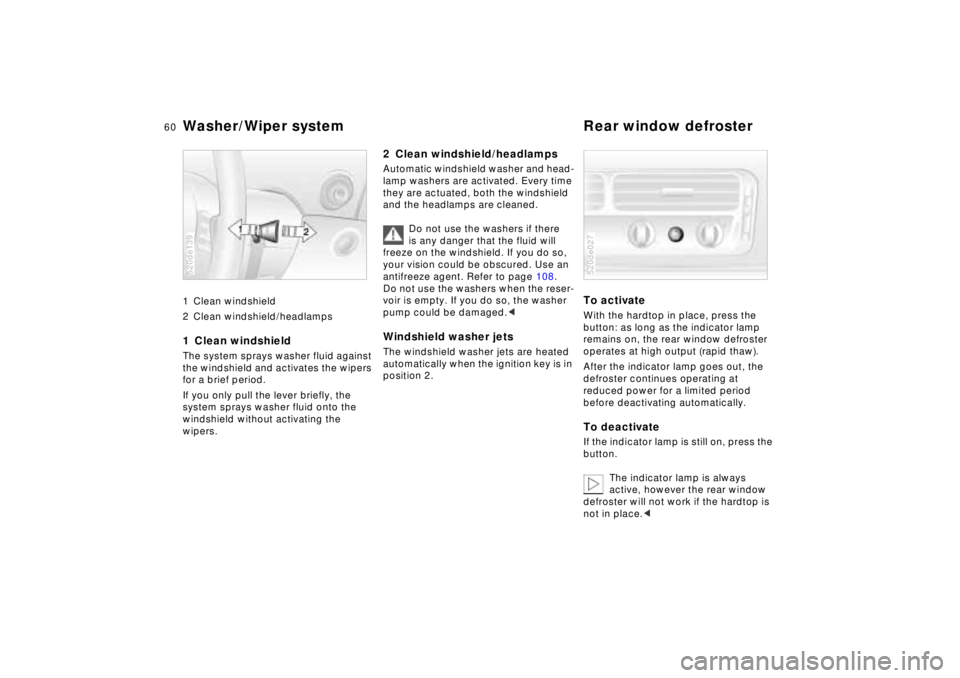
Washer/Wiper system Rear window defroster 1 Clean windshield
2 Clean windshield/headlamps 1 Clean windshield The system sprays washer fluid against
the windshield and activates the wipers
for a brief period.
If you only pull the lever briefly, the
system sprays washer fluid onto the
windshield without activating the
wipers.520de139
2 Clean windshield/headlamps Automatic windshield washer and head-
lamp washers are activated. Every time
they are actuated, both the windshield
and the headlamps are cleaned.
Do not use the washers if there
is any danger that the fluid will
freeze on the windshield. If you do so,
your vision could be obscured. Use an
antifreeze agent. Refer to page 108.
Do not use the washers when the reser-
voir is empty. If you do so, the washer
pump could be damaged.
position 2.
To activateWith the hardtop in place, press the
button: as long as the indicator lamp
remains on, the rear window defroster
operates at high output (rapid thaw).
After the indicator lamp goes out, the
defroster continues operating at
reduced power for a limited period
before deactivating automatically. To deactivateIf the indicator lamp is still on, press the
button.
The indicator lamp is always
active, however the rear window
defroster will not work if the hardtop is
not in place.<520de027