ignition BMW Z8 CONVERTIBLE 2002 Owner's Manual
[x] Cancel search | Manufacturer: BMW, Model Year: 2002, Model line: Z8 CONVERTIBLE, Model: BMW Z8 CONVERTIBLE 2002Pages: 174, PDF Size: 2.37 MB
Page 64 of 174
64n
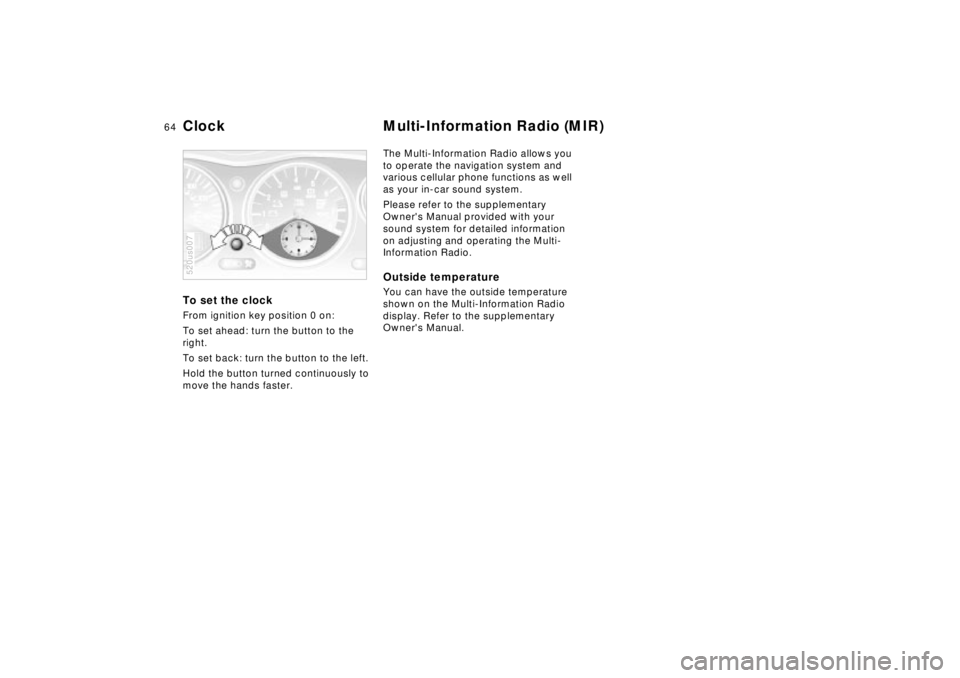
To set the clock From ignition key position 0 on:
To set ahead: turn the button to the
right.
To set back: turn the button to the left.
Hold the button turned continuously to
move the hands faster.520us007
The Multi-Information Radio allows you
to operate the navigation system and
various cellular phone functions as well
as your in-car sound system.
Please refer to the supplementary
Owner's Manual provided with your
sound system for detailed information
on adjusting and operating the Multi-
Information Radio.Outside temperature You can have the outside temperature
shown on the Multi-Information Radio
display. Refer to the supplementary
Owner's Manual.
Clock Multi-Information Radio (MIR)
Page 65 of 174
65n
IndexDataTechnologyRepairsCar careControlsOverview
The conceptDSC maintains vehicle stability even in
critical driving situations.
DSC maintains optimal, predictable
response while maximizing traction
when you accelerate from a standing
start or speed up while already
underway. The system recognizes any
tendency for the vehicle to assume an
instable attitude such as oversteer and
understeer, and counteracts this
tendency with a combination of gradu-
ated reductions in engine torque and
braking intervention at individually
selected wheels. DSC provides optimal
stability Ð within the limits defined by
the laws of physics.
The system automatically assumes
operational status each time the engine
is started.
Indicator lamp
The indicator lamp in the instru-
ment cluster goes out shortly
after you switch on the ignition.
Refer to page 22.
The indicator lamp flashes:
The system is actively regulating drive
torque and braking force.
The indicator lamp does not go out
after the engine is started, or it comes
on during normal driving and stays on:
There is a system malfunction or the
system was deactivated with the
button. You can continue to drive the
vehicle normally, but without DSC.
Please respond to any suspected
defects by referring the problem to your
BMW center.
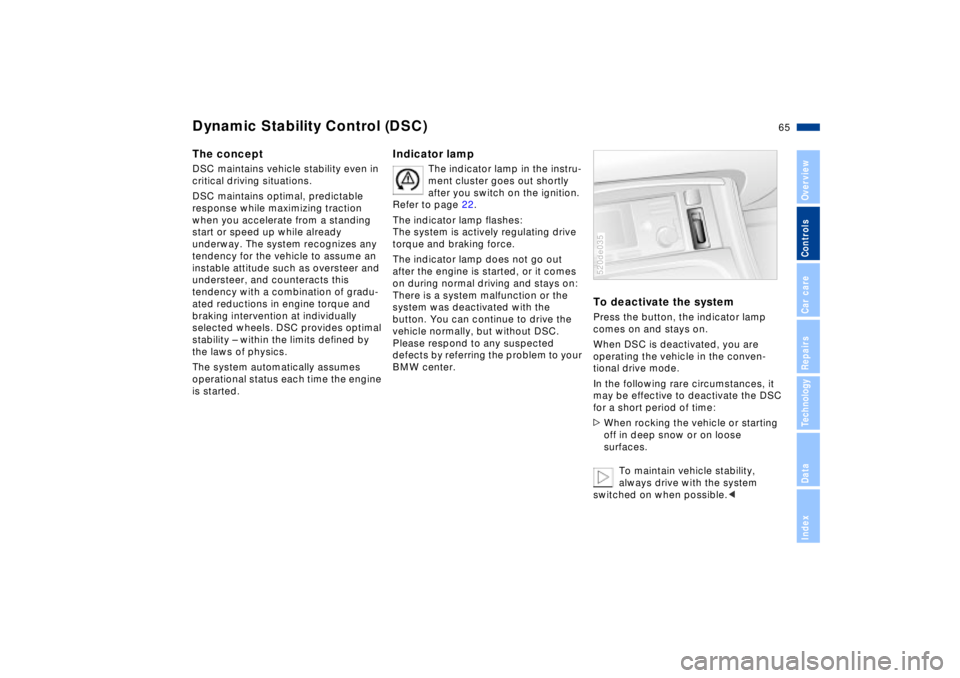
To deactivate the systemPress the button, the indicator lamp
comes on and stays on.
When DSC is deactivated, you are
operating the vehicle in the conven-
tional drive mode.
In the following rare circumstances, it
may be effective to deactivate the DSC
for a short period of time:
>When rocking the vehicle or starting
off in deep snow or on loose
surfaces.
To maintain vehicle stability,
always drive with the system
switched on when possible.<520de035
Dynamic Stability Control (DSC)
Page 67 of 174
67n
IndexDataTechnologyRepairsCar careControlsOverview
Dynamic Performance Flat Tire MonitorSport mode recognitionActivating:
In ignition position 2, press the button.
The indicator lamp will come on.
Deactivating:
Whenever the indicator lamp is on, it
will go out if you press the button again.
The conceptThe Flat Tire Monitor keeps track of the
inflation pressures in all four wheels as
you drive. The system provides an alert
whenever the inflation pressure has
dropped significantly in one of the tires.
To initialize the Flat Tire Monitor with
the correct inflation pressures, start by
ensuring that all of the vehicle's tires
are inflated to the pressures specified
in the inflation pressure table on
page 27. Now you can activate the
system.
The indicator lamp within the
instrument cluster flashes to
alert you to substantial pres-
sure loss in any of the tires.
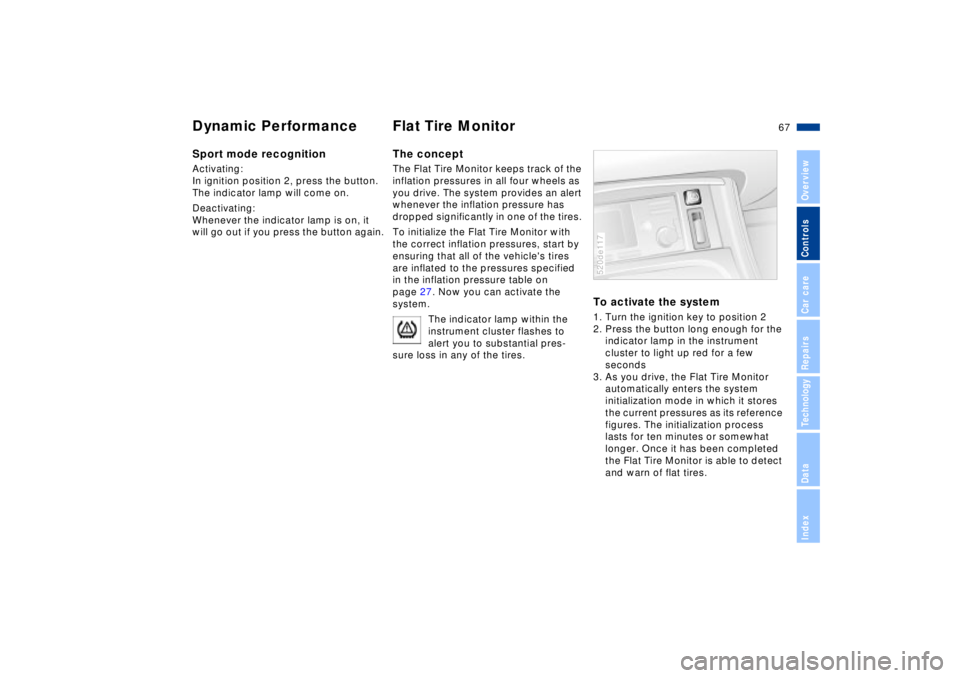
To activate the system1. Turn the ignition key to position 2
2. Press the button long enough for the
indicator lamp in the instrument
cluster to light up red for a few
seconds
3. As you drive, the Flat Tire Monitor
automatically enters the system
initialization mode in which it stores
the current pressures as its reference
figures. The initialization process
lasts for ten minutes or somewhat
longer. Once it has been completed
the Flat Tire Monitor is able to detect
and warn of flat tires.520de117
Page 69 of 174
69n
IndexDataTechnologyRepairsCar careControlsOverview
Parking lamps (side marker
lamps)
With the switch in this position,
the front, rear and side vehicle
lighting is switched on.
When leaving the vehicle parked, you
also have the additional option of acti-
vating the lighting on just one side, refer
to page 70.
Low beams
If you switch off the ignition
while the low beams are on,
only the parking lamps (side
marker lamps) remain on.
520de036
"Follow me home" lamps:
If you actuate the headlamp
flasher after you have parked the
vehicle and shut off the engine, the low
beams will remain on for a brief period.
You may also have this function deacti-
vated if you wish.<
"LIGHTS ON" warningIf you turn the ignition key to position 0,
an acoustic signal will sound for a few
seconds after the driver's door has
been opened if the low beams have not
been switched off.Daytime driving lamps
*
The headlamps are automatically
switched on for daylight driving when
ignition key is in position 2.
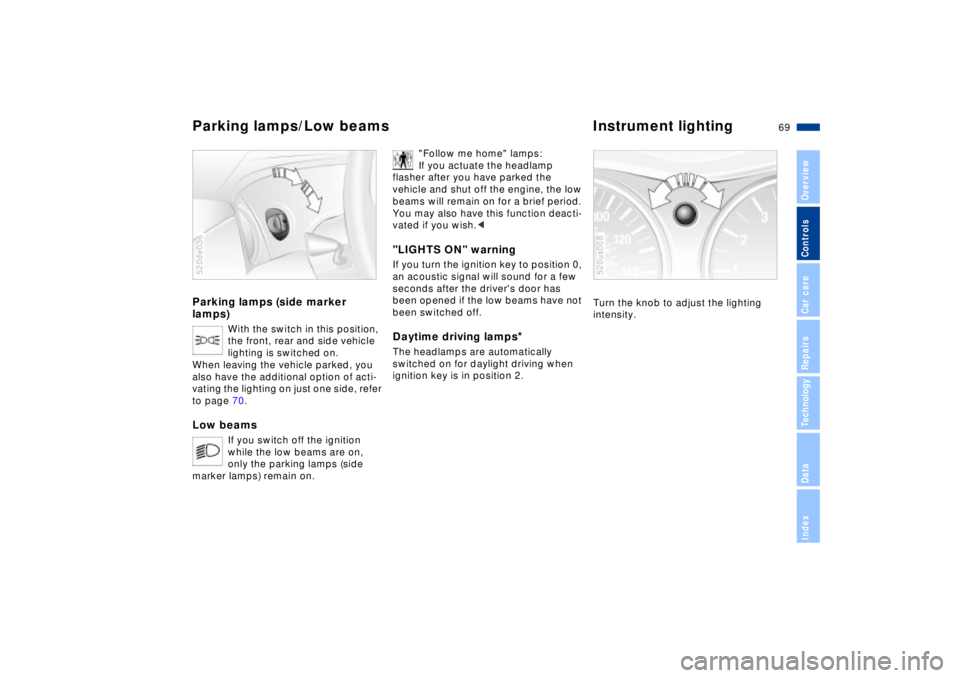
Turn the knob to adjust the lighting
intensity.520us008
Parking lamps/Low beams Instrument lighting
Page 70 of 174
70n
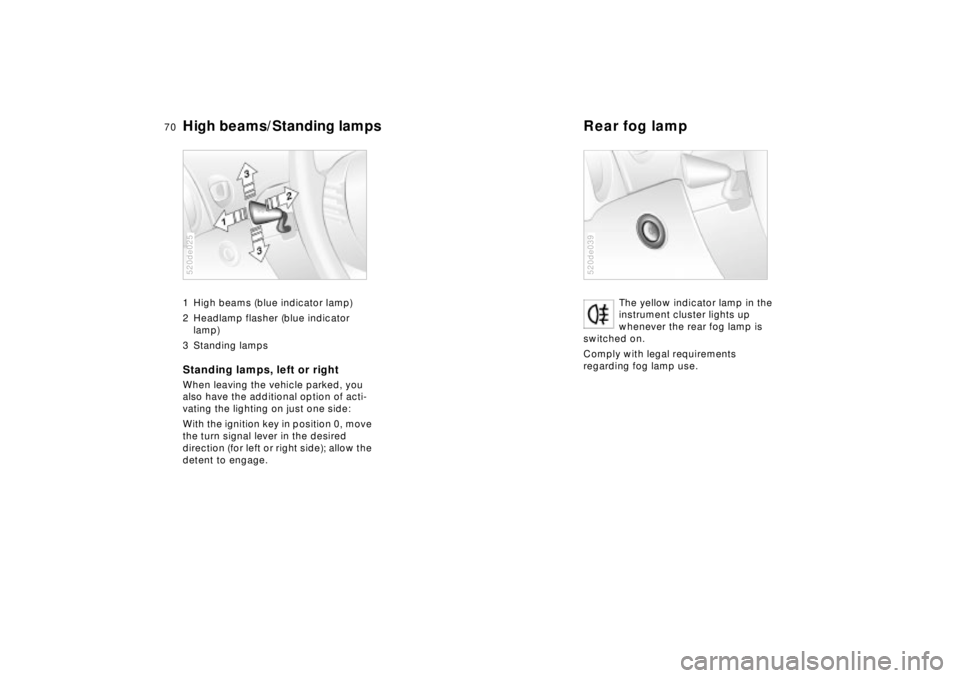
High beams/Standing lamps Rear fog lamp 1 High beams (blue indicator lamp)
2 Headlamp flasher (blue indicator
lamp)
3 Standing lampsStanding lamps, left or rightWhen leaving the vehicle parked, you
also have the additional option of acti-
vating the lighting on just one side:
With the ignition key in position 0, move
the turn signal lever in the desired
direction (for left or right side); allow the
detent to engage.520de025
The yellow indicator lamp in the
instrument cluster lights up
whenever the rear fog lamp is
switched on.
Comply with legal requirements
regarding fog lamp use.
520de039
Page 71 of 174
71n
IndexDataTechnologyRepairsCar careControlsOverview
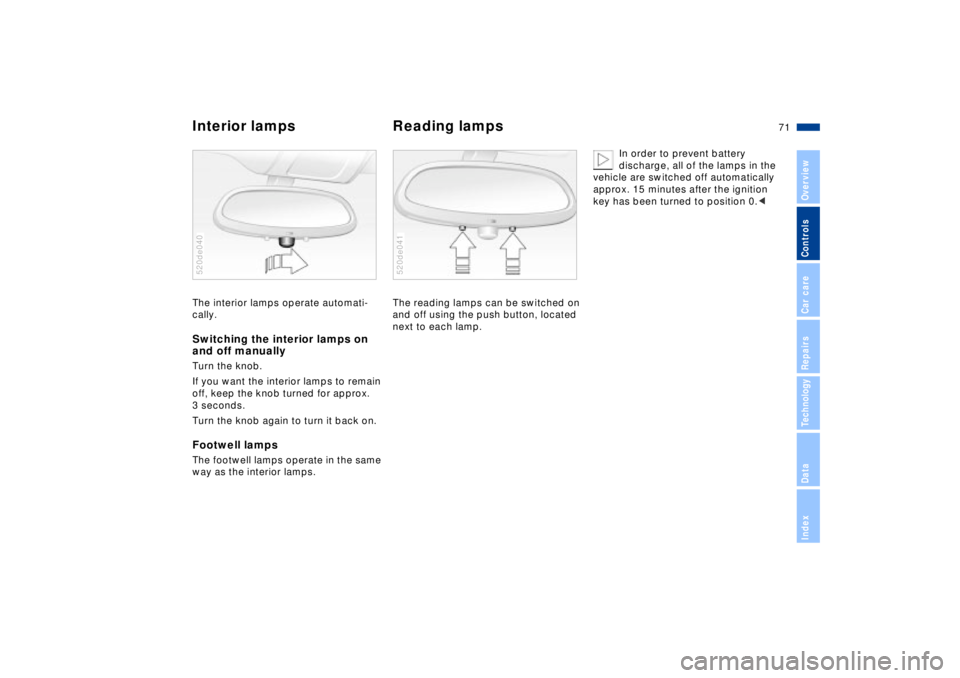
Interior lamps Reading lampsThe interior lamps operate automati-
cally.Switching the interior lamps on
and off manuallyTurn the knob.
If you want the interior lamps to remain
off, keep the knob turned for approx.
3 seconds.
Turn the knob again to turn it back on. Footwell lampsThe footwell lamps operate in the same
way as the interior lamps.520de040
The reading lamps can be switched on
and off using the push button, located
next to each lamp. 520de041
In order to prevent battery
discharge, all of the lamps in the
vehicle are switched off automatically
approx. 15 minutes after the ignition
key has been turned to position 0.<
Page 77 of 174
77n
IndexDataTechnologyRepairsCar careControlsOverview
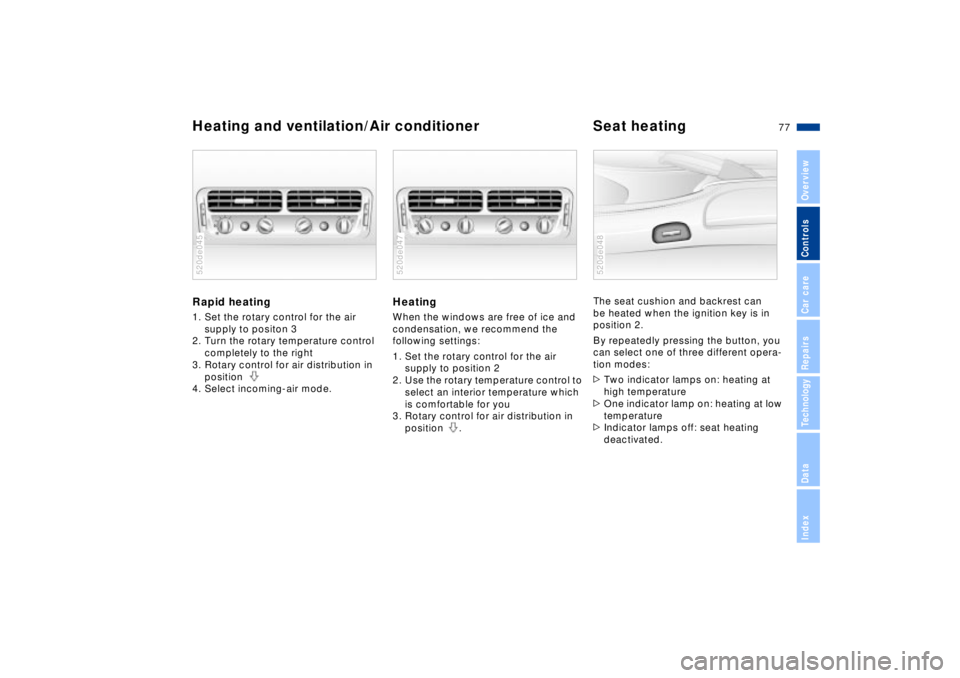
Heating and ventilation/Air conditioner Seat heatingRapid heating 1. Set the rotary control for the air
supply to positon 3
2. Turn the rotary temperature control
completely to the right
3. Rotary control for air distribution in
position
4. Select incoming-air mode.520de045
HeatingWhen the windows are free of ice and
condensation, we recommend the
following settings:
1. Set the rotary control for the air
supply to position 2
2. Use the rotary temperature control to
select an interior temperature which
is comfortable for you
3. Rotary control for air distribution in
position .520de047
The seat cushion and backrest can
be heated when the ignition key is in
position 2.
By repeatedly pressing the button, you
can select one of three different opera-
tion modes:
>Two indicator lamps on: heating at
high temperature
>One indicator lamp on: heating at low
temperature
>Indicator lamps off: seat heating
deactivated.520de048
Page 78 of 174
78n
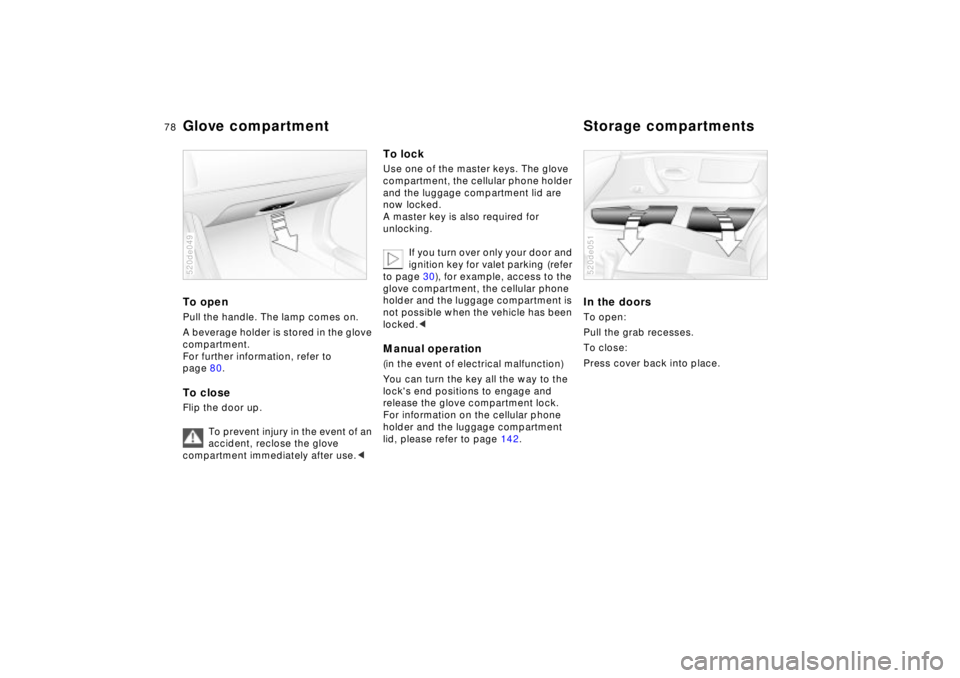
To openPull the handle. The lamp comes on.
A beverage holder is stored in the glove
compartment.
For further information, refer to
page 80.To closeFlip the door up.
To prevent injury in the event of an
accident, reclose the glove
compartment immediately after use.<520de049
To lockUse one of the master keys. The glove
compartment, the cellular phone holder
and the luggage compartment lid are
now locked.
A master key is also required for
unlocking.
If you turn over only your door and
ignition key for valet parking (refer
to page 30), for example, access to the
glove compartment, the cellular phone
holder and the luggage compartment is
not possible when the vehicle has been
locked.
lock's end positions to engage and
release the glove compartment lock.
For information on the cellular phone
holder and the luggage compartment
lid, please refer to page 142.
In the doorsTo open:
Pull the grab recesses.
To close:
Press cover back into place. 520de051
Glove compartment Storage compartments
Page 79 of 174
79n
IndexDataTechnologyRepairsCar careControlsOverview
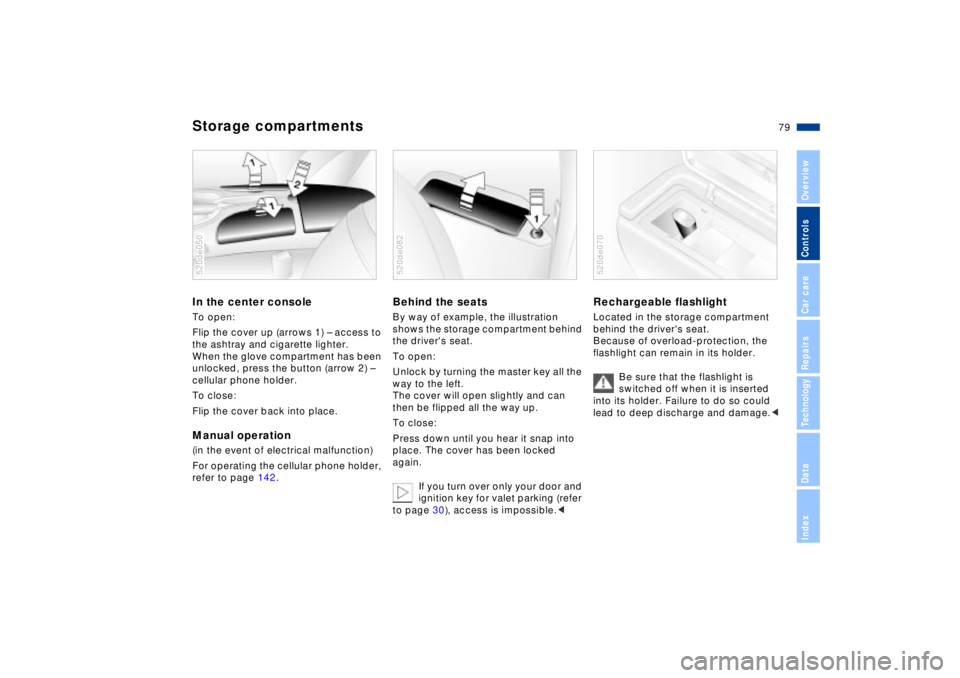
Storage compartmentsIn the center console To open:
Flip the cover up (arrows 1) Ð access to
the ashtray and cigarette lighter.
When the glove compartment has been
unlocked, press the button (arrow 2) Ð
cellular phone holder.
To close:
Flip the cover back into place. Manual operation(in the event of electrical malfunction)
For operating the cellular phone holder,
refer to page 142.520de050
Behind the seatsBy way of example, the illustration
shows the storage compartment behind
the driver's seat.
To open:
Unlock by turning the master key all the
way to the left.
The cover will open slightly and can
then be flipped all the way up.
To close:
Press down until you hear it snap into
place. The cover has been locked
again.
If you turn over only your door and
ignition key for valet parking (refer
to page 30), access is impossible.<520de082
Rechargeable flashlight
Located in the storage compartment
behind the driver's seat.
Because of overload-protection, the
flashlight can remain in its holder.
Be sure that the flashlight is
switched off when it is inserted
into its holder. Failure to do so could
lead to deep discharge and damage.<520de070
Page 82 of 174
82n
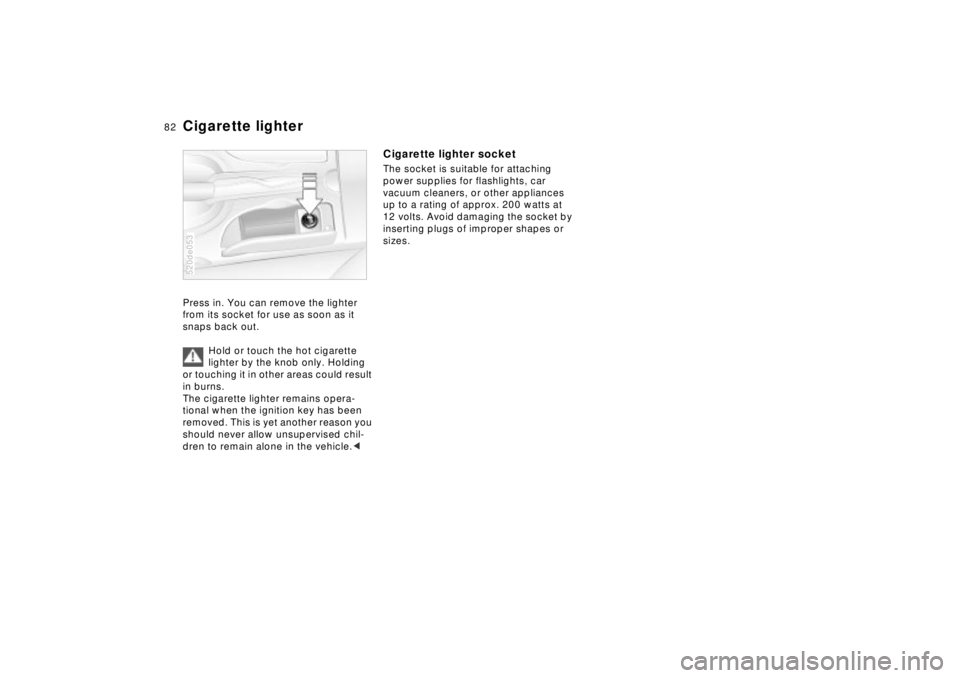
Cigarette lighterPress in. You can remove the lighter
from its socket for use as soon as it
snaps back out.
Hold or touch the hot cigarette
lighter by the knob only. Holding
or touching it in other areas could result
in burns.
The cigarette lighter remains opera-
tional when the ignition key has been
removed. This is yet another reason you
should never allow unsupervised chil-
dren to remain alone in the vehicle.<520de053
Cigarette lighter socketThe socket is suitable for attaching
power supplies for flashlights, car
vacuum cleaners, or other appliances
up to a rating of approx. 200 watts at
12 volts. Avoid damaging the socket by
inserting plugs of improper shapes or
sizes.